Hello and welcome to Reverse Confetti October Mini Release Blog Hop!!!
If you’re arrived here from Olga Matyushevskaya‘s blog, you are right on track. If you are lost on the way or want to start over from the beginning of the hop, please head on over to Reverse Confetti blog!
Now you’ve seen all the new items from the October Mini Release during the Sneak Peek Days! I hope you have found your favorites from the release!
The new items are now available in the Reverse Confetti shop! But before you go shopping I have a couple of inspiration cards to share 🙂 !

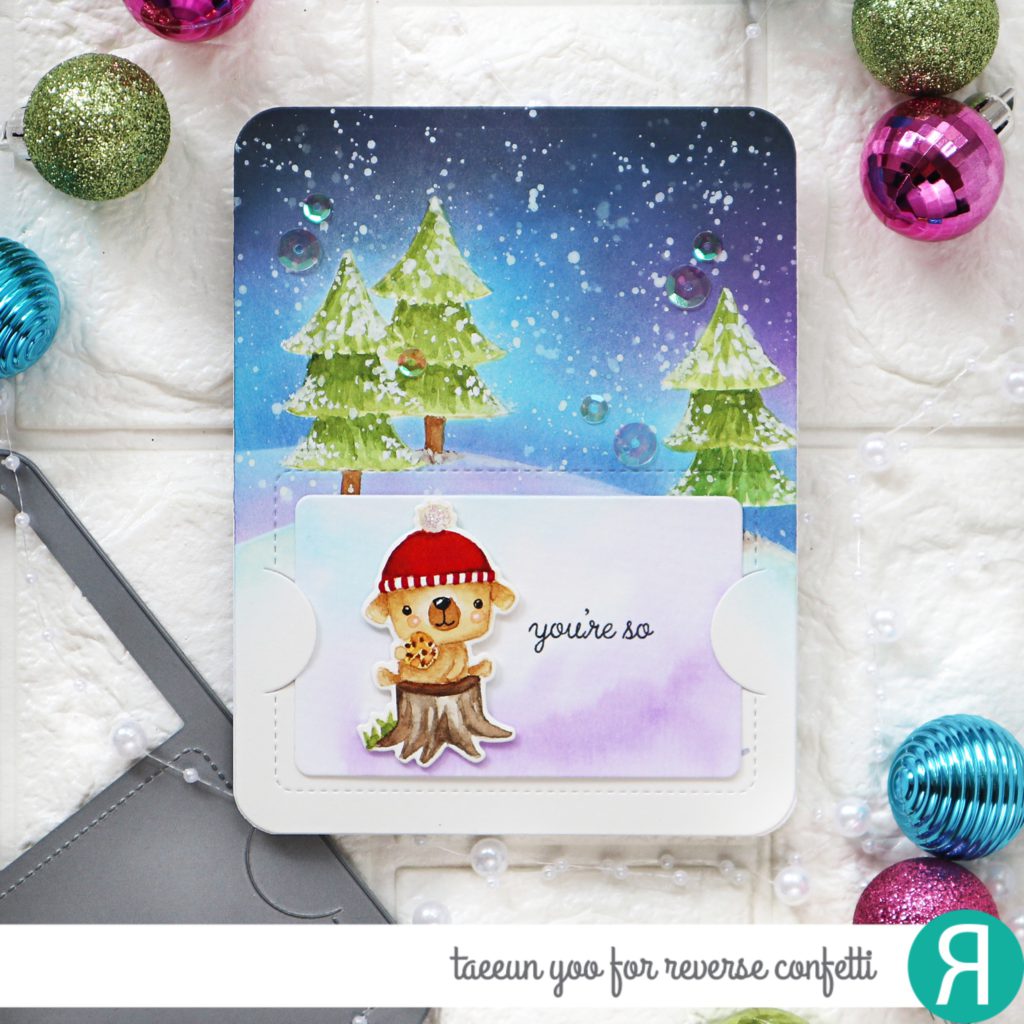
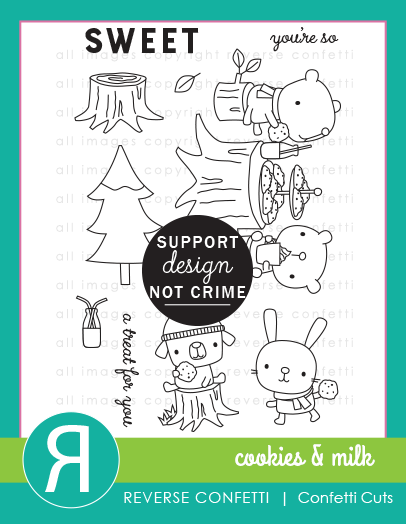
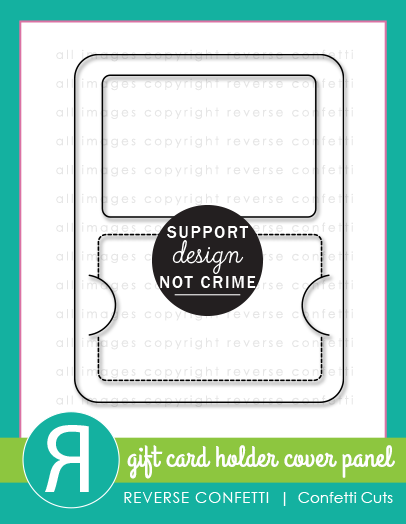
The first card is showcasing Cookies & Milk stamp and die set and the Gift Card Holder Cover panel die. This Confetti Cuts have a die for a gift card sized panel. So I made an extra panel with a cute critter to make an interactive card.
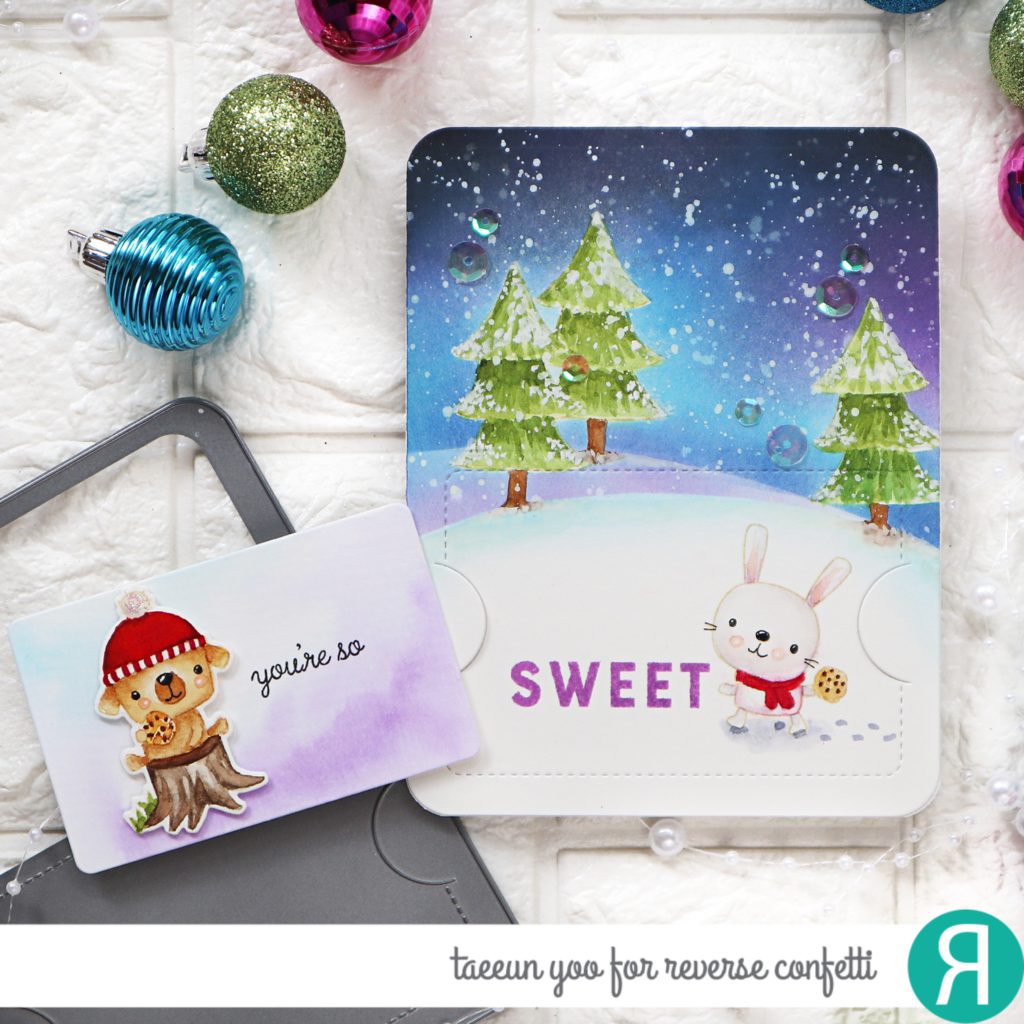
To start off I stamped the cute bunny and three trees on a Bristol Smooth paper panel in Antique Linen DI as shown in the picture. I also cut the puppy on the tree trunk separately. I colored the images using Karin brush markers. I ink blended the sky in Salty Ocean, Blueprint Sketch, Wilted Violet and Black Soot Distress oxide inks while masking the trees and hills. I then splattered white opaque ink on the sky and added some snow on the trees.
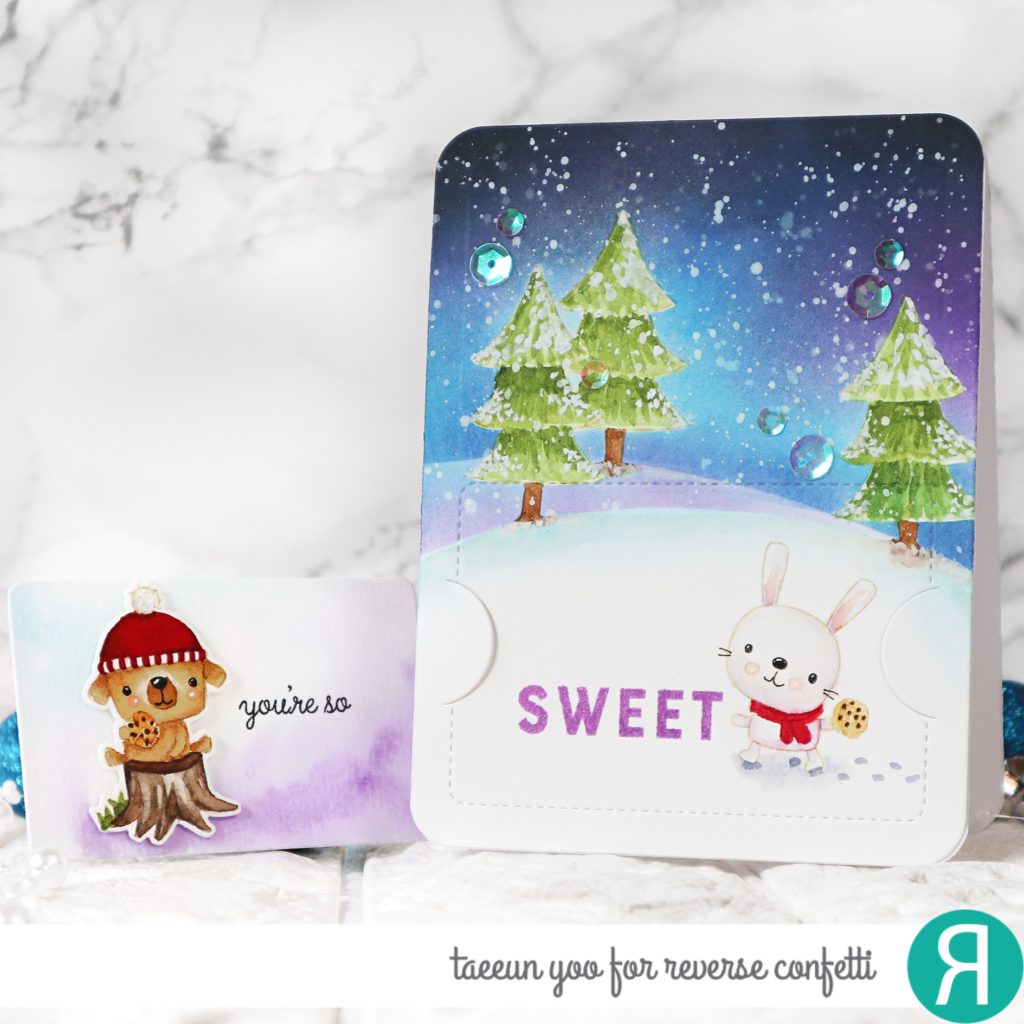
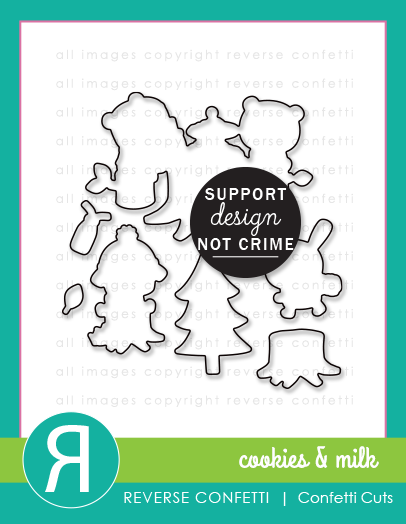
The colored panel was cut using the Gift Card Holder Cover panel die and the puppy using the Cookies & Milk Confetti Cuts.
I cut a small panel from some watercolor paper using the gift card die from the Gift Card Holder Cover panel confetti cuts and colored it in purple and blue. I stamped the sentiment and added the puppy with some foam tape on it. I stamped “Sweet” from the Cookies & Milk stamp on the front panel next to the bunny and adhered the panel on a white cardbase.
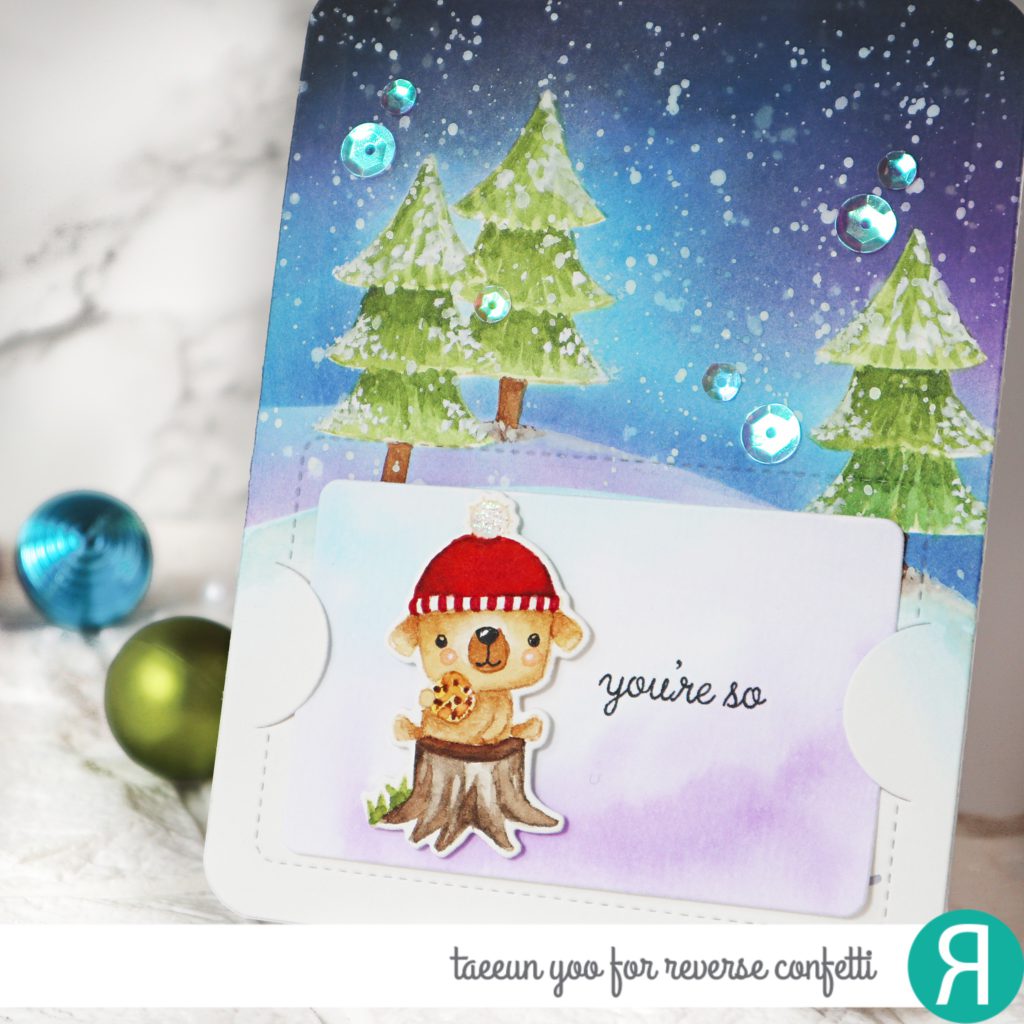
I finished off the card with some clear iridescent sequins.
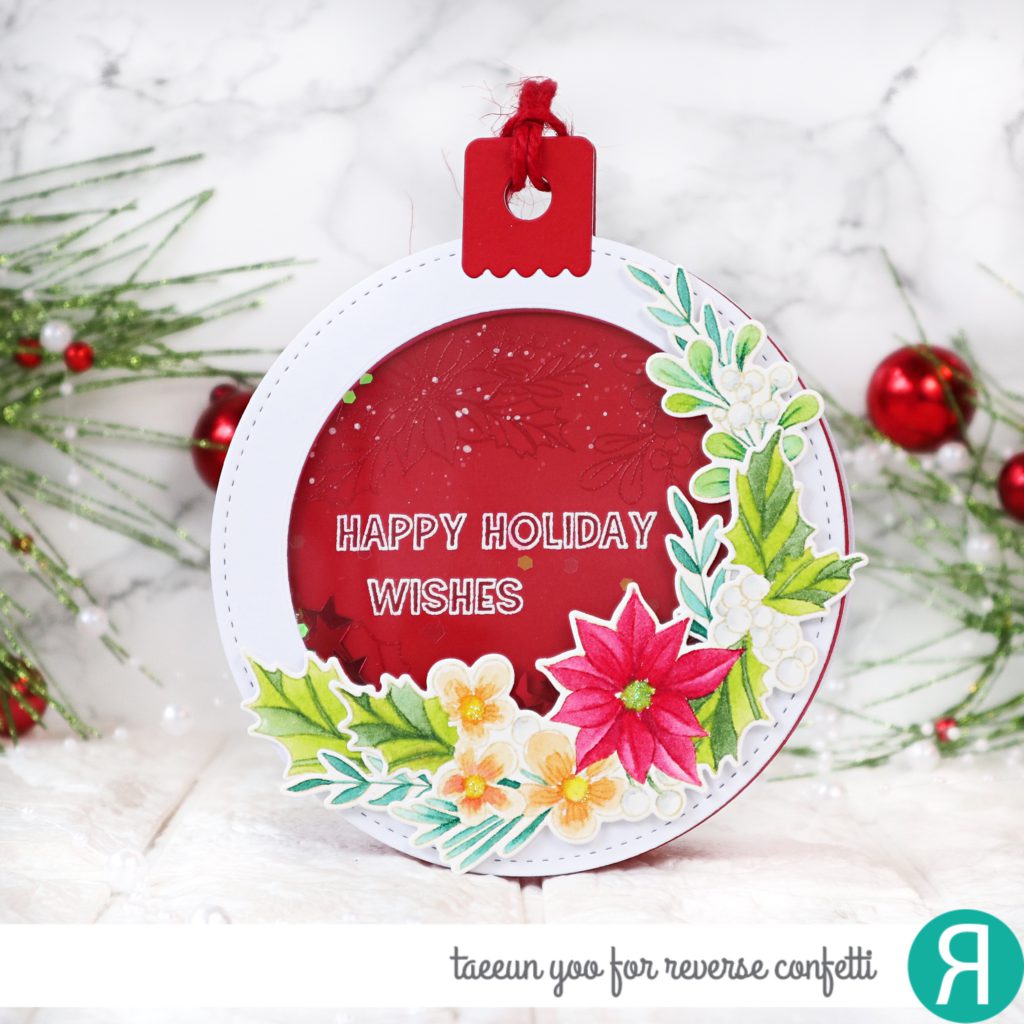
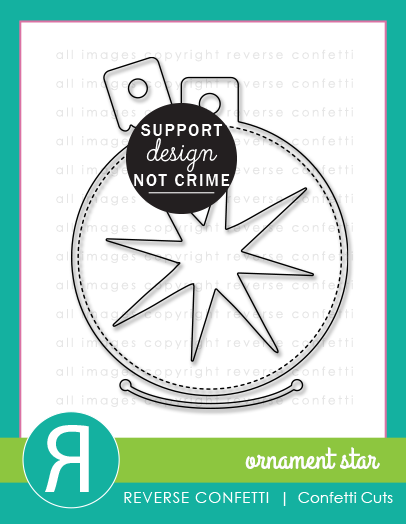
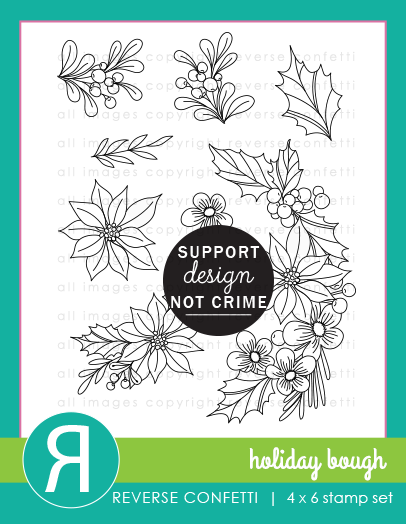
The second card is an ornament shaped shaker card which was cut using the Ornament Star Confetti Cuts. I had the beautiful poinsettia cluster images from Holiday Bough stamp set already colored and cut in my stash, which I did during the September release. I stamped the images in Antique Linen DI and colored using Karin brush markers. As I saw the Ornament Star Confetti Cuts, this shaker card design popped in my mind.
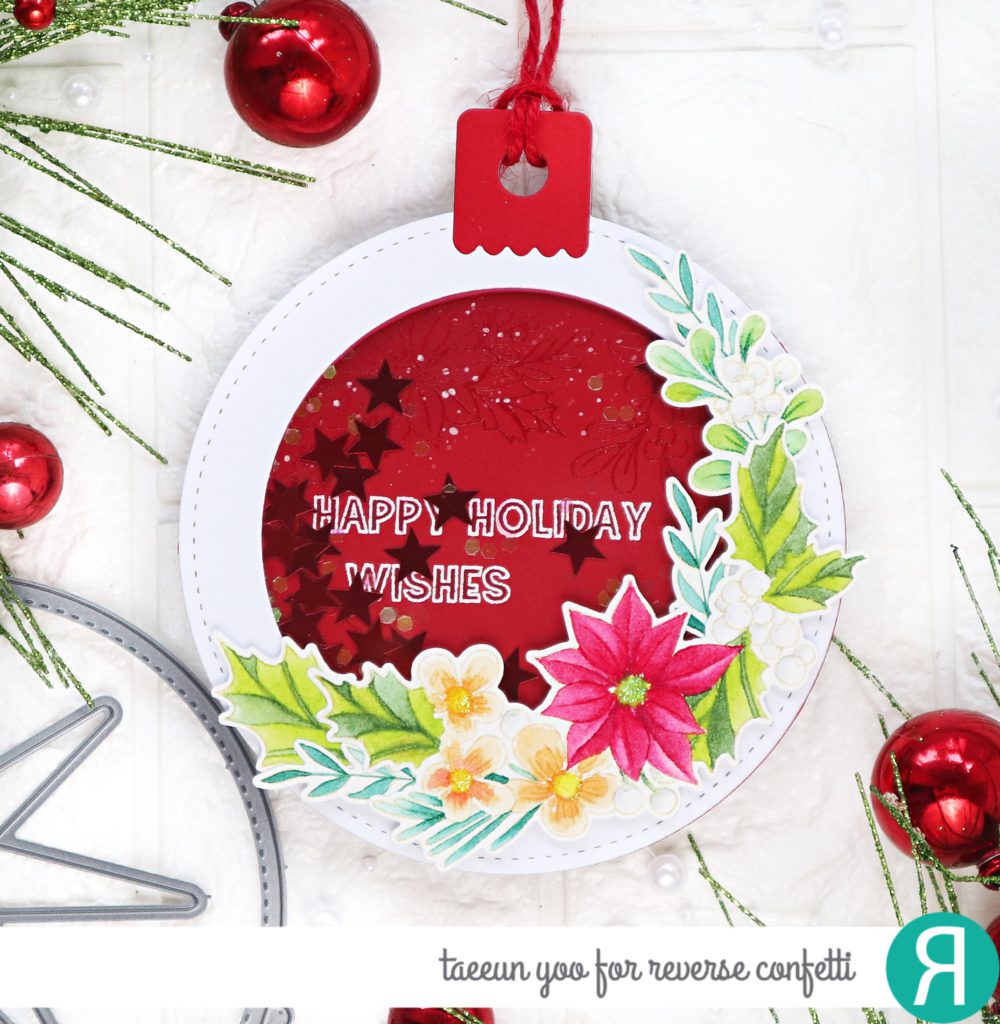
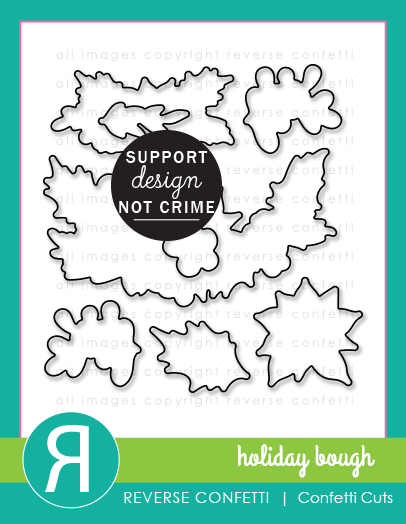
I cut the Ornament three times, two from some white cardstock and one from a dark red cardstock. I cut a circle window from one of the white die cut ornament to make the shaker window.
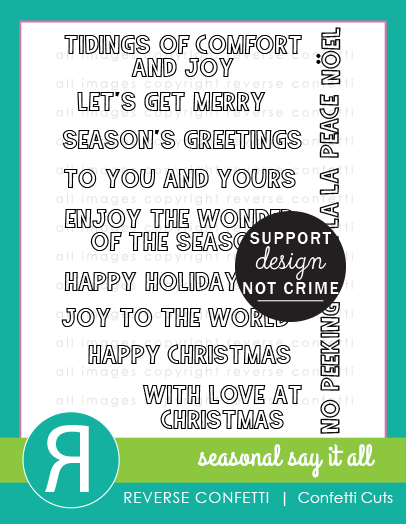
I clear heat embossed some berry and holly leaves from Holiday Bough stamp set on the red die cut ornament and ink blended dark red ink on it. I white heat embossed the sentiment from Seasonal Say It All stamp set on it and splattered white ink.
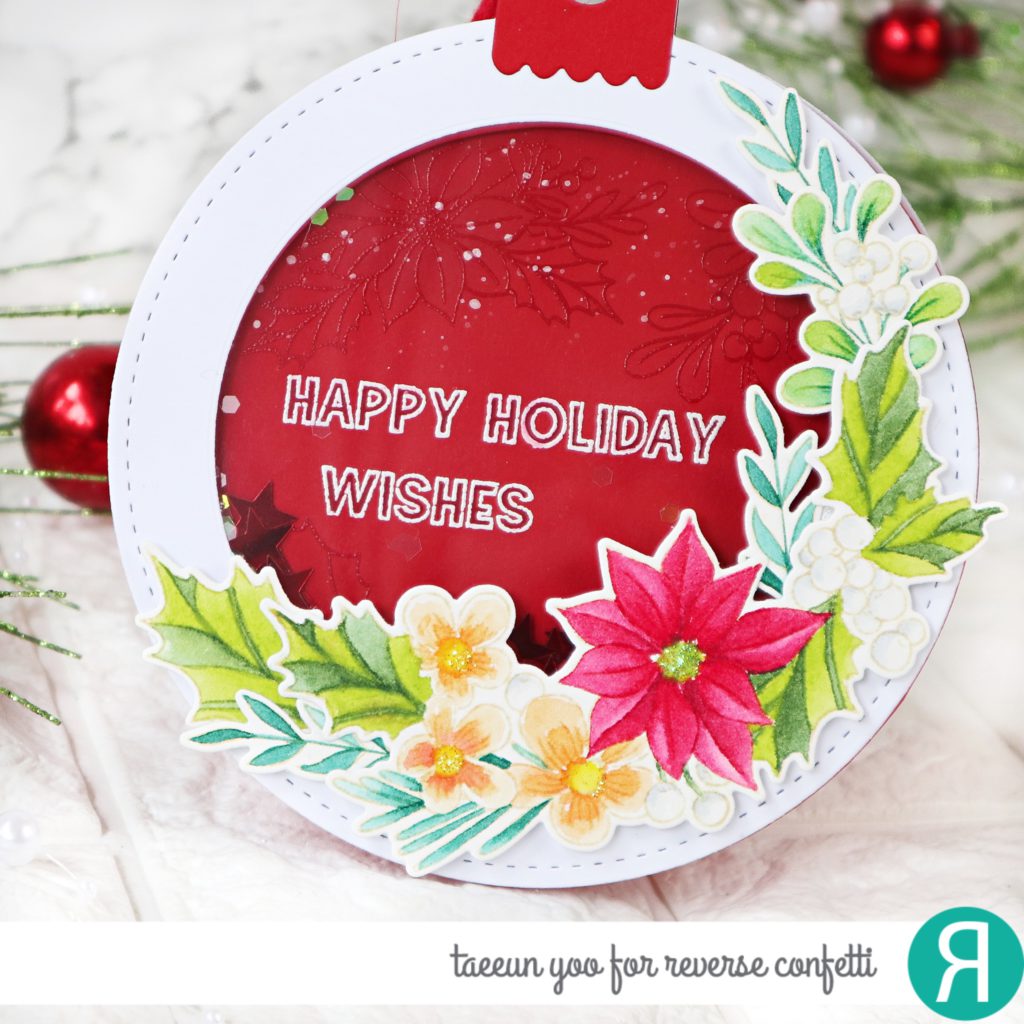
As the shaker wall I cut the ornament frame from some red fun foam and started assembling the shaker card. I added red star confetti and small clear confetti as shaker element. I then arranged the wintery floral cluster on it using some foam tape and tied a red string in the hole on the top.

HOP ALONG
- Reverse Confetti Blog
- Amy Kolling
- Ali Farmer
- Tricia Barber
- Lisa Henke
- Amy Tsuruta
- Megan Quinn
- Kathy Schweinfurth
- Olga Moss
- Jeanne Jachna
- Nicole Vögeli
- Deanne Kuntz
- Mayra Duran-Hernandez
- Olga Matyushevskaya
- TaeEun Yoo –>You are here 😊!
- Michelle Short
Thank you so much for visiting my blog today!
Wishing you all a happy hopping and happy shopping!
Hugs,
TaeEun
I participate in the affiliate program of Reverse Confetti. It means I earn a small commission at no additional cost to you each time you click through and purchase the product(s) shared here. Thank you for your support :).

both projects are soooo wonderful!
Oh my goodness that scene in the woods is darling! Such a sweet way to eat cookies and in the snow! Wish I was there. It looks so peaceful. And serene. I also like your ornament and that the embossing is showing through the shaker portion. I really like how you color with Karin markers. (I just have a few of these are they are really fun to use.) Wonderful cards TaeEun!