
Hello, everyone !
Today I’m sharing a card with a DIY floral border on Pinkfresh Studio Card blog.
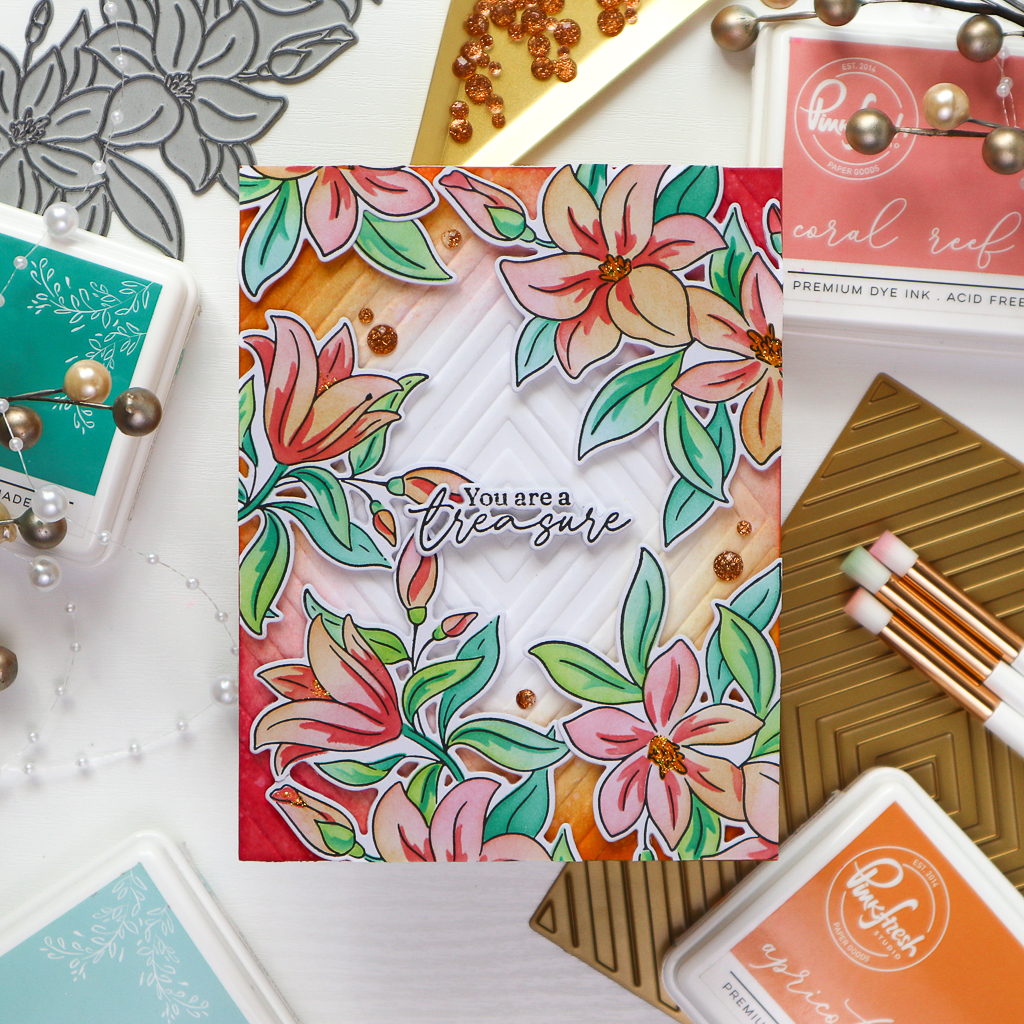
For this card, I stenciled the floral cluster from the Delighted for You suite twice and cut them out to arrange the flowers along the perimeter of the card, creating a beautiful floral border.
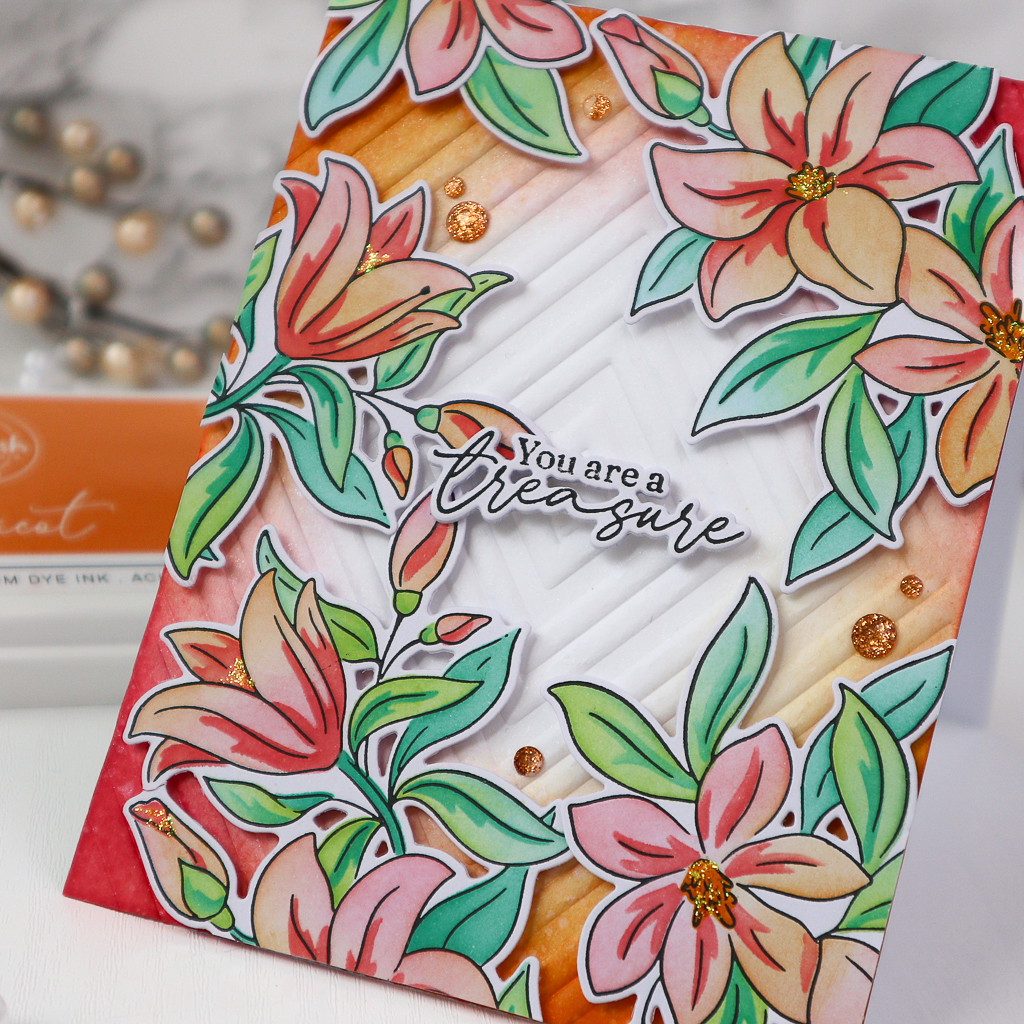
To begin, I pressed the Delighted for You image twice on some white cardstock using Detail Black ink. To stencil the flowers in two tones, I picked Apricot, Coral Reef, Clementine and Passion Fruit. For the first layer of the leaves, I chose Grassy Knoll and Ocean Breeze, and for the second layer, I used Aquamarine. After finishing the stenciling, I cut both images using the coordinating die and set them aside.
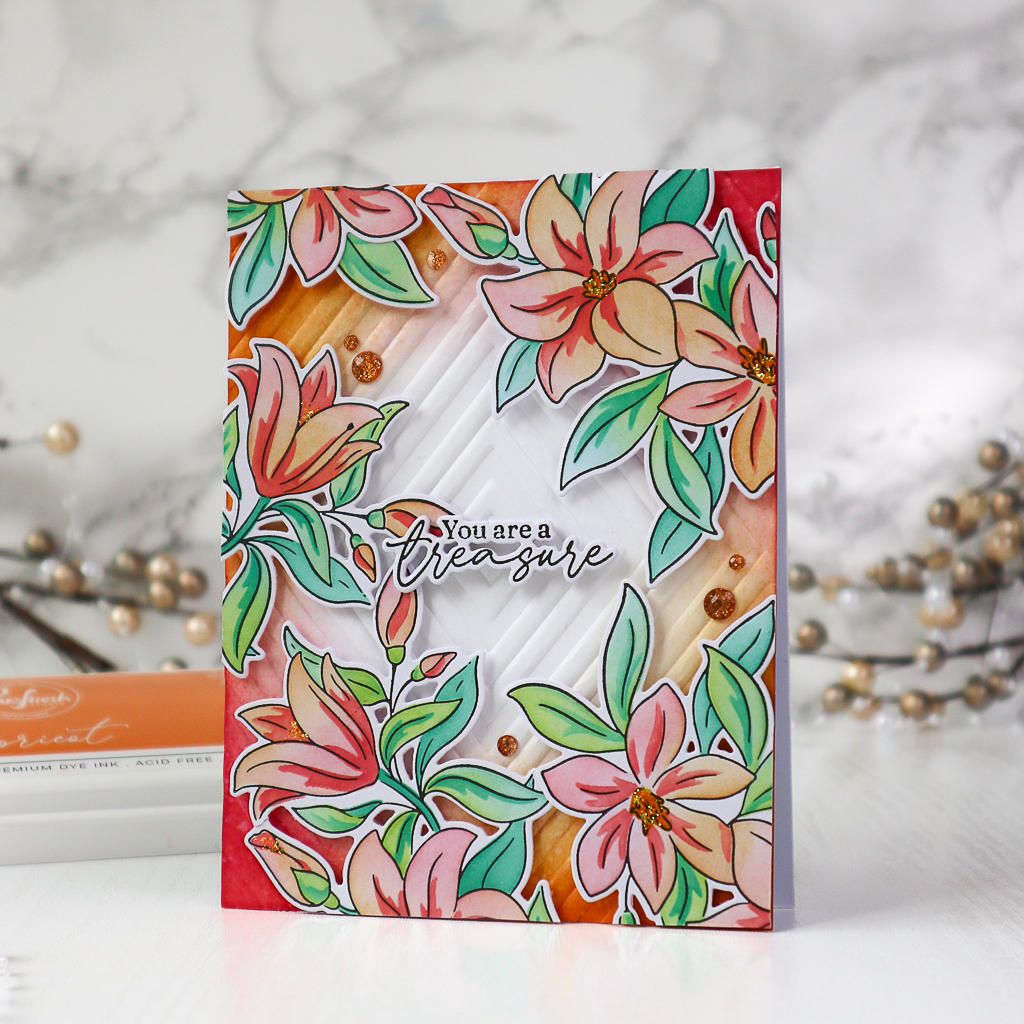
To create the background, I went with the same color scheme like the flowers – orange and pink – using the same ink colors. I ink blended two diagonal corners of an A2 sized white panel in orange and the other two in coral pink, making them darker towards the edge. I left the center of the panel uncolored. To add some texture to the background, I dry embossed the panel using the Diamond Hot Foil Plate and adhered it to a white cardbase.
For a floral border, I cut the Delighted for You image and arranged them using foam tape as shown in the picture.
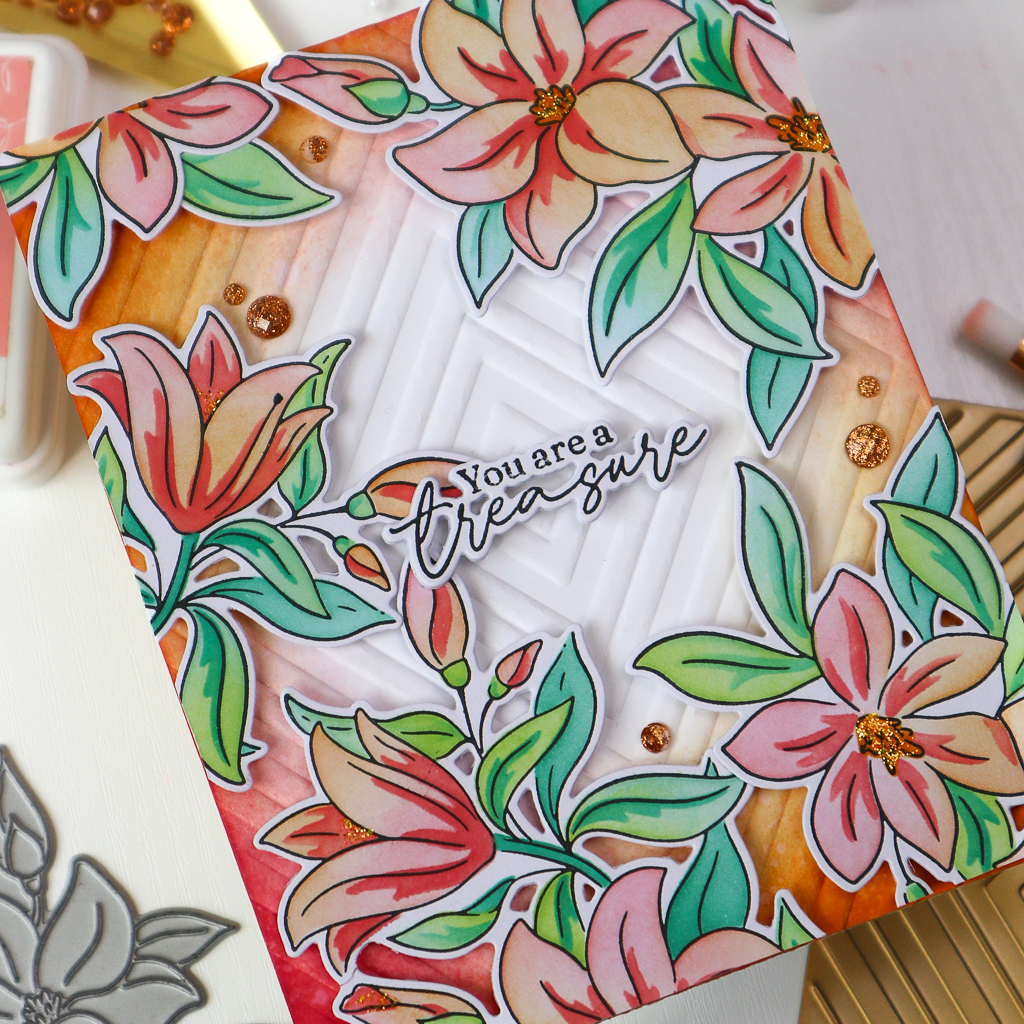
The sentiment from the same suite was pressed in Detail Black and cut with the coordinating die. I used two layers of foam tape to add the sentiment to the center of the card for more dimension.
Lastly, I scattered a few Butterscotch Glitter Drops on the card and added some glitter to the center of the flowers.
That’s it from me for today! Hope you enjoyed the making process of my card!
Have a crafty day!
TaeEun
TWO treats in my inbox today?? How lucky am I?
TaeEun, you do have such a beautiful way of mixing shades of colors! This is really lovely!
[and thank you for the reminder to use those [unused] hot foil plates for dry embossing – that I can manage without any trouble at all!] xx
=]
Beautiful card! The colours are stunning! I love the dry embossing with the Diamond Hot Foil Plate – adds such great texture!
That diamond hot foil plate makes a brilliant background to accompany these gorgeous flowers TaeEun, and I love the stylised look of the added colour using the layered stencils and the flowers arranged around the edge to the frame the popped up sentiment, and the ink blended coordinated colour on the background edges looks beautiful. x