
Hello and Happy Friday, everyone!
I’m sharing a trio of holiday cards featuring the Poinsettia Frame product suite on Pinkfresh Studio Card Blog today.
I colored the Poinsettia Frame using three different coloring media: colored pencils, ink pads, and watercolor. The beautiful large poinsettias in the stamp set invite you to color them 🙂 !
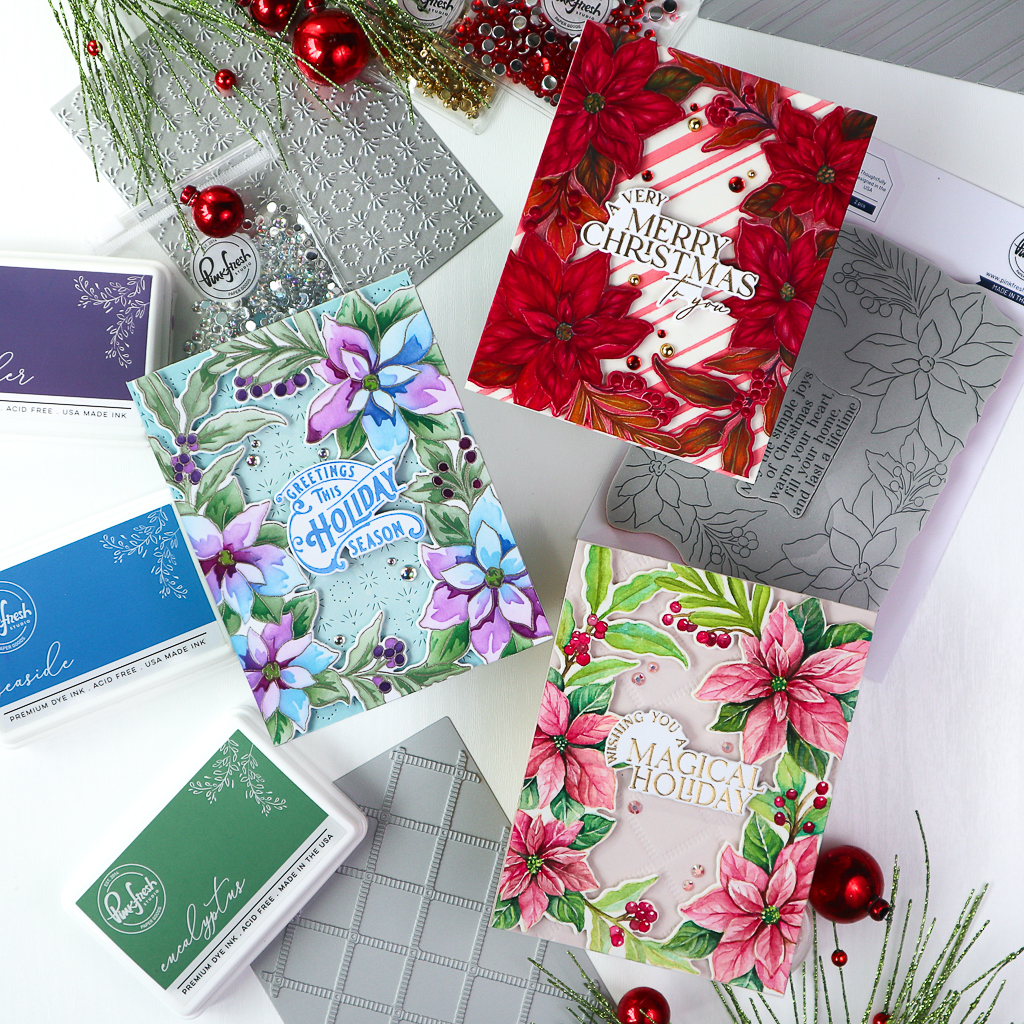
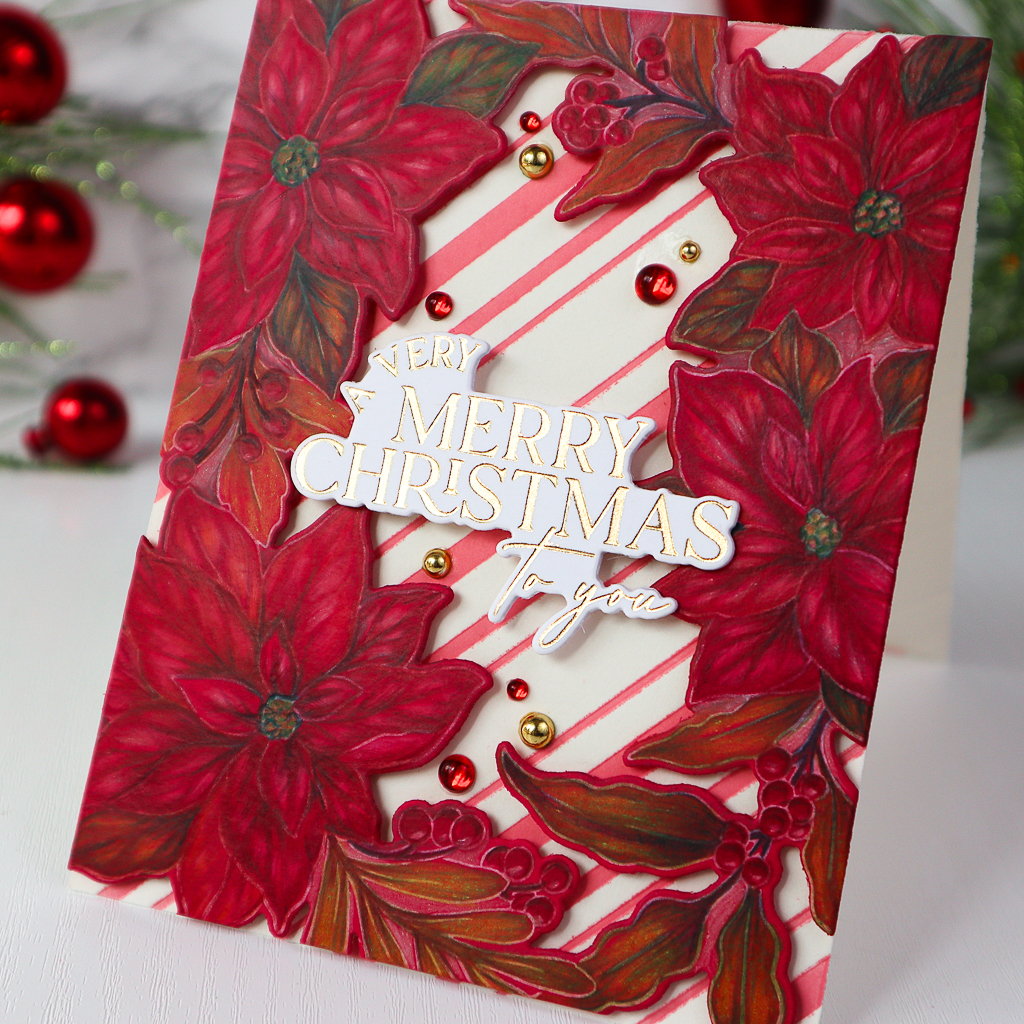
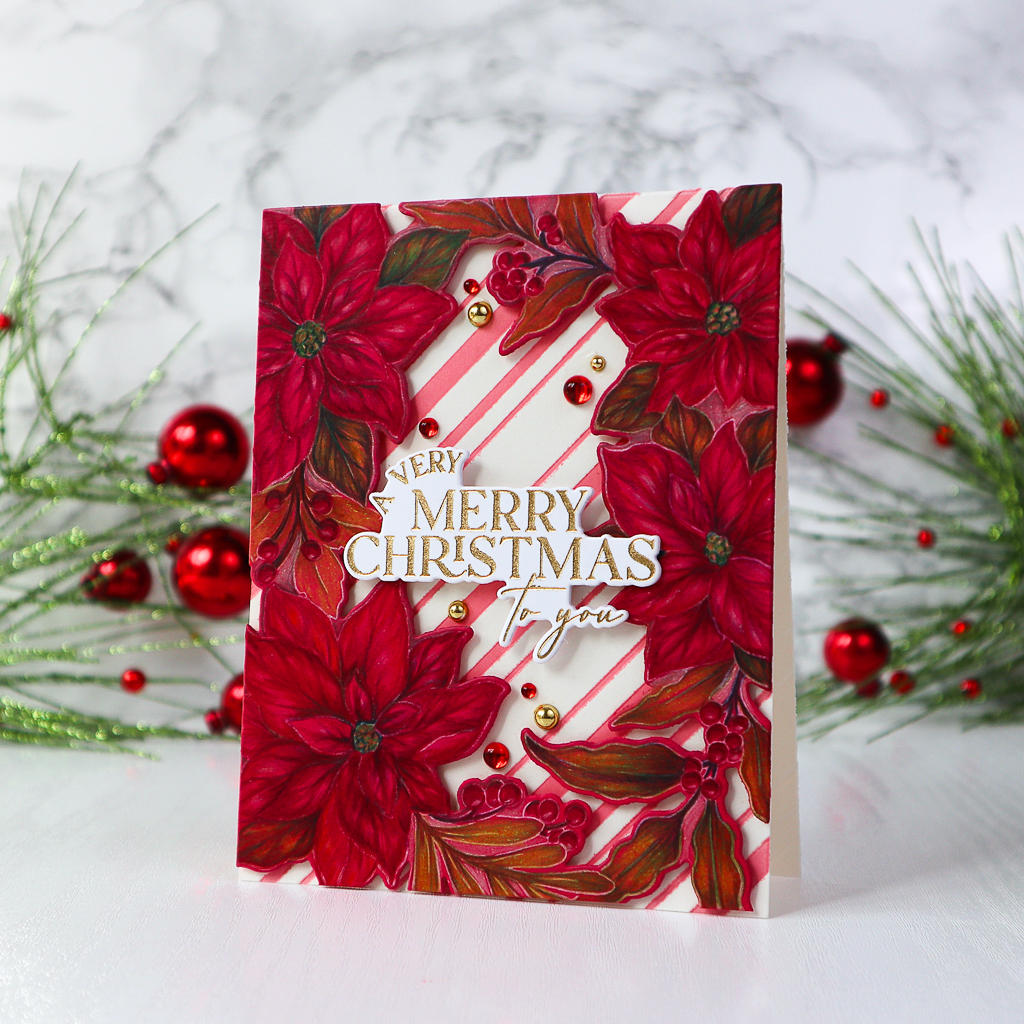
The first card showcases the Poinsettia Frame colored using Polychromos colored pencils.
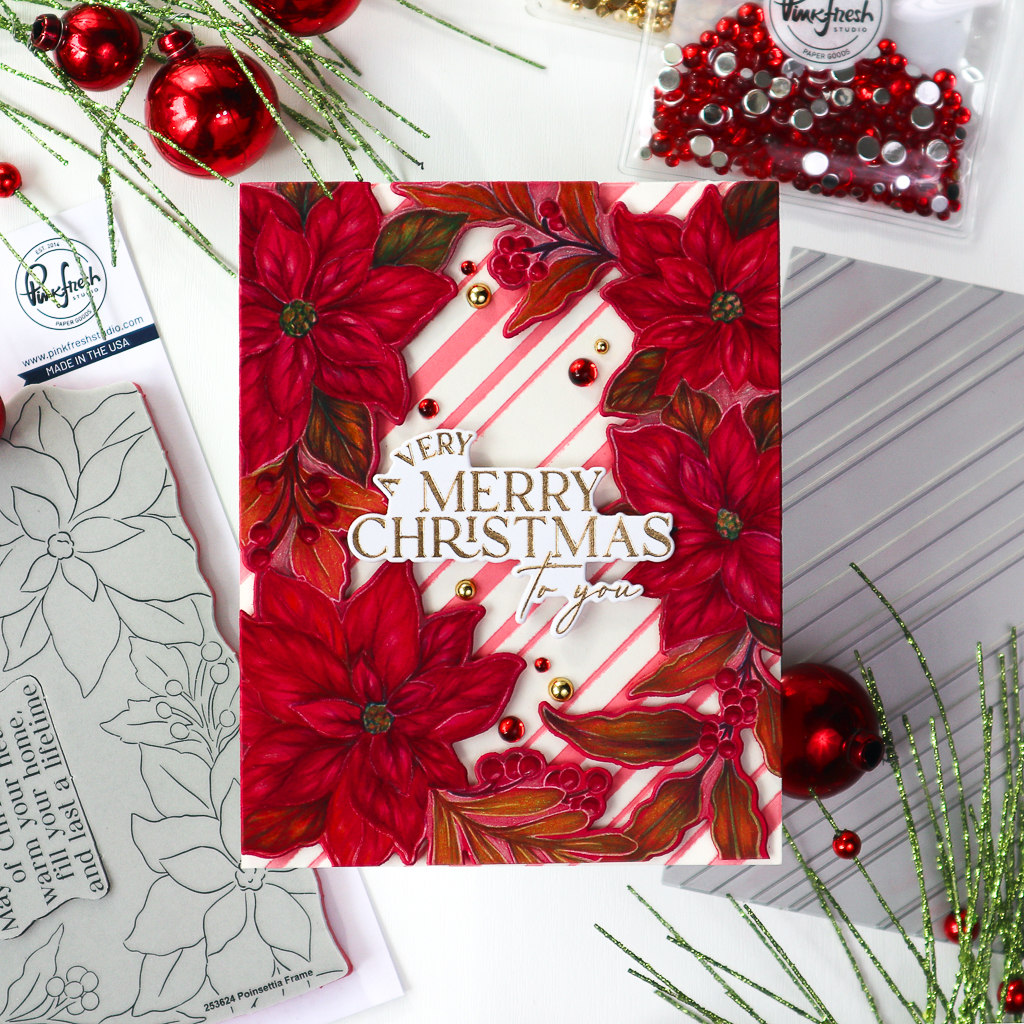
I stamped the image in Calico White on red cardstock to save time when coloring the poinsettia in red. I then colored it using Polychromos colored pencils. To color the red leaves of the poinsettias, I focused on adding the dark shades and highlights. To color the greenery, I used bright yellow-green as a base and built up the darker shades on top. In the end, the leaves took on an olive green or brown hue, which I found appealing.
After finishing the coloring, I cut the Poinsettia Frame using the coordinating die.
To create the background for this card, I pressed the front of a light beige cardbase using the Diagonal Plaid Press Plate and Peony ink. I foam mounted the Poinsettia Frame onto the cardbase. The sentiment is from the Magical Holiday Press Plate, which I hot foiled in gold.
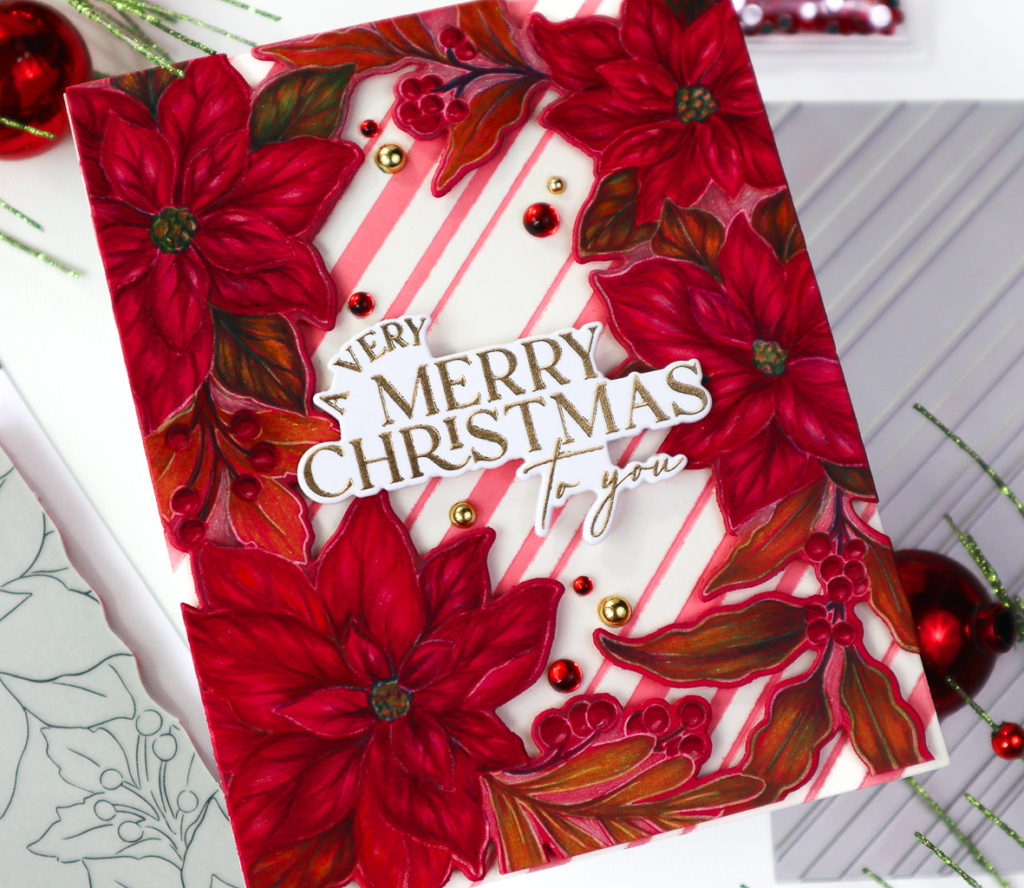
To finish, I added a few Gold Metallic Pearls and Scarlet Clear Drops to the central area of the card.
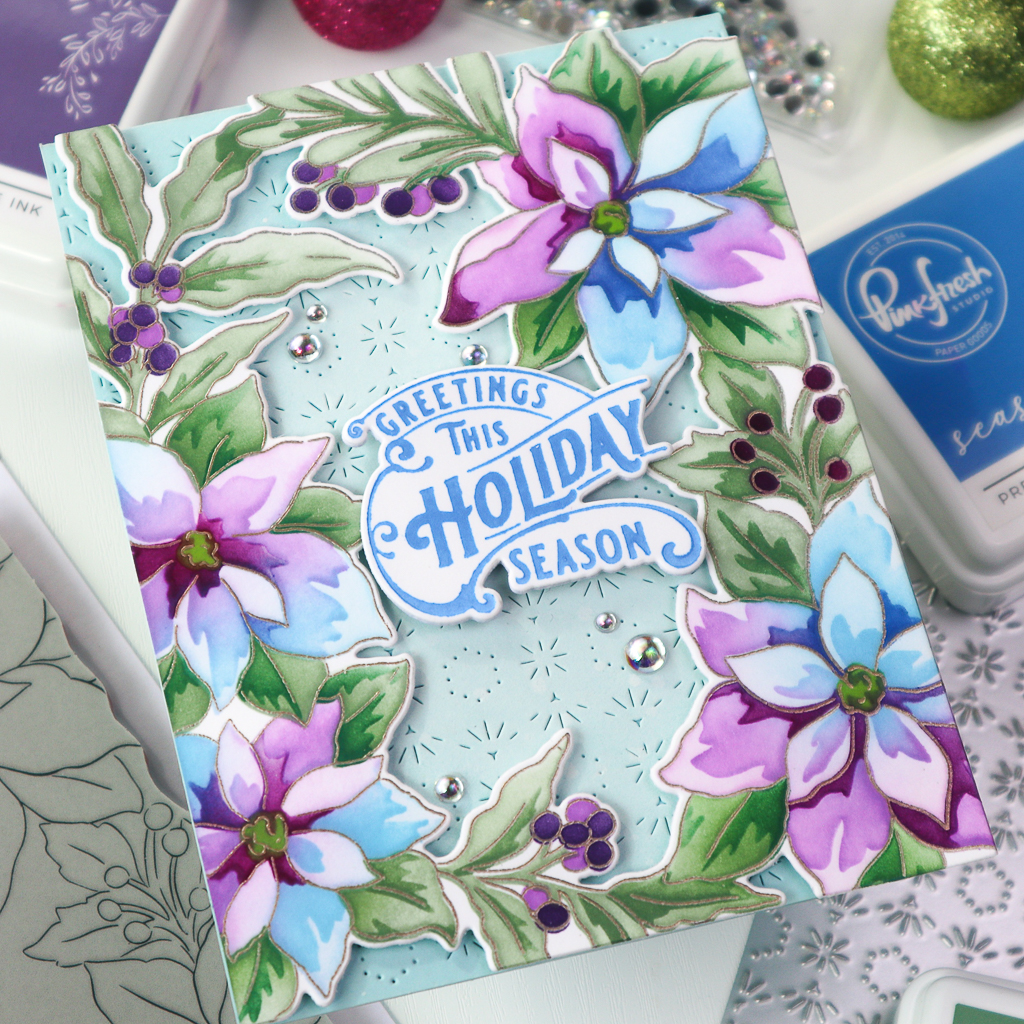
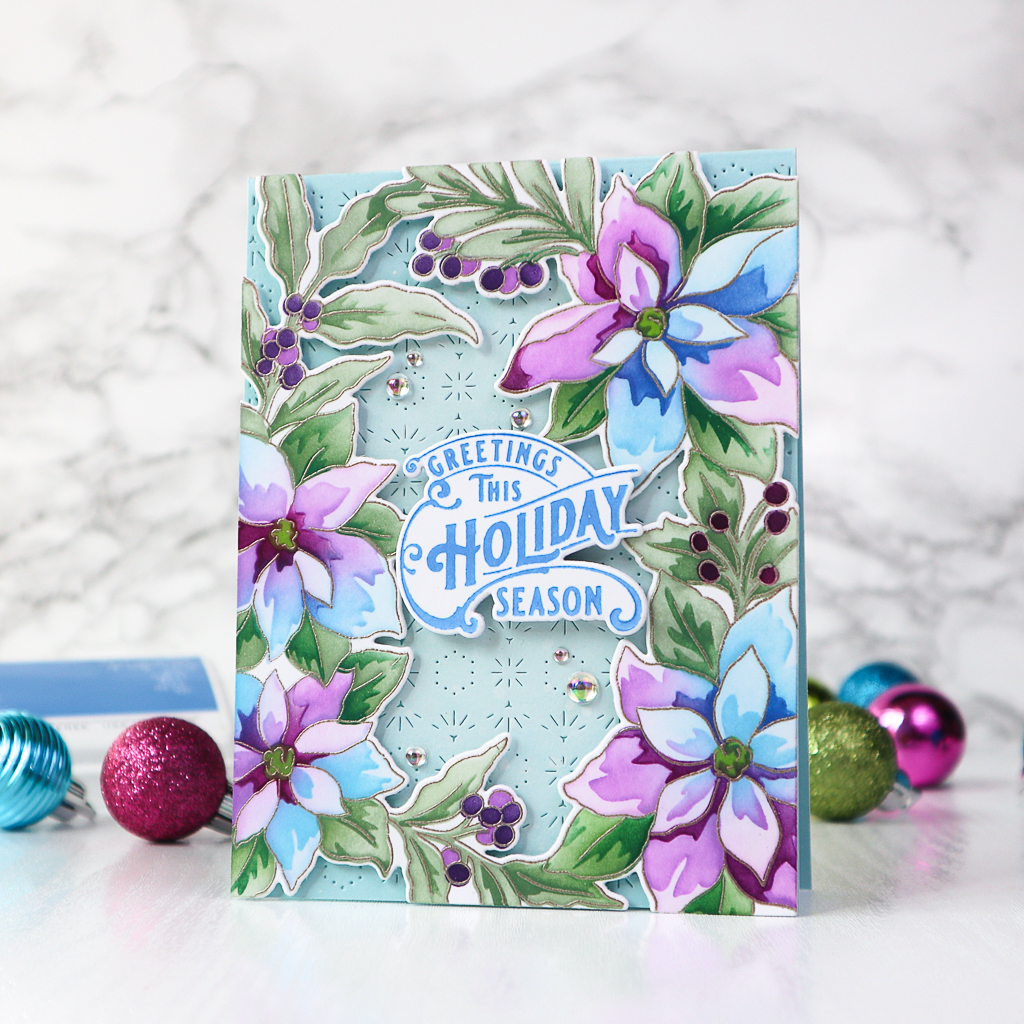
The second card is showing the Poinsettia Frame stenciled using the coordinating stencil set.

First, I heat embossed the image in Liquid Platinum and stenciled the three layers of the poinsettias in two tones – blue and purple – using Sky Blue, Summer Shower, Seaside, Soft Lilac, Lavender and Regal Kiss. For the berries, I used Opulence and Lavender, and for the leaves Sage, Eucalyptus, and Spruce Tips. The leaves are in two layers. I combined the three green ink colors differently to achieve varying shades of darkness for the leaves.
The stenciled image was then die cut using the coordinating die.
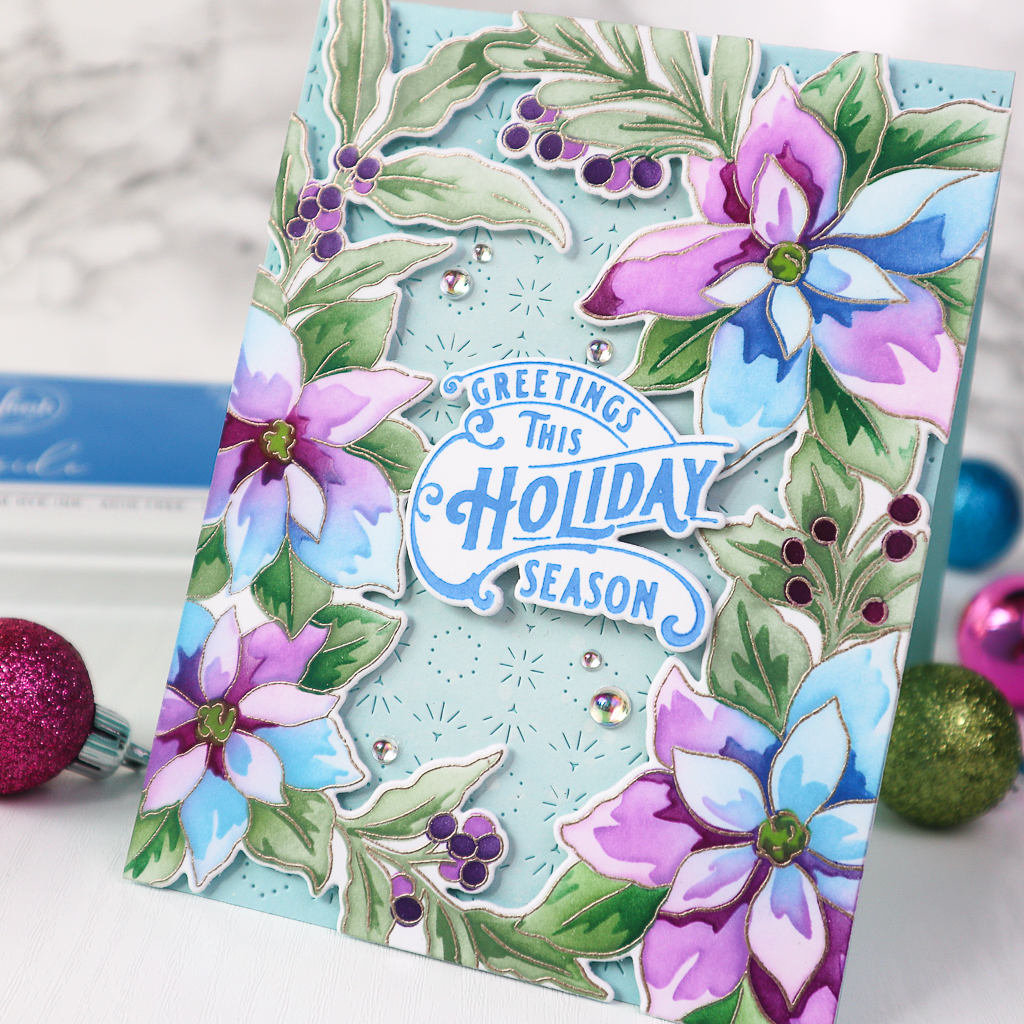
For this card, I chose a light blue cardbase, the front of which I cut using the Hexagon Tiles coverplate die. To soften the color of the cardbase I ink blended the central part in Calico White.
I foam mounted the Poinsettia Frame onto the cardbase.
The sentiment, from the Holiday Greetings Sentiments Press Plate, was pressed in Seaside, die cut with the coordinating die, and added to the card using foam tape.
A few Iridescent Clear Drops were my finishing touch for this card.
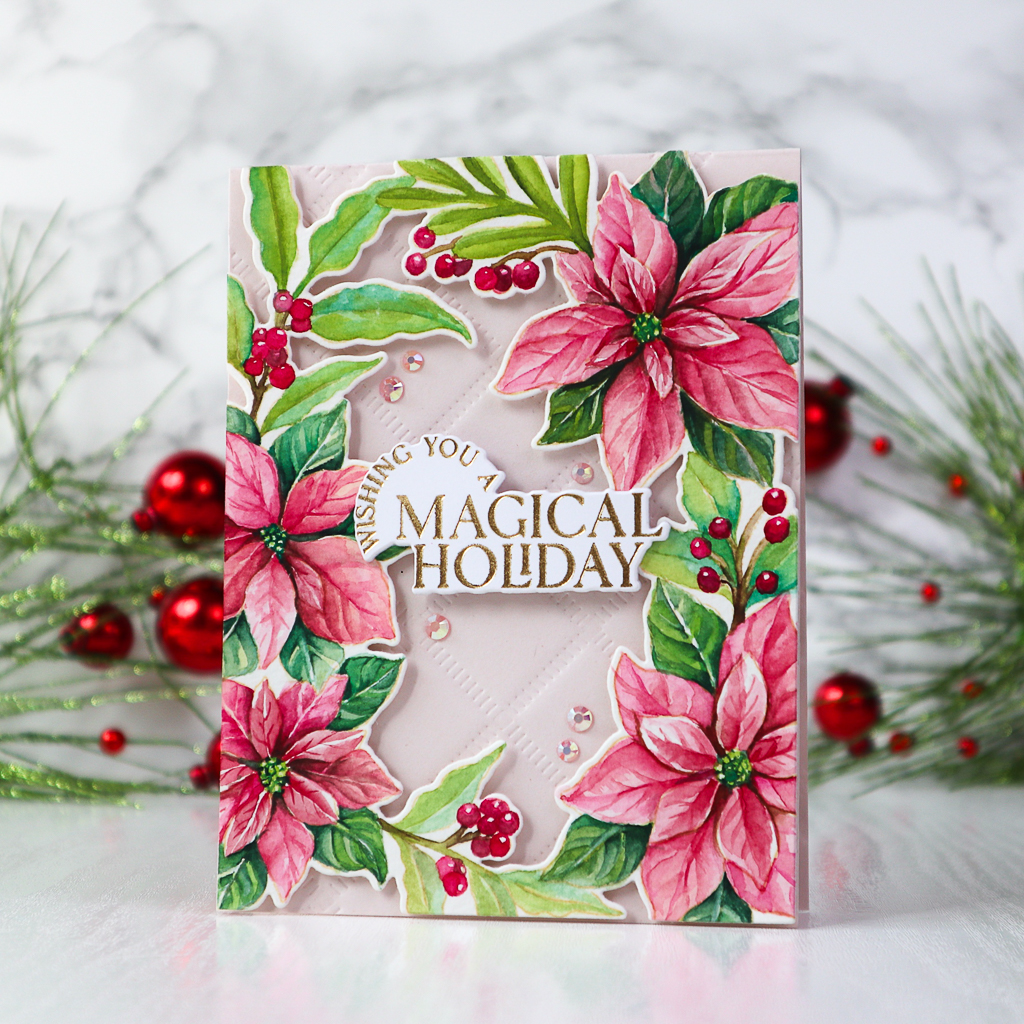
The Poinsettia Frame on the last card was watercolored.
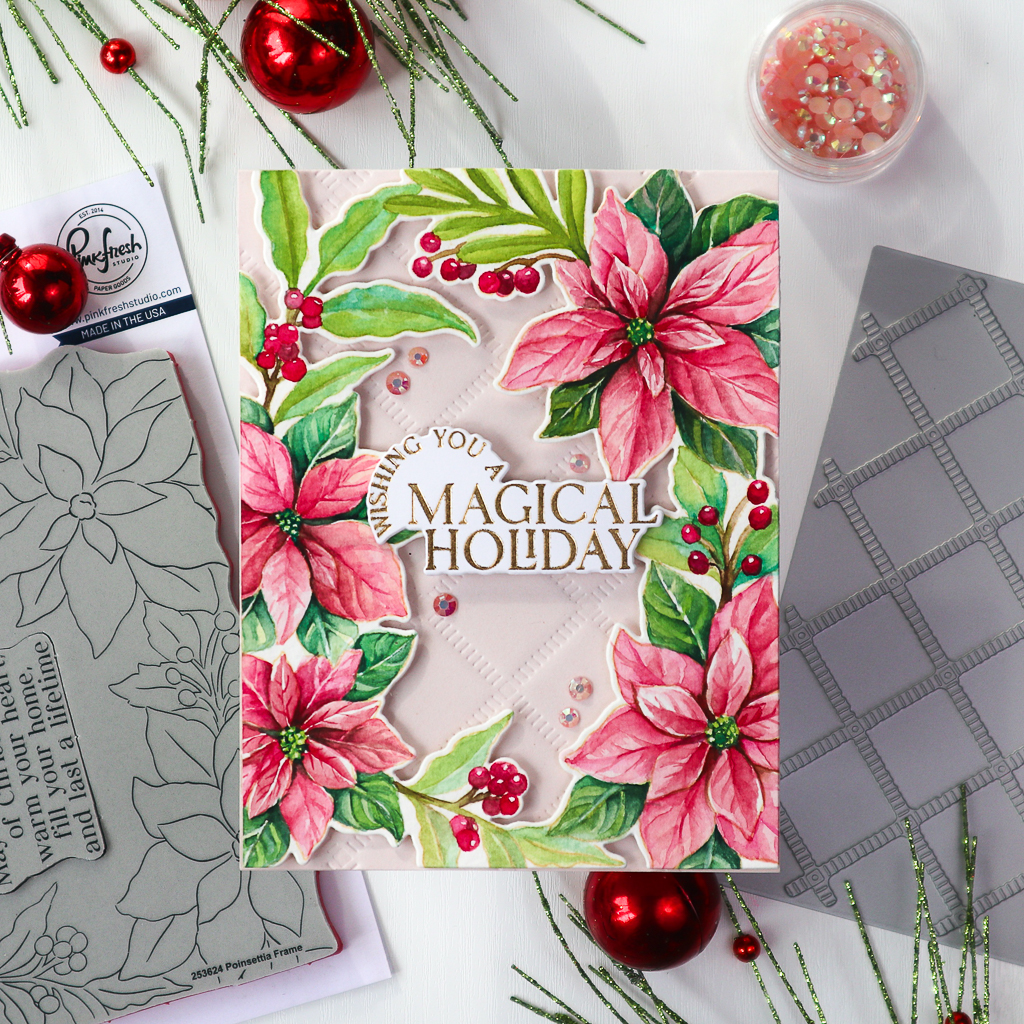
I stamped the image in Peach Fuzz on watercolor paper and then painted it, working in several layers to achieve a detailed look.
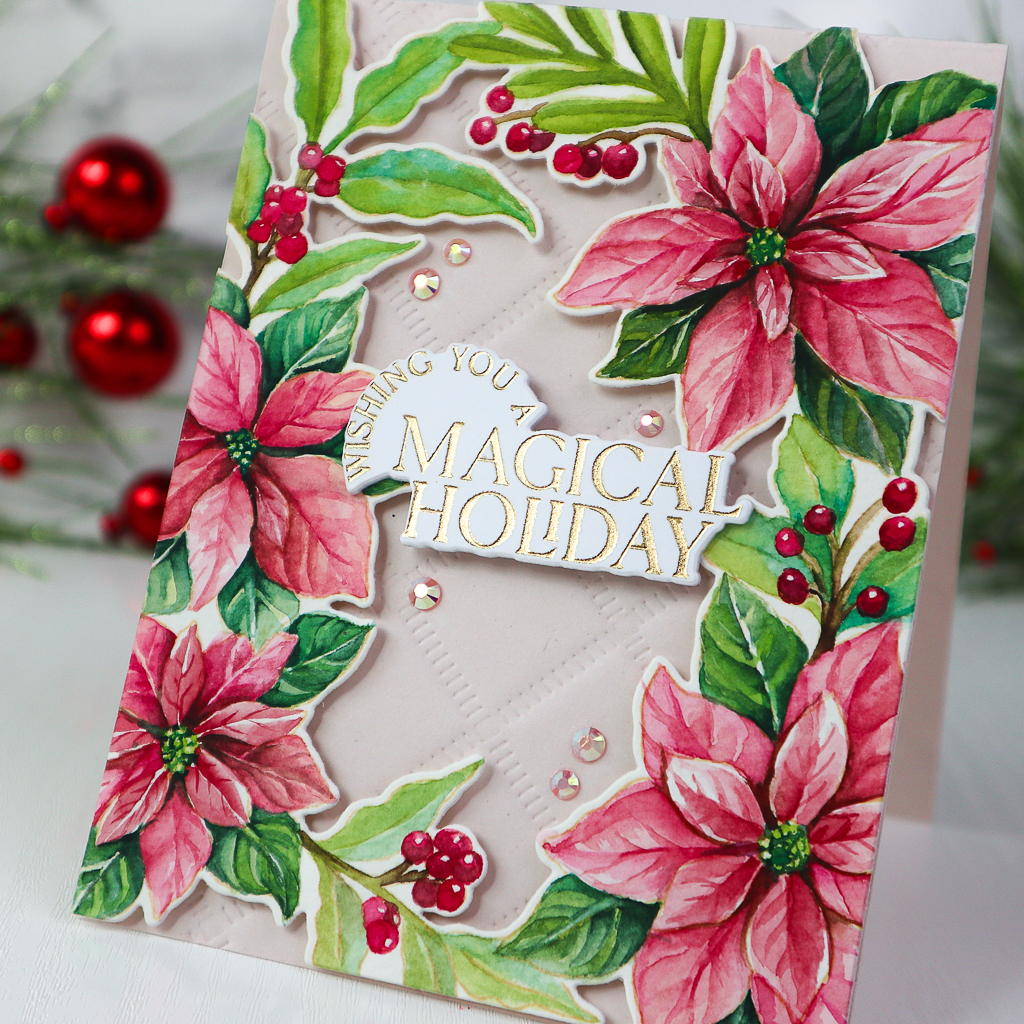
The soft pink cardbase was dry embossed using the Stippled Plaid Press Plate. I foam mounted the die cut Poinsettia Frame onto the cardbase and added the gold hot foiled sentiment from the Magical Holiday suite.
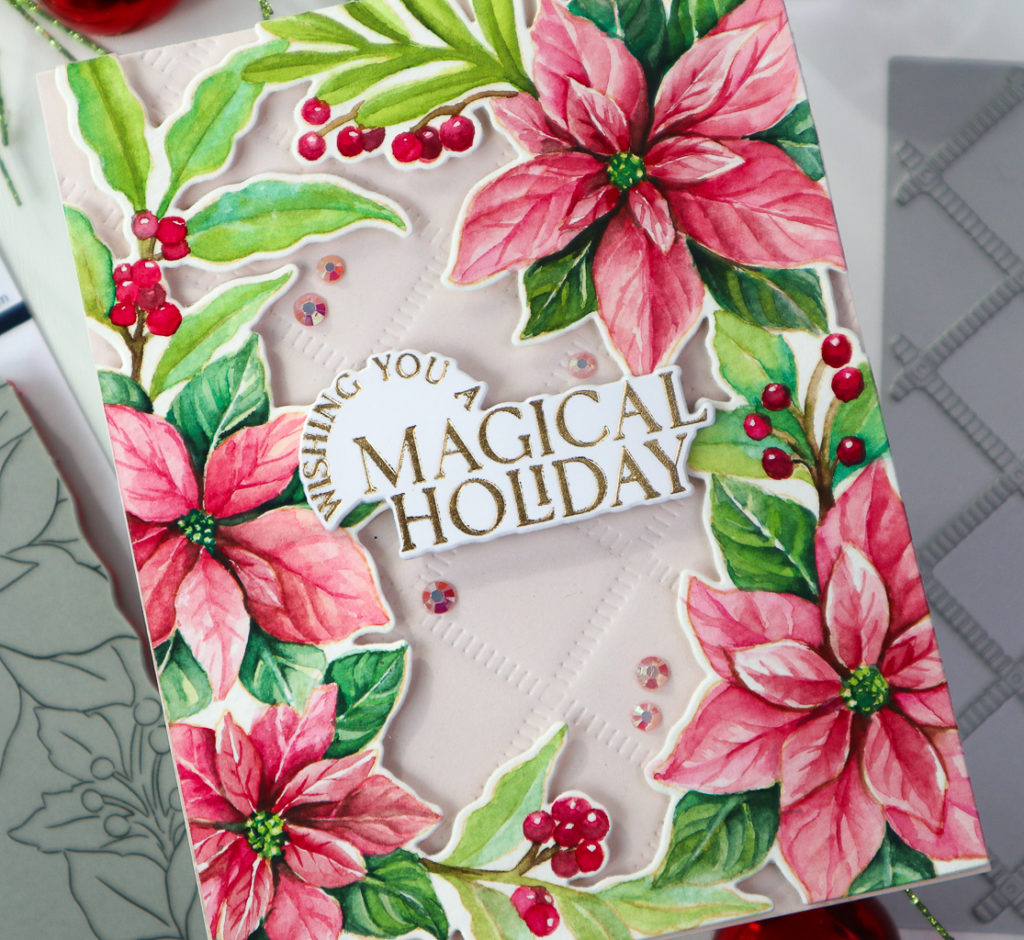
Lastly, I scattered a few Ballet Slipper Jewels, and the card was complete.
That’s it from me for today! I hope you enjoyed looking at my cards ! The absolute time-saver is the layering stencil set, which took me less than 30 minutes to color the image. Coloring with the other coloring media took much, much more time, but the joy and the calming process of coloring are priceless!
Thank you!
Wishing you all a lovely weekend!
TaeEun
I participate in the affiliate program of Pinkfresh Studio. It means I earn a small commission at no additional cost to you each time you click through and purchase the product(s) shared here. Thank you for your support 🙂 .
WOW! Beautiful poinsettias, TaeEun! I love all the details you’ve added!
Wow TaeEun, your talent is on display with these gorgeous cards! I have no words to adequately describe how much I love them!
Oh, my gorgeousness! TaeEun your talent knows no bounds – all three are just gorgeous! By now you must know that Poinsettias are something I find hard to resist. This one is on my wish list at the moment… just magnificent in your realistic water coloring style! It must have taken HOURS to finish!
=]
Your cards are all strikingly beautiful! Love how you achieved the realistic markings on the flower petals and leaves. Just stunning!
Beautiful cards! Your poinsettias are gorgeous – you created so much depth and realism with your colouring!
These three wonderful cards just illustrate how different a stamp can look with different components, colours and finishing touches as they are all completely different in look and style TaeEun. The first beautiful and very dramatic and rich looking with the deep red and love the background with the diagonal red stripes using a press plate. The second is light and bright in purple, lilac and blue using a stencil set, and with a very pretty pierced coverplate background, and lastly the very traditional red and green and so brilliantly coloured, and another interesting quilted look with another press plate, and each has some lovely coordinating gems and stamped and die cut sentiment. x
these all look so amazing, I love the deep red of the first then the blended colours of the second and then finally the watercolour. stunning