Hello everyone!
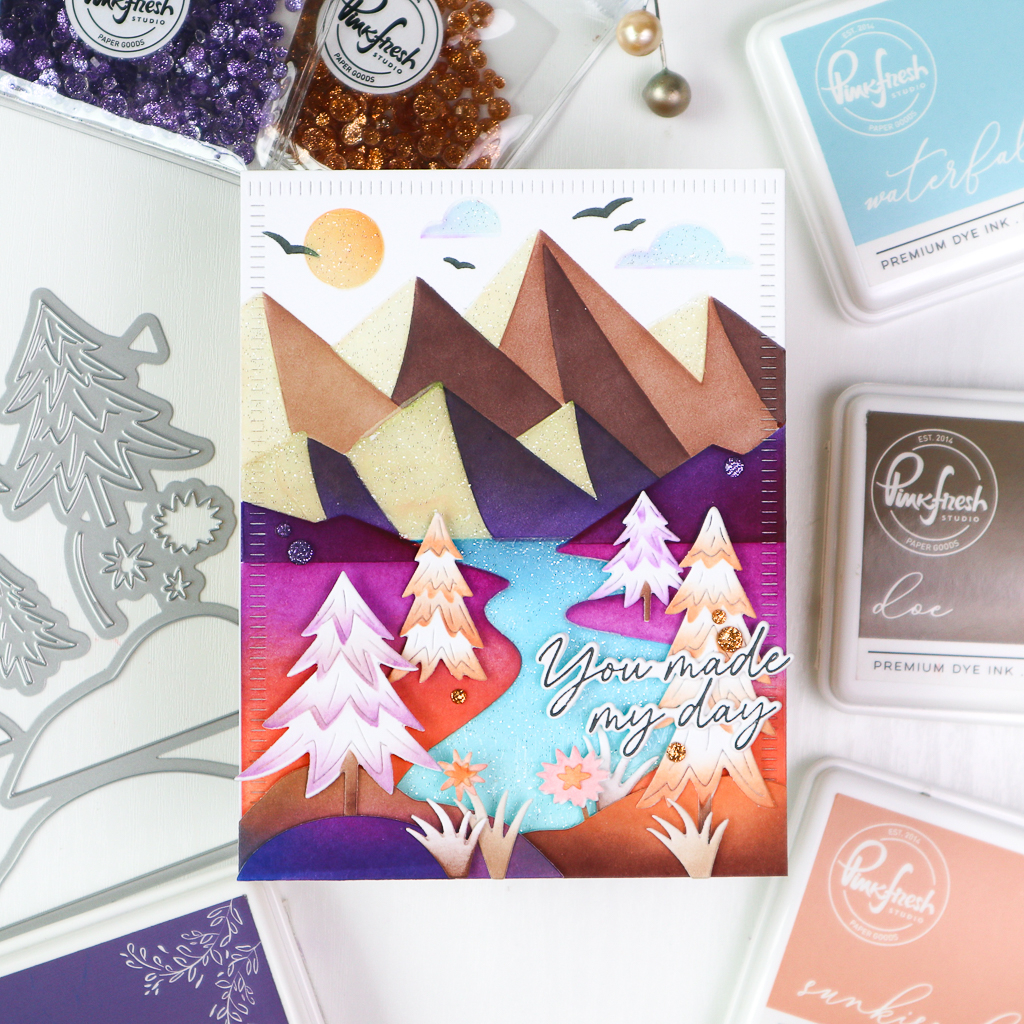
Today I’m sharing a scenic card on Pinkfresh Studio Card Blog featuring the Mountains stencil set and the Trees product suite from the Kindness in Bloom Release. These two suites are designed to complement each other, though they work beautifully on their own as well. As always, I started by selecting my color palette, which is orange-brown and purlple-blue.

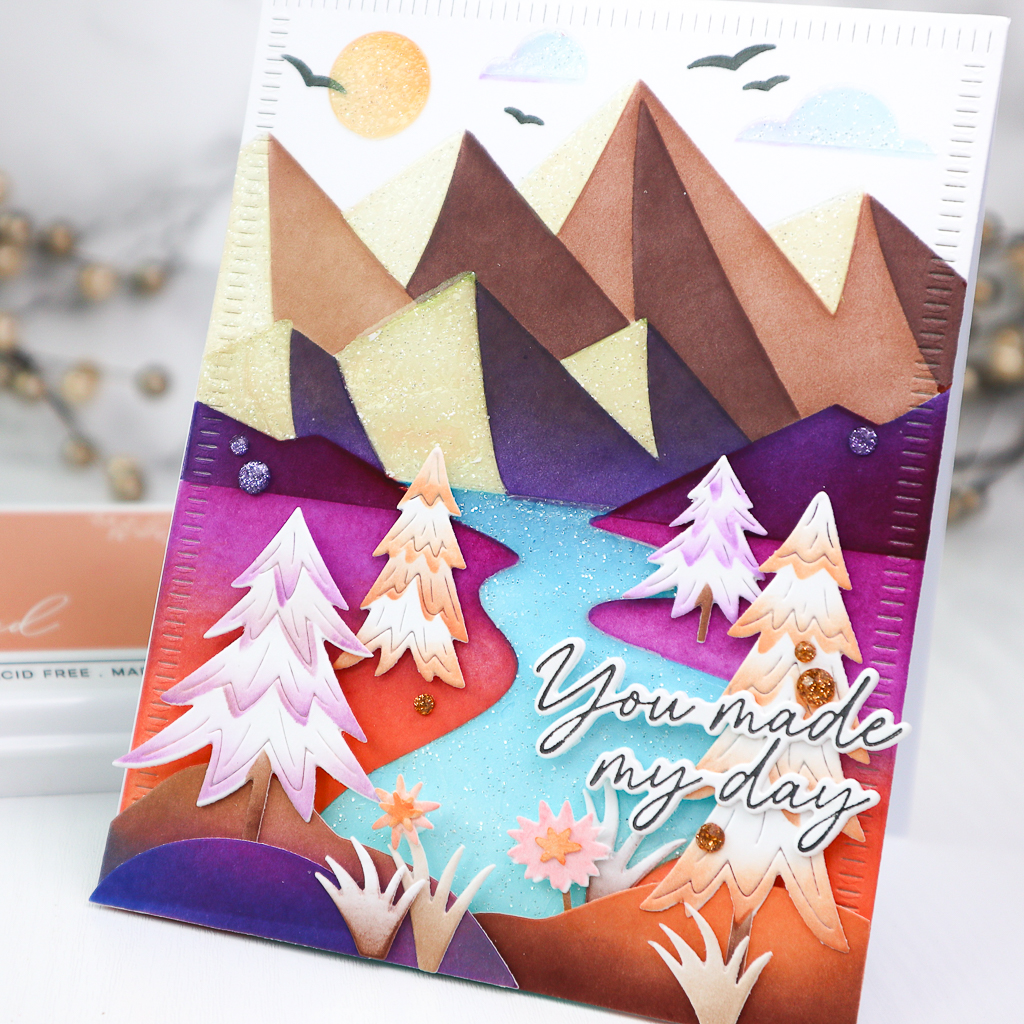
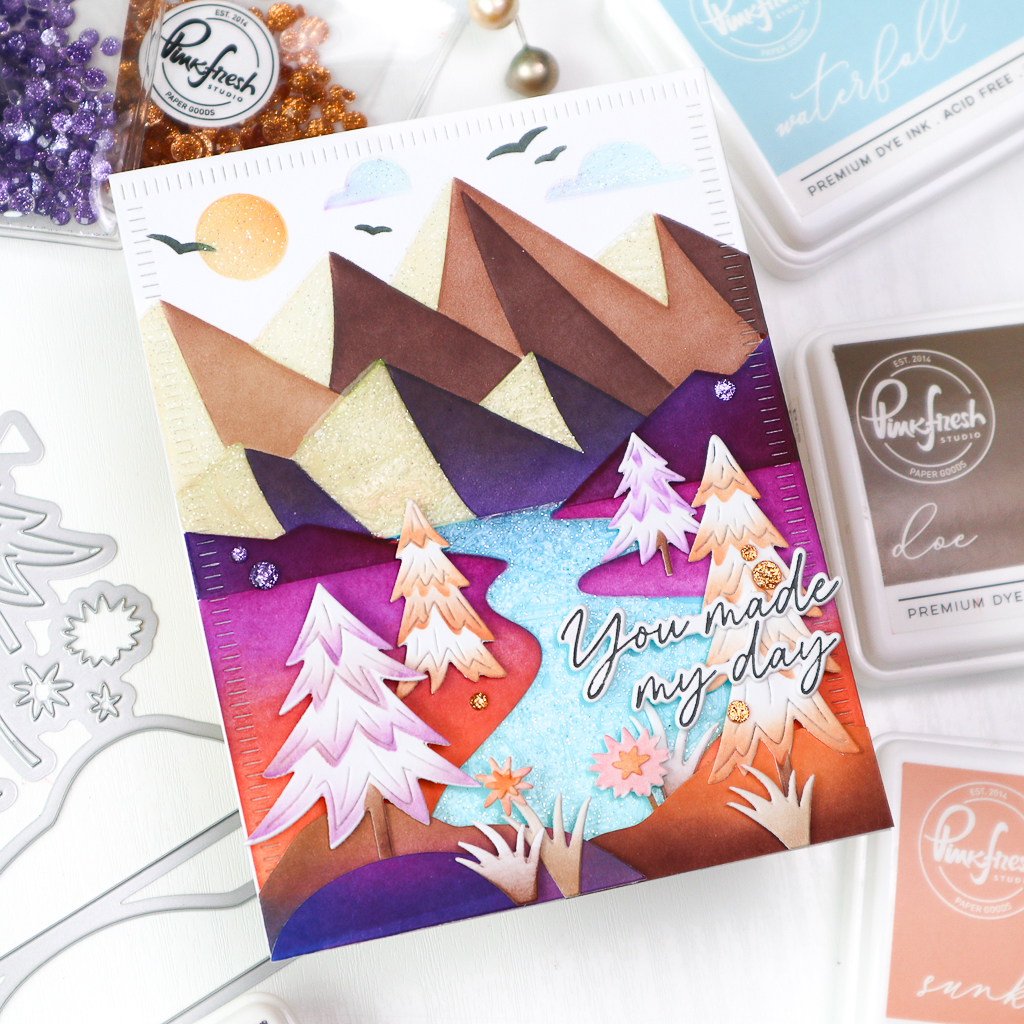
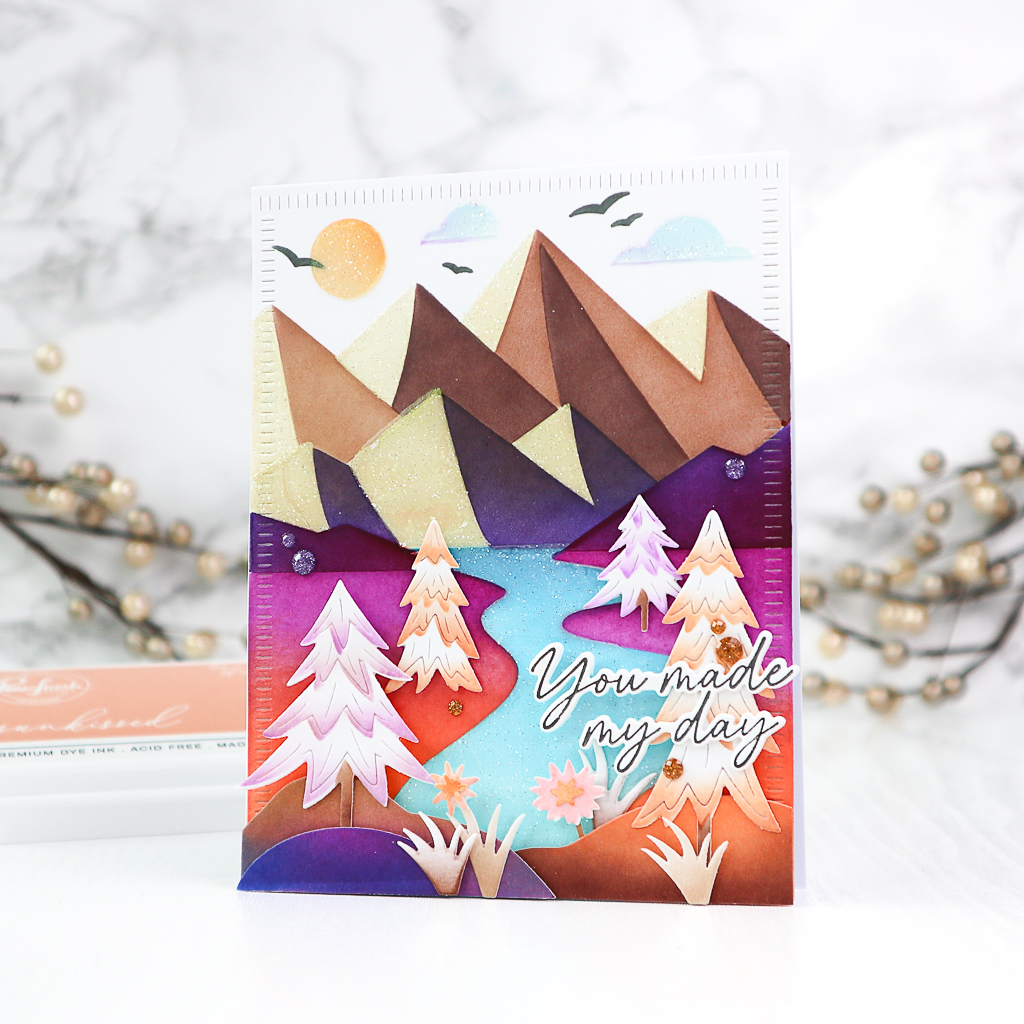
I began by stenciling the Mountains. This set creates three rows of mountains in the upper half of the panel, with a river running through the forest in the lower half.
For the back row of mountains, I used Peach Fuzz, Warm Buff, and Doe. The front row was stenciled with Warm Buff and Gathered Twigs, with Regal Kiss added to the bottom part of the darker mountain side. The lower mountains of both sides of the panel were stenciled in Regal Kiss.
Next, I stenciled the river using Waterfall and Atlantis, and the forest area with Sunkissed, Mango Sorbet, and Lavender. The sun was colored with Sunkissed, the clouds with Sky blue and a touch of Soft Lilac, and the seagulls with Licorice. After completing the stenciling, I added transparent glitter paste to the brightest side of the mountains, the sun, clouds and the river for extra shine.

While the paste was drying, I worked on the Trees set. The orange trees were stenciled with Sunkissed, and the purple trees with Lavender. The grasses were shaded in Doe and Gathered Twigs, while the hills were stenciled in Lavender, Sapphire, Sunkissed, and Doe. I mixed the colors for each hill differently to create more variation. For the small flowers I used Sunkissed and Coral Reef.
I die cut all the elements of the Trees set using the coordinating one piece die and set them aside.

Then, I assembled the card. I trimmed the Mountains panel using the largest die from the Blanket stitched Rectangles and adhered it to a white cardbase. I then added the trees, grasses, hills and flowers to the card as shown in the picture using foam tape.
The sentiment, from the Always Smiling set, was pressed in Detail Back, cut with the coordinating die, and added to the card.
I finished off the card with a few Amethyst and Butterscotch glitter drops for a final touch of sparkle.

I love to play with color palettes, and it’s always the most time-consuming part of my cardmaking process. I really love how this color combination turned out on my scenic card, and I hope I was able to inspire you with my colors today!
Thank you so much! Wishing you a colorful day!
TaeEun

Such a great card! I love the glitter!
You have done a wonderful job with the colours and this gives a wonderful modernistic view of the scene TaeEun, and the stencils give a naive look which the colours suit, and I love the blanket stitch edge to the panel and also the added glitter paste and glitter drops, and finished with a lovely pressed and die cut sentiment. x