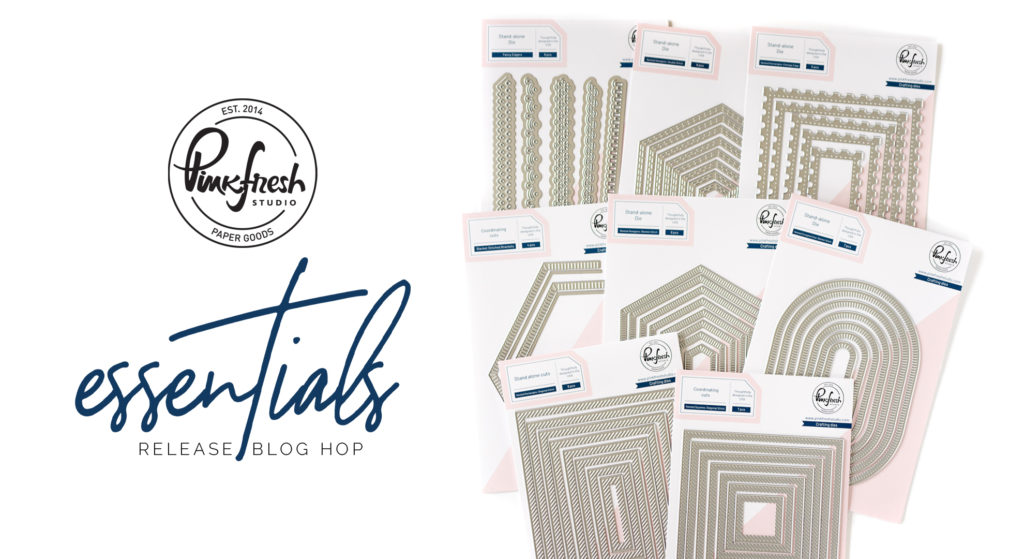
Hello and welcome to Pinkfresh Studio Essentials Release Blog Hop !!!
If you arrived here from the Raquel Arribas’ Blog, you’re right on track. If not, please head on over to the Pinkfresh Studio Card blog to get all the information about the full release and to start the blog hop!
It’s release day at Pinkfresh Studio! Eight new Essentials die sets are debuting today! These versatile sets are perfect for cutting panels in various shapes or adding unique elements to elevate your card designs.
I made a couple of cards for the blog hop featuring some of the new items!
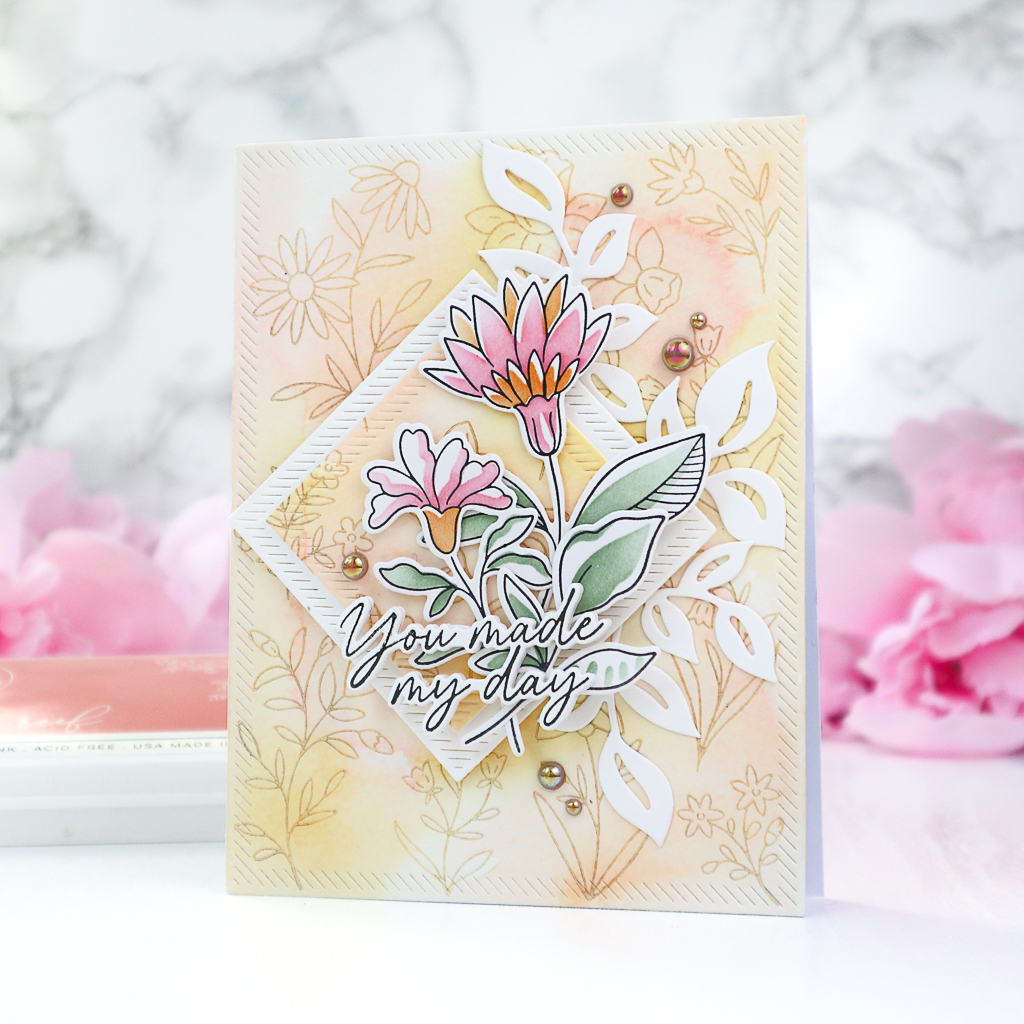
The first card features the Nested Squares: Diagonal Stitch and Nested Rectangles : Diagonal Stitch die sets from this release.
For the focal floral image, I used the Kindness in Bloom suite, and for the background, the Print Shop: Modern Botanicals press plate.
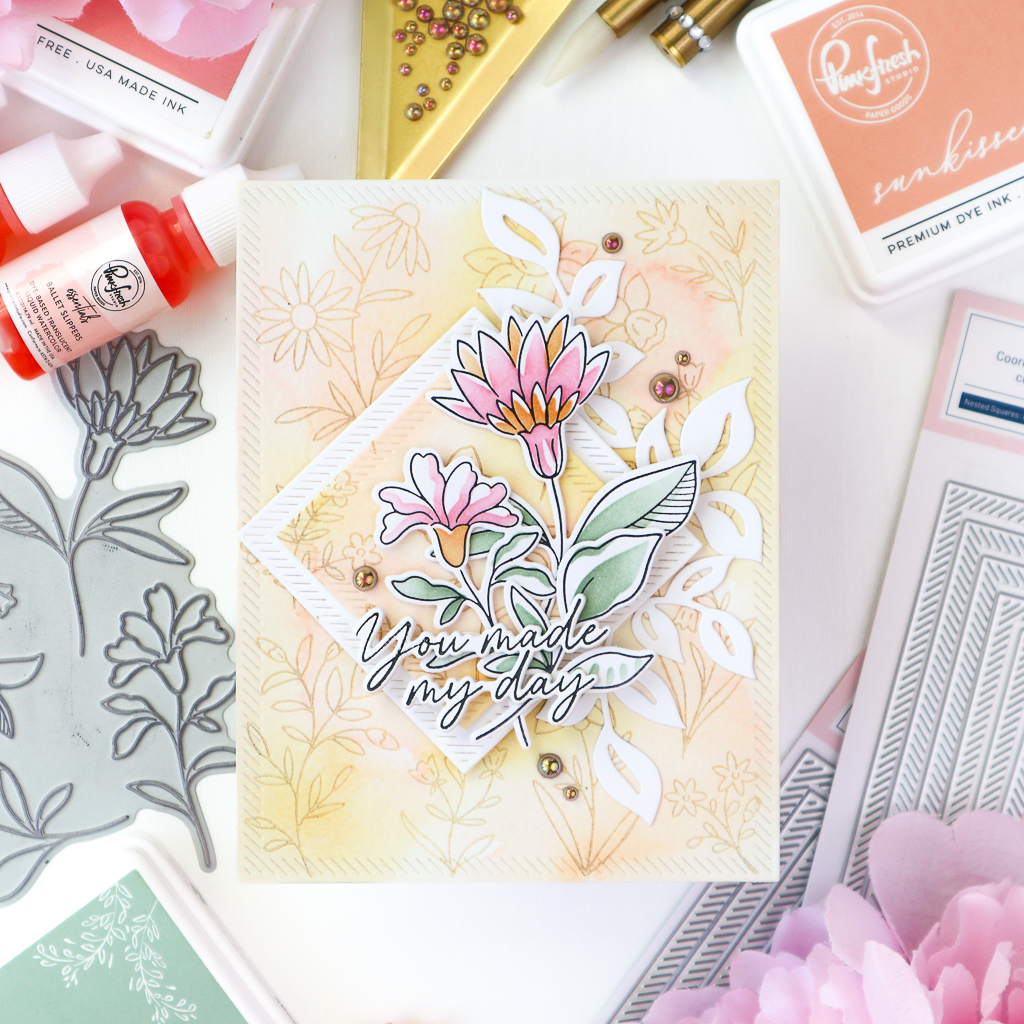
To start, I pressed the Kindness in Bloom images in black and stenciled them using the coordinating stencil set, which includes three stencils. I used Sunkissed, Apricot and Sage for each stencil. These stencils create a block coloring effect, so I used only one color for each layer to achieve this look. After stenciling, I die cut the images using the coordinating die and set them aside.
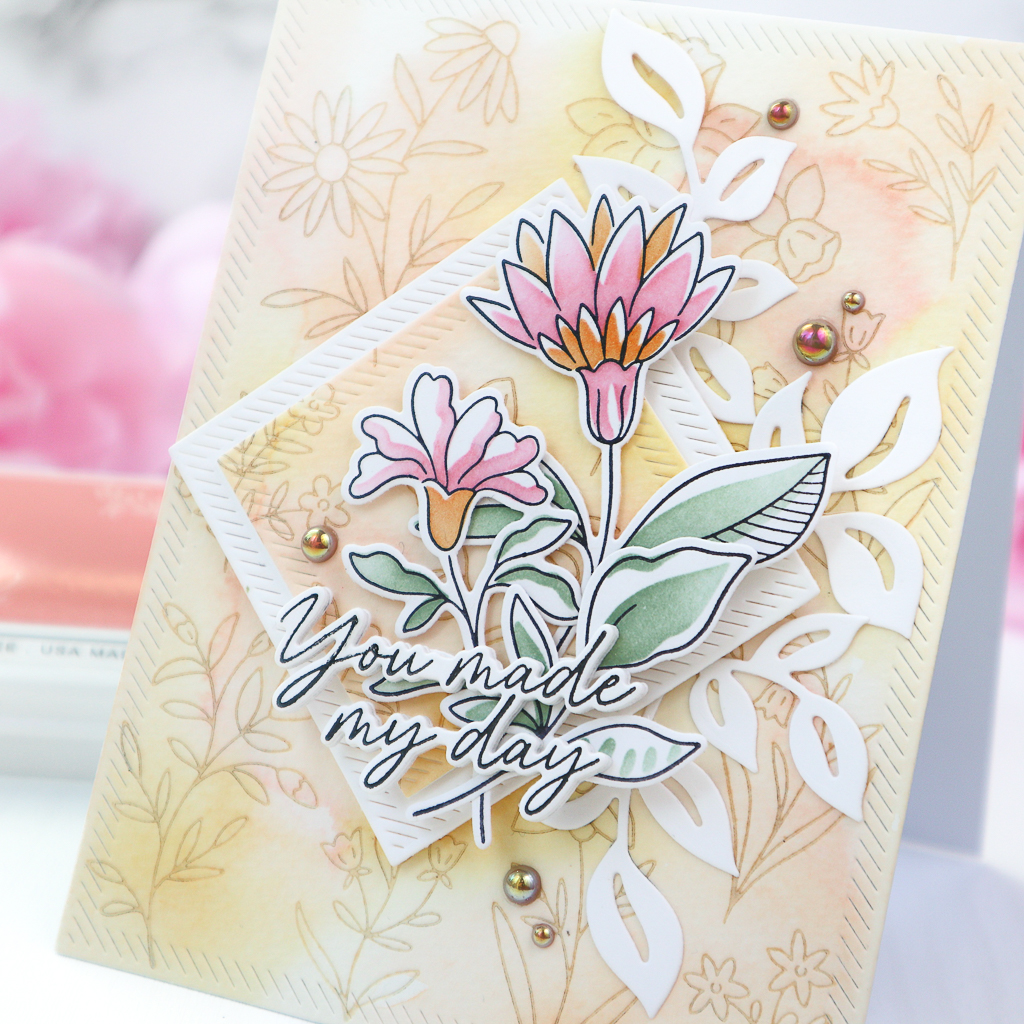
To create the background, I first watercolored a panel of watercolor paper with Ballet Slippers, Peach Fuzz, Coral Reef and Marigold watercolor (to be released soon). After the panel was dry, I pressed the Print Shop : Modern Botanicals onto it in Peach Fuzz ink. I then cut the panel using the Nested Rectangles : Diagonal Stitch die.
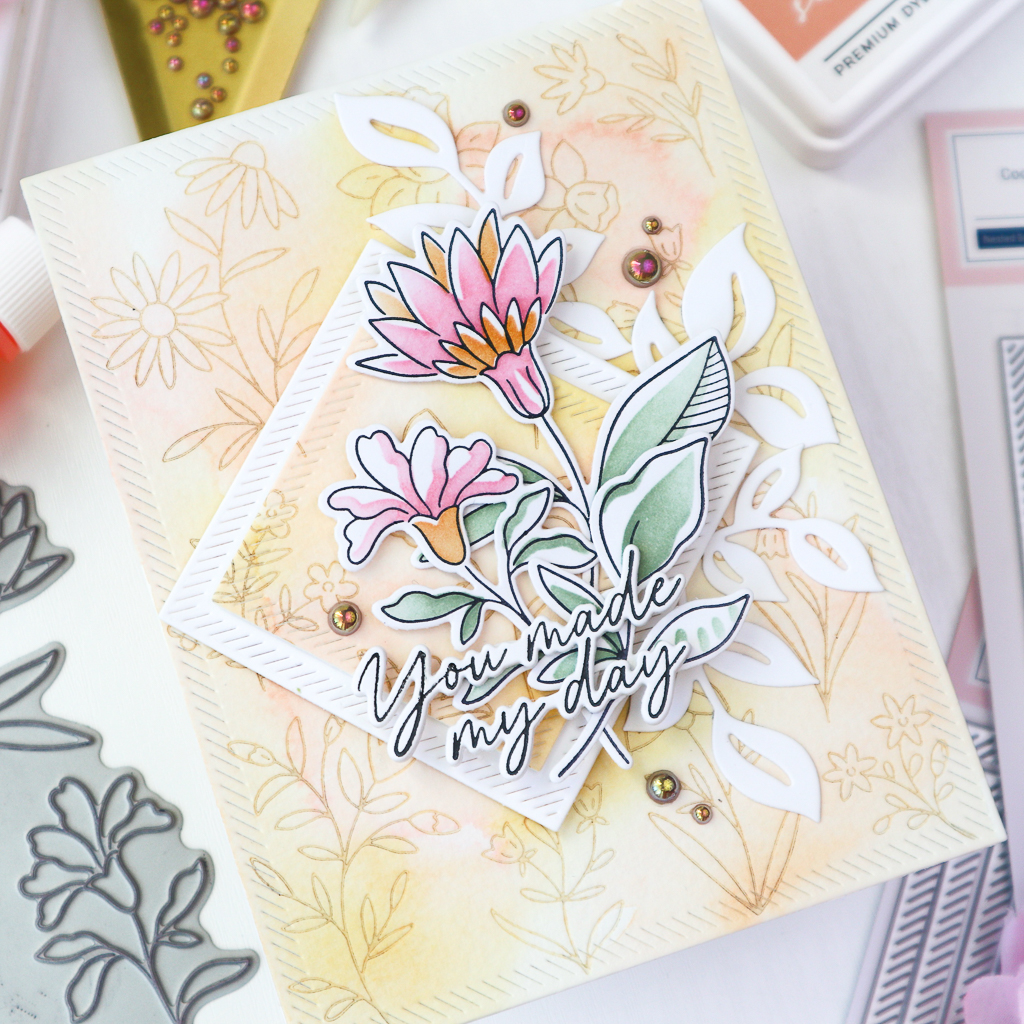
To create a smaller square mat for the flowers, I cut a square from the background panel using the Nested Squares: Diagonal Stitch die and attached the negative piece to a white cardbase. I die cut one more square from white cardsotck, one size larger than the small square piece, foam mounted it to the background, and added the square piece cut from the background panel using foam tape.
I added some white Curvy Leaves to the background and placed the stenciled flowers onto the square mat.
The sentiment is from the Always Smiling suite, pressed in black and die cut with the coordinating die. The finishing touch for this card was a few Sparkling Champagne Metallic Pearls.
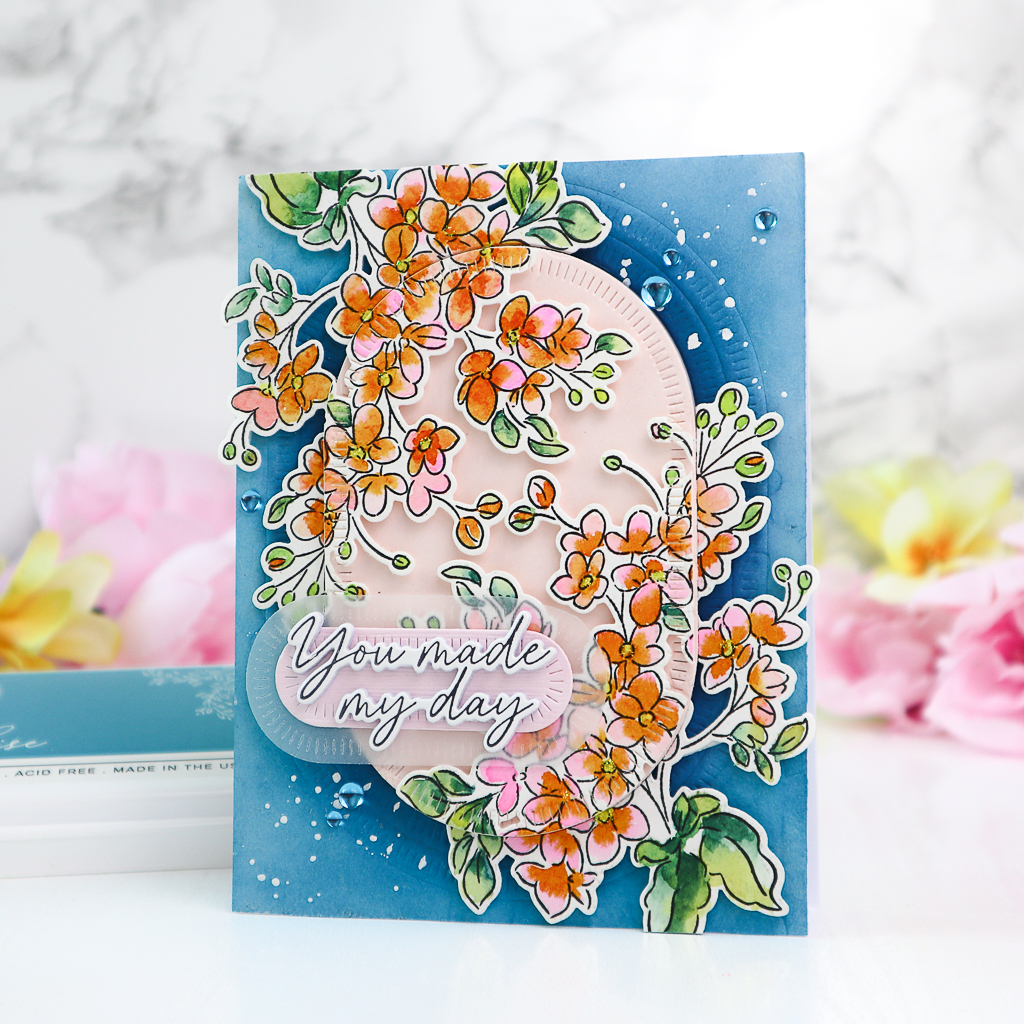
The next card I’d like to share showcases the Nested Elongated Ovals: Blanket Stitched die set from this release. The flowers are from the Always Smiling suite.
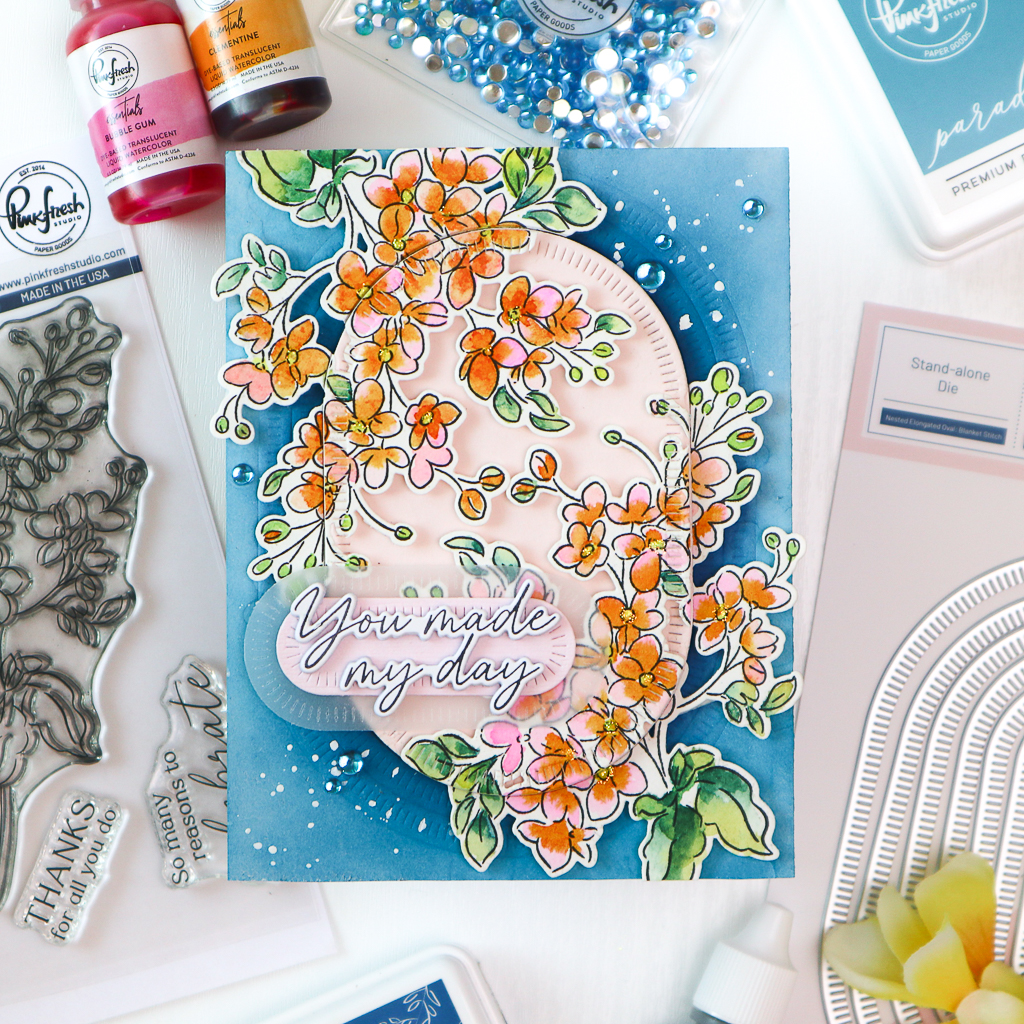
I started by stamping the Always Smiling image on watercolor paper two times in Detail Black and coloring the images with Pinkfresh Studio watercolors (to be released soon). For the flowers I used Bubble Gum, Clementine and Coral Reef, and for the leaves, Bay Leaf and Evergreen. After watercoloring, I die cut the images using the coordinating die.
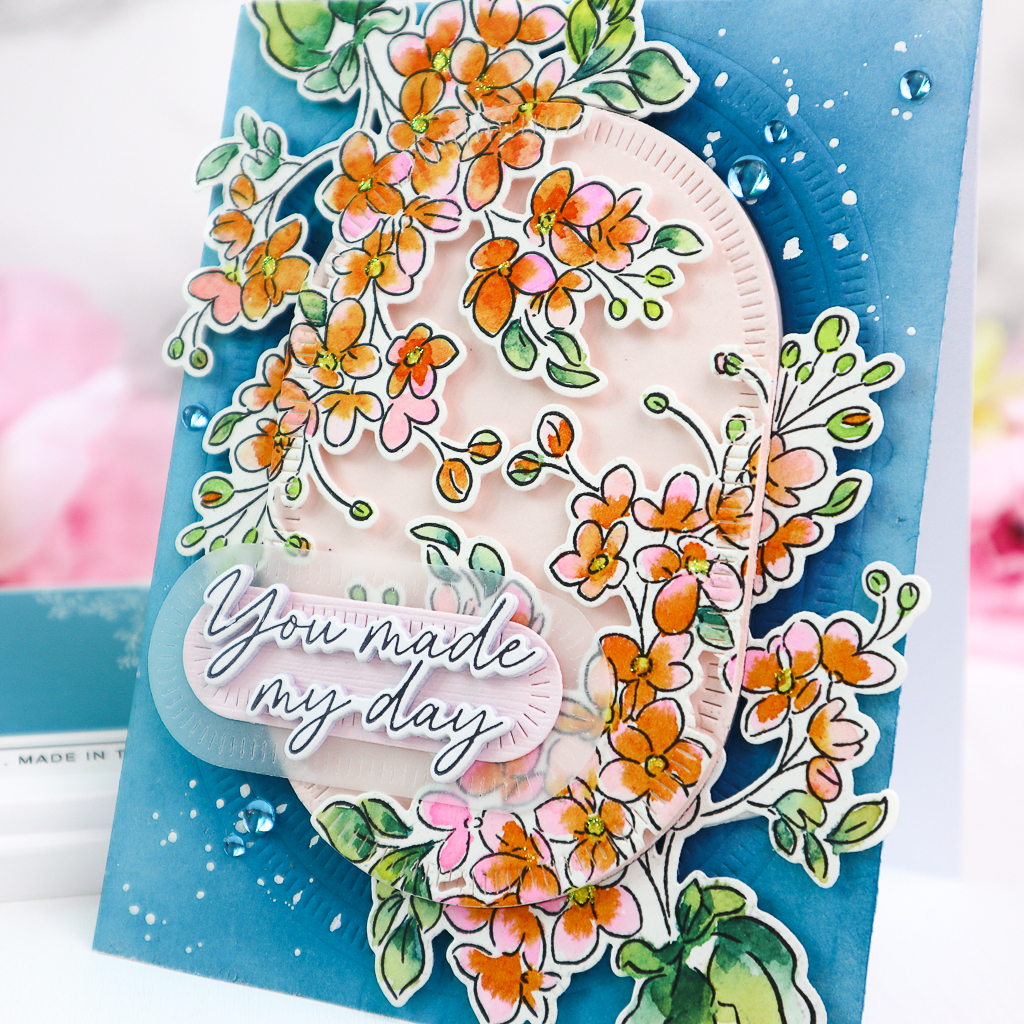
To create an oval window and cut the image in the shape of the window as well, I placed the flowers on a pale pink A2 sized panel and secured them with a sheet of Stick’NSeal.
I cut an oval window from the center of the panel with the Stick’NSeal using the Nested Elongated Ovals: Blanket Stitched die. Next, I detached the flowers on the Stick’NSeal from the background panel to work on the background.
I ink blended the negative piece with Paradise and Storm and dry embossed the oval edge with two dies from the Nested Elongated Ovals: Blanket Stitched die set. I adhered the panel to a white cardbase and splattered white opaque ink on it.
I adhered foam tape to the back of the flowers on the Stick’NSeal and added them to the card. Next, I foam mounted the central oval piece using two layers of foam tape for more dimension and added the flowers to it using foam tape.
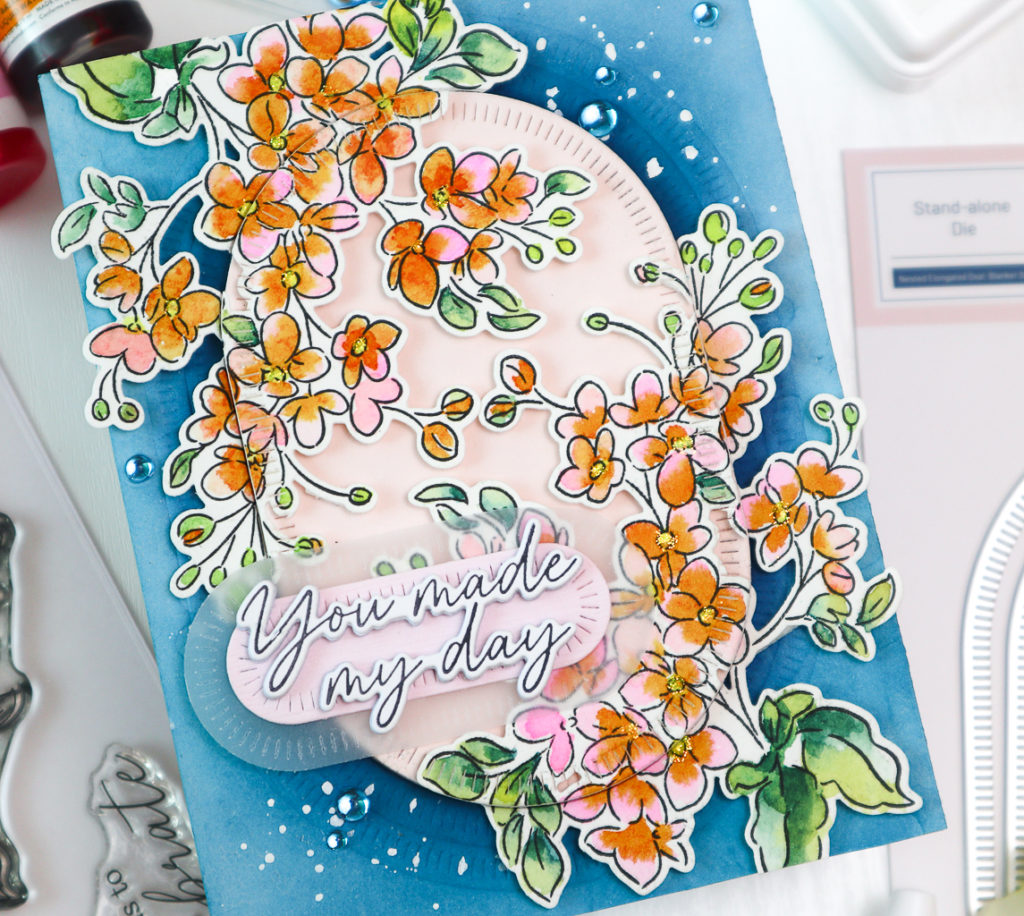
For the die cut sentiment, I created a small oval mat using two small dies from the Nested Elongated Ovals: Blanket Stitched die set. I cut a small oval panel from soft pink cardstock and matted it with an oval vellum piece.
I finished off the card with a few turquoise clear drops.
GIVEAWAYS
Pinkfresh Studio will be giving away the full release on the Pinkfresh blog and YouTube channel.
There will be a total of TEN $25 gift cards given to the winners chosen from all the blogs on the hop list.
The winners will be picked from the comments.
All the winners will be announced on the Pinkfresh Studio Giveaway Page on November 13, 2024
*Please check the Giveaway page and claim your prize within 2 weeks !
HOP ALONG
The next stop is the amazing Tina Smith’s blog ! Below is the complete hop list !
Thank you so much for stopping by and hopping along! Hope you enjoyed looking my cards and could get inspiration!
Tomorrow there will be a huge Instagram Hop ! So please mark your calendars for more inspiration and giveaways!
Happy hopping!
Hugs,
TaeEun
I participate in the affiliate program of Pinkfresh Studio. It means I earn a small commission at no additional cost to you each time you click through and purchase the product(s) shared here. Thank you for your support 🙂 !

Love your cards! Thanks for sharing your creativity!
Beautiful cards
Gorgeous cards! I love the background and soft colors on the first design!
Lovely colors and cards!
Your cards are amazing! I LOVE the color pallet you have used. And this PinkFresh release is GREAT!
Beautiful cards! I am loving the blanket stitched dies in all the shapes!
AMAZING designs! I LOVE the bright colored flowers! LOVE the new dies!
These are both so pretty! PS: I saw a rainbow on 11/03 🙂
Yay! Seeing a rainbow is always so magical—hope it was a beautiful one! 🌈
Beautiful cards! Especially love the second one. The color combinations is beautiful plus all the layers.
Gorgeous cards! I really love how you layered the oval on the second card – beautiful design!
Beautiful cards. I love the colors and I’m loving these new essential dies.
I’m a big fan of asymmetry (on the first card) and the color selection and artistic loose coloring on the second. Thanks so much for the inspiration!
Wow that stitched oval looks incredible. What a way to change up the look of your stamps – to pair them with a new essential die! Fantastic idea.
The orange and pink flowers are so cute!
The dimension on this card is insane! Just beautiful!
Love how the dies add just the right touch to the cards. Very pretty!
Lovely cards! Love the blue background!
Beautiful!
So Beautiful!!!
Beautiful cards! I love the subtle background on #1.
Gorgeous Florals, Gorgeous Backgrounds. Love your use of the essential dies!
Beautiful cards💕
Beautiful cards! I love the way you ink blended and then used Betterpress for your soft and lovely background for the first card.
Gorgeous cards!!
Great release and such beautiful cards!
pretty cards
thanks for sharing
What a fun set of cards. I really like the new die sets you used and the colors you picked! Thanks for sharing.
Beautiful cards. Love the design choice.
Such pretty cards! The essentials dies really enhance the beauty of your creations.
Exquisite cards!!! LOVE your designs and colors!! Stunning!!
Lovely cards…great inspiration for the new essentials.
So gorgeous 💜
Two very different cards and both are very beautiful!😍
Being a quilter I love the effect of the blanket stitch on the dies. Great coloring job. I have to try the watercolors soon I think. thanks as always for sharing and all the inspiration.
Absolutely beautiful cards! Your water coloring skills are amazing!
Super beautiful! I love your cards
From soft to bold, equally beautiful cards!
Beautiful designs! Love these new essentials!
These are both so beautiful! Thanks for the inspiration!
Love these gorgeous cards! The colors are so pretty and your card designs are so nice.
Beautiful designs and color combos! I love the floral designs and the new Essentials dies you used! The edge detail is so pretty!
I especially love the Blue background combined with the Pink and flowers.
So pretty!
Beautiful cards! Thanks for sharing.
These cards are gorgeous! And the new elongated ovals are on must have list.
These are so pretty. I really like the soft stamping in the first card’s background.
Both your cards are beautiful, the the blue one makes you catch your breath when you first see it!