
Hello crafty friends! Hope you’ re having a great week so far!
I’m sharing a thank-you card on the Pinkfresh Studio Card Blog today, featuring some gorgeous new products from the March Joyful Blooms Release—going live on Tuesday, March 11!
*The links to the new items will take you to the product page starting on the release date.
This release includes four stunning washi suites, along with unique designs like the Foliage Flair suite, which I’ll be showcasing in today’s project. To bring everything together, I also used two essential die sets—Elegant Circles and Double Stitched Rectangles—to add texture and structure to my design.
For this card, I wanted to create a smooth, flowing color transition from royal blue to coral pink and back to royal blue, ensuring that both the focal images and the background were seamlessly connected.
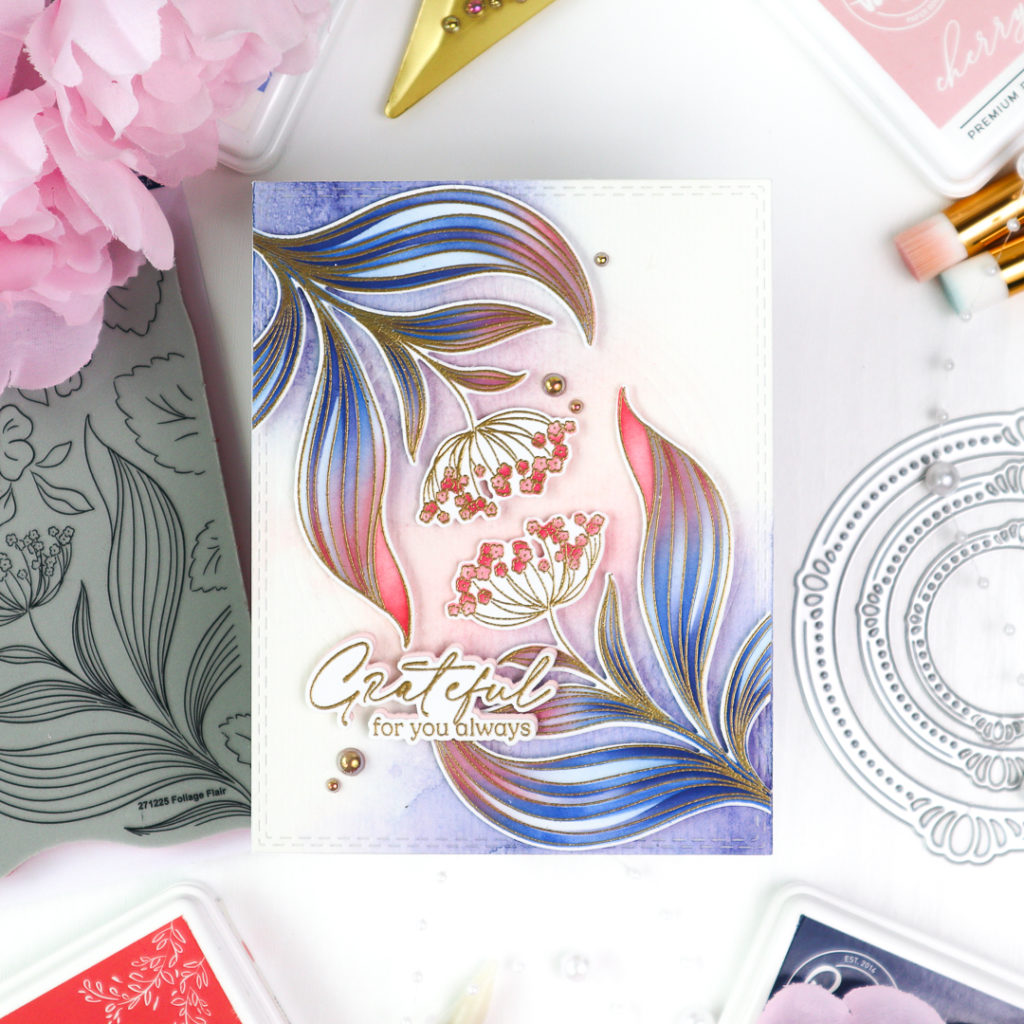
I began by gold heat embossing the Foliage Flair image twice on white cardstock. Then, with the coordinating stencils, I ink blended the leaves and flowers – the ink colors I used are listed below.
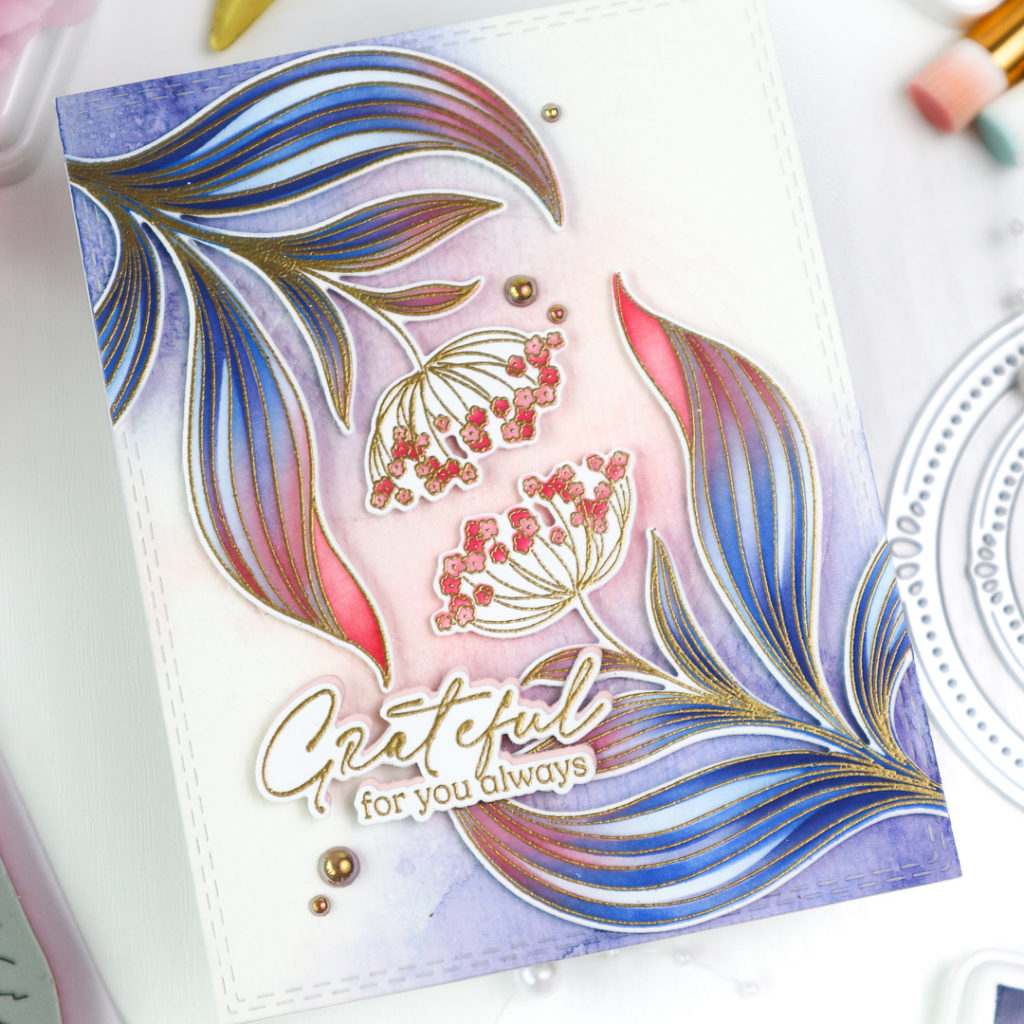
- For the base of the leaves: Slumber, Blue Jay, and Stargazer
- For the tips of the leaves and flowers: Cherry Blossom, Coral Reef, and Passion Fruit.
After stenciling, I die-cut them and set them aside.
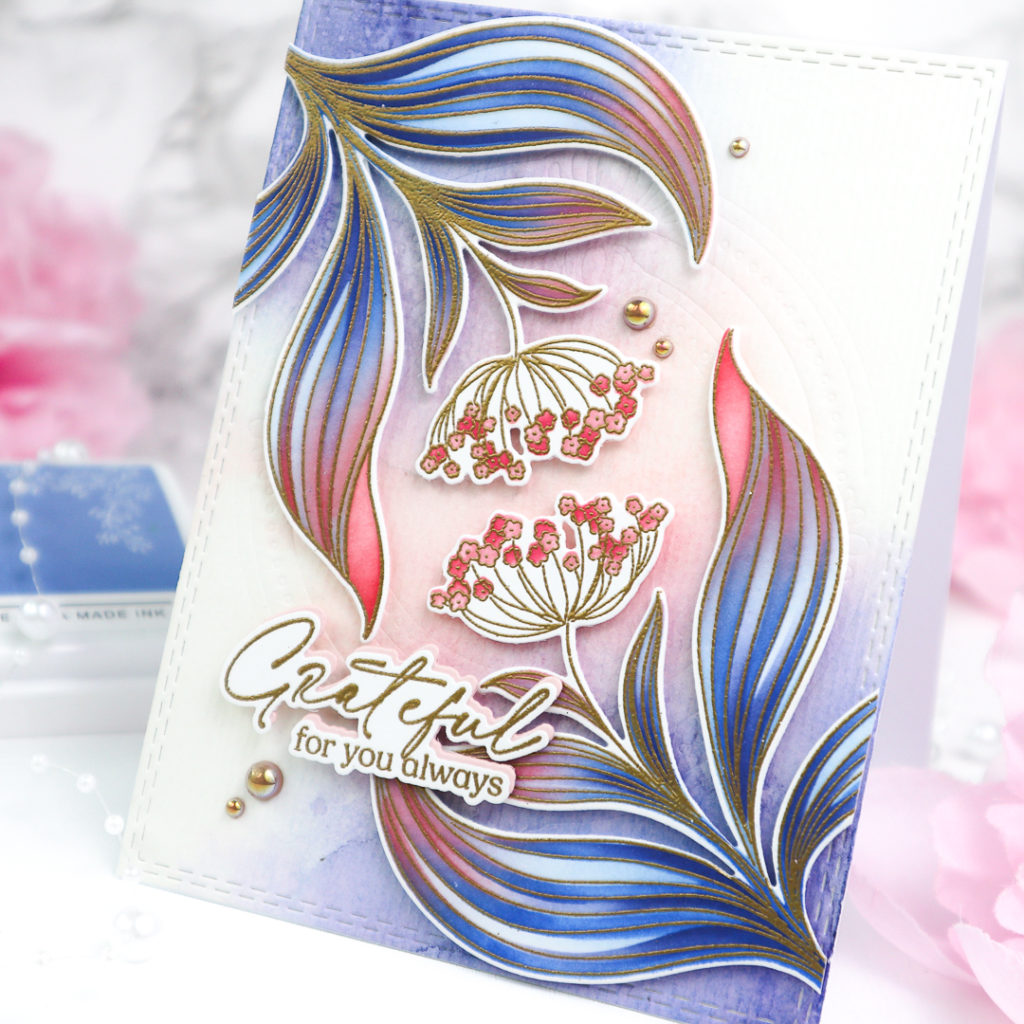
To create the background, I softly ink-blended Stargazer and Slumber into two diagonal corners of a mixed media panel, then added Coral Reef and Cherry Blossom at the center, mirroring the hues of the stenciled images. To achieve a watercolor effect, I spritzed the panel with water, letting the ink react creating a watercolor texture.
Next, I dry embossed the background using two dies from the Elegant Circles set and cut the panel with a Double Stitched Rectangles for a finished look.
I then arranged the two die-cut Foliage Flair images on opposite diagonal corners using foam tape.
For the sentiment, I chose a message from the Flowers for the Soul stamp set. It was heat embossed in gold and cut with the coordinating die. I also die-cut a second piece from soft pink cardstock and layered it behind the embossed one, creating a delicate shadow effect.
As a finishing touch, I scattered Sparkling Champagne Metallic Pearls across the card.
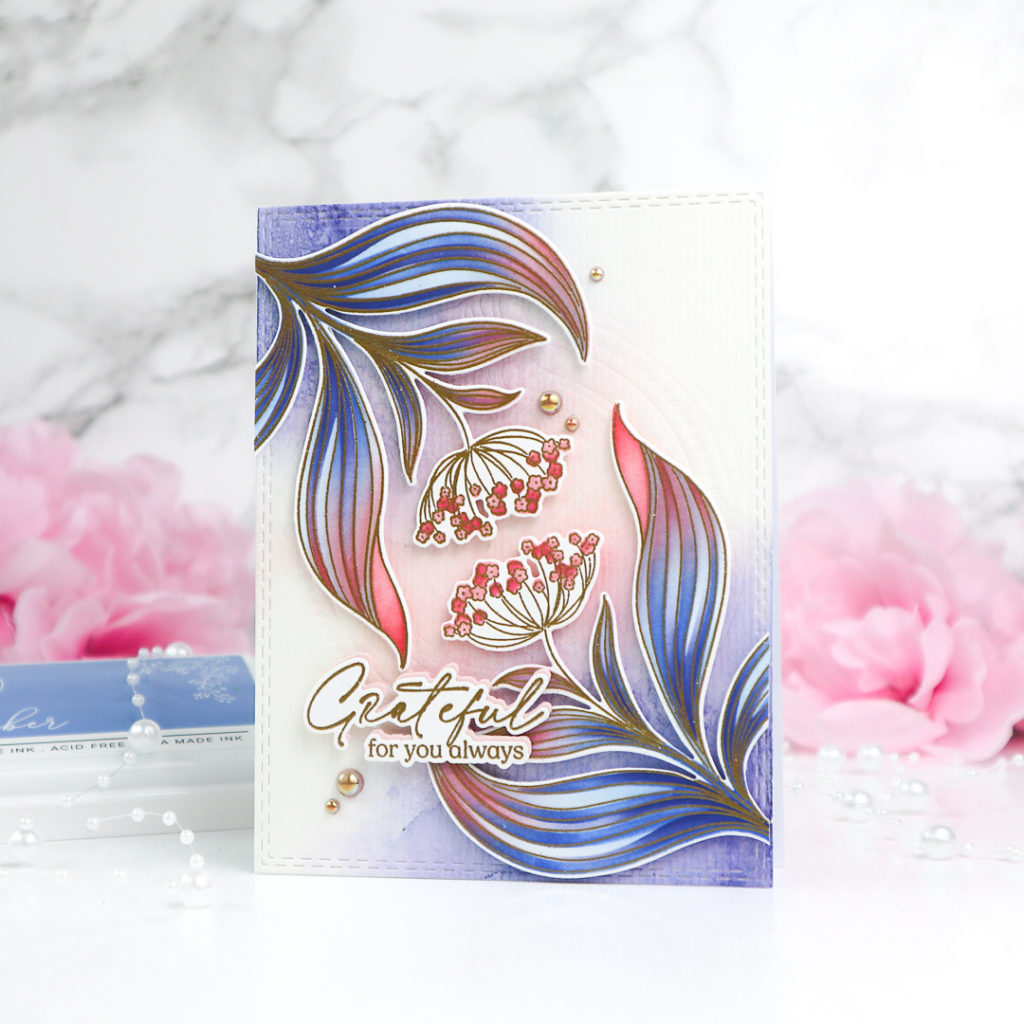
Before starting, I carefully planned the card layout to ensure a harmonious flow of colors between the background and the focal images. This approach gives the card a unified and elegant look, allowing the two large main elements to stand out without feeling overwhelming.
I hope this project inspires you to experiment with color balance and flow in your own cardmaking!
Thank you so much for stopping by today ! Don’t forget to come back on Tuesday, March 11, for the new Joyful Blooms Release Blog Hop!
TaeEun
I participate in the affiliate program of Pinkfresh Studio. It means I earn a small commission at no additional cost to you each time you click through and purchase the product(s) shared here. Thank you for your support 🙂 .
Your Foliage Flair’s little flowers remind me of the Milkweed blooms that we grow for our Monarch butterflies, TaeEun! Ahhh, maybe you’ll add a butterfly the next time you use this one?
Truly beautiful!
=]
Such pretty flowers TaeEun and a great design placing them in opposite corners which beautifully fill the card, and the background ink blending and dry embossing looks terrific…a beautiful card using this new Pinkfresh release. x