Hello everyone!
Today, I have six cute holiday cards to share, featuring three clear stamp sets from the Wishing You Joy collection by Penny Black: Bearnaments (31-078), Bundled (31-091), and Cuddle Up (31-092). Each set includes two adorable outline images. I watercolored one of the images in a no-line coloring style and the other after stamping in black.
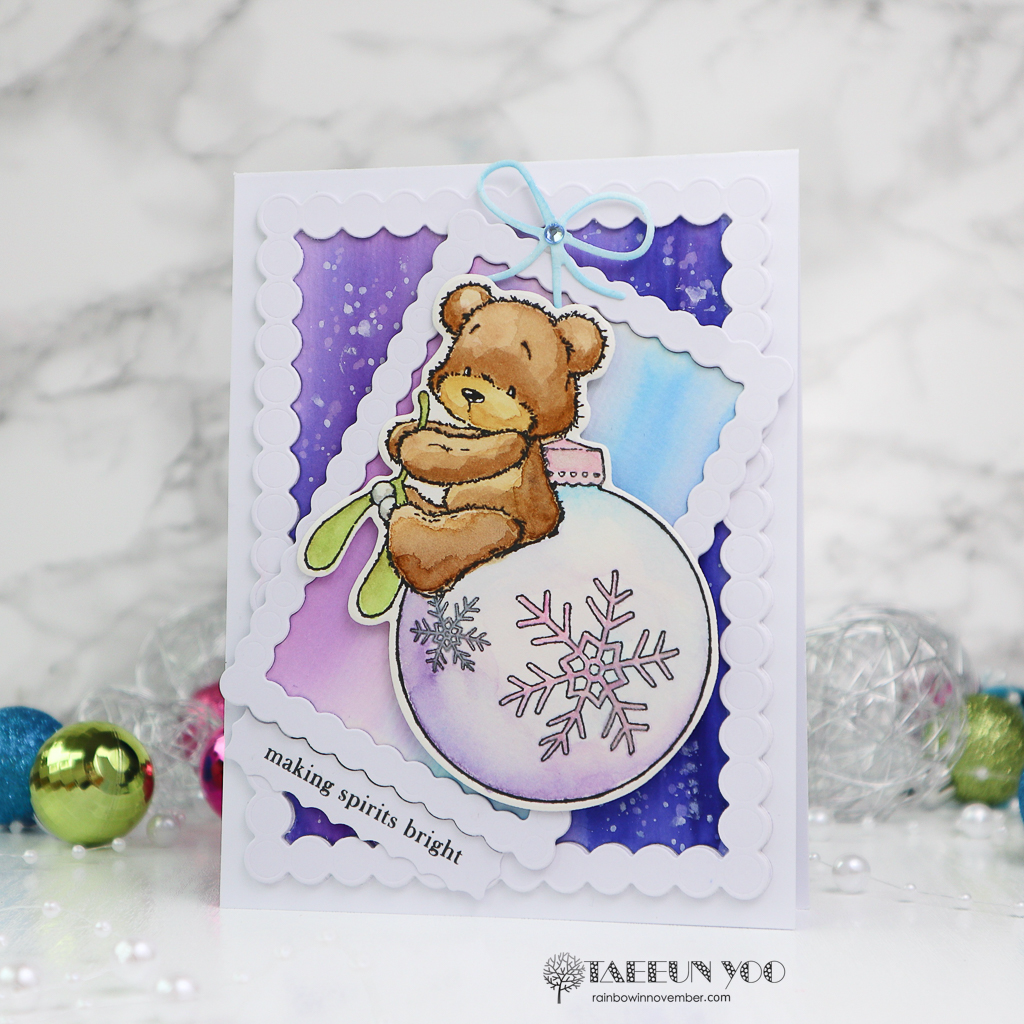
Let’s begin with Bearnaments (31-078) and Bearnaments Cut Out (51-835), which includes two charming images of a bear on an ornament.
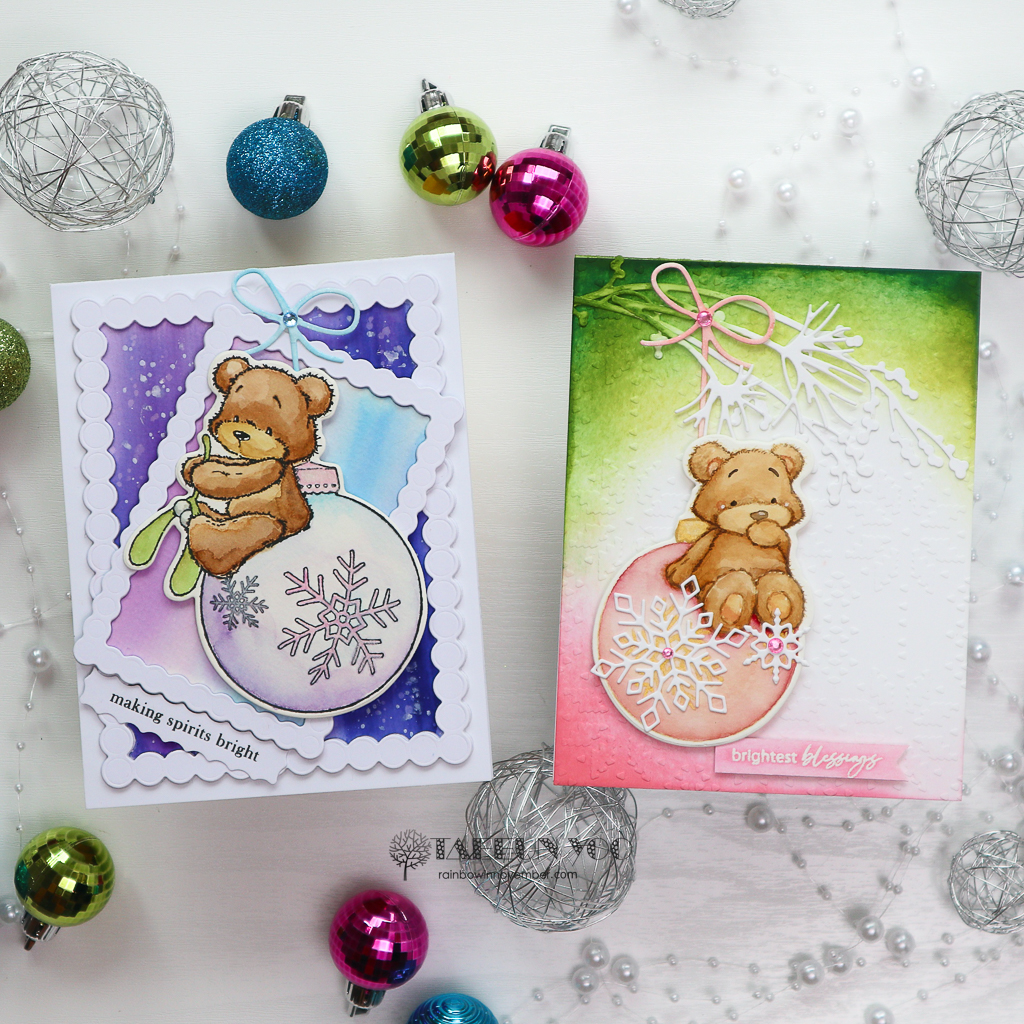
The first Bearnaments image was stamped using black pigment ink. I watercolored it and cut it with the Bearnaments Cut Out (51-835) die.
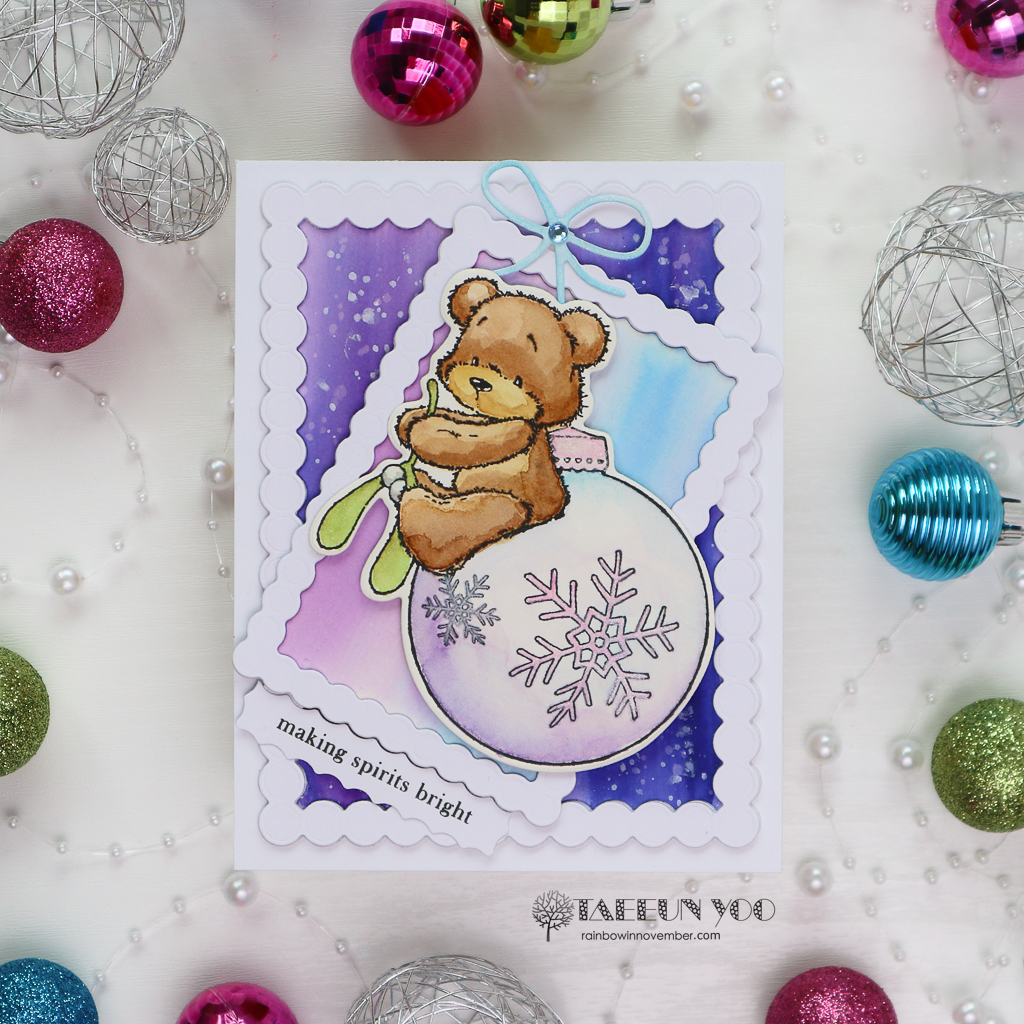
For the background, I watercolored two mixed media panels in purple and blue: one darker than the other. Once dry, I cut them using two dies from the Whirl (51-827) set – the darker panel with the largest die and the lighter panel with the medium-sized die. I also cut three white Whirl frames in each size.
I cut a ribbon using a die from the Joy of Giving (51-748) set, trimmed off all lines except the one connected to the ribbon downwards, and ink blended it in light blue.
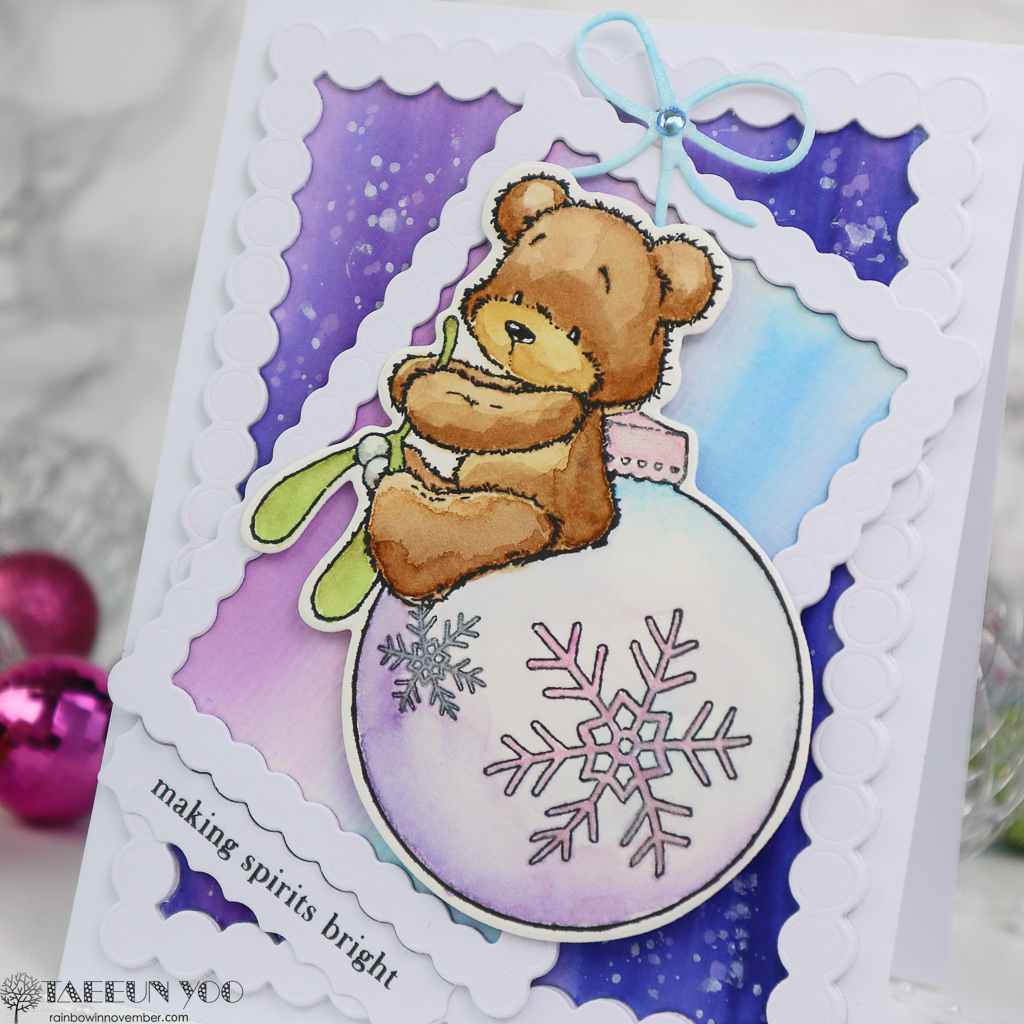
I adhered the large watercolored background panel to a white cardbase, splattering it with clear water and white opaque ink. Then I adhered three white whirl frames. Next, I layered the smaller panel and white whirl frame with foam tape. I added the light blue ribbon and the watercolored Bearnaments image onto the smaller panel with foam tape.
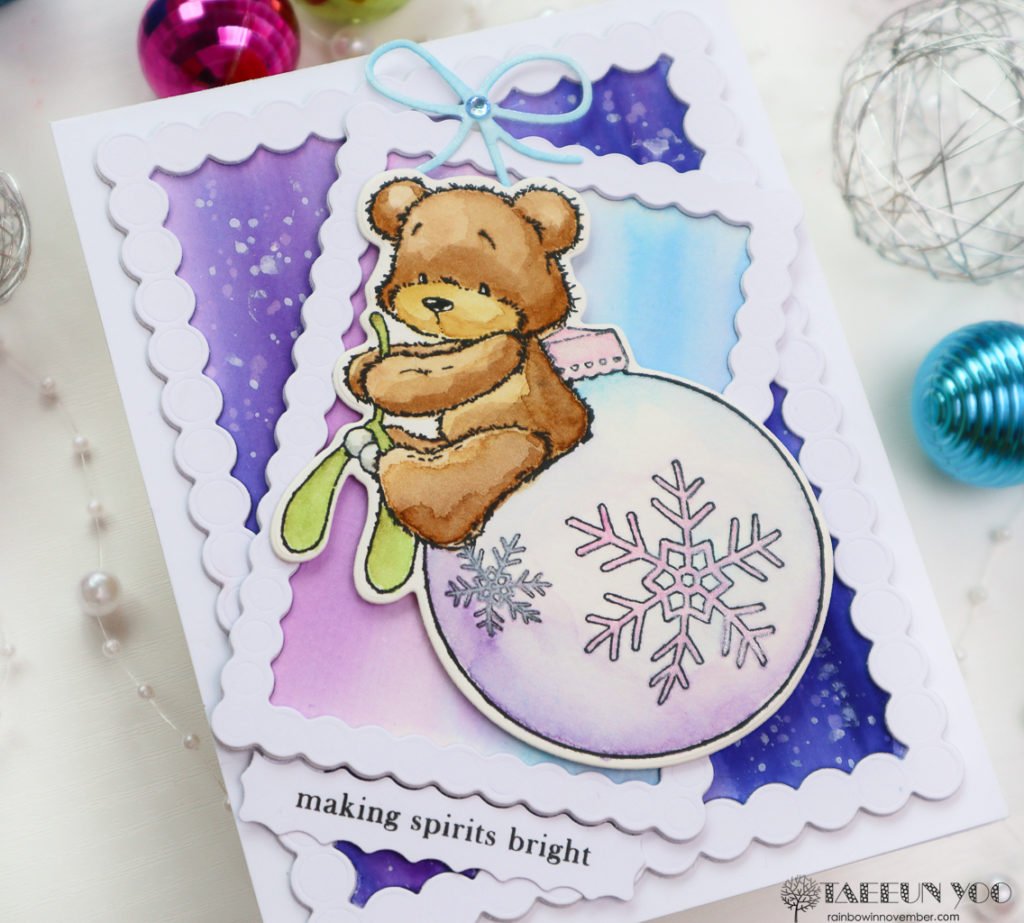
The sentiment is from the same stamp set. I stamped it on a piece of white cardstock, cut the sides of it using a die from the Whirl (51-827) set and adhered it to the card as shown in the picture. Finally, I added a small light blue rhinestone to the ribbon to complete the card.
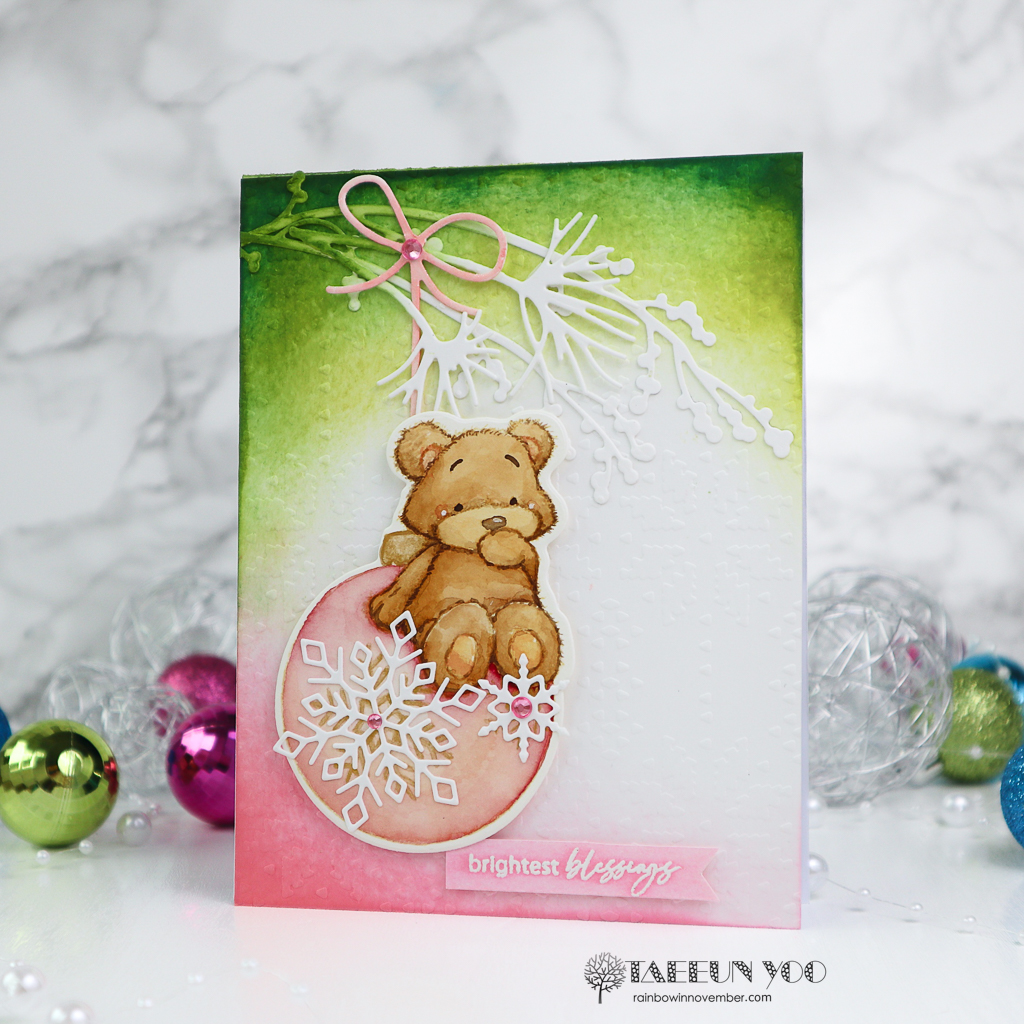
The second Bearnaments image was stamped in Antique Linen Distress ink for a no-line coloring look.
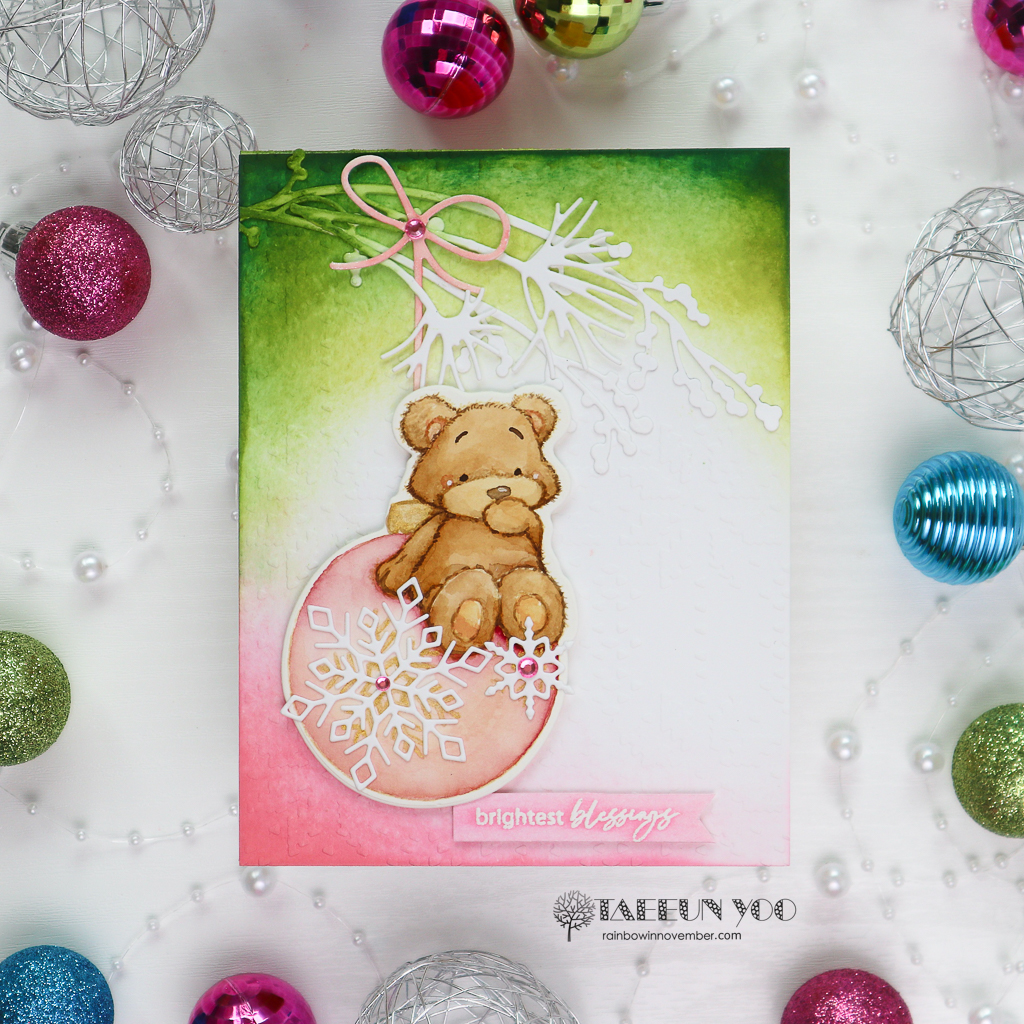
After watercoloring, I cut it with the Bearnaments Cut Out (51-835) and set it aside.
For the background, I ink blended a panel in Crushed Olive, Mowed Lawn, Pine Needles, Saltwater Taffy, and Kitsch Flamingo. After dry embossing it with the Comfy (65-023) embossing folder, I adhered it to a white cardbase.
I also cut white branches using the Nestled (51-722) and Peaceful Pines (51-705) sets, and adhered them onto the top of the card. I ink blended a touch of green at the base of the branches.
The ribbon, cut again using the Joy of Giving (51-748) set, was watercolored in soft pink using Saltwater Taffy DI and adhered to a pine branch.
Next, I foam mounted the Bearnaments image to its place and added white snowflakes, cut with the Dancing Snowflakes (51-708) set.
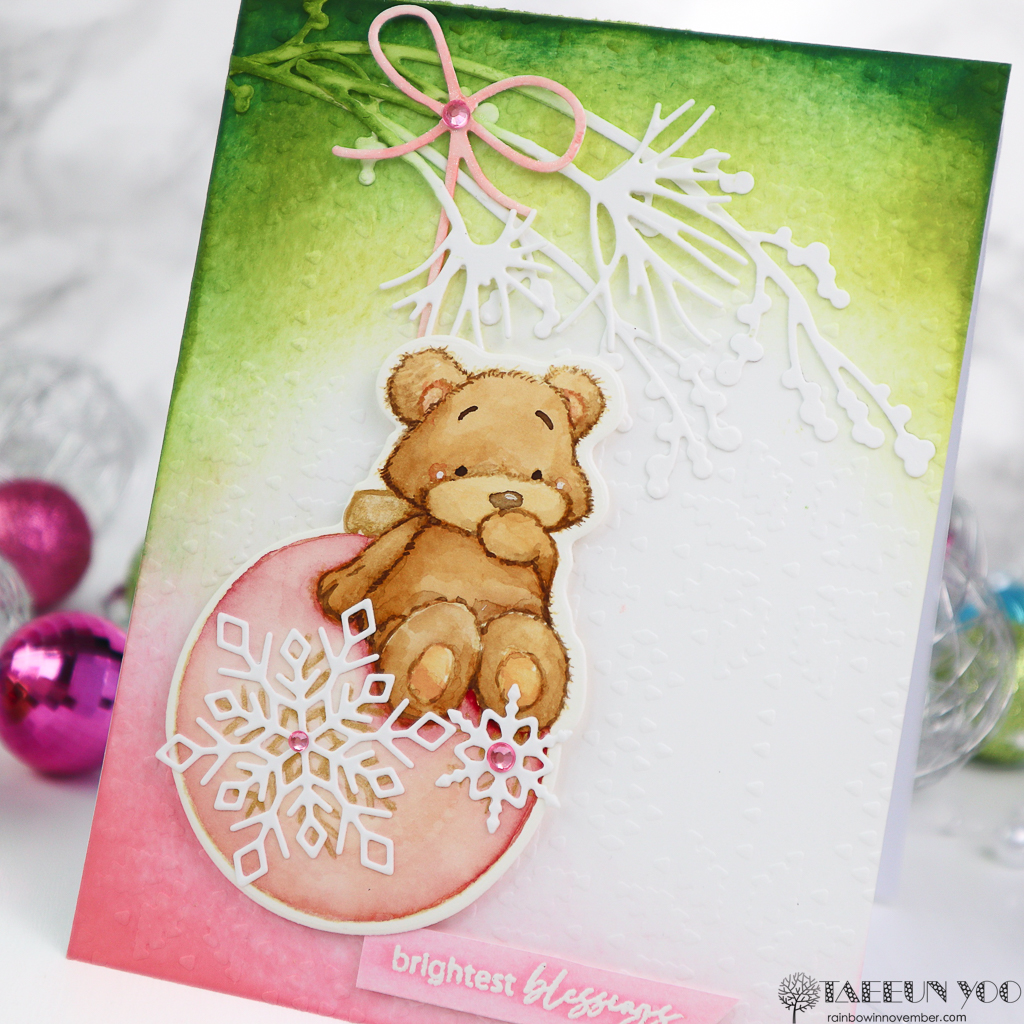
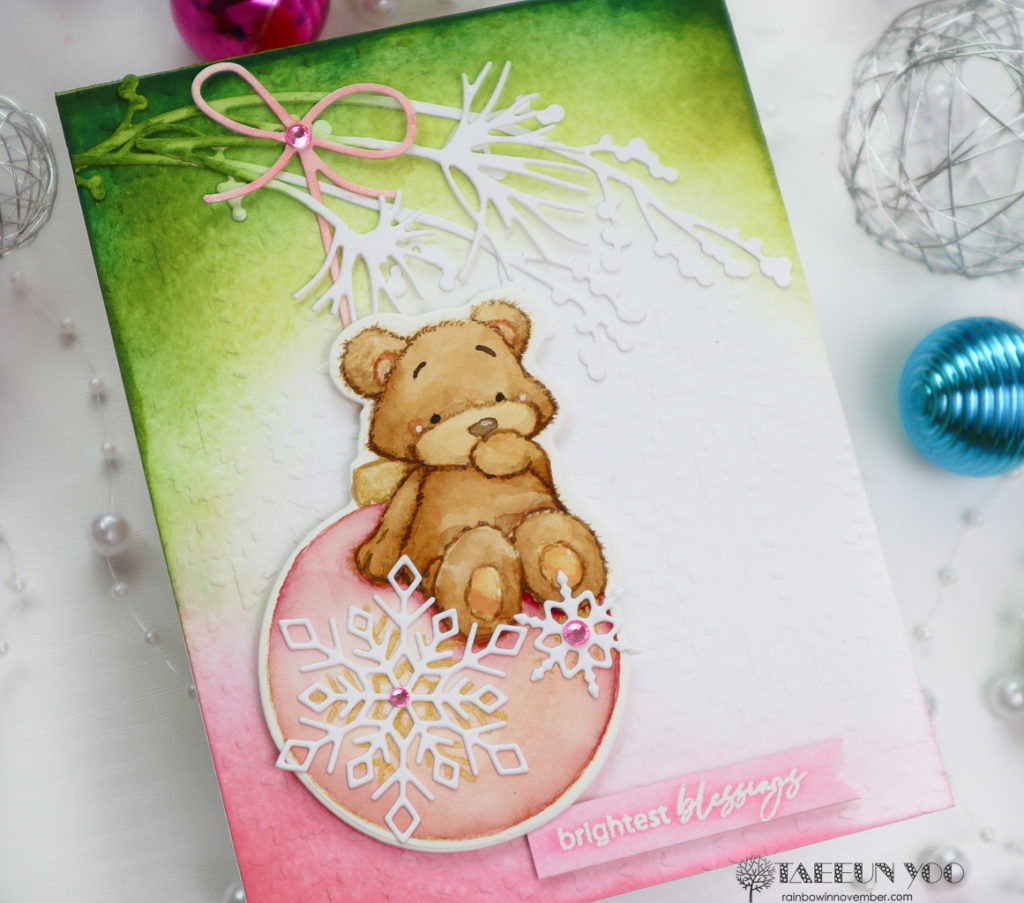
The sentiment, from the Jolly Snippets (30-925), was white heat embossed on a piece of white cardstock. I ink blended it in Kitsch Flamingo, cut it into a fishtail banner and added it to the card.
I finished off the card with three soft pink rhinestones on the ribbon and snowflakes.
The next set I want to share is the Bundled (31-091) and the Bundled Cut Out (51-849).
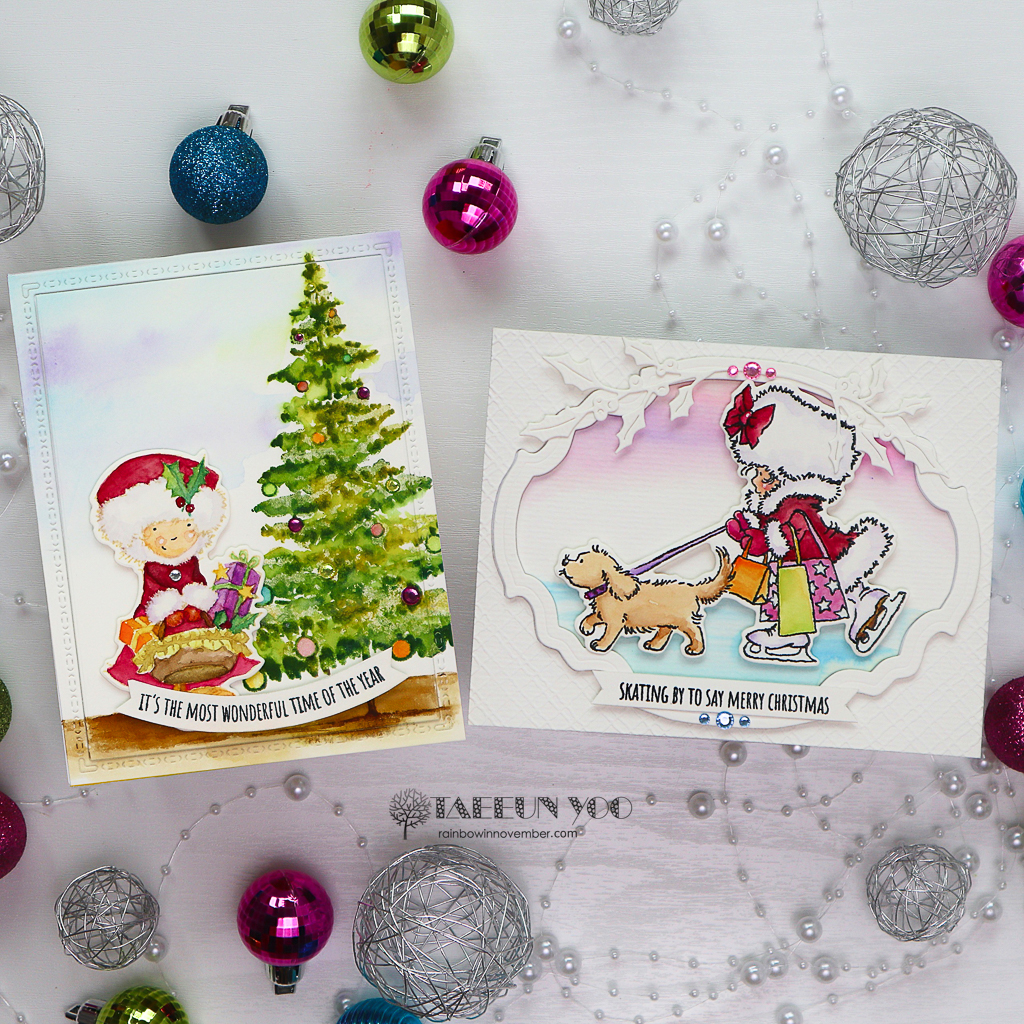
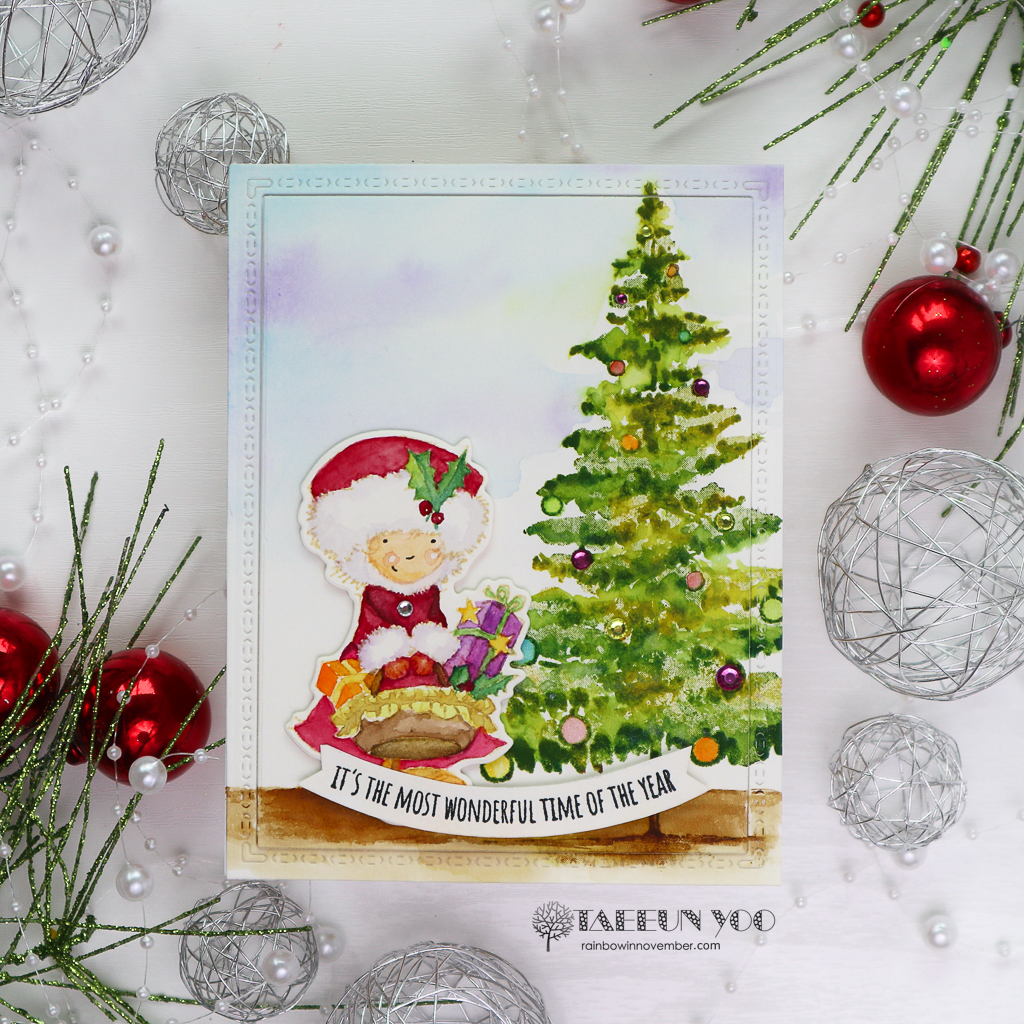
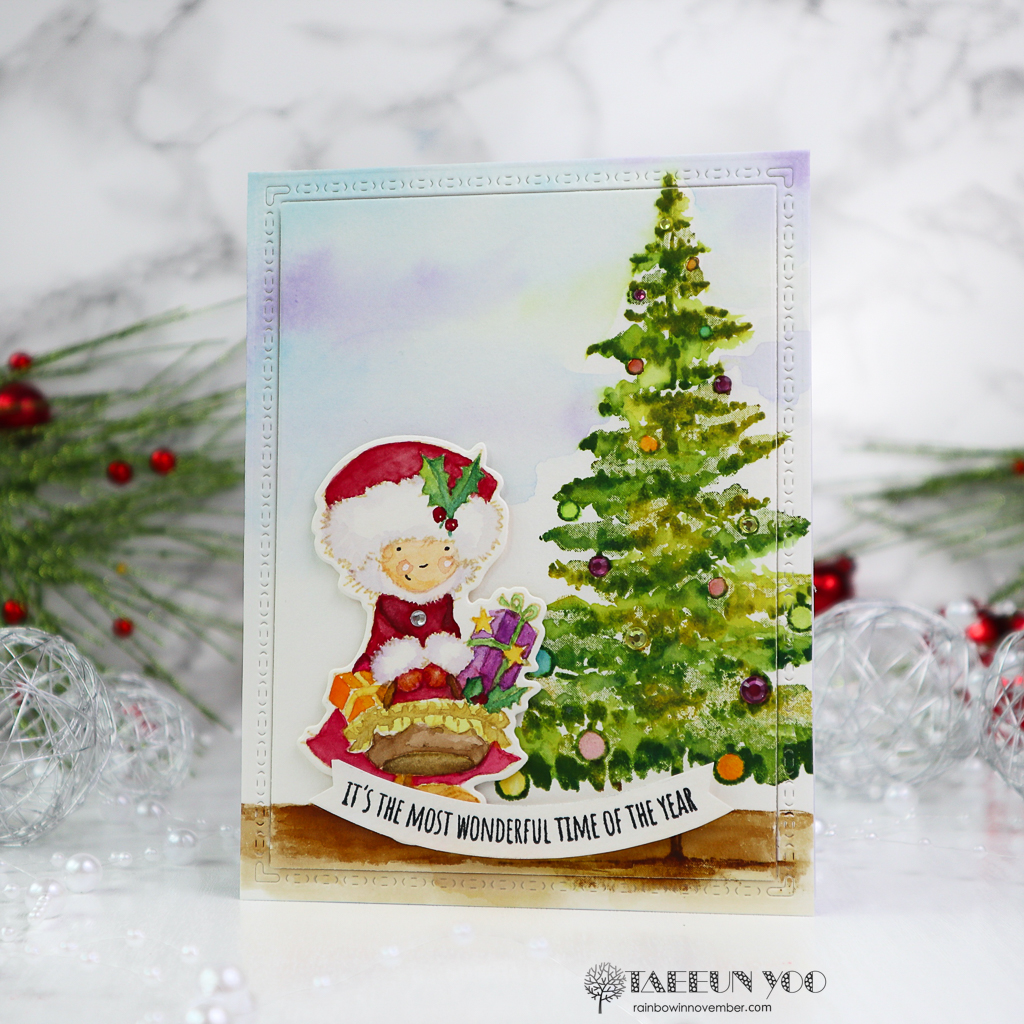
I placed the no line watercolored cute girl on a panel featuring the Christmas tree from Bauble Beauty (40-705). I stamped it in various shades of green Distress inks on watercolor paper panel, blended the colors using a wet brush and watercolored the ornaments in rainbow colors. I also colored the ground in Vintage Photo Distress ink and the sky in blue and purple.
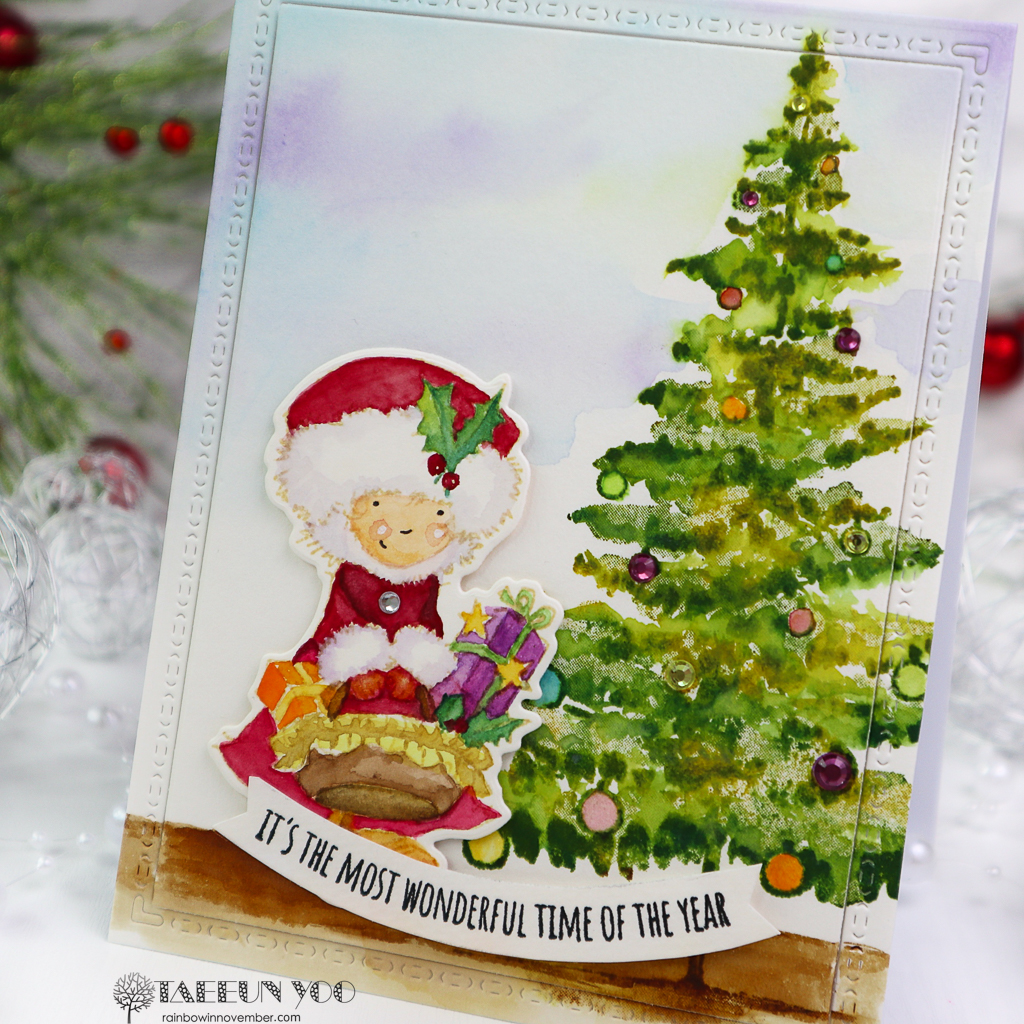
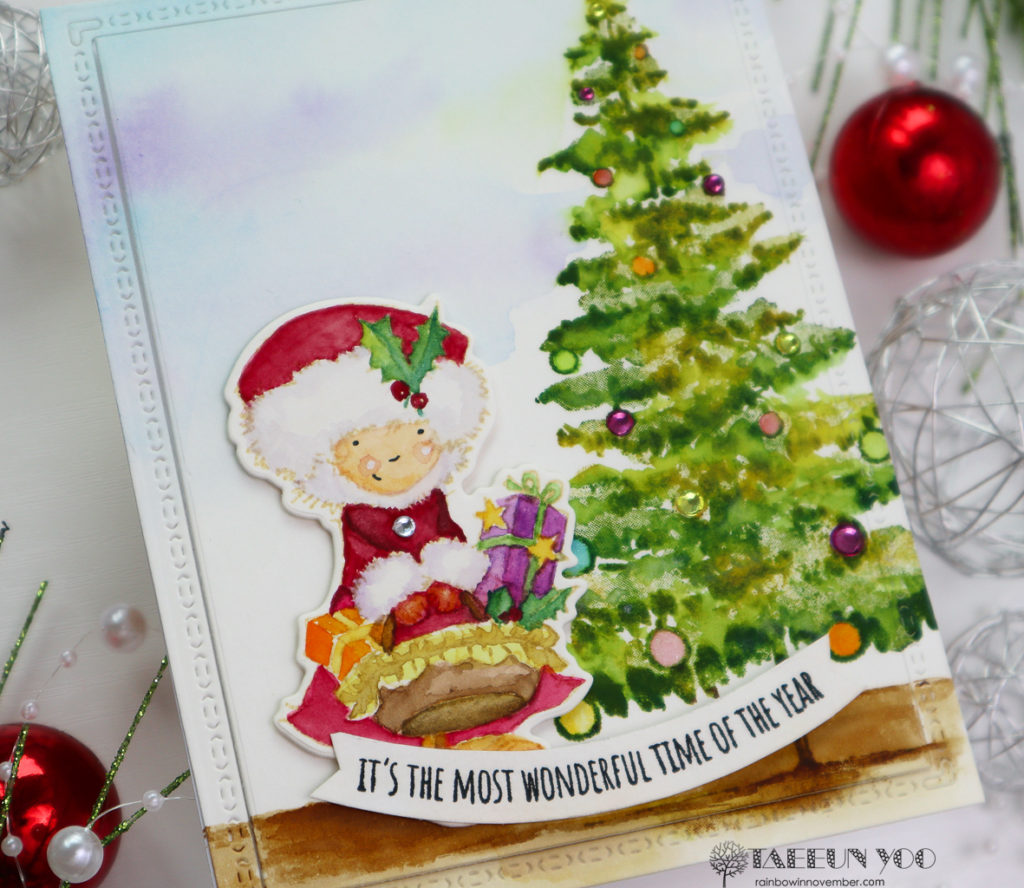
Once dry, I used a die from the Stitched Frames (51-709) set to cut the panel, adhering the frame flat and foam mounted the central rectangle onto a white cardbase.
The girl was foam mounted to the card, and the sentiment from the same set was stamped in black in a curve, cut into a banner, and added to the card. To finish off the card, I adhered some yellow and purple rhinestones to the ornaments.
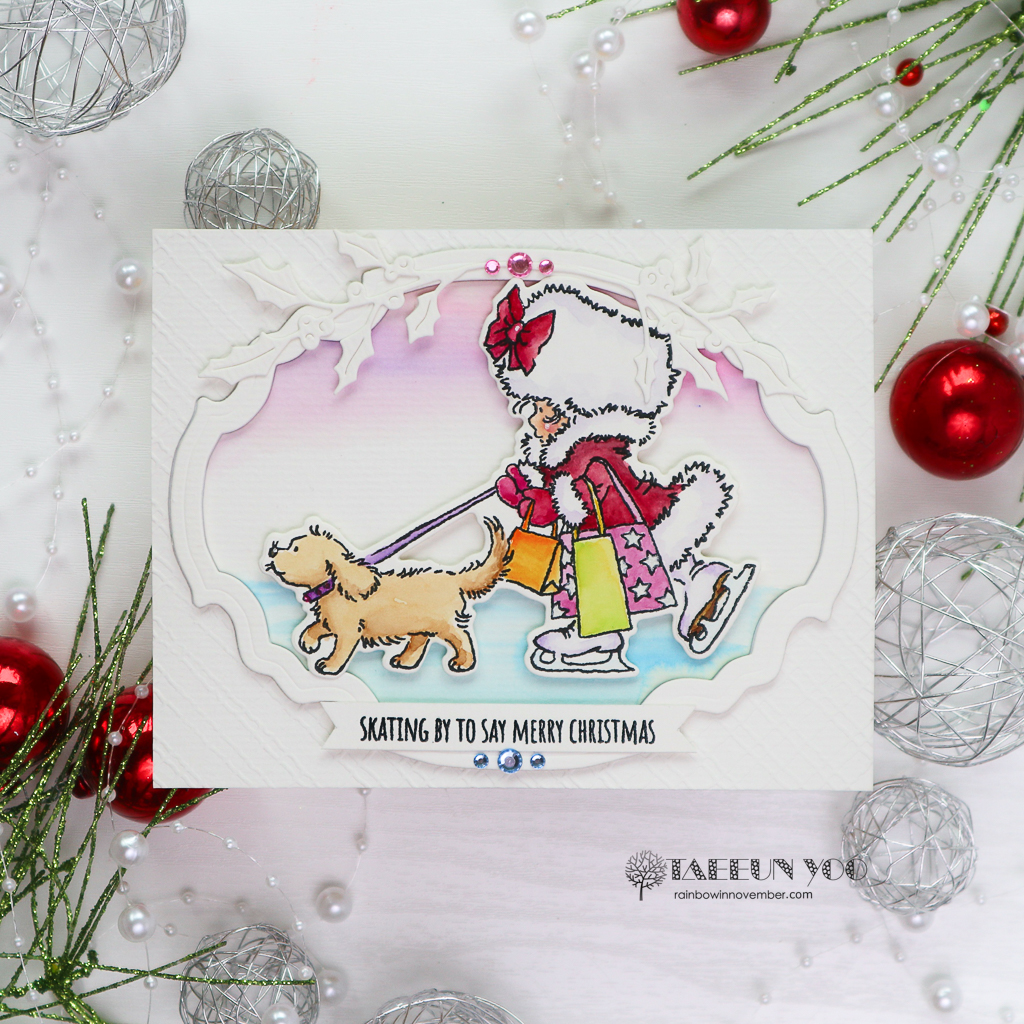
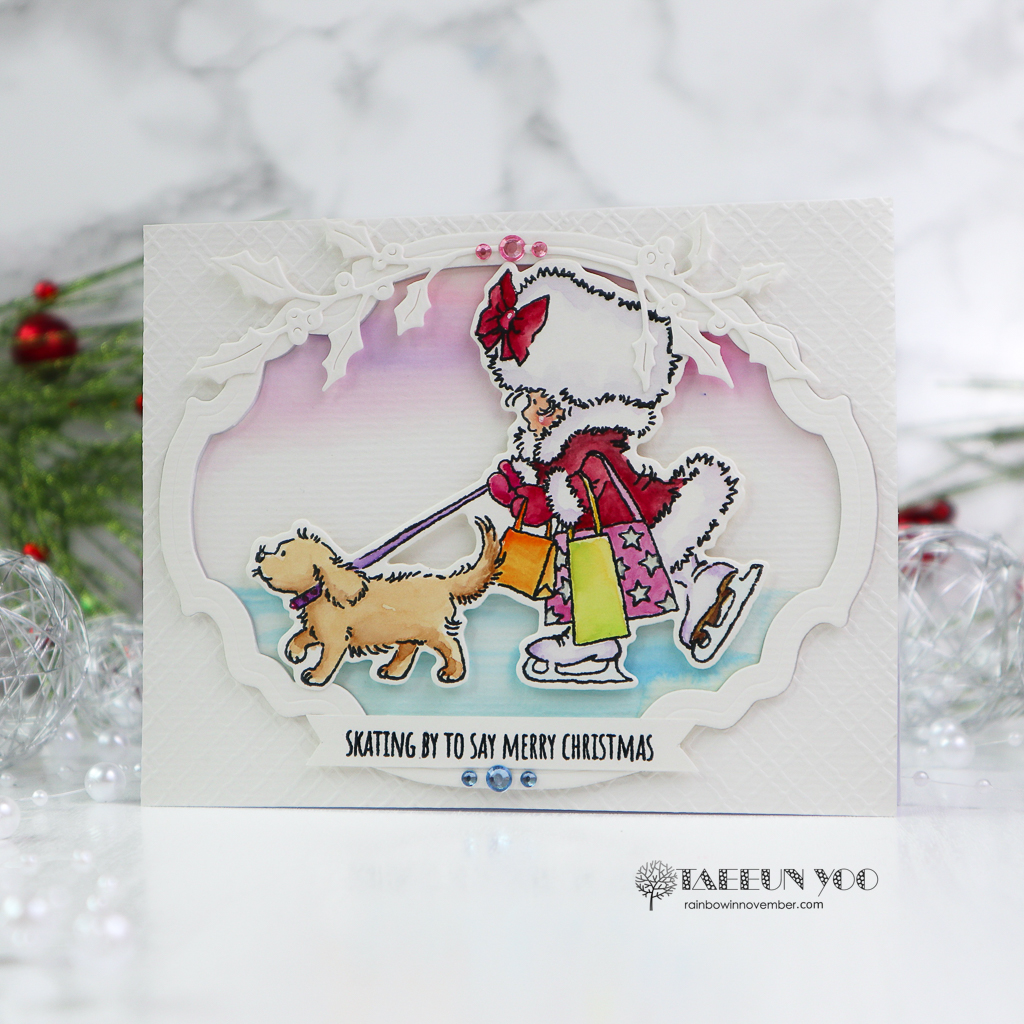
The girl with the dog was stamped in black pigment ink, watercolored, and cut using the Bundled Cut Out (51-849).
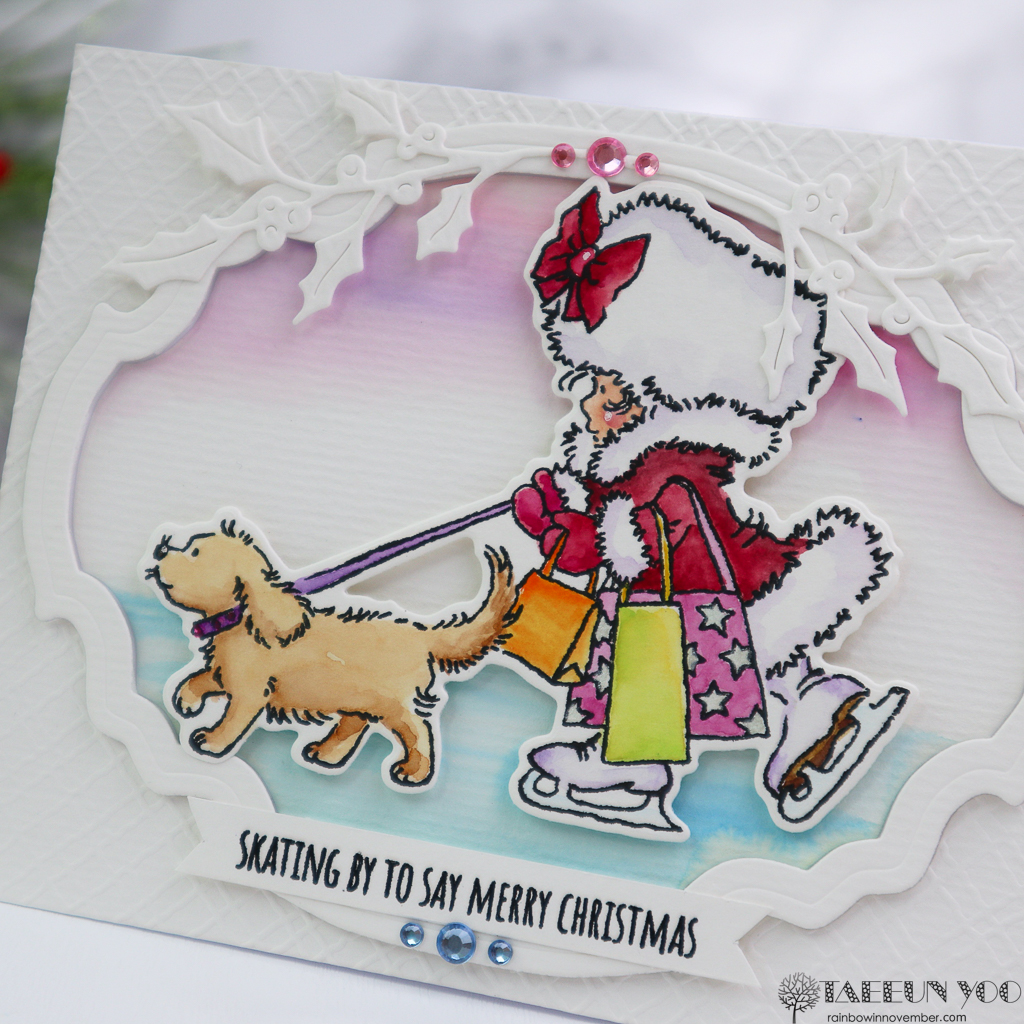
To create a simple background I first cut a mixed media paper panel using a die from the Classy Frames (51-826) set. I dry embossed the outer negativ piece with the Texture (65-026) embossing folder and adhered it to a white cardbase. The central piece was watercolored in purple (upper third) and in light blue (lower third) and attached flat to the cardbase.
The classy frame was then foam mounted, and I added the Bundled (31-091) image to the center of the card. To give more festive feel to the card, I added two white branches from the Holly Branches (51-662) set to the frame.
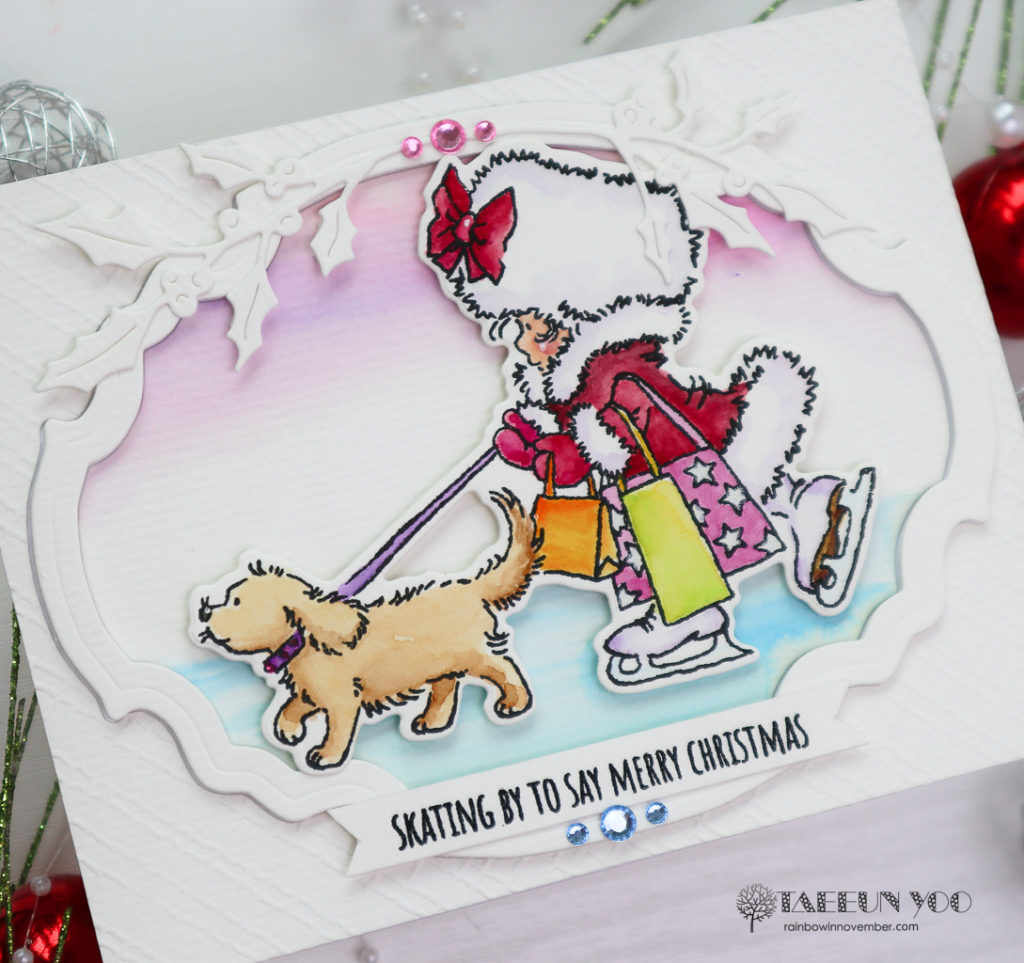
The sentiment from the same set was stamped in black pigment ink and clear heat embossed on a strip of white cardstock, cut into a banner and added to the card. The finishing touch for this card was the pink and light blue rhinestones, added to the frame.
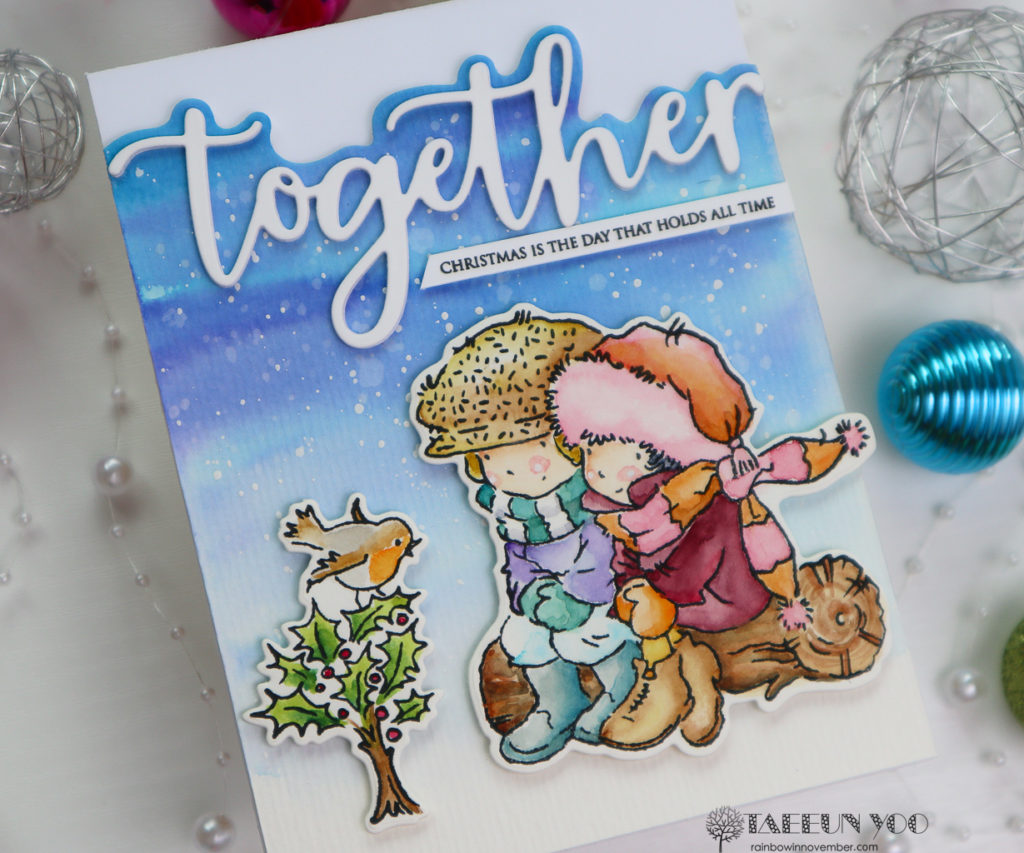
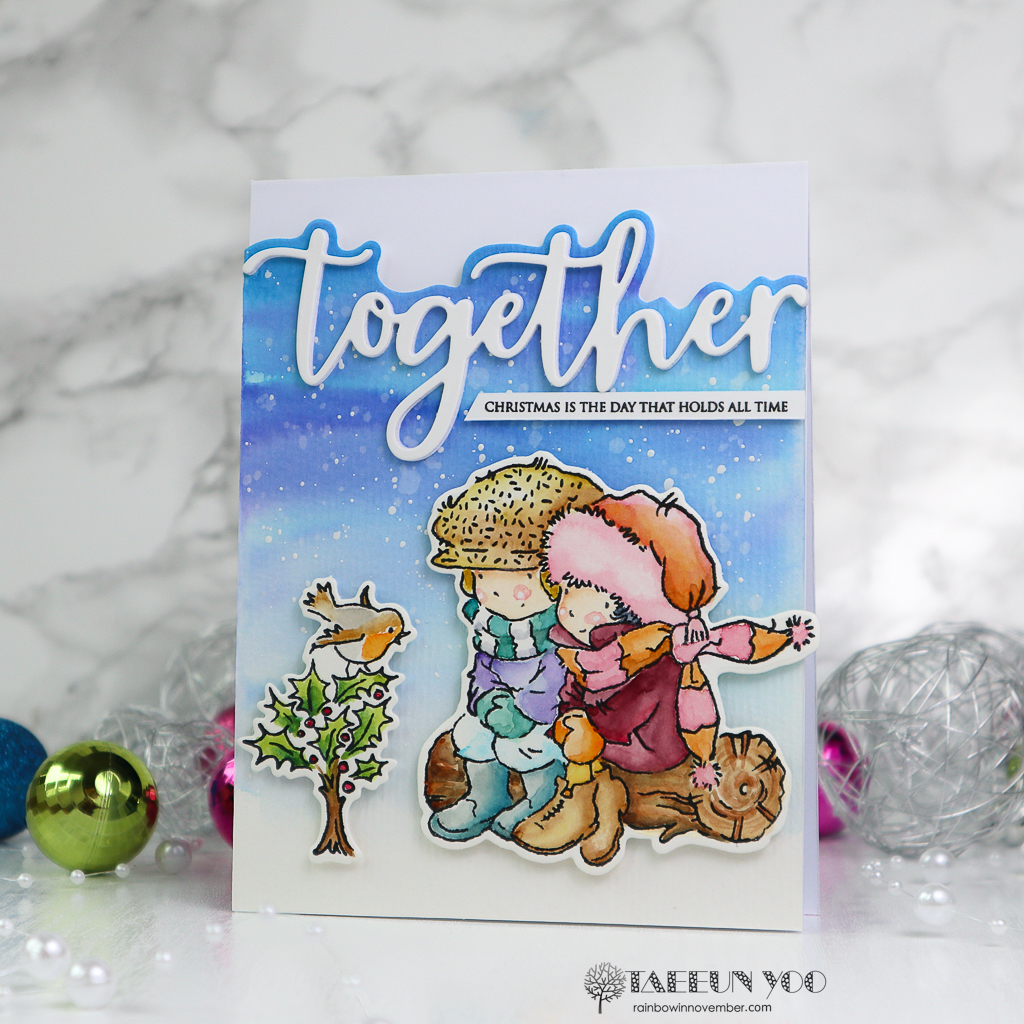
The next couple of cards feature, along with the Cuddle Up (31-092) and the Cuddle Up Cut Out (51-848), the new Edger sets: Together Edger (51-832), Together Builder (30-071), Home Edger (51-831), and Home Builder (30-086).
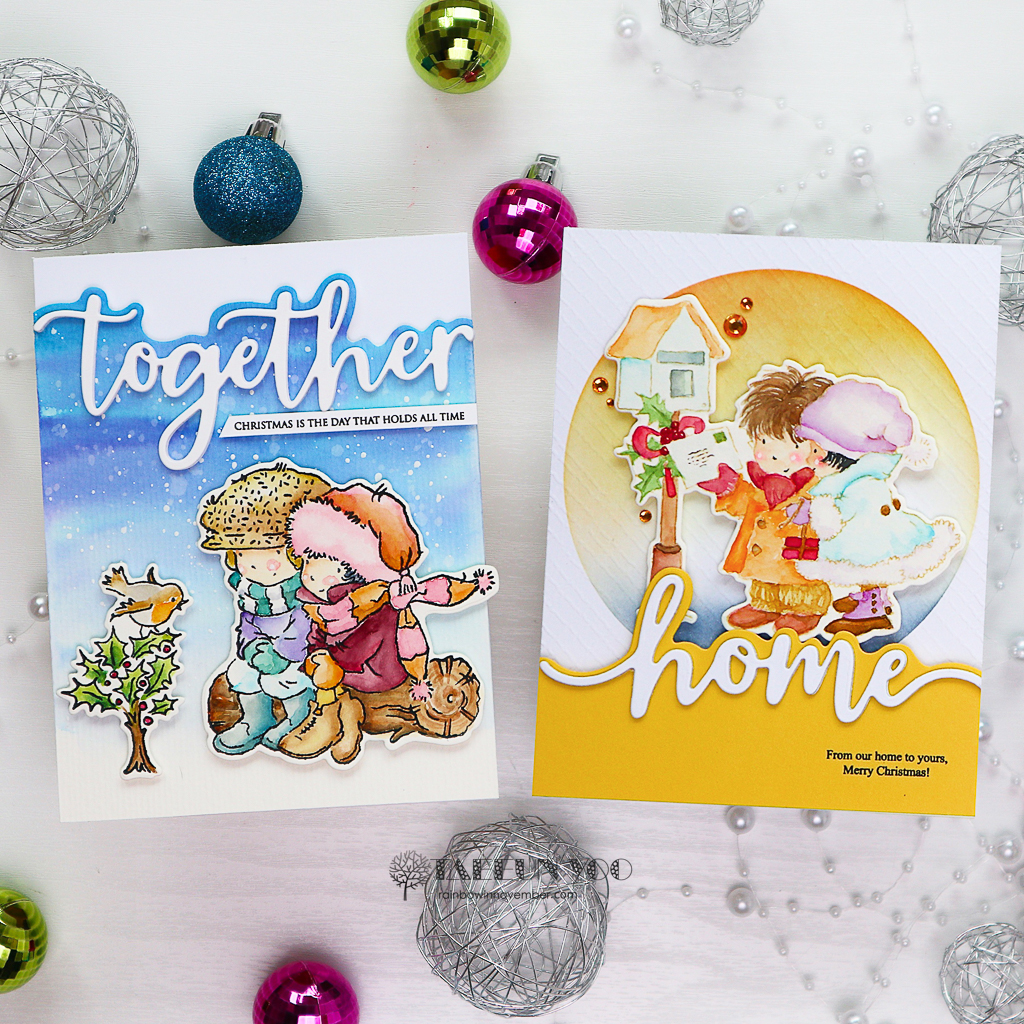
The first Cuddle Up (31-092) image was stamped in black and cut using the Cuddle Up Cut Out (51-848) after watercoloring.
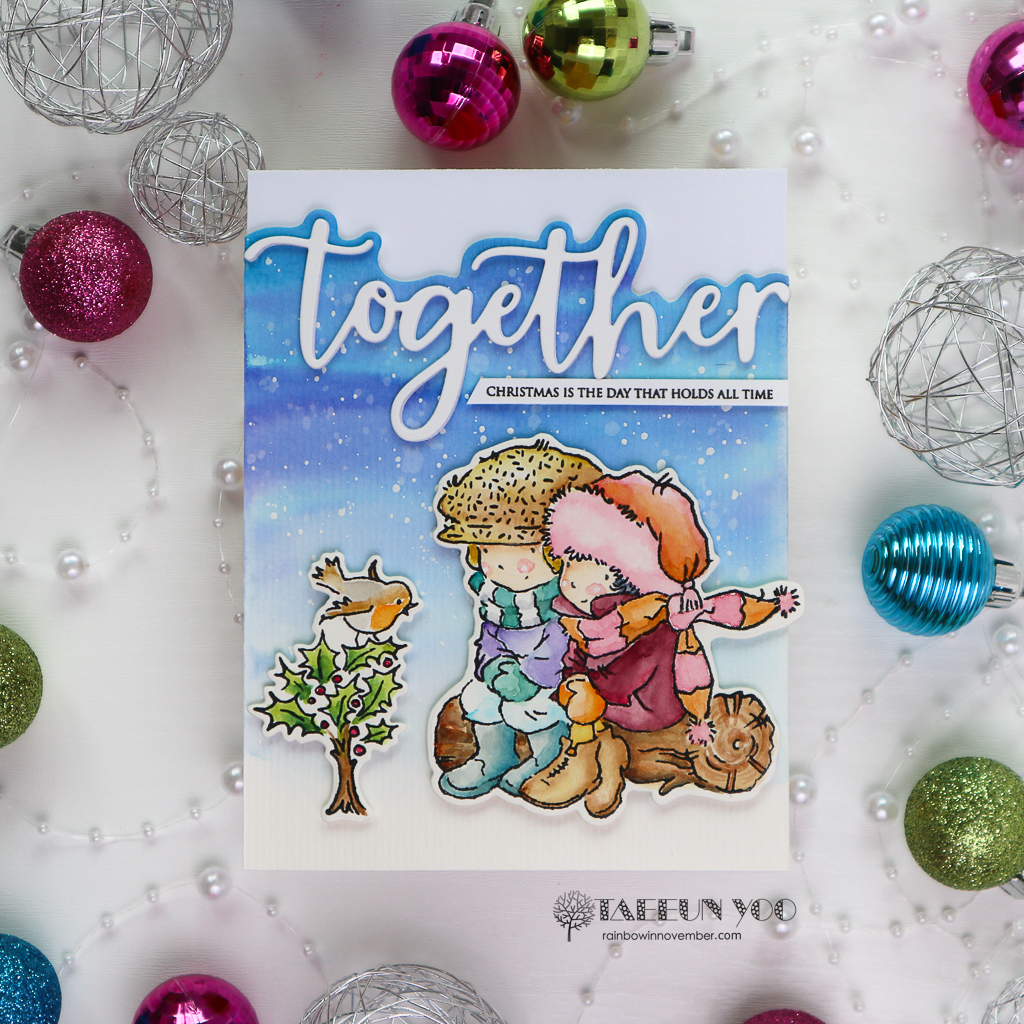
To create the snowy sky background I watercolored a mixed media paper panel in blue and violet, and cut the upper edge using the edge die from the Together Edger (51-832) set. After that I splattered clear water and white opaque ink on the panel and let it dry.
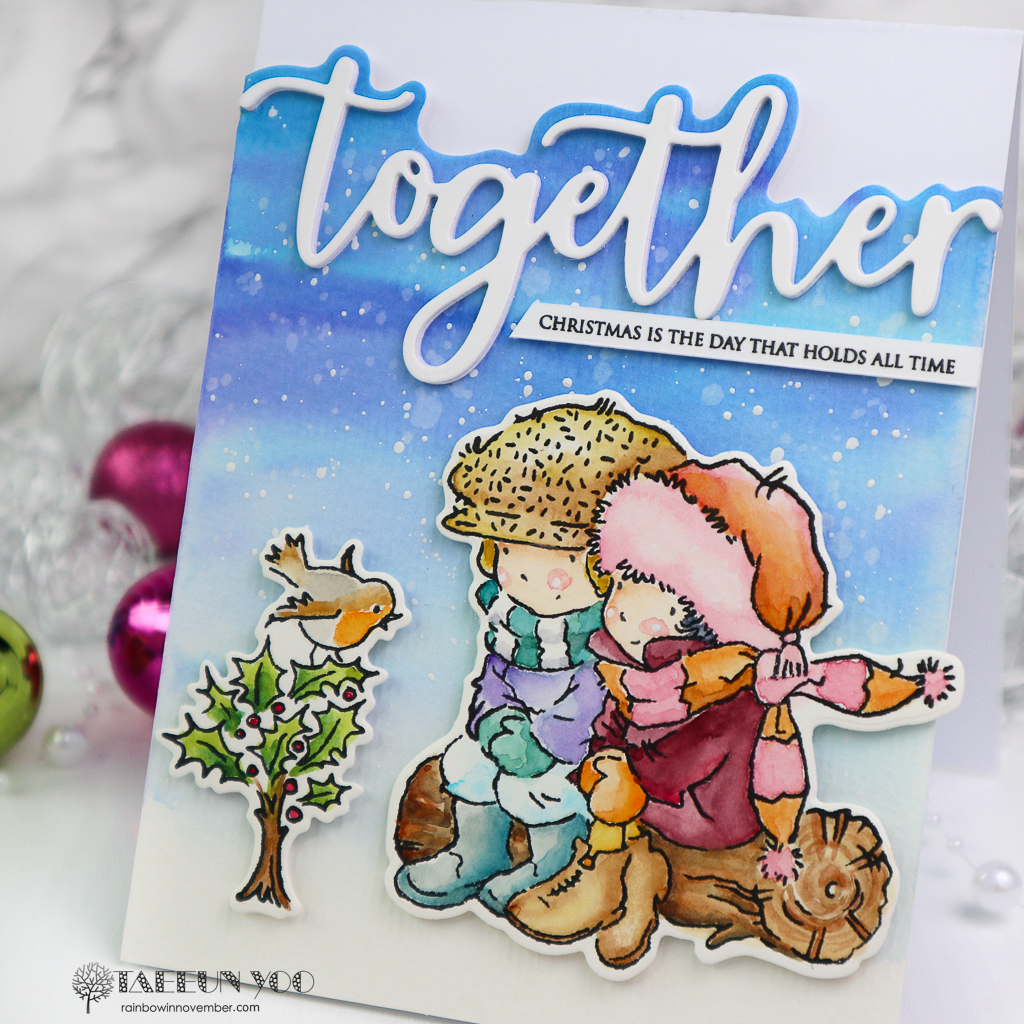
I foam mounted the background panel onto a white cardbase and added the white die cut “together” to it. I cut it four times to stack up. Lastly the images and the sentiment were foam mounted. The sentiment is from the Together Builder (30-071) set.
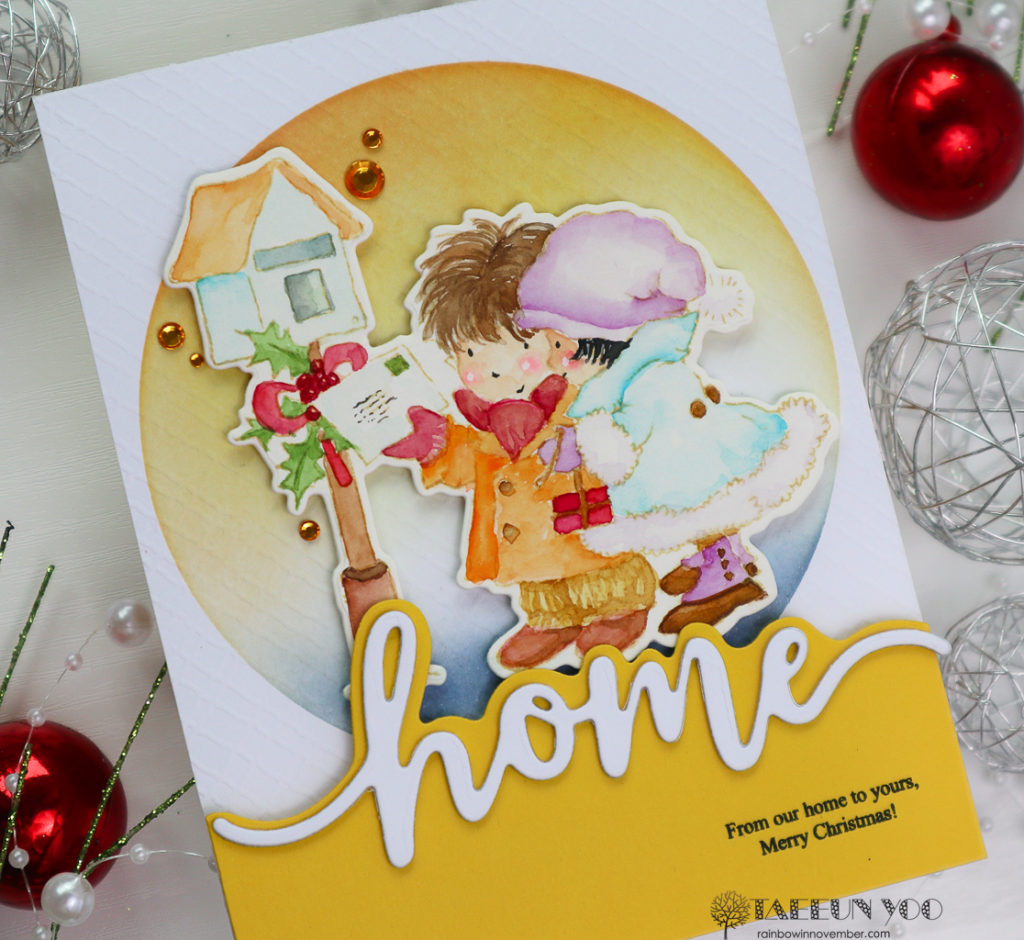
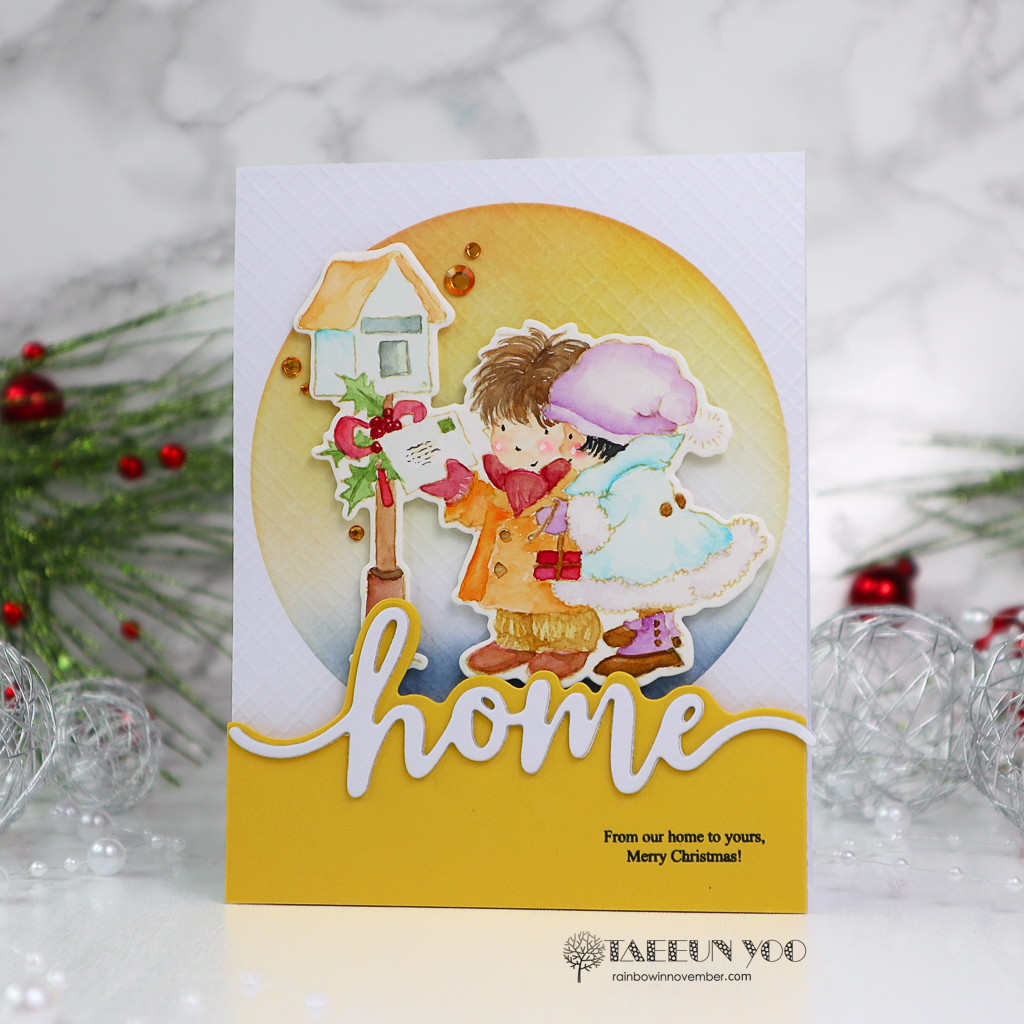
The last card for today is showing the no line watercolored image from the Cuddle Up (31-092) set and the Home Edger (51-831) and Home Builder (30-086) sets.
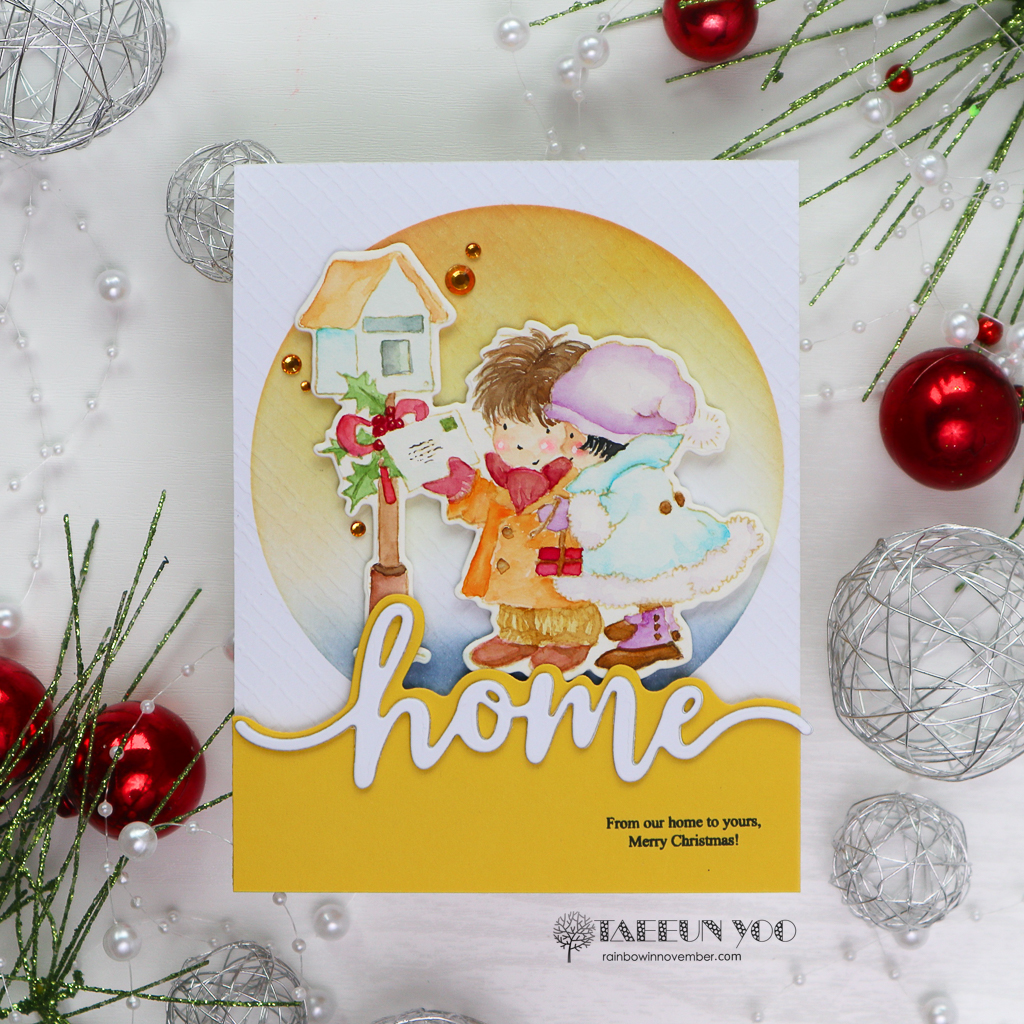
To create the background I used the circle stencil from the Background Basics (25-021) stencil set. I ink blended the circle using Dried Marigold, Mustard Seed and Stormy Sky Distress inks and dry embossed the panel using the Texture (65-026) embossing folder before adhering it flat to a white card base.
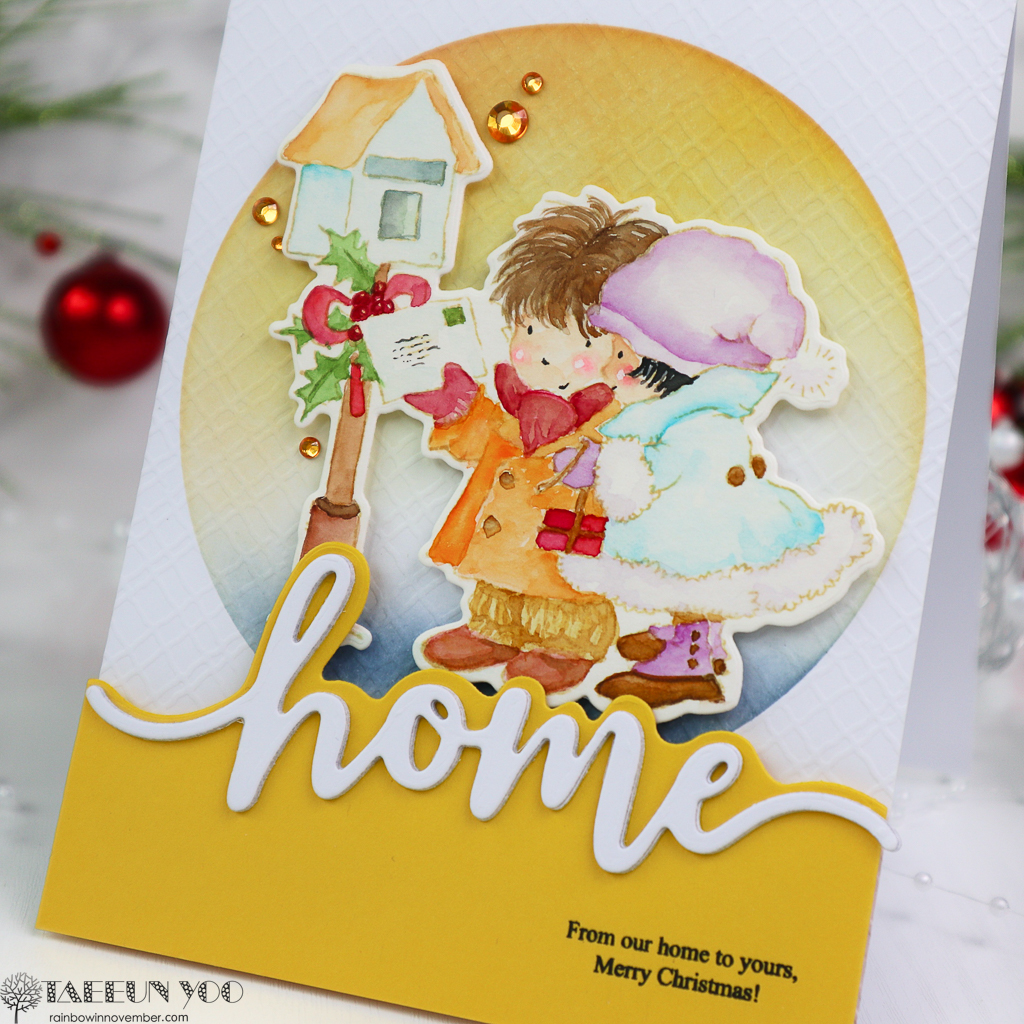
I then added the watercolored image to the card. I cut the bottom yellow panel using the edge die from the Home Edger (51-831) set, stamped the sentiment from the Home Builder (30-086) set in black and foam mounted it to the card and adhered the white die cut “home” to it.
Lastly, I scattered a few orange rhinestones.
So that’s it from me for today! Thank you so much for following along with this long post!
I hope you find inspiration for your holiday cards!
Be sure to check out the full collection on the Penny Black blog!
Have a crafty day!
TaeEun

Thank you, TaeEun, for this particularly photo-prolific post! It’s wonderful to get up close and personal with your amazing creations! LOve each and every one!
=]
Wow you have been busy and I think they are such sweet and pretty images and treated beautifully by you in all six cards TaeEun. The bears on the baubles are really cute and then the two sweet little ladies are so chic and stylish..especially love the one with the dog, and lastly the two lovely couples, and also the different die cut frames look great too, and wonderful watercolouring by you as always. x
Oh my gosh, so many fabulous cards! Where to start! I love how you did the titled panel on the first card. You colouring on all of them is spectacular. And I love your Christmas tree. The different colours and the water blending give it so much texture and realism!