Hello everyone! I hope your week is off to a great start!
I’m on the Pinkfresh Studio blog today with a pair of holiday cards featuring the Ornamental Beauty and Tiny Tidings product suites, along with the Diamond Framework Stencil set from the Season of Wonder Release.
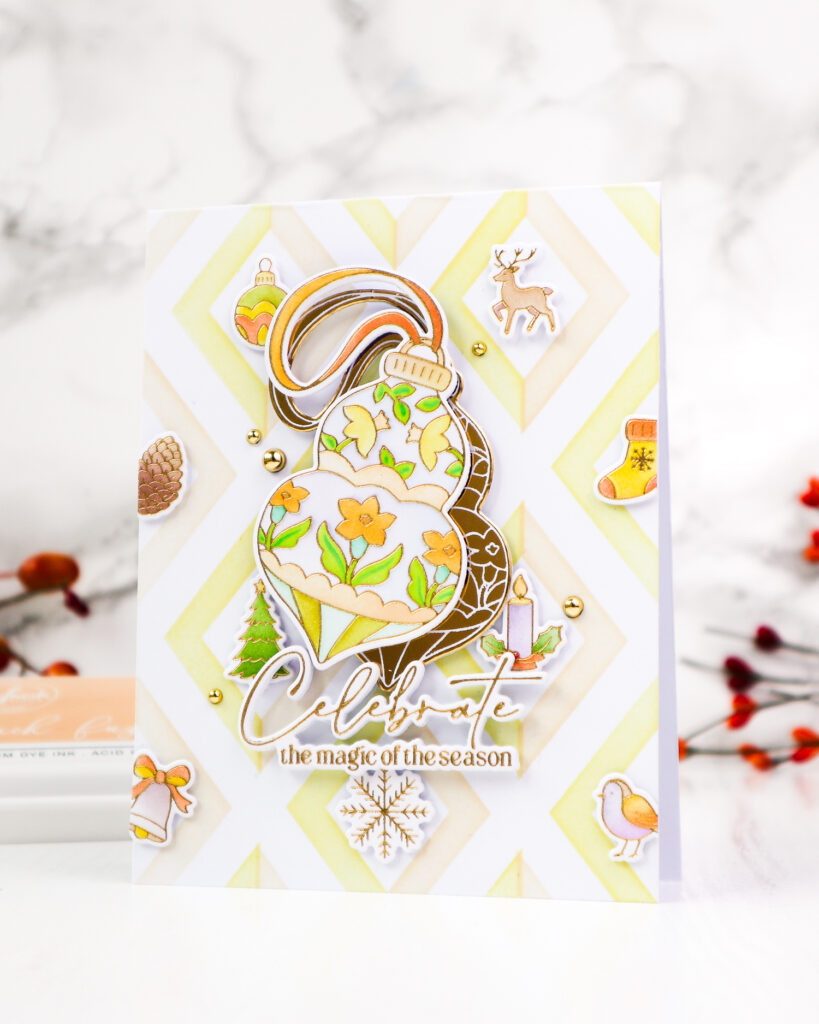
For these two cards, I worked with two different color palettes while stenciling the images. Two of the ornaments were stenciled in a fresh pink and blue combination, while the third was colored in warmer yellow and brown tones. To do this within the same stenciling session, I simply covered the areas I didn’t want to ink with printer paper while working on each ornament. I used the same approach with the Tiny Tidings images and then coordinated the Diamond Framework backgrounds with each color palette.
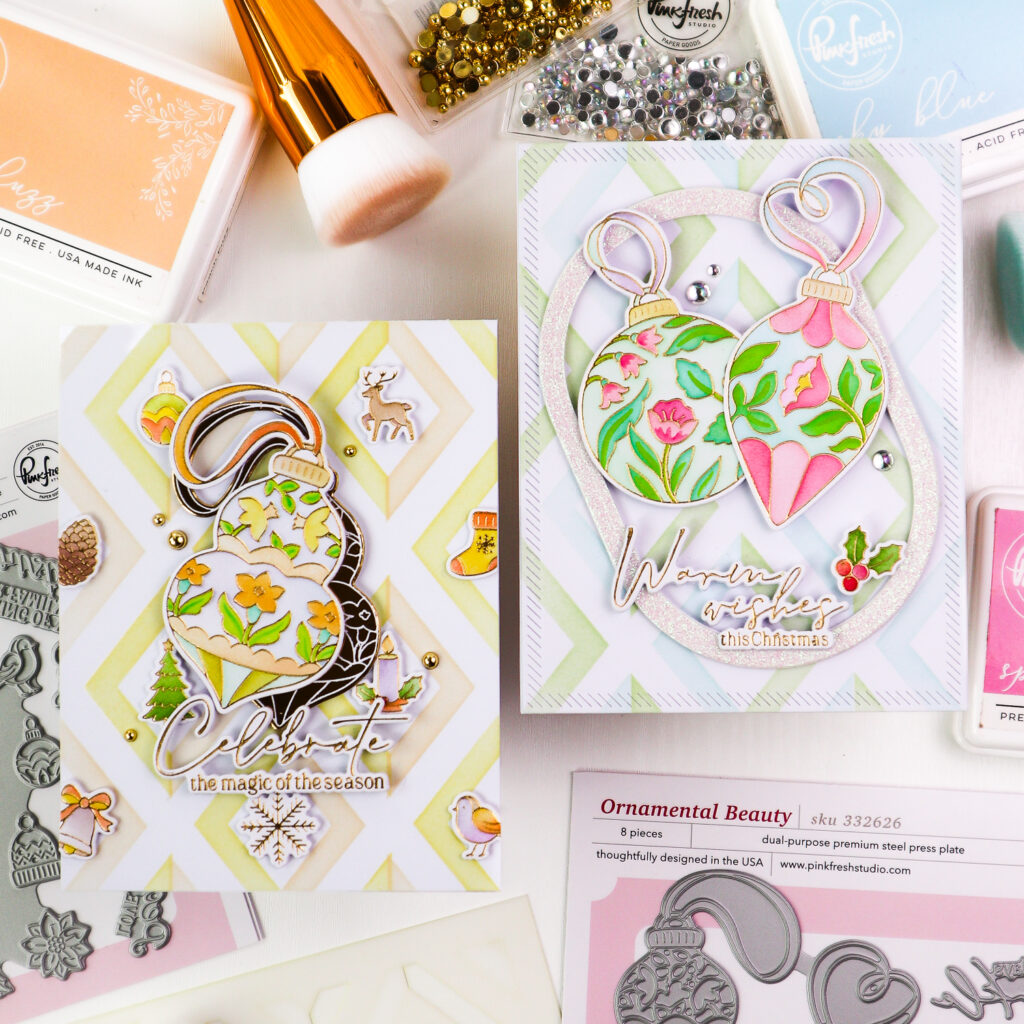
I started by hot foiling the Ornamental Beauty and Tiny Tidings images in gold and colored the images using the coordinating stencil sets.
For the Ornamental Beauty I used the following colors.
– Stencil 1: Sky Blue, Mint / Apricot, Peach Fuzz
– Stencil 2: Lemon Whip, Warm Buff
– Stencil 3: Coral Reef, Sparkling Rose / Sky Blue, Mint
– Stencil 4: Peony, Wisteria / Sky Blue, Bay Leaf
– Stencil 5: Meadow, Aquamarine, Grassy Knoll / Apricot
– Stencil 6: Meadow, Grassy Knoll / Mimosa
Once the stenciling was complete, I die cut the ornaments with the coordinating dies.
I colored the Tiny Tidings images in the following colors.
– Stencil 1: Sweet Mustard, Mimosa, Gathered Twigs, Bay Leaf
– Stencil 2: Sweet Mustard, Mimosa, Sparkling Rose, Berrylicious
– Stencil 3: Sweet Mustard, Wisteria, Sparkling Rose, Berrylicious
– Stencil 4: Warm Buff, Gathered Twigs, Mimosa, Grassy Knoll
– Stencil 5: Sweet Mustard, Bay Leaf, Olive
I then die cut all the images with the coordinating dies and set them aside.
Next, I hot foiled the sentiments from the Ornamental Beauty Press Plate set in gold and die cut them.
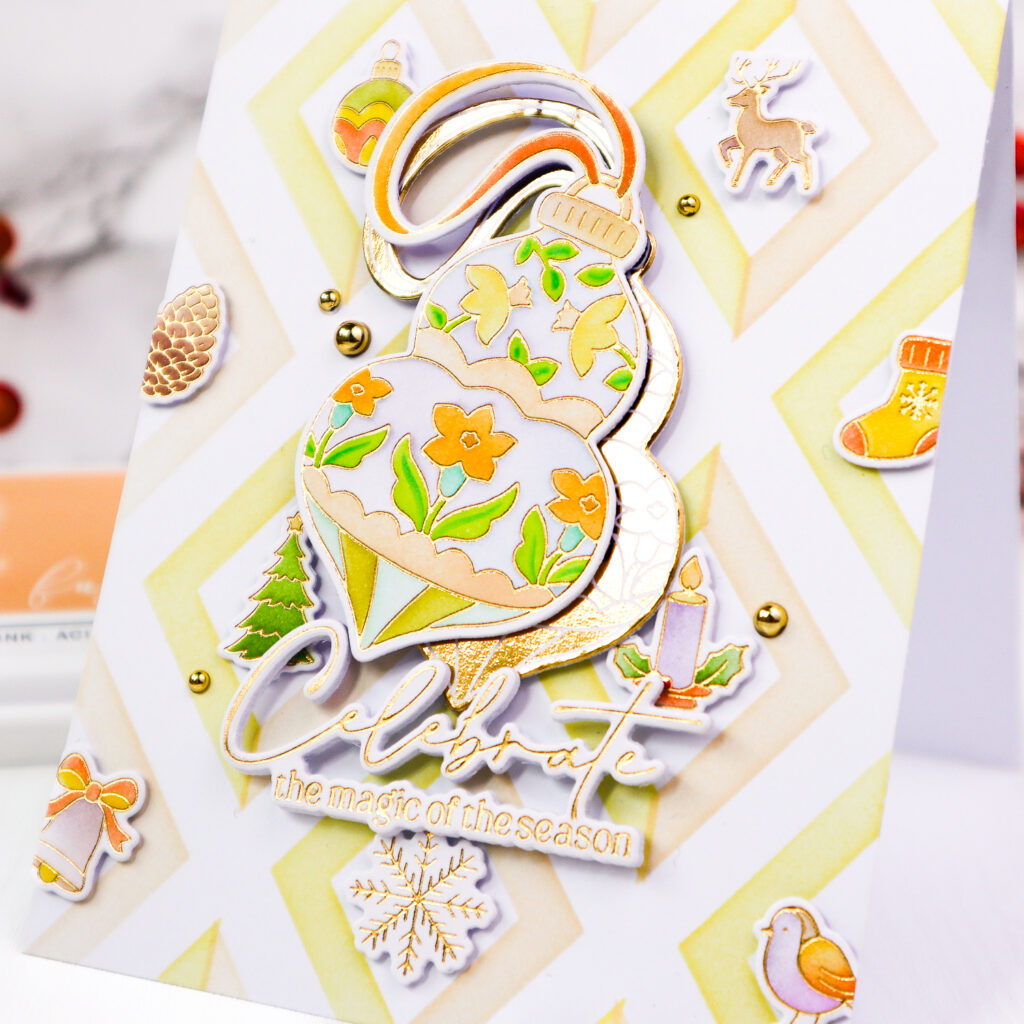
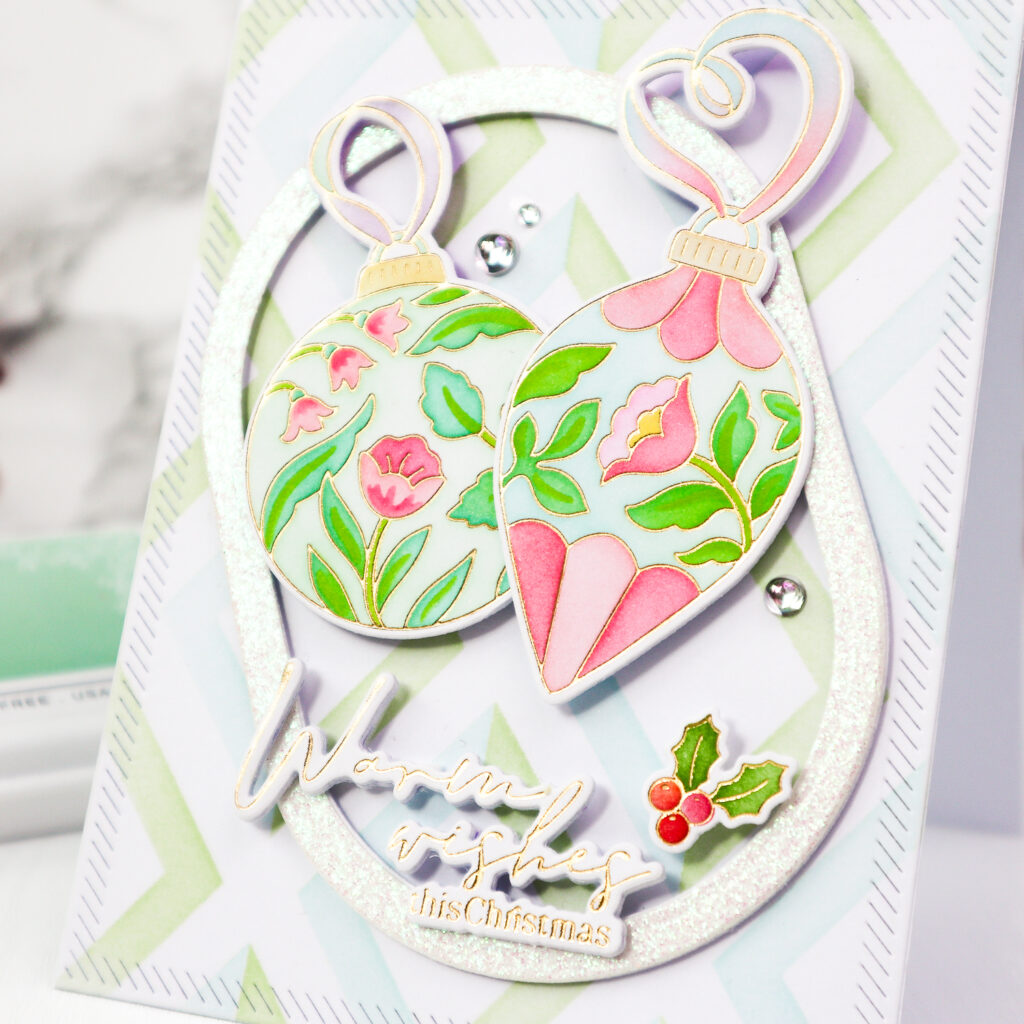
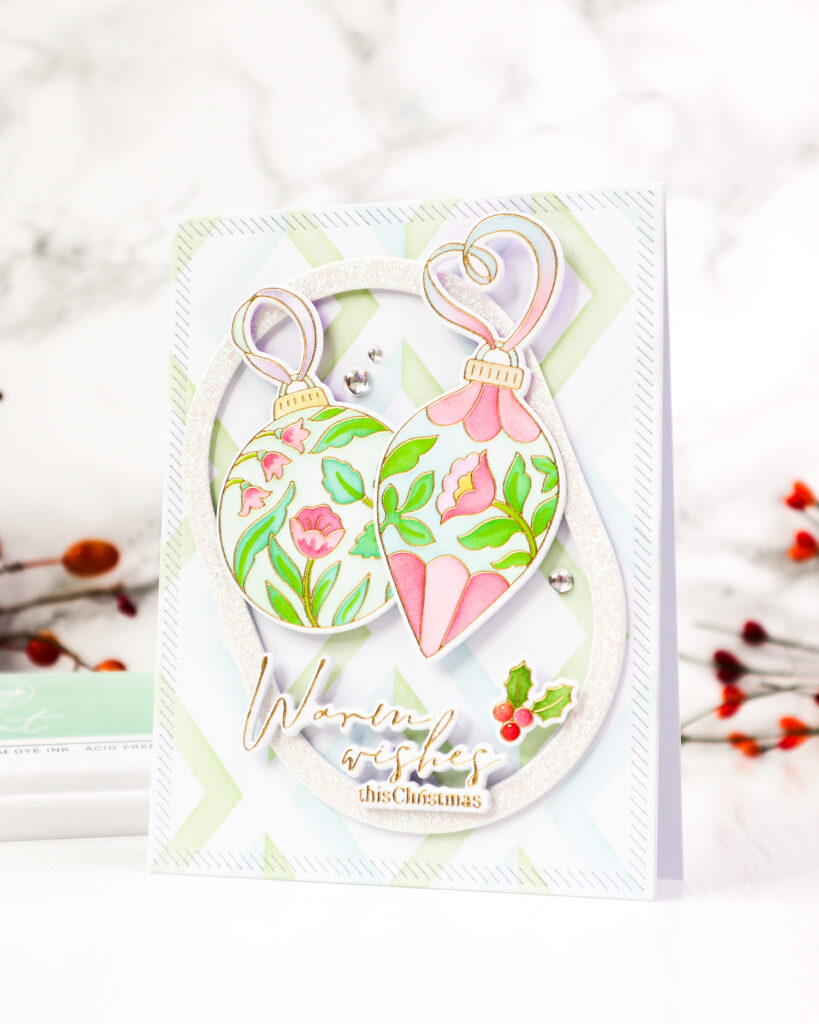
For the backgrounds, I stenciled two white A2 panels with the Diamond Framework stencil set. One was done in Sky Blue and Fresh Pear to coordinate with the cooler ornaments, while the second was stenciled in Lemon Whip and Peach Fuzz to match the warmer palette.
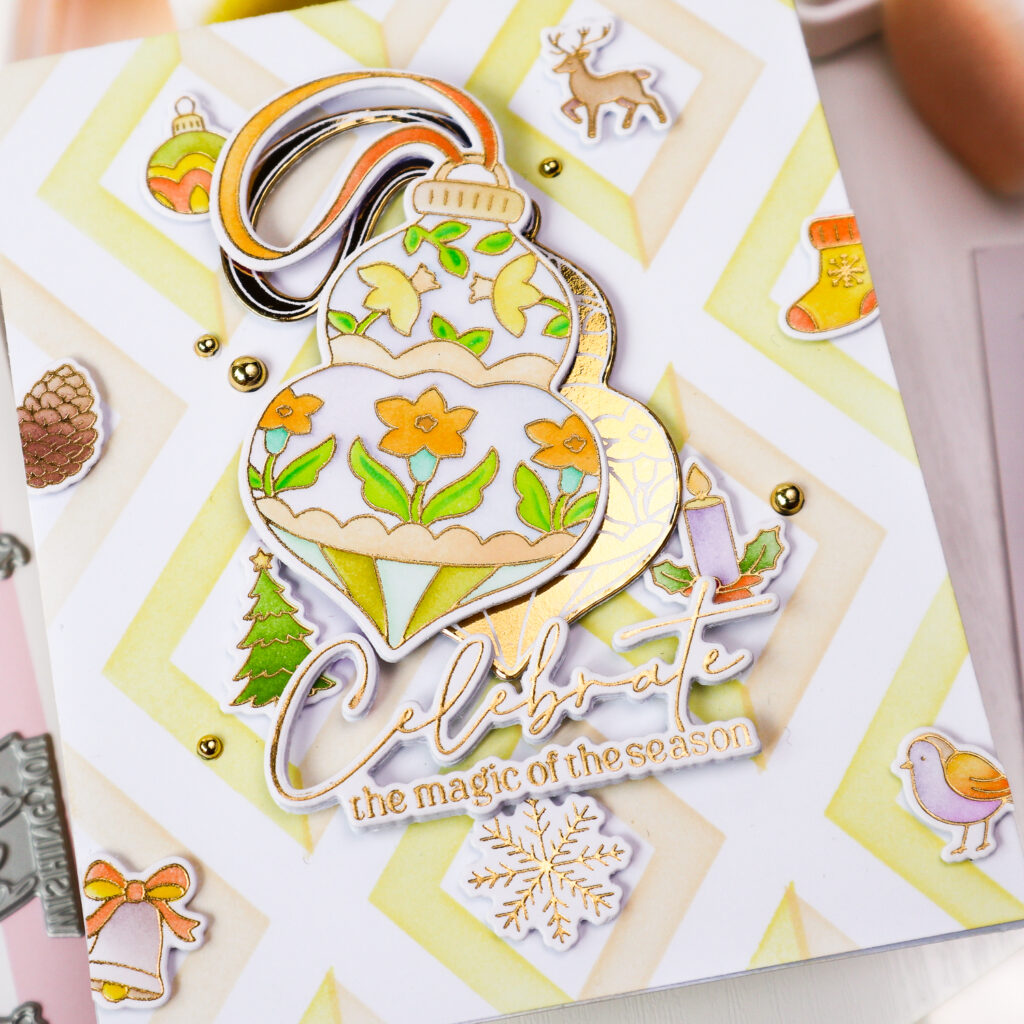
For the first card, I adhered the Lemon Whip and Peach Fuzz background panel to a white card base and added several of the small Tiny Tidings images inside the diamond shapes with foam tape. I also used the leftover negative gold foil from the ornament with the Solid Hot Foil Plate to create a solid gold ornament. I layered the colored ornament slightly offset over the gold one with foam tape, then added the layered piece to the center of the card. The sentiment was foam mounted underneath, and a few Gold Metallic Pearls finished the design.
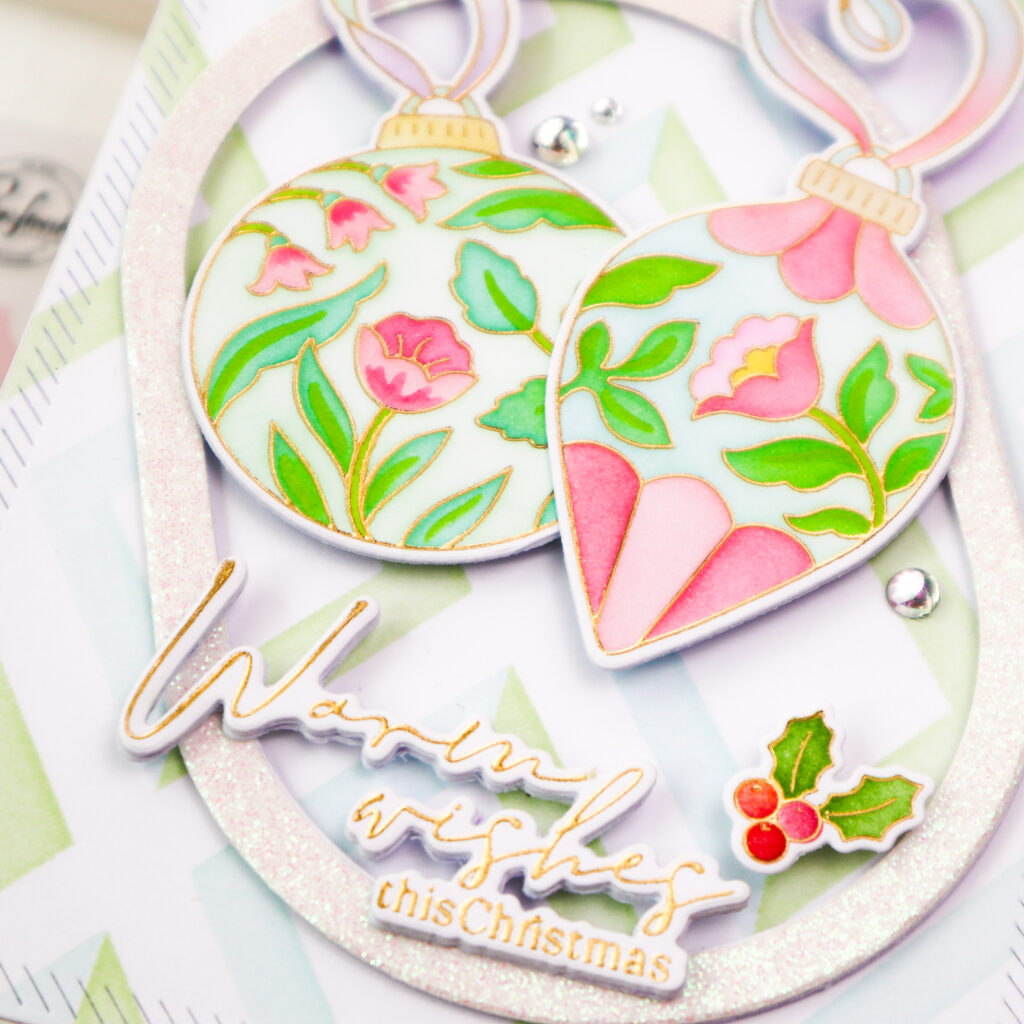
For the second card, I cut the Sky Blue and Fresh Pear background panel with the largest die from the Nested Rectangles Diagonal Stitch die set and adhered it to a white card base. I then created an elongated oval frame from Glacier Glitter Cardstock using two dies from the Nested Elongated Ovals die set and foam mounted it onto the card at a slight angle.
I arranged the two coordinating ornaments with foam tape, added the sentiment below them, and tucked in the small holly berry image as an extra festive detail. Finally, I finished the card with three Iridescent Clear Drops.
When a product suite includes several images, try coloring different images in different palettes during the same stenciling session. Simply cover the areas you don’t want to ink with printer or scrap paper while working on each section. It’s an easy way to create coordinated pieces for two different cards without repeating the entire stenciling process.
I hope this inspires you to look at your stencil sets in a new way and try creating two color versions at the same time!
Thank you for stopping by!
TaeEun
I participate in the affiliate program of Pinkfresh Studio. It means I earn a small commission at no additional cost to you each time you click through and purchase the product(s) shared here. Thank you for your support 🙂 !