Hello and welcome to The Ton Fall/Holiday 2022 Release !
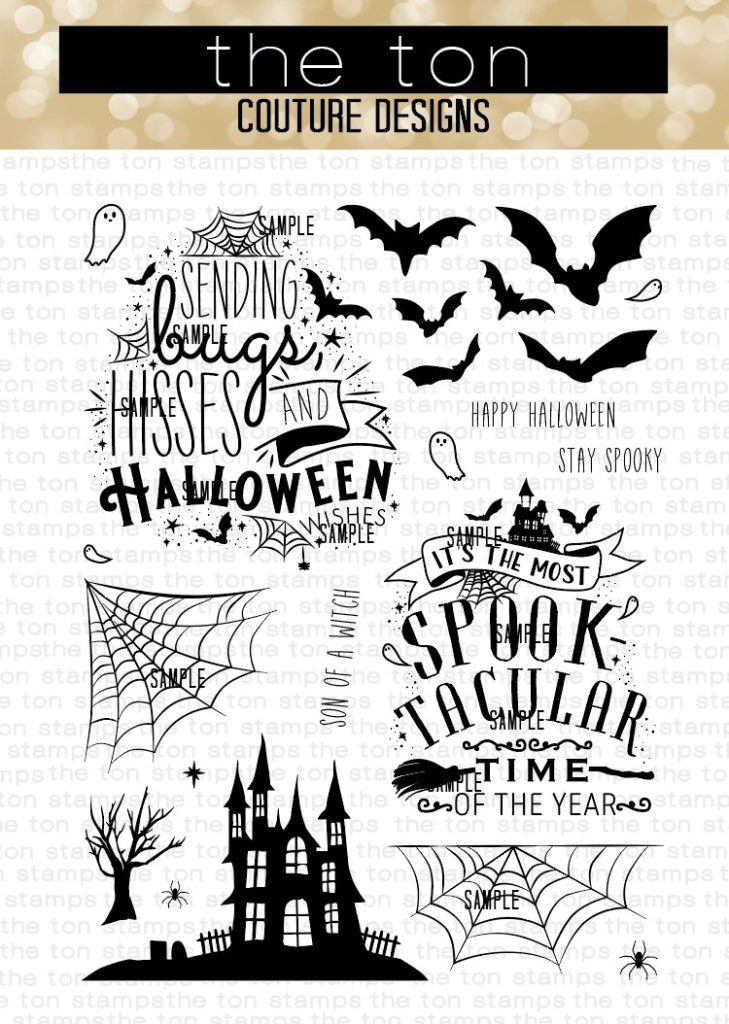
It’s Release day at The Ton!!! Today The Ton is introducing many new layering stencils in floral and holiday designs along with coordinating dies. Also there are two grouped layering stamps, a Halloween stamp and a Fill In sentiment stamp, all with coordinating dies. The Iris stencils have coordinating outline stamp sets as well.
*Shipping will start around October 17.
I made three holiday cards and one floral Good Luck card to show you the new products.
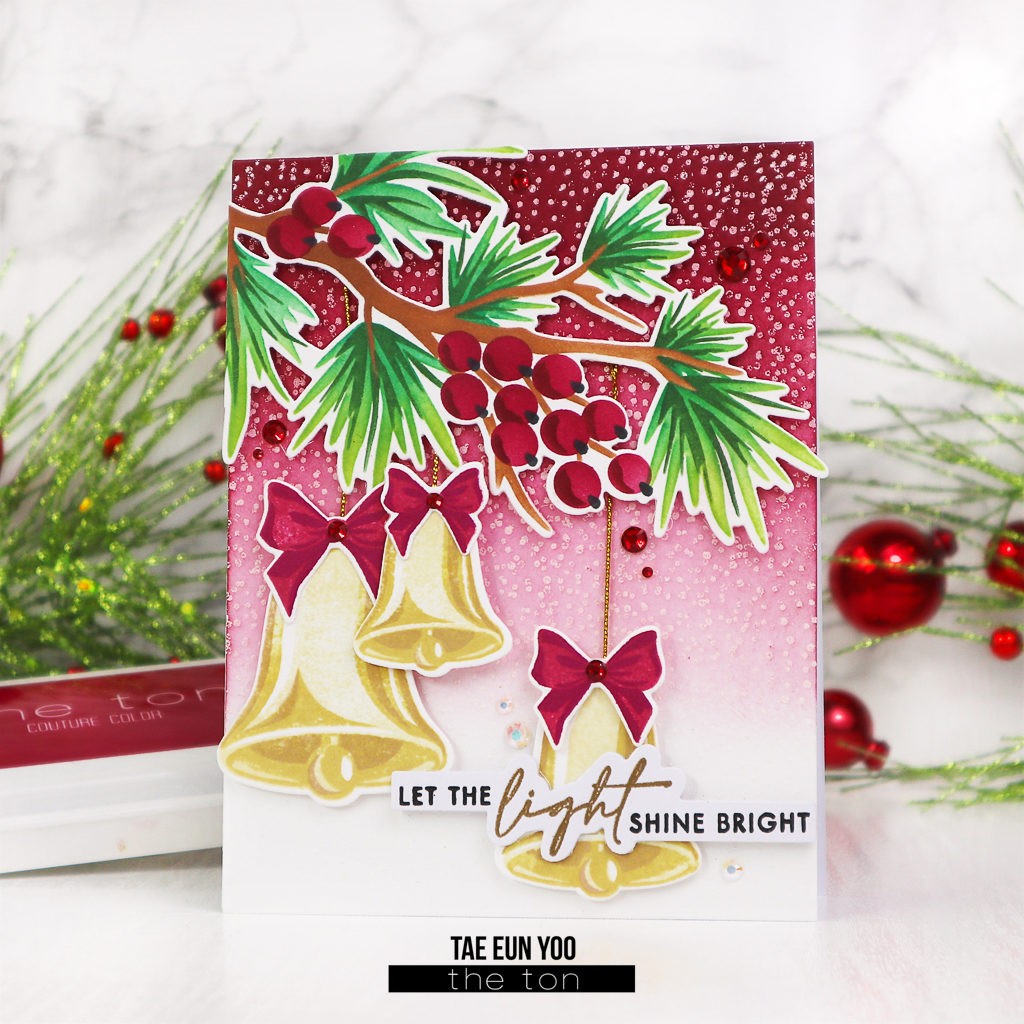
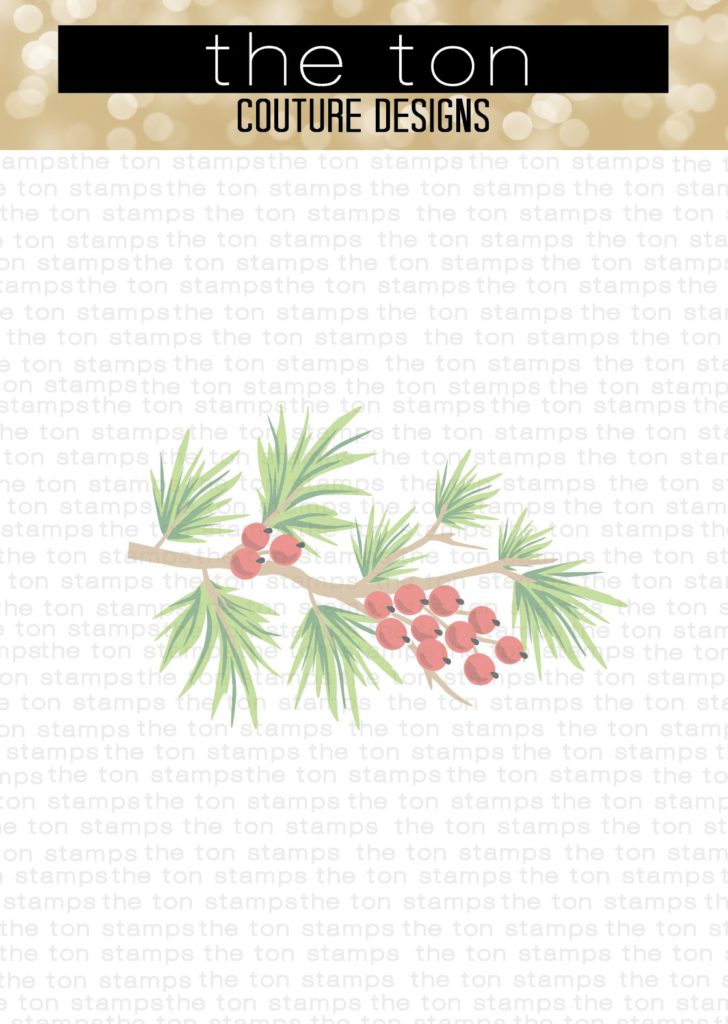
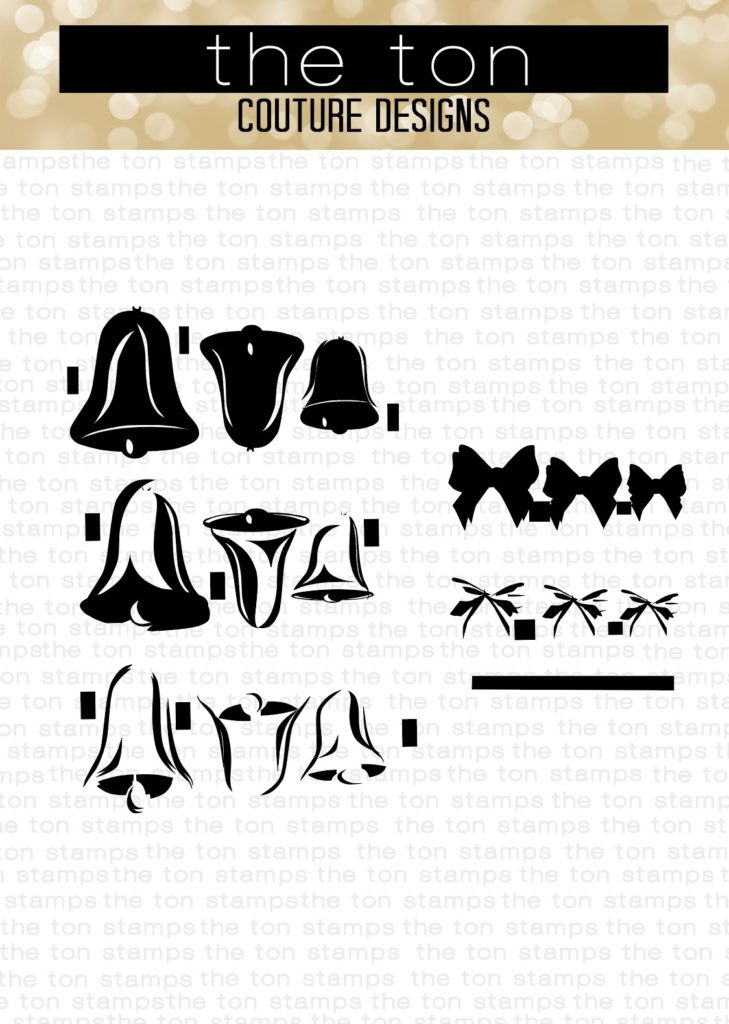
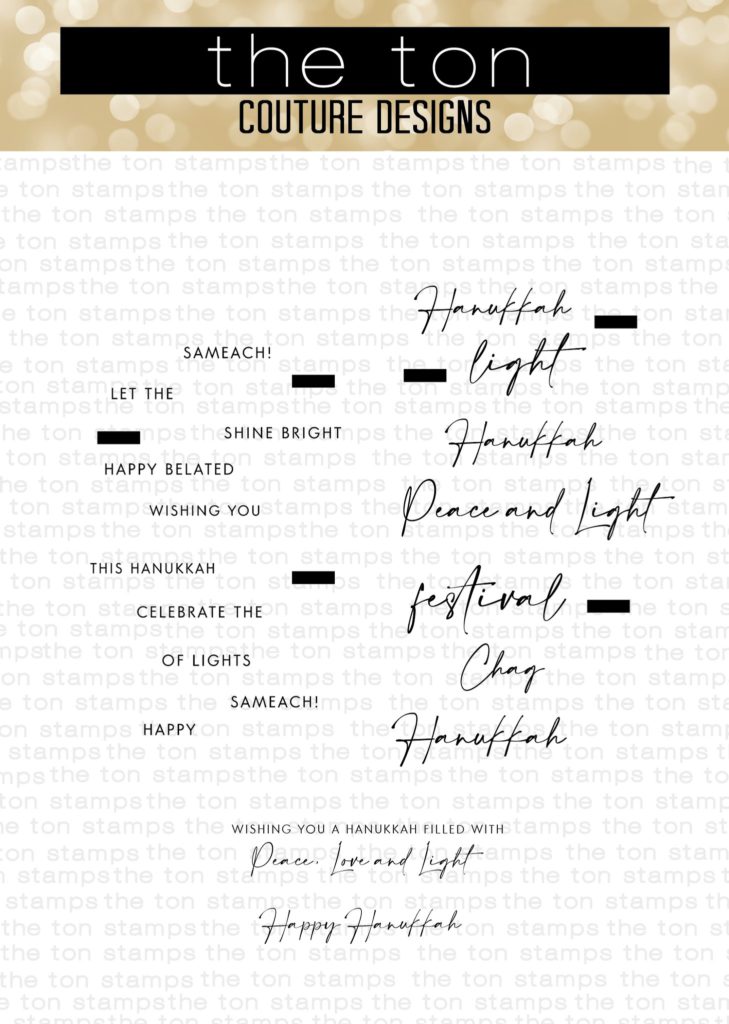
The first card is showcasing four new items from this release; Pine Branch Berry Stencils, Bells and Bows Grouped Layering stamp, Easy Expressions Hanukkah stamp and Speckled stamp.
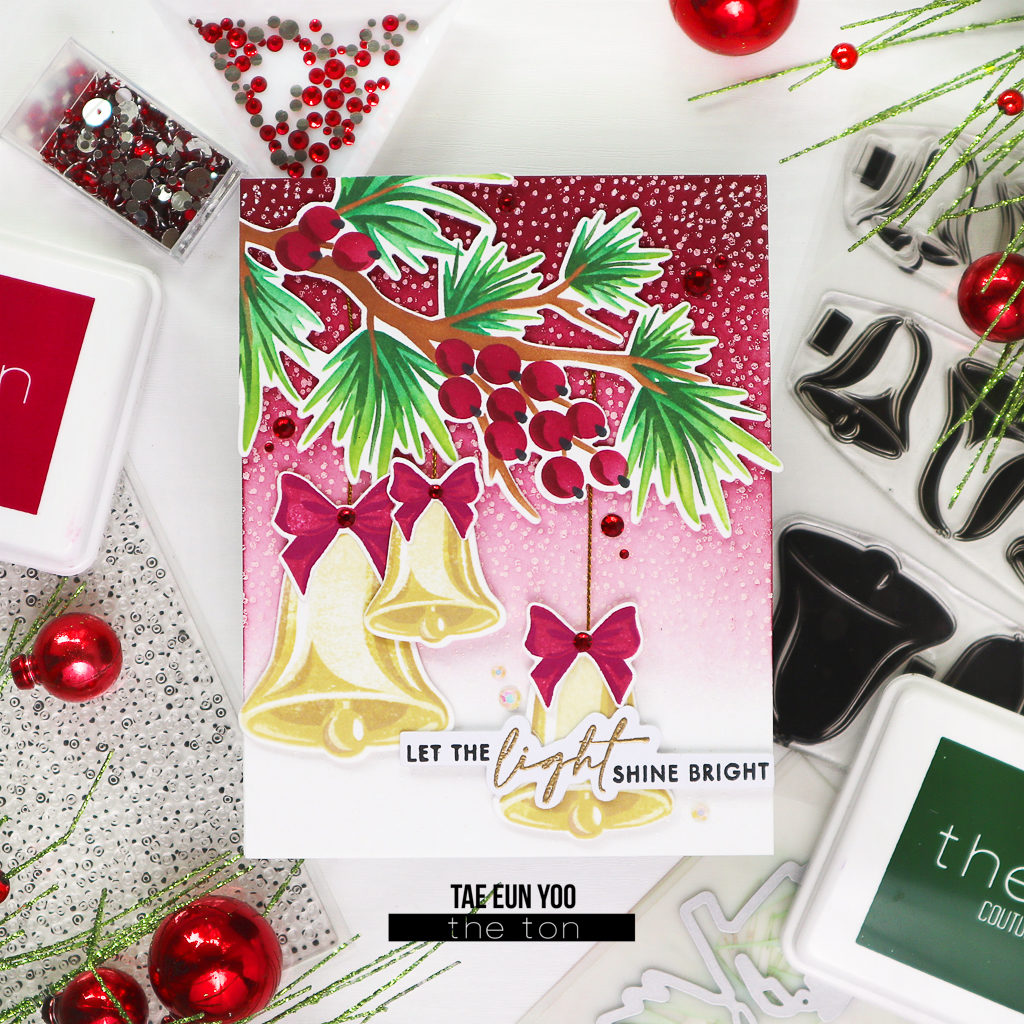
First I stenciled the Pine Branch Berry. The first layer of the pine leaves were stenciled in Meadow and Deep Emerald and the second layer in Everglade Moss. The branch was stenciled in Found topaz and the berries in Lipstick Red and Wine. After the stenciling was done I cut the image using the coordinating die and set it aside.
The Bells were stamped in Vanilla Frosted Cupcake, Beach Blondie and Warm Hazelnut and the Bows in Lipstick Red and Pink Derby. The bells and bows were cut with the coordinating die.
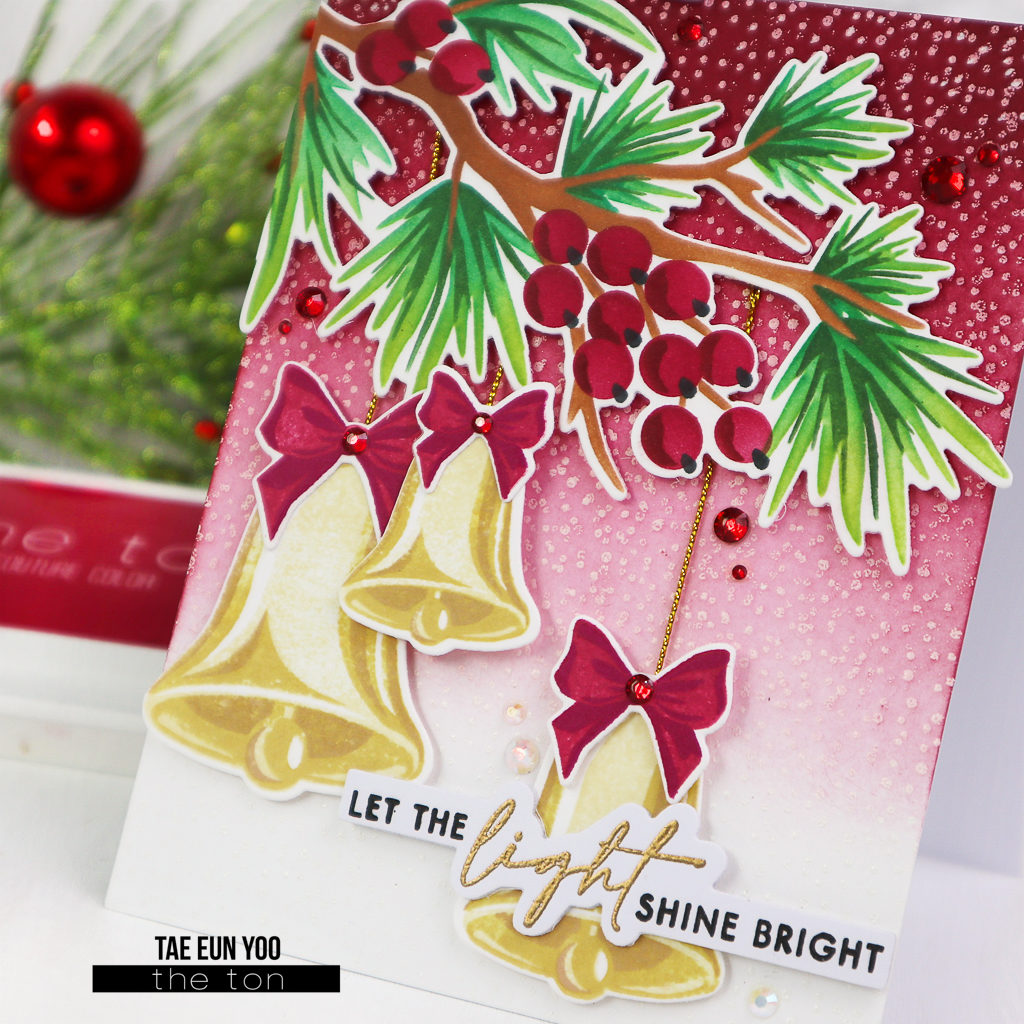
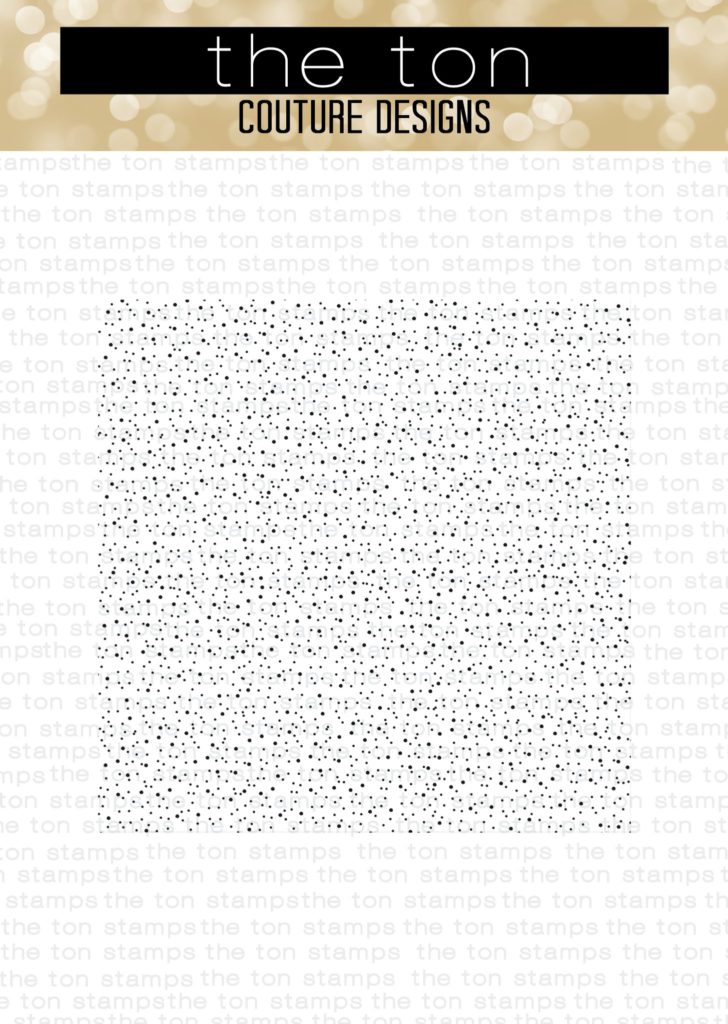
Before I ink blended the background in ombre red using Lipstick Red and Wine I white heat embossed the white panel with the Speckled stamp for a snowy effect.
I adhered the background panel on a white cardbase and arranged all the elements as shown in the picture using foam adhesives. I used some gold twine to add the bells.
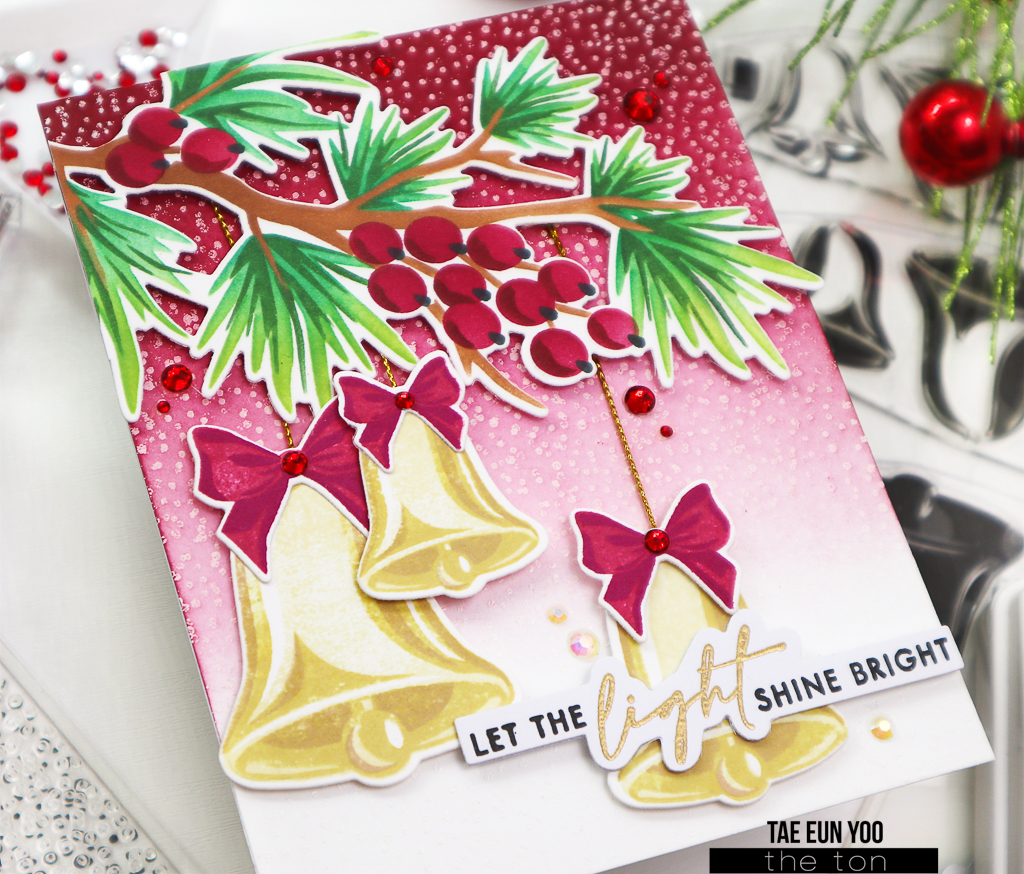
The Easy Expressions Hanukkah set was partly gold heat embossed and partly stamped in Noir.
I finished off the card with a few Red Gems and Crystal Clear Rainbow Rhinestones.
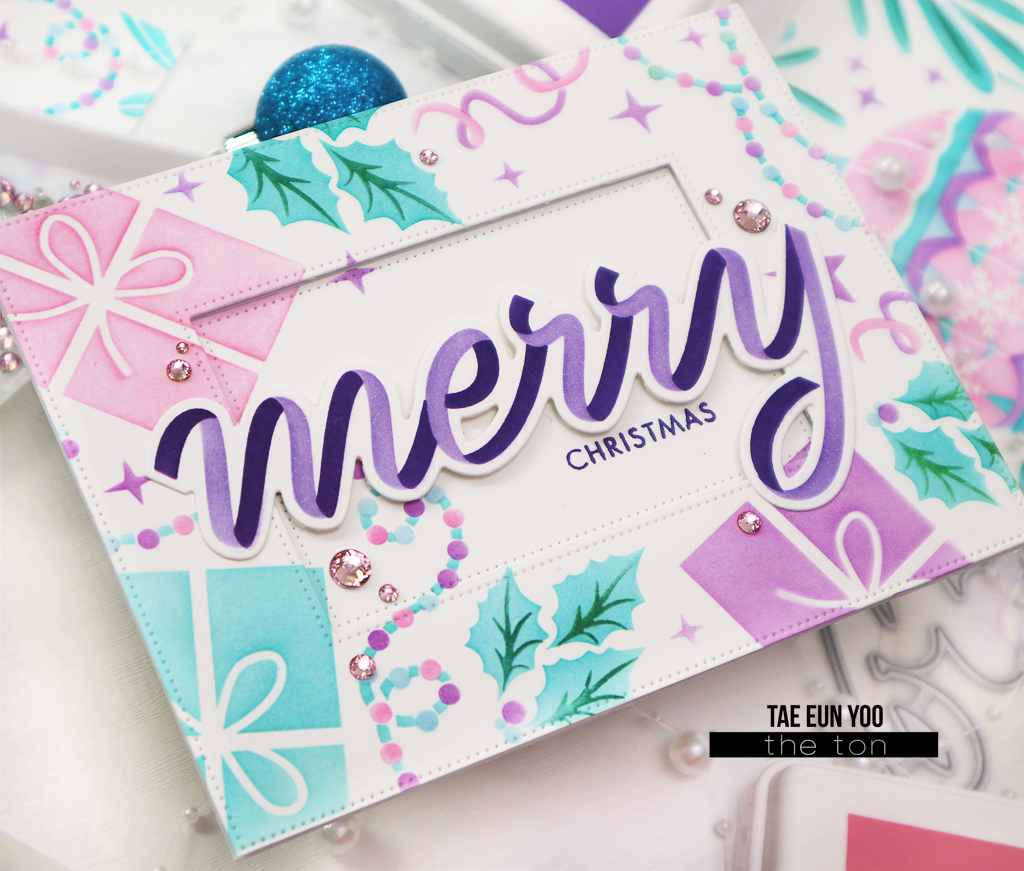
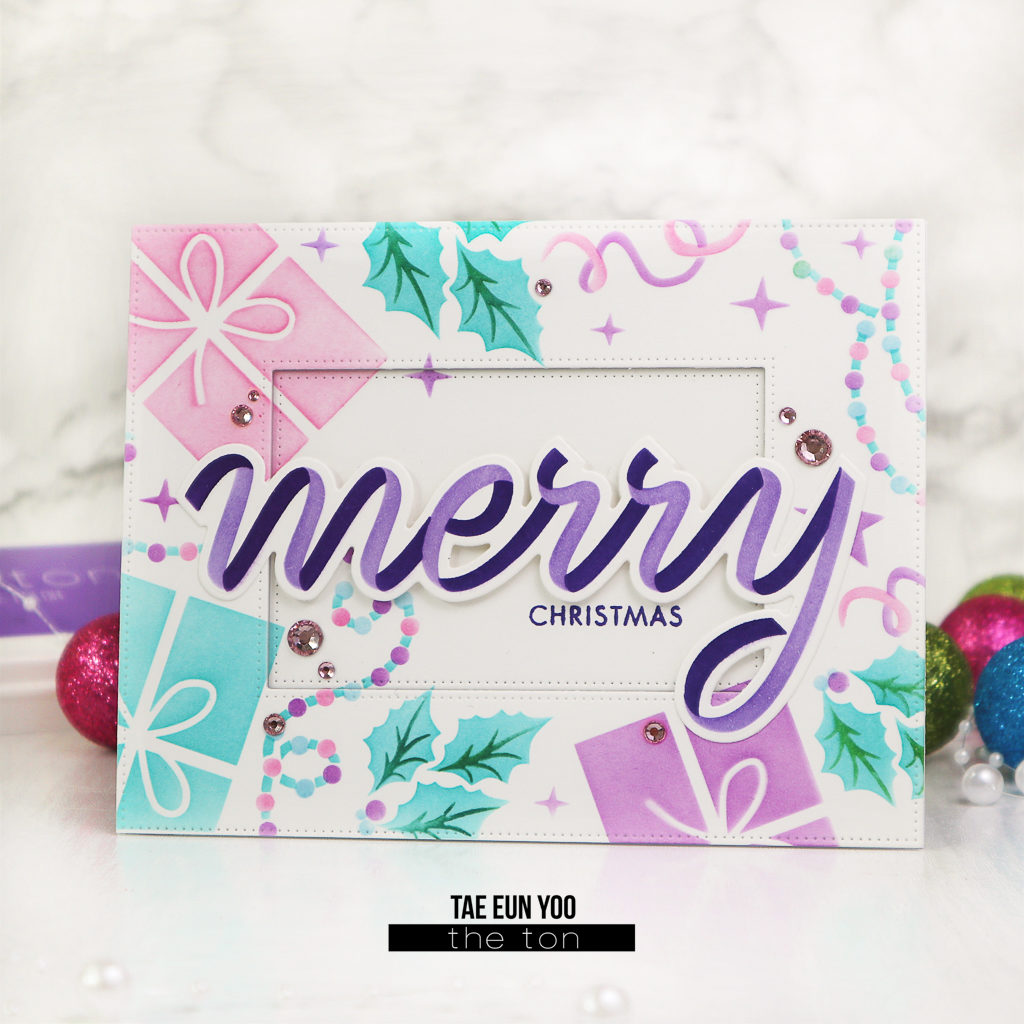
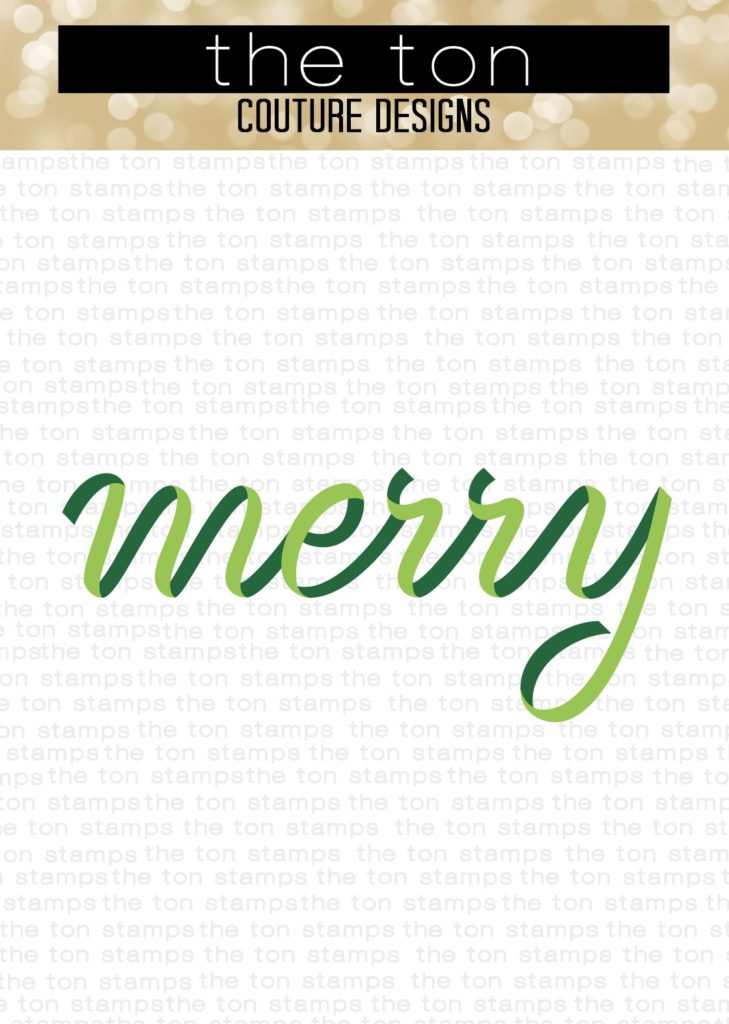
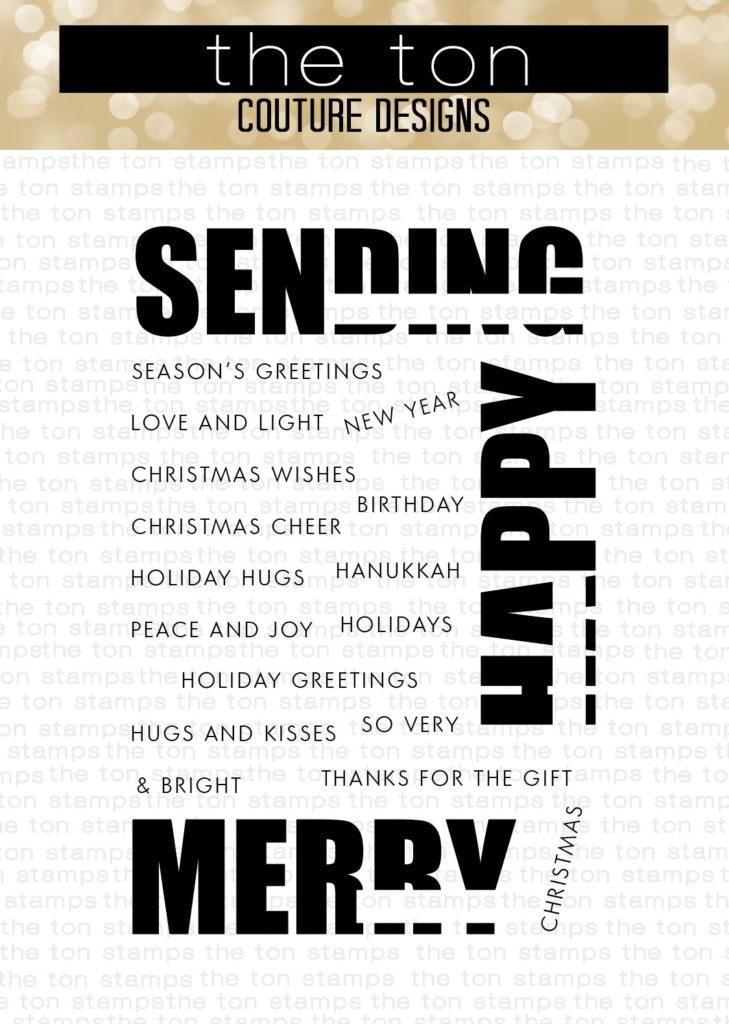
The next holiday card is showcasing the Jolly Season Large Stencils. It is 9″x12″ large and have four A2 sized images in it. So if you want you can stencil four holiday images for your cards on a letter sized cardstock with a single process. Coordinating dies are available for this stencil set! I also used the Ribbon Merry stencils and die for my sentiment.
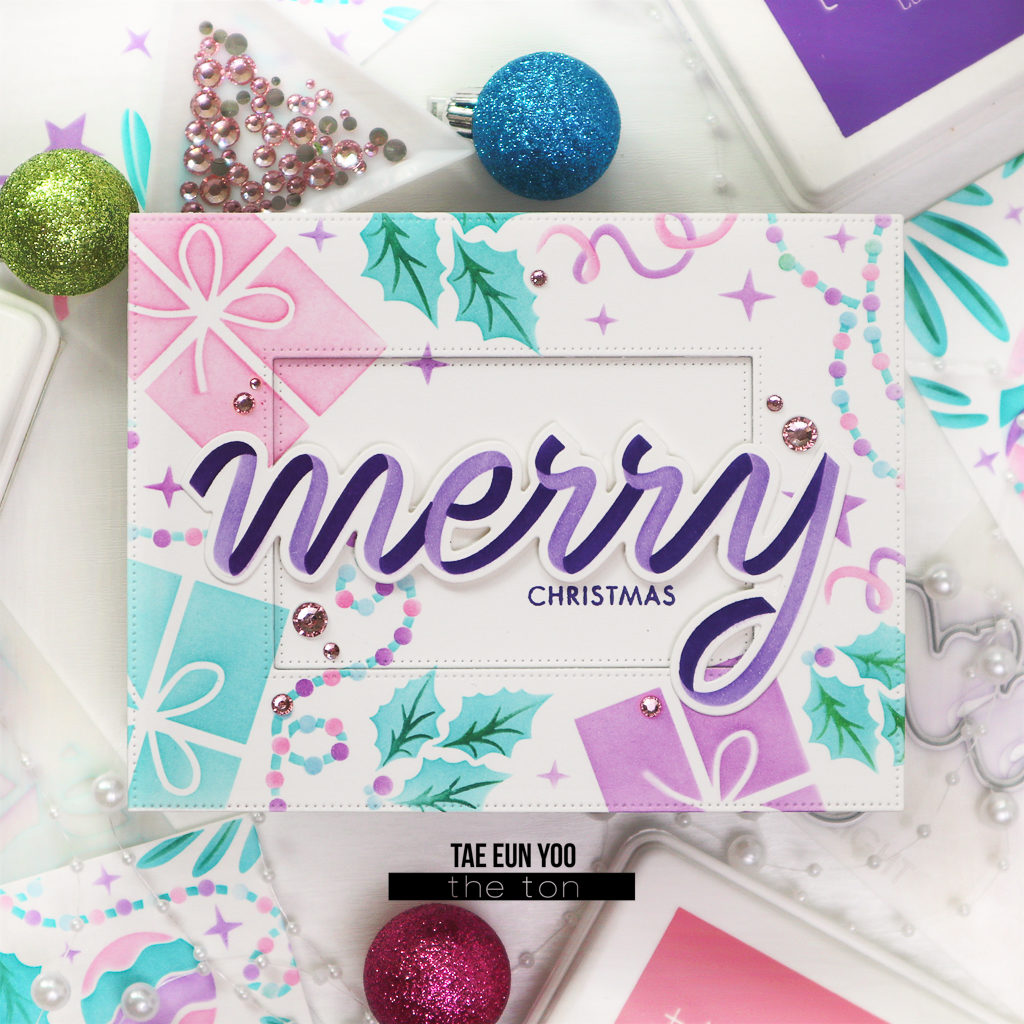
I stenciled the four piece stencil set in Bubblegum, Cali Blue, Iris Blooms, Hot Tourmaline and Basil Mojito. I cut the panel into four A2 sized pieces and used one of them for my card.
I cut the panel of my choice using two dies from the Double Pierced Rectangle A2 Nested die set, adhered the center part flat on a white cardbase and foam mounted the frame.
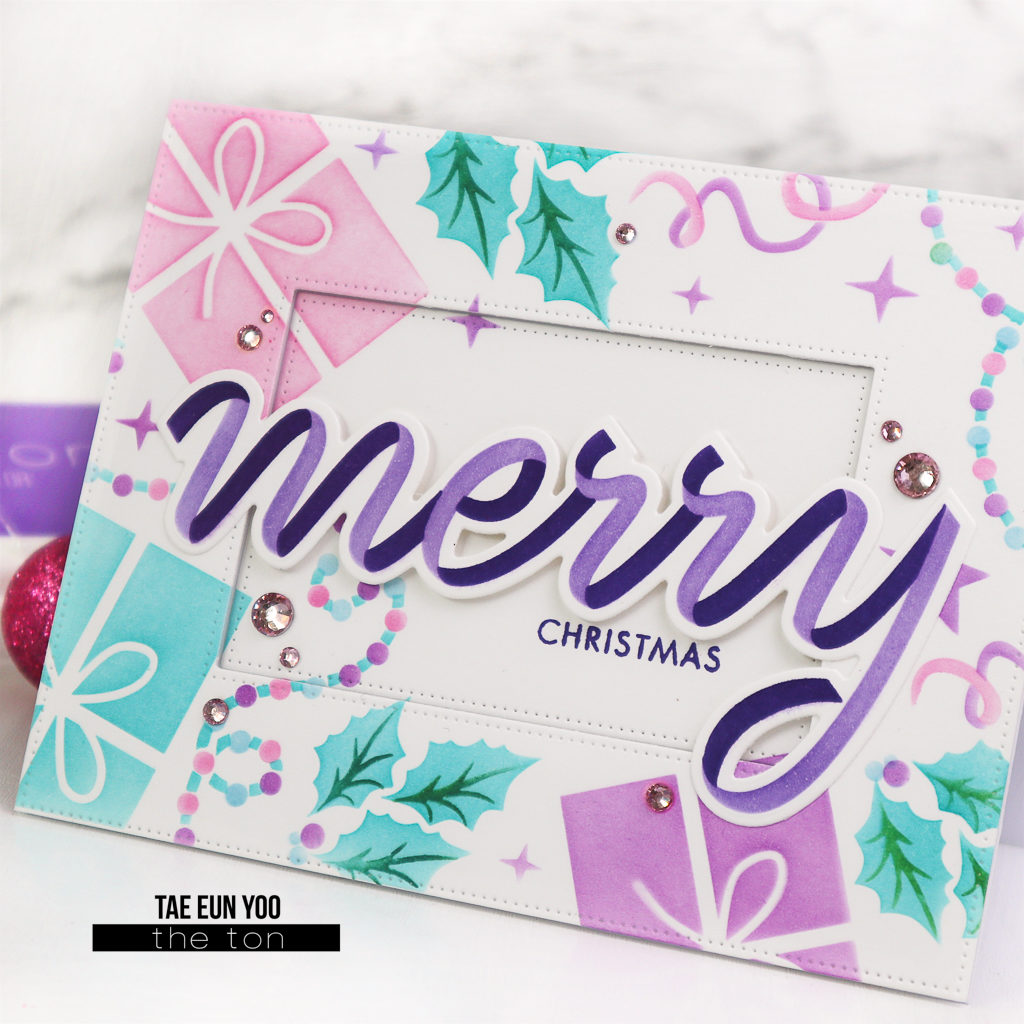
The Ribbon Merry was stenciled in Iris Blooms and Violet Fringe and cut using the coordinating die. I stamped the “CHRISTMAS” from the Bold Fill In Holiday set directly on the central part of the cardbackground in Violet Fringe.
My finishing touch for this card was some Soft Pink Rhinestones.
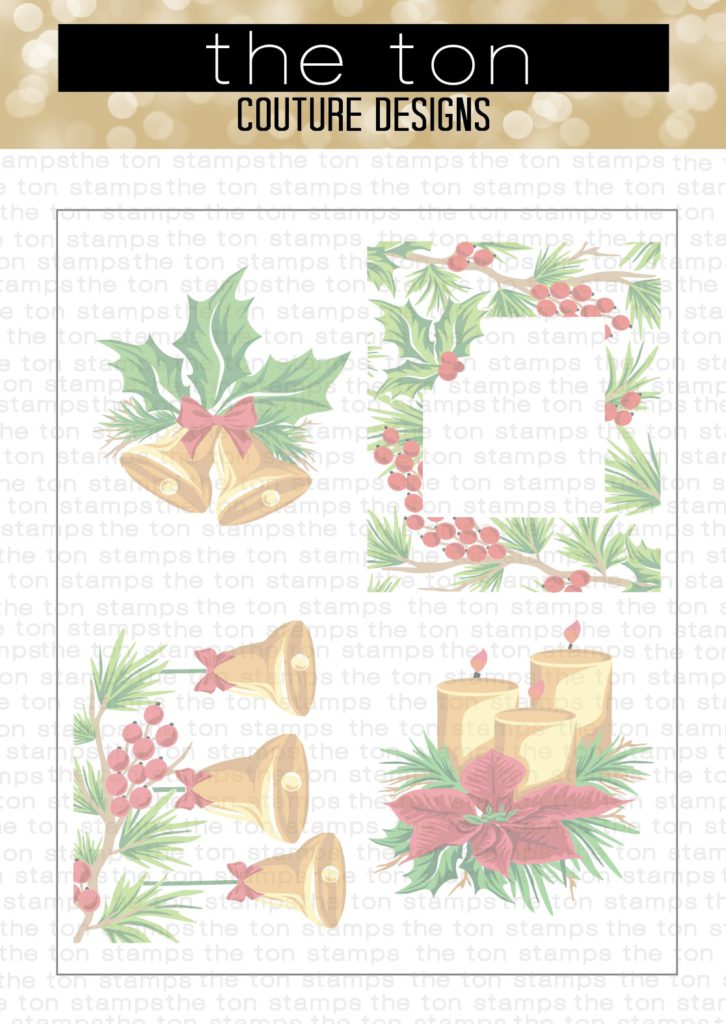
Next holiday card is featuring another large stencil set called Holiday Bells Large Stencils. There is also a coordinating die set for this stencils.
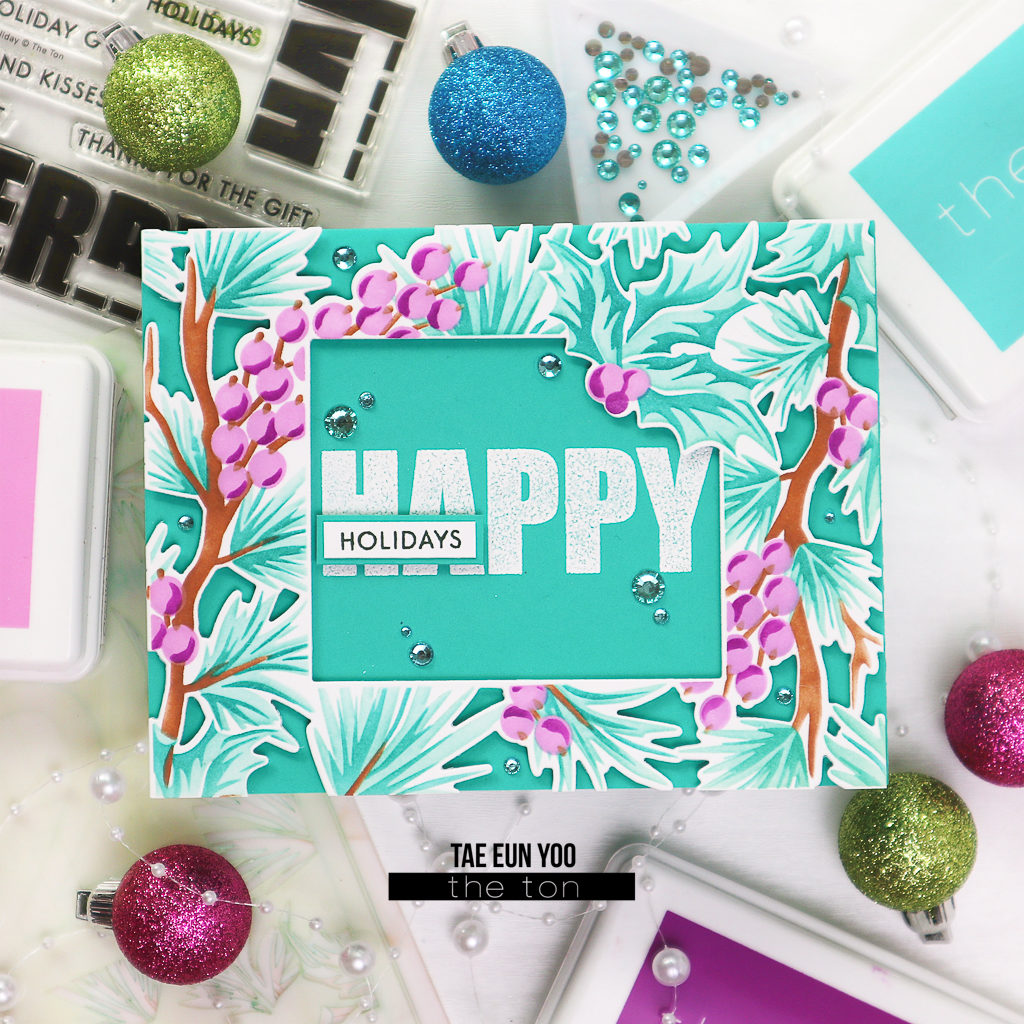
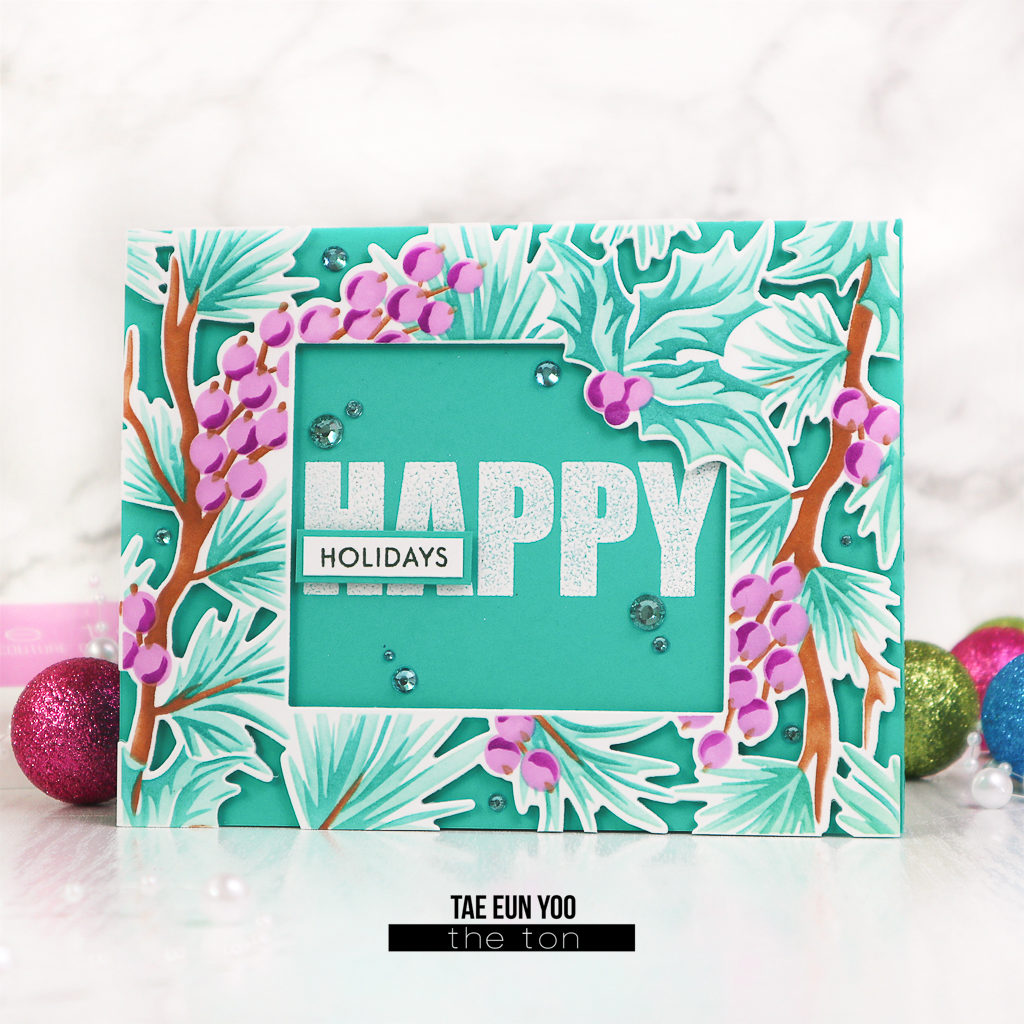
I stenciled the Holiday Bells in Bright Emerald, Hot Tourmaline, Orchid Crush, Plum Wine and Found Topaz to create teal leaves and purple berries. After the stenciling was done I cut the image using the coordinating die.
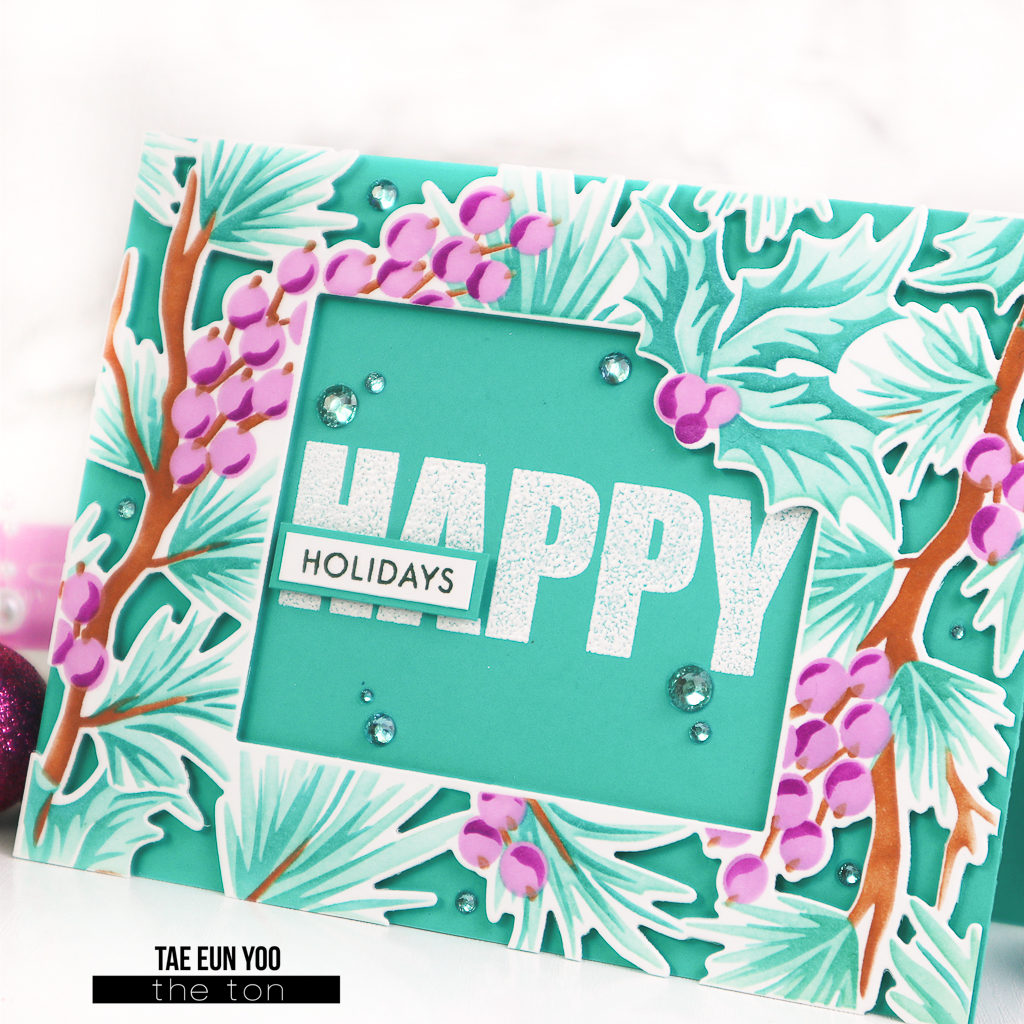
I white heat embossed the “HAPPY” from the Bold Fill In Holiday set on a teal cardbase and foam mounted the stenciled frame on it. I stamped “HOLIDAYS” which is also from the Bold Fill In Holiday set on a piece of white cardstock in Basil Mojito and added this sentiment to the card with a thin mat in teal.
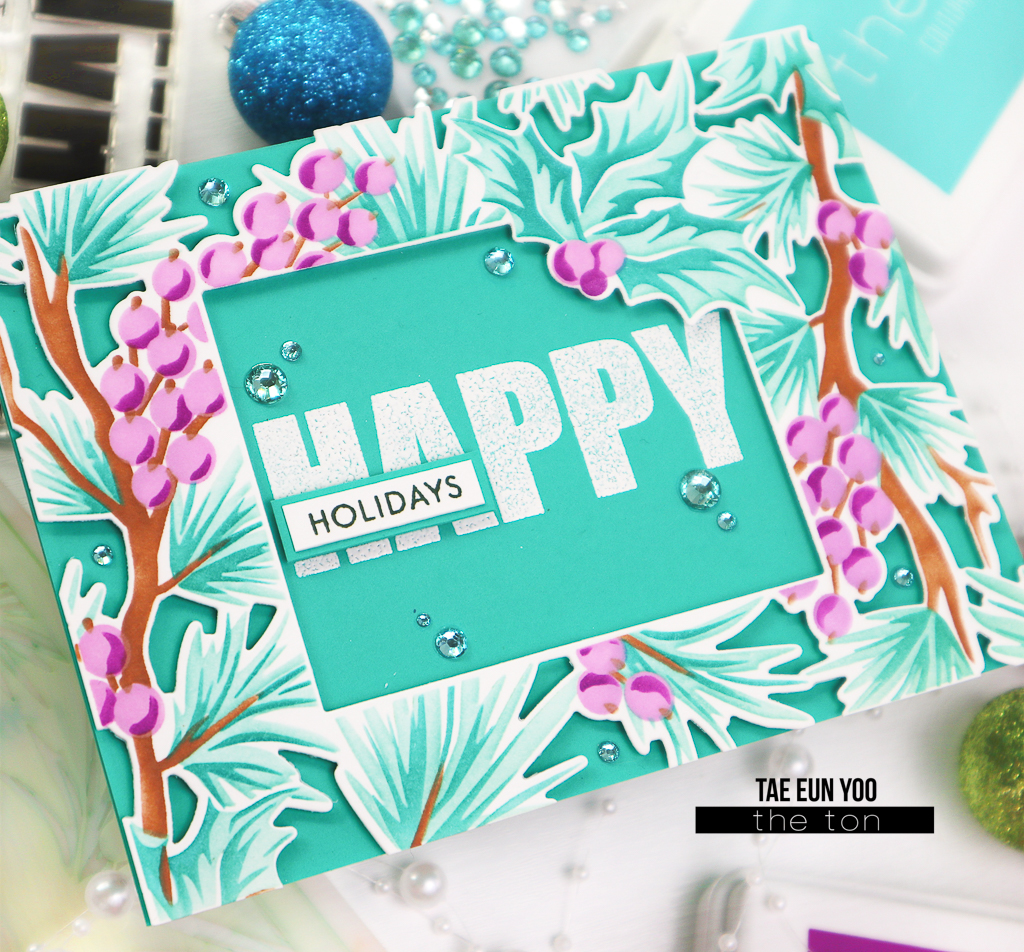
I finished off the card with a few Light Aqua Rhinestones.
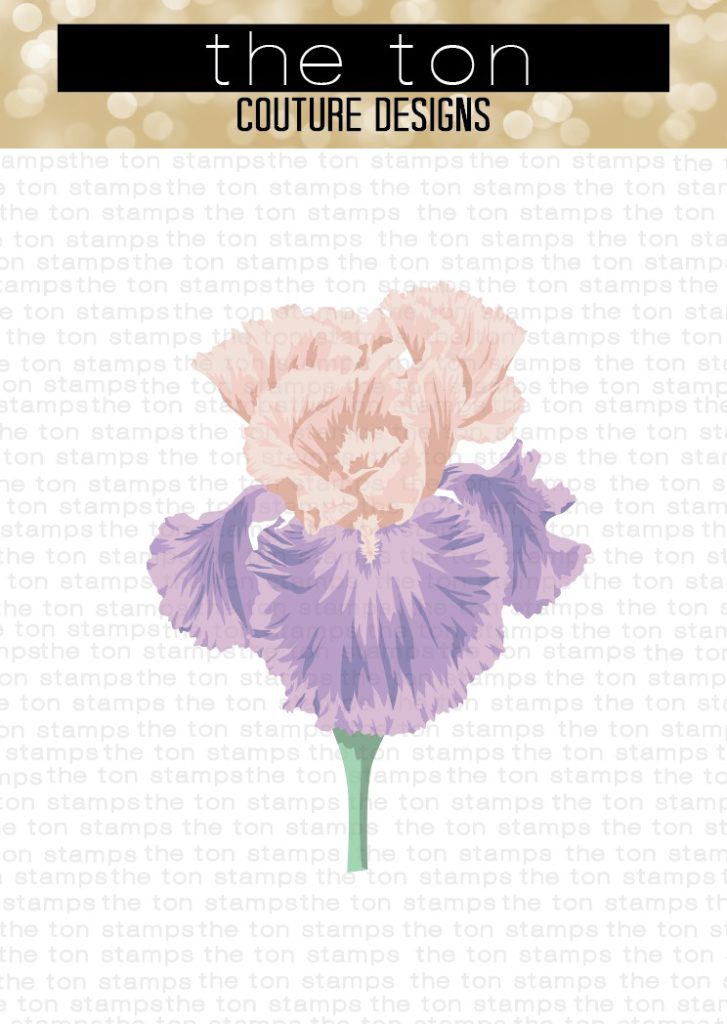
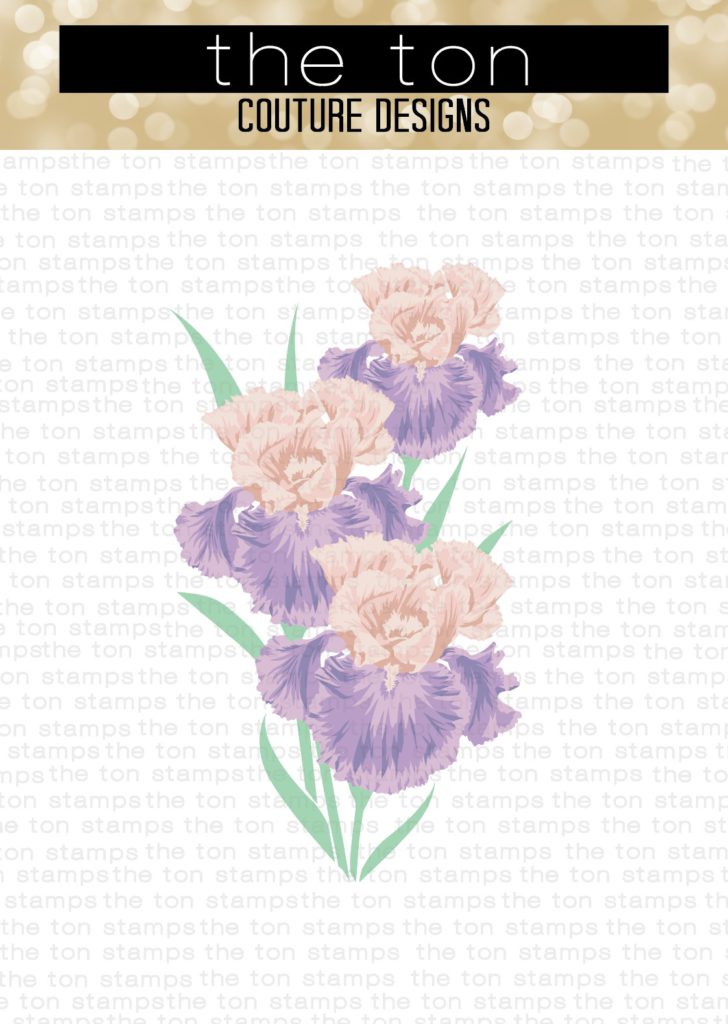
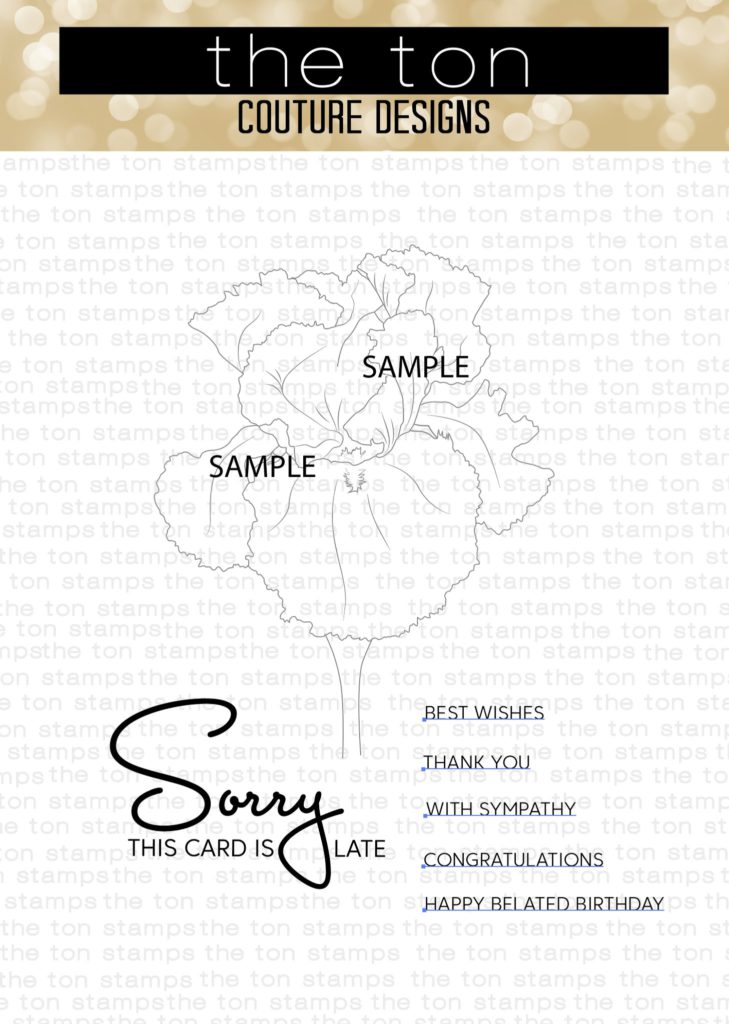
The last card for today is showing the gorgeous Jumbo Iris stencils. I used the Belated Iris stamp to give the stenciled iris a golden outline!
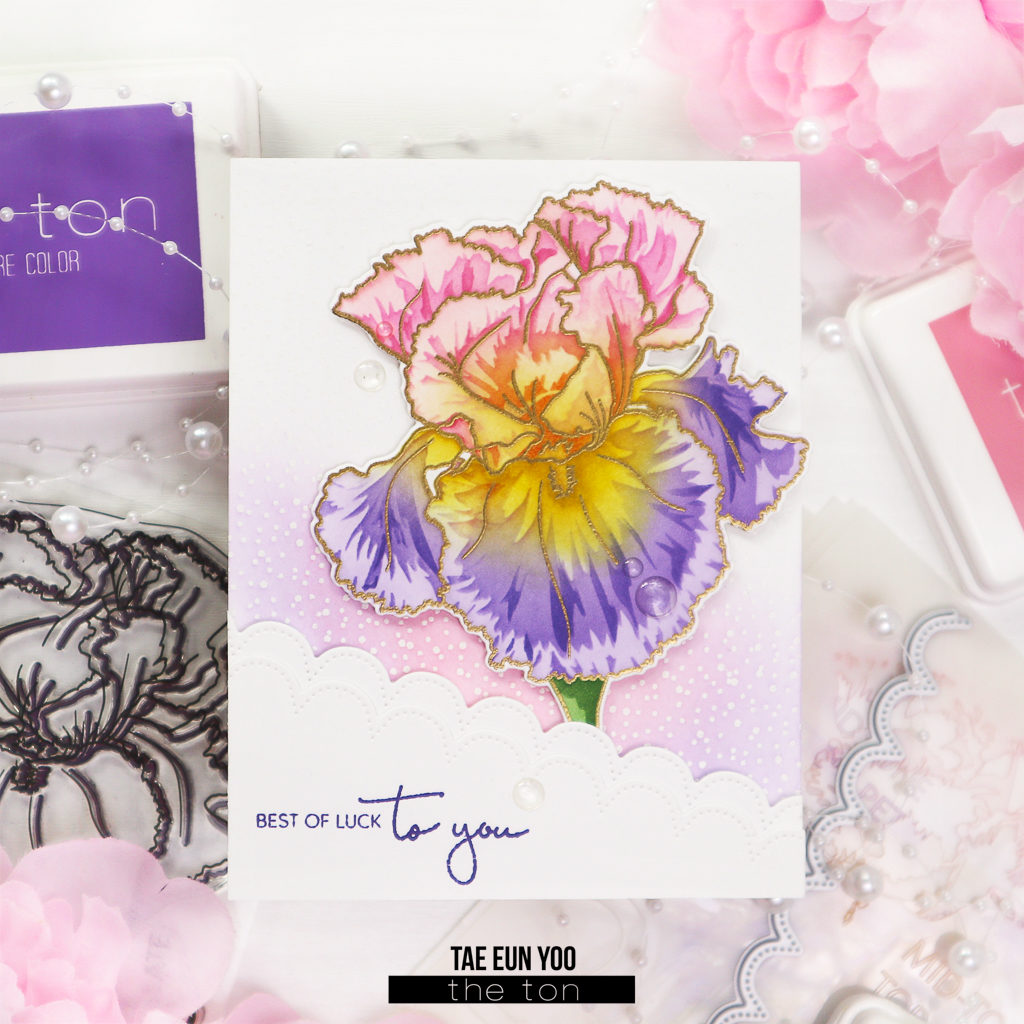
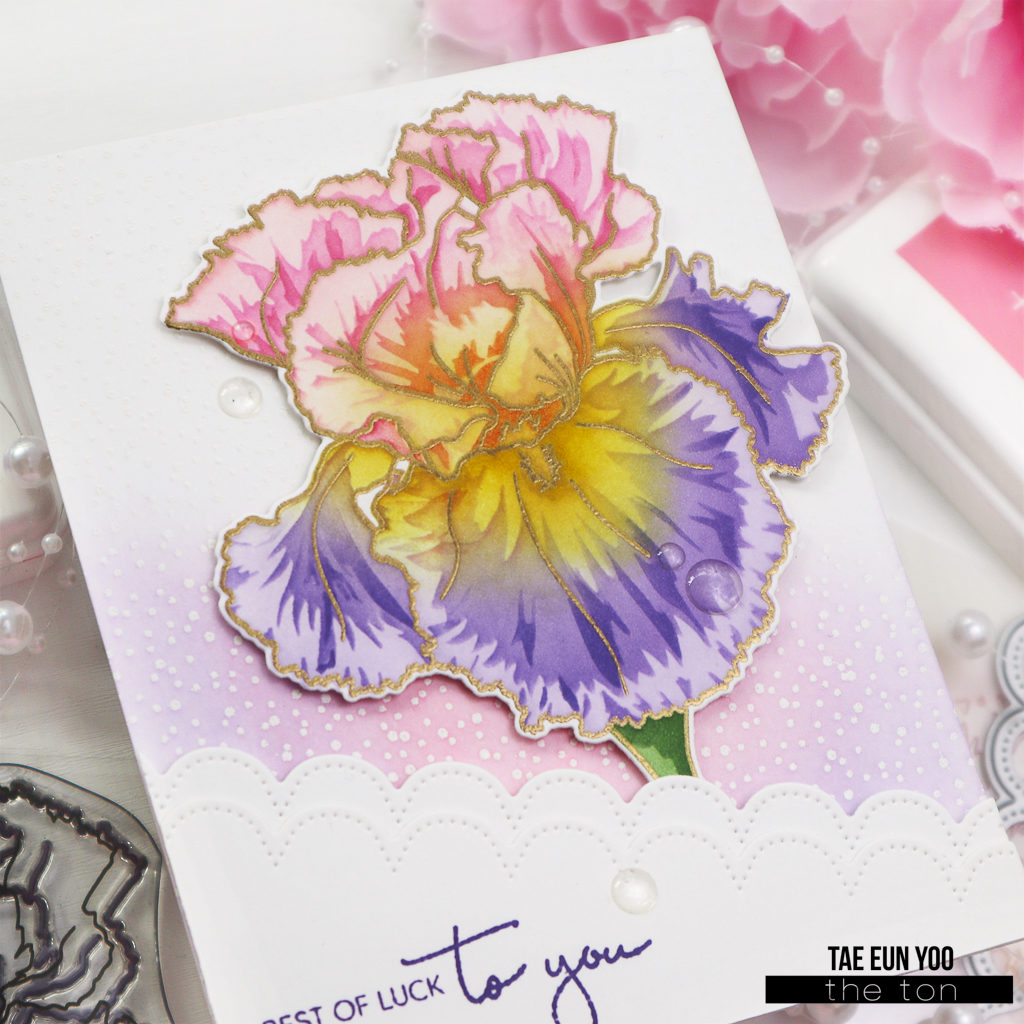
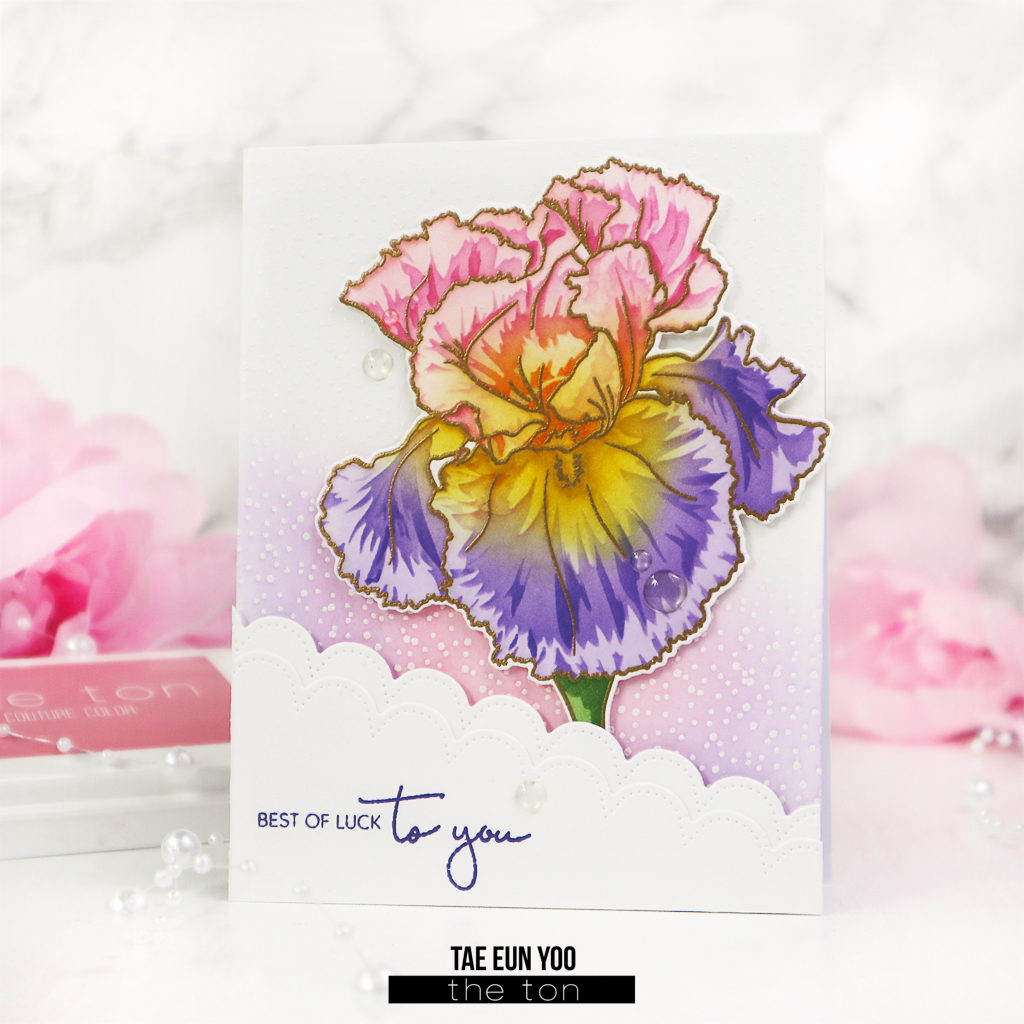
I first gold heat embossed the Belated Iris on a white panel and stenciled it using the Jumbo Iris stencils. This stencil set has six pieces. The upper petals and the lower petals have three layers each. I stenciled the upper petals in pink and the lower ones in purple and added a bit of yellow to both.
The ink colors I used are Bubblegum, Dolled Up, Deep Peony, Soft Amethyst, Iris Blooms, Violet Fringe, Lemon Drop, Peach Blossom, Matcha and Everglade Moss.
After stenciling I cut the iris using the Jumbo Iris coordinating die.
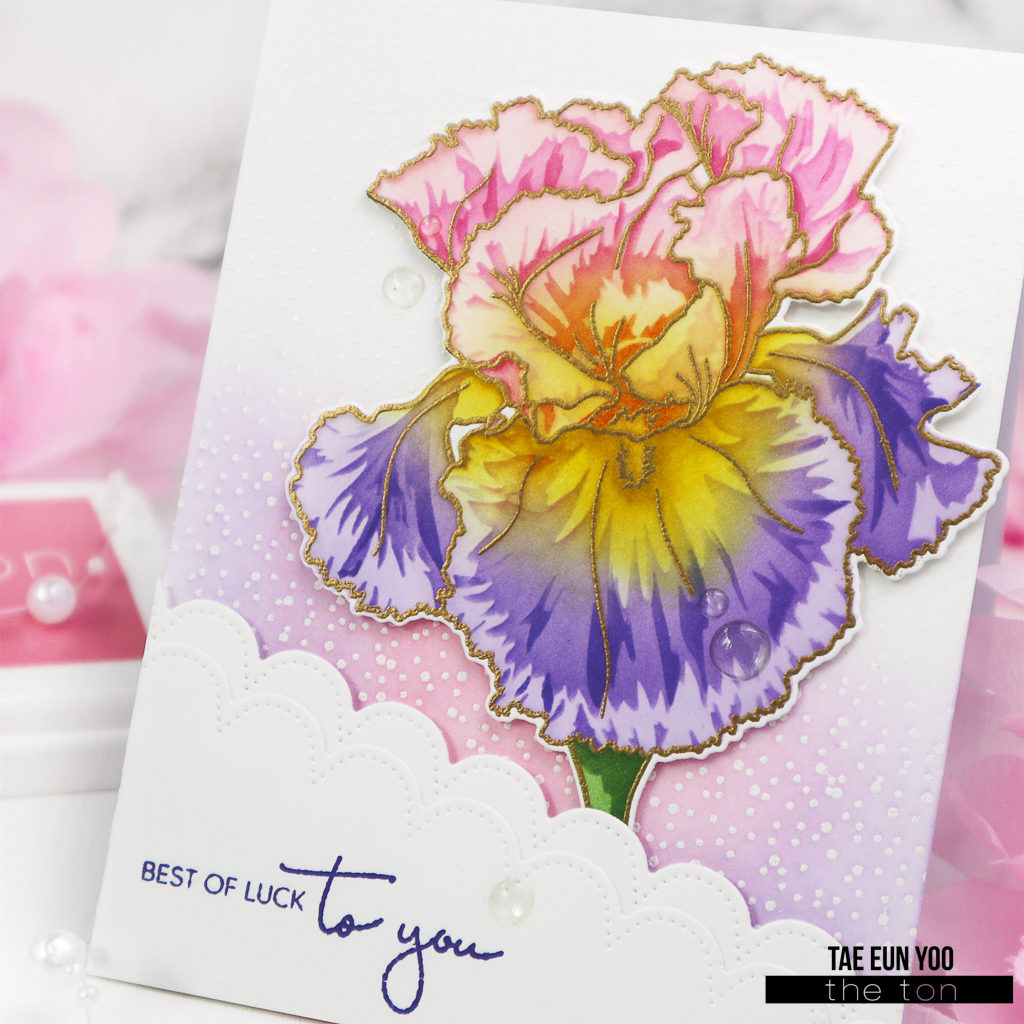
To create the background I white heat embossed the Speckled on a white cardstock panel and ink blended the lower part of it in Bubblegum and Soft Amethyst.
The iris was foam mounted on the background. I cut two angled white panels using a scalloped Slimline Border die, layered them and added it on the bottom of the card using foam tape. The sentiment from the Coming Up Iris set was stamped in Violet Fringe on the white front panel.
To finish off the card I used the Clear Enamel Dots.
Please visit The Ton blog and my team mates blogs! They have created some gorgeous inspiration projects for you!
Thank you so much for visiting my blog today! Please check out The Ton blog for the full reveal of the Fall/Holiday 2022 Release!
TaeEun

oh my goodness what an amazing collection of cards Tae Eun, loved so much of the above. those bells look amazing, the soft colours in the backgrounds, that wonderful flower all showcasing the release to perfection. xxx Aileen
What fantastic cards to showcase this new release TaeEun, and love all the designs with great looks for the holiday season and such a beautiful flower too. x
As beautiful as your Iris is stenciled, I cannot wait to see you watercolor it, TaeEun!
An amazing collection of cards and products!
=]