
Hello everyone! Hope you are having a wonderful week so far!
Today I have two special cards to share with you! Altenew releases today the first stamp set of a series that will be continued in the future.
It is called Build-A-Flower and the first flower of the series is Camellia! This is a layering stamp to create a gorgeous big camellia and the coordinating dies are included in the set.

I’m so thrilled to be a part of this special release event at Altenew! It is an honor for me to introduce you this beautiful stamp set.
Let’s take a look at my cards!
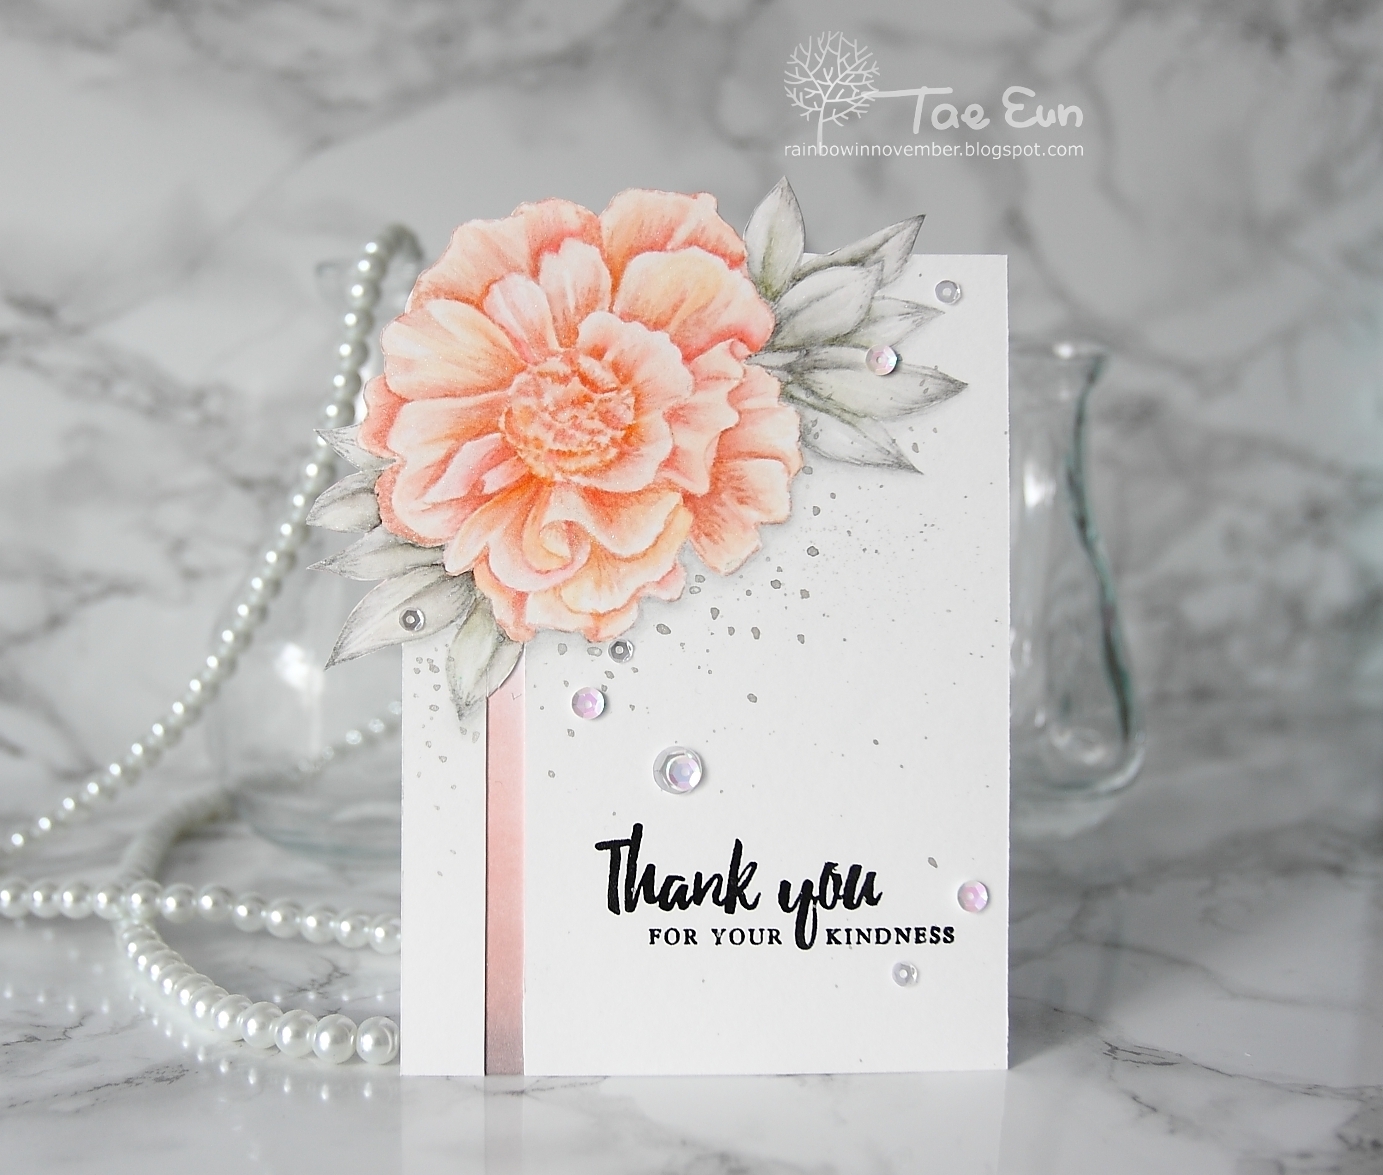
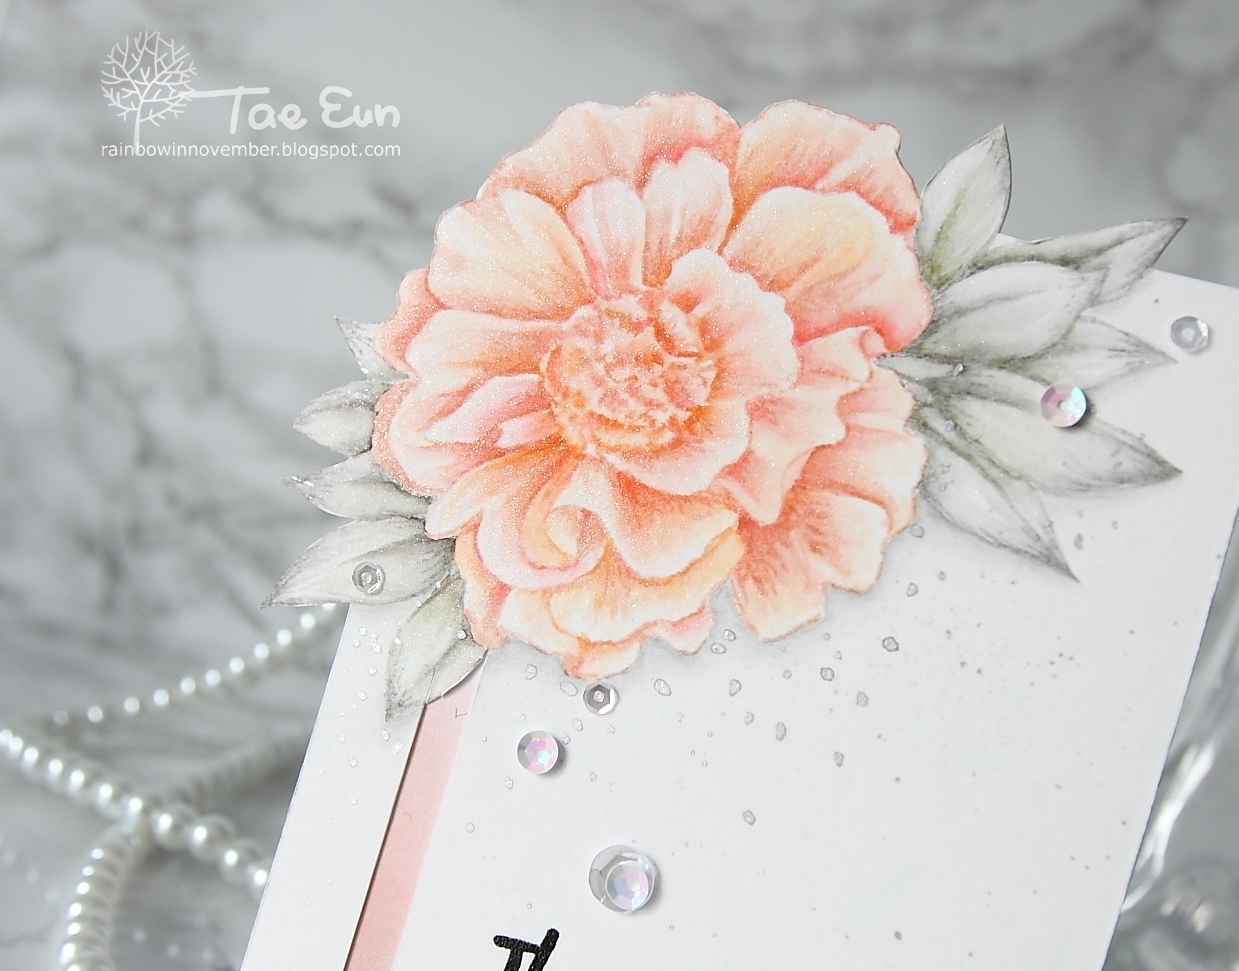
I wanted to make a off-the-edge image card. So I cut Canson water color paper larger than A2 size and stamped the camellia in Tattered Rose DI and the leaves in second generation of Hickory Smoke DI after masking the flower on the top left corner of my panel. I used for both the third layer stamp of the Build-A-Flower: Camellia set. I then colored the image using Zig brush markers and Koi water color. I tried to stay in coral and gray color combination but added a little bit of pink to flower and a bit of green to the leaves. After adding gray shades around the image and clear Wink of Stella on the flower, I cut the panel in 5.5″ x 4″ and along the outline of the image. I cut out a thin strip on the left part to show the blending in the same color combination on the card base. I splattered silver ink and stamped the sentiment in black pigment ink which I clear heat embossed. To finish off I added some clear and iridescent sequins.
For my second card I used a new-to-me technique. Alcohol ink coloring on vellum.
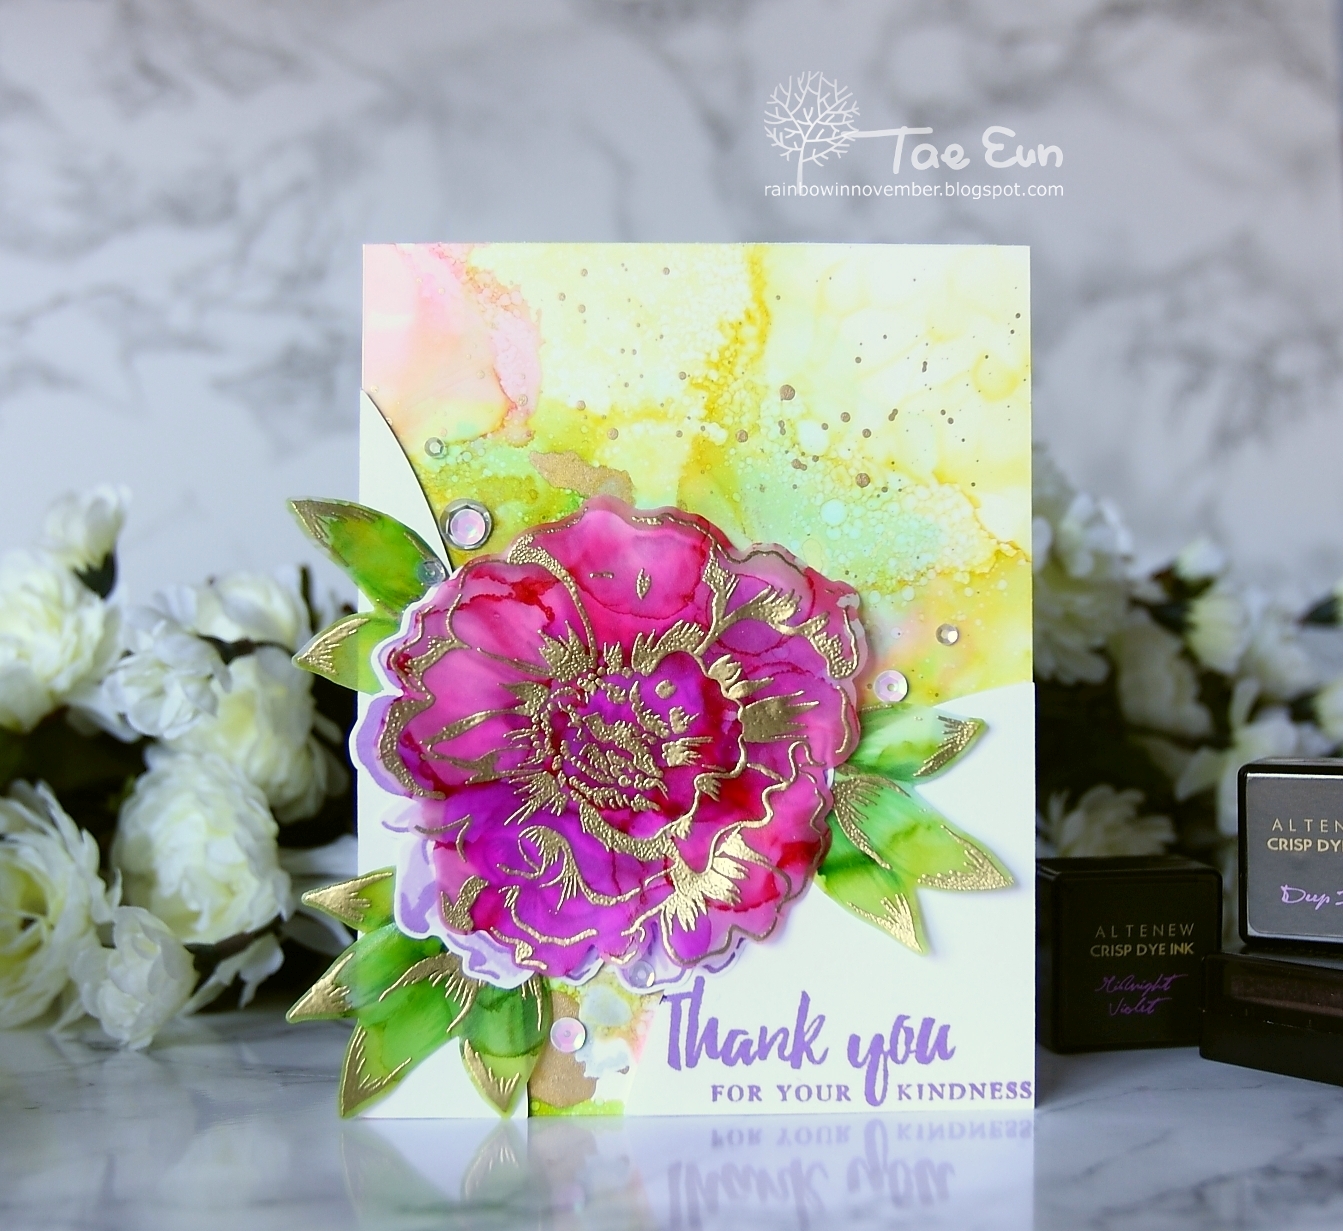
To make this vellum flower I colored a piece of vellum with pink alcohol inks (Raspberry, Flamingo and Shell Pink) and blending solution. I blew the colors to spread it after dripping the ink on the vellum. After the vellum was all dry, I stamped the third layer stamp from Build-A-Flower: Camellia set in embossing ink, heat embossed it in gold and cut it using the coordinating die. The leaves were created in the same way. I used Limeade and Botanical for the leaves. Set them aside, I created my background panel using alcohol inks and Yupo paper. I sprayed the Yupo paper with rubbing alcohol first then dripped the colors and spread them by blowing. I used Flamingo, Shell Pink, Limeade, Snow Cap and Gold mixative. As the background was too busy, I cut two partial panels in white with my Cricut. I stamped the sentiment in Deep Iris on one of the panel. I stamped one more camellia in purple shade using all the layers and die cut it. I glued the background panel flat on the card base, foam mounted the two partial panels and arranged the flowers and leaves as shown in the picture. Some sequins were the finishing touch.
The vellum warped quite a bit after coloring with so many inks. But I really love the distressed look.

I had a blast playing with Build-A-Flower: Camellia stamp set. I hope you enjoyed my cards as well.
—– GIVEAWAY —–
Don’t forget to visit Altenew blog and to leave a comment there for a chance to win one of THREE $30 gift certificates!!!
—– The Flower Challenge —–
My first card is a reminder card for the latest challenge #6 Anything Goes at The Flower Challenge. The challenge closes on the 25th at 5pm (Australian time). Visit The Flower Challenge blog and let my fellow DT members inspire you with their beautiful creations!
Thank you for visiting my blog today!
Have a happy crafty day!
Hugs,
TaeEun