Hello and welcome to Pinkfresh Studio February 2020 Background Stamp Release Blog Hop!!!
You’ve arrived here from my lovely team mate Ivana’s blog, if you’re following the blog hop order. In case you’re lost on the way or want to start over, please hop over to Pinkfresh Studio blog!
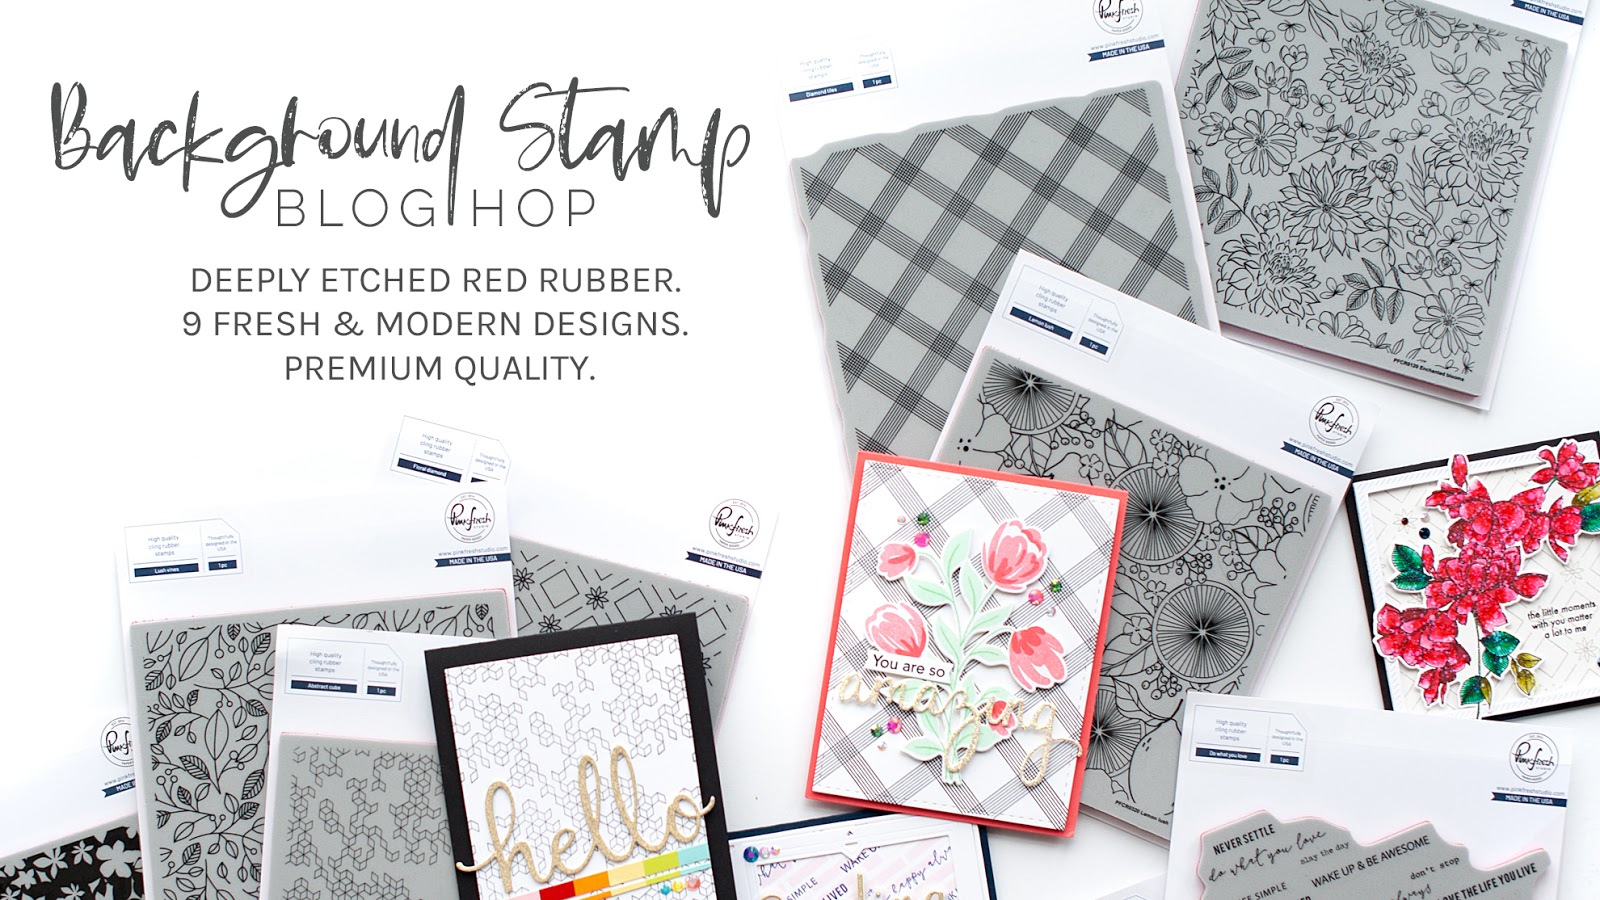
At Pinkfresh Studio nine background cling stamps are debuting today! From floral to graphic and abstract, surely you will find something you love!
I have four cards to share with you featuring three of the background stamps that are debuting today.
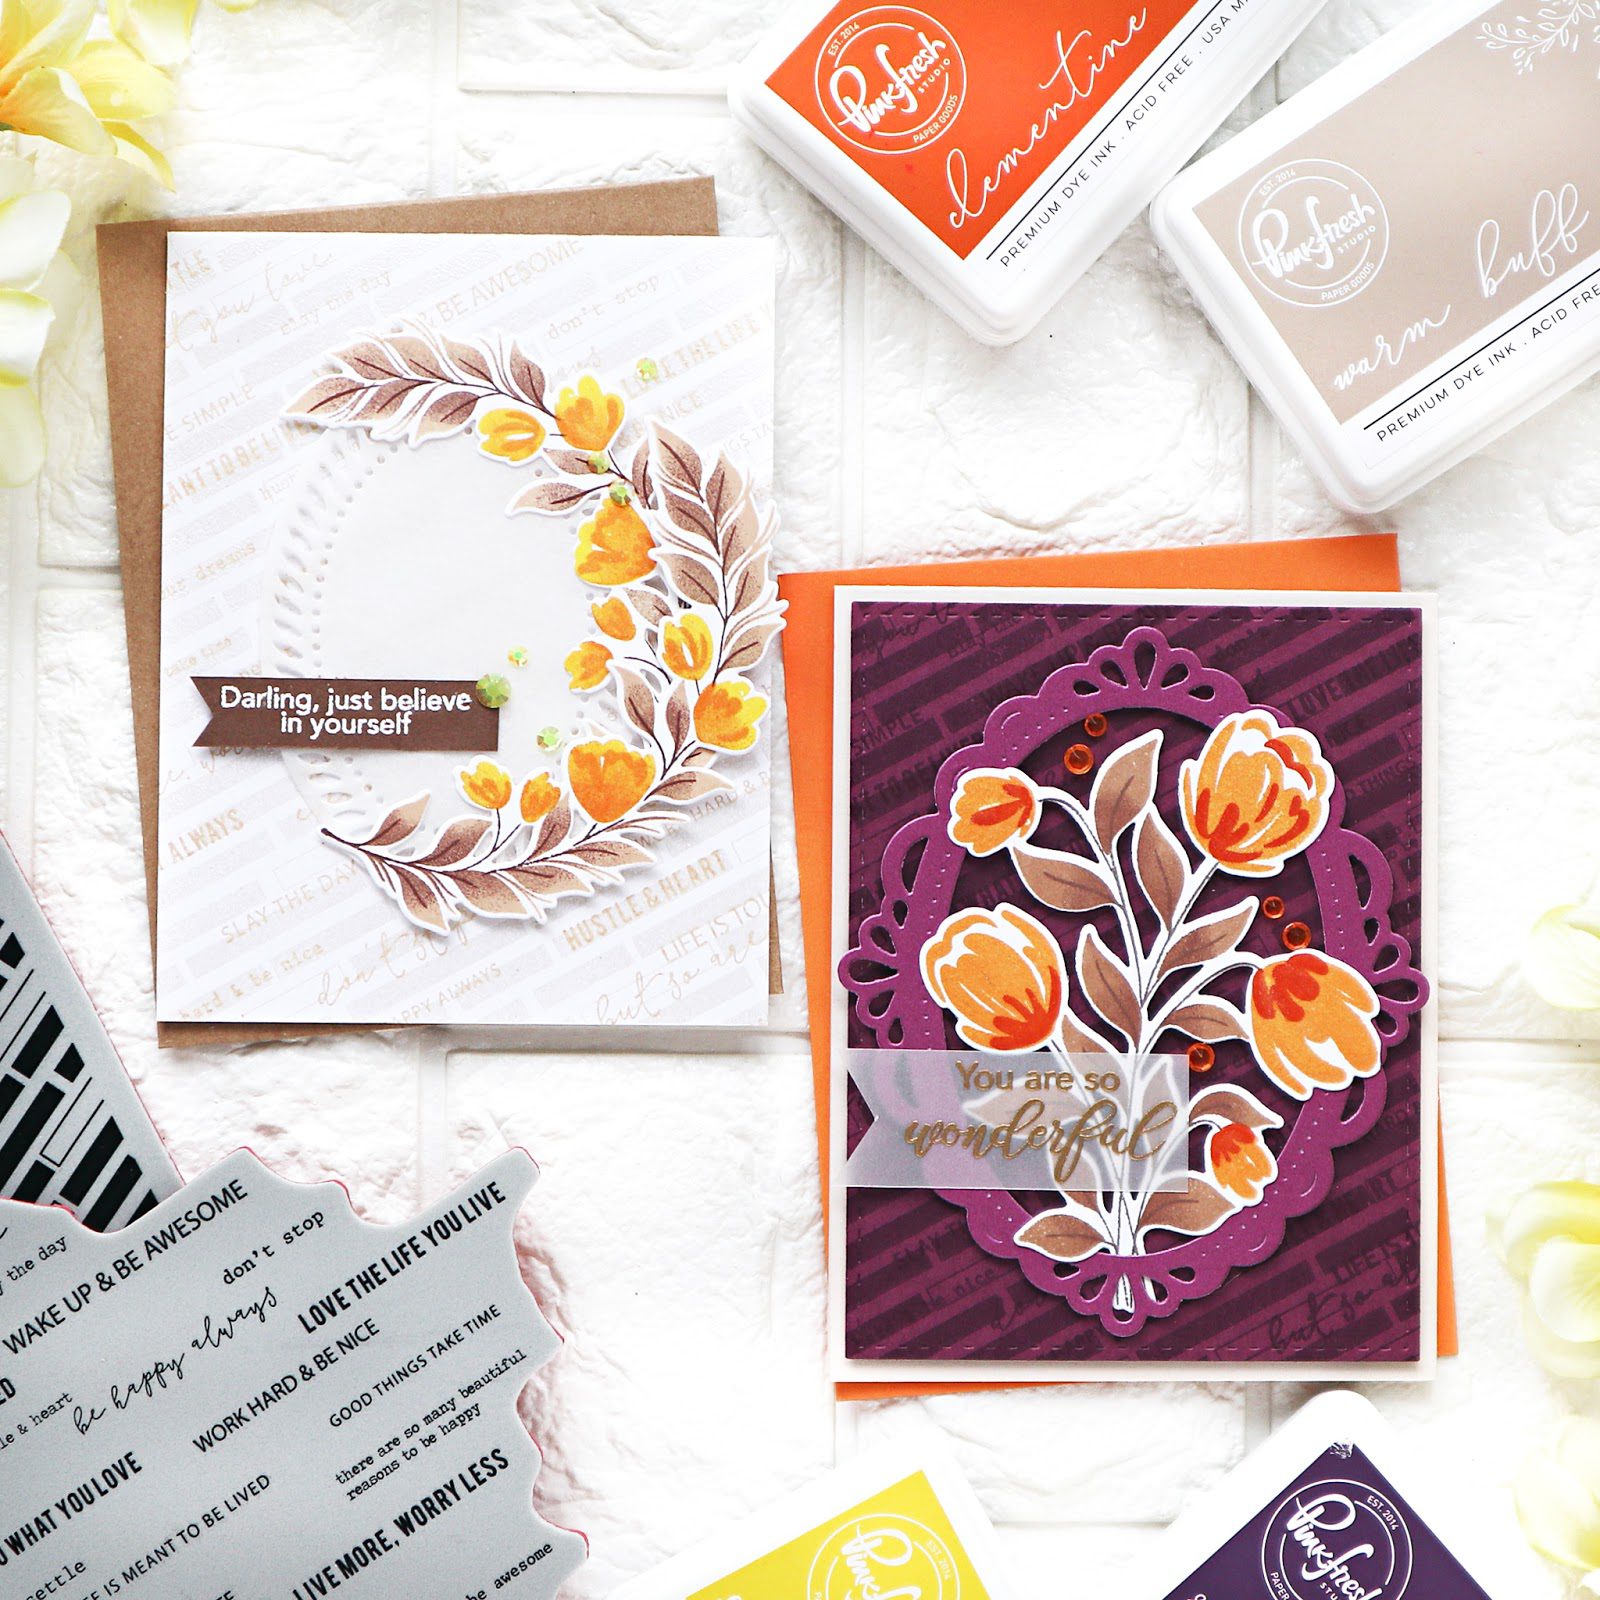
The first two cards are showcasing Diagonal Bars and Do What You Love stamps. These two stamps could be combined together or used alone. I’ve created the backgrounds for my cards by combining them.
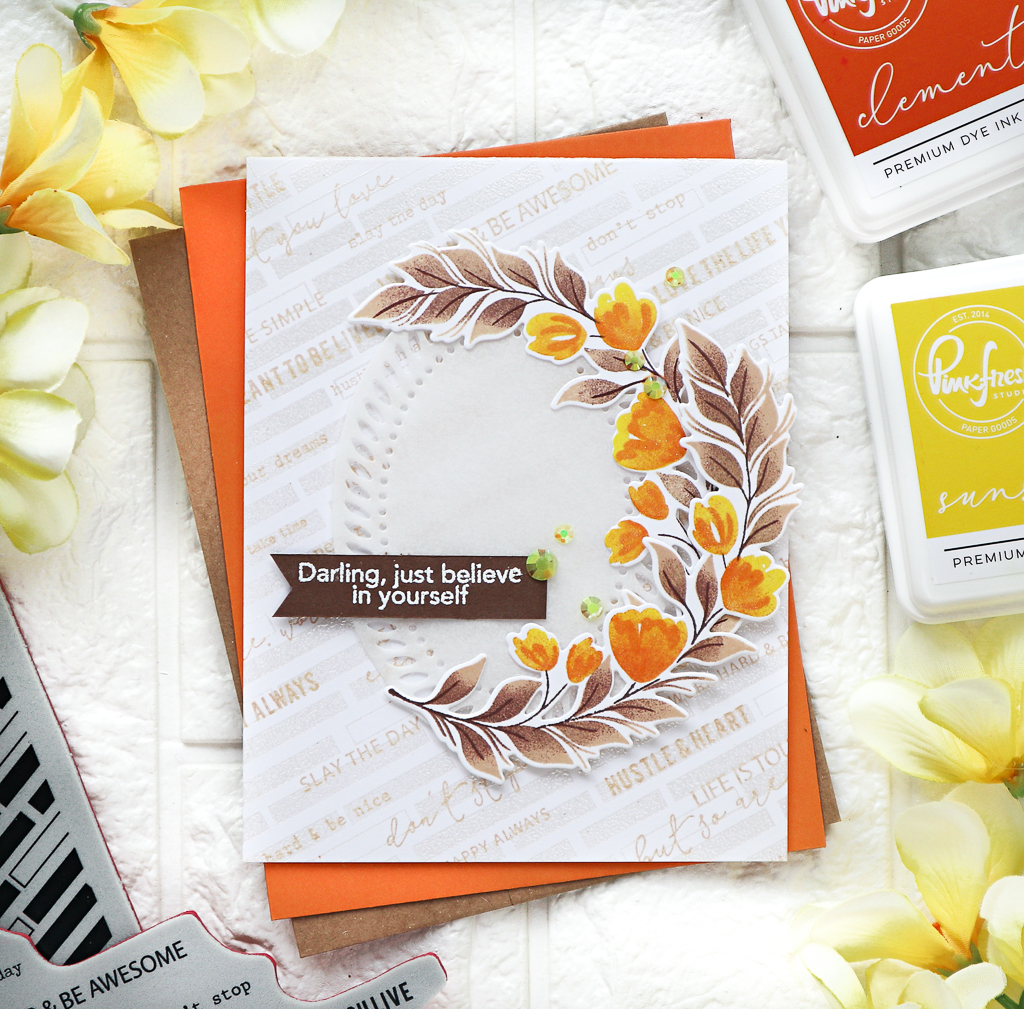
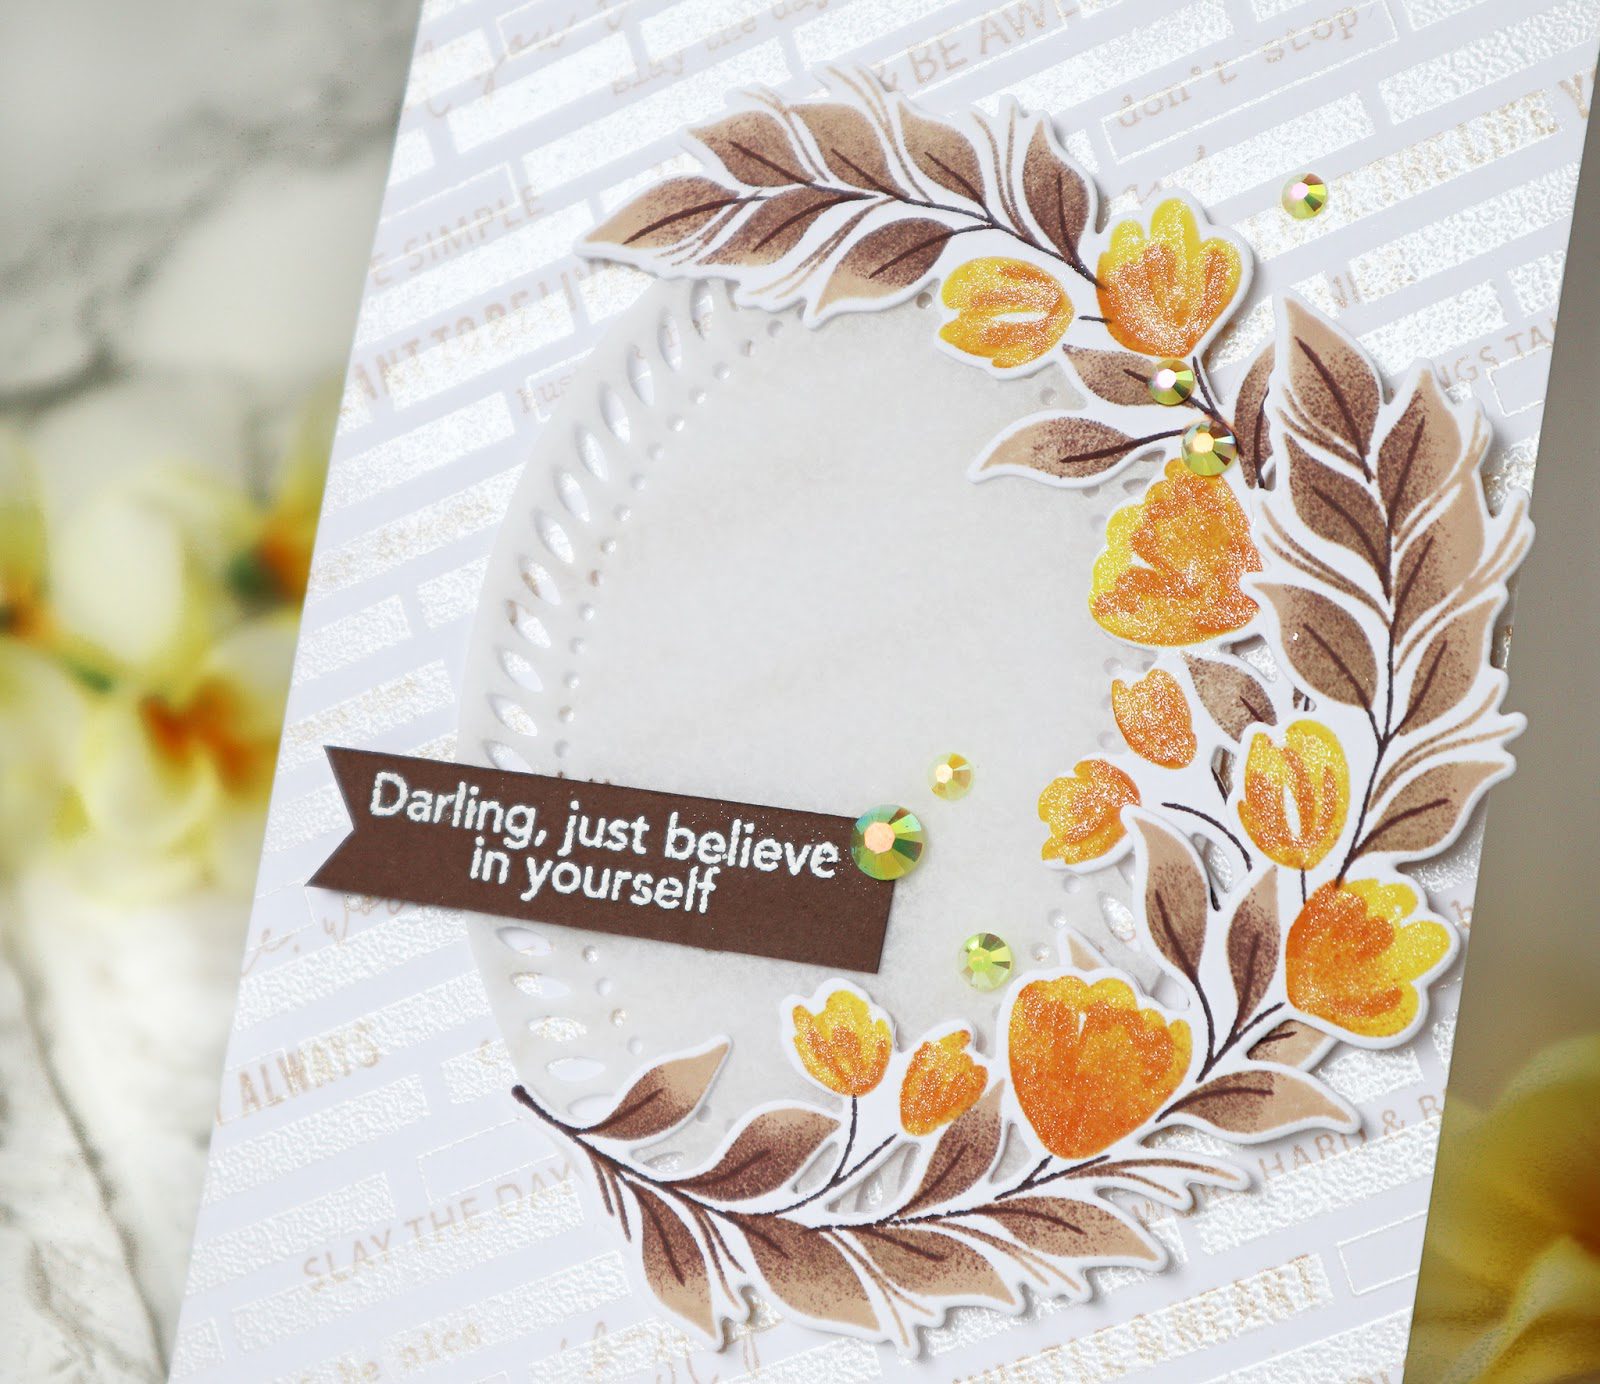
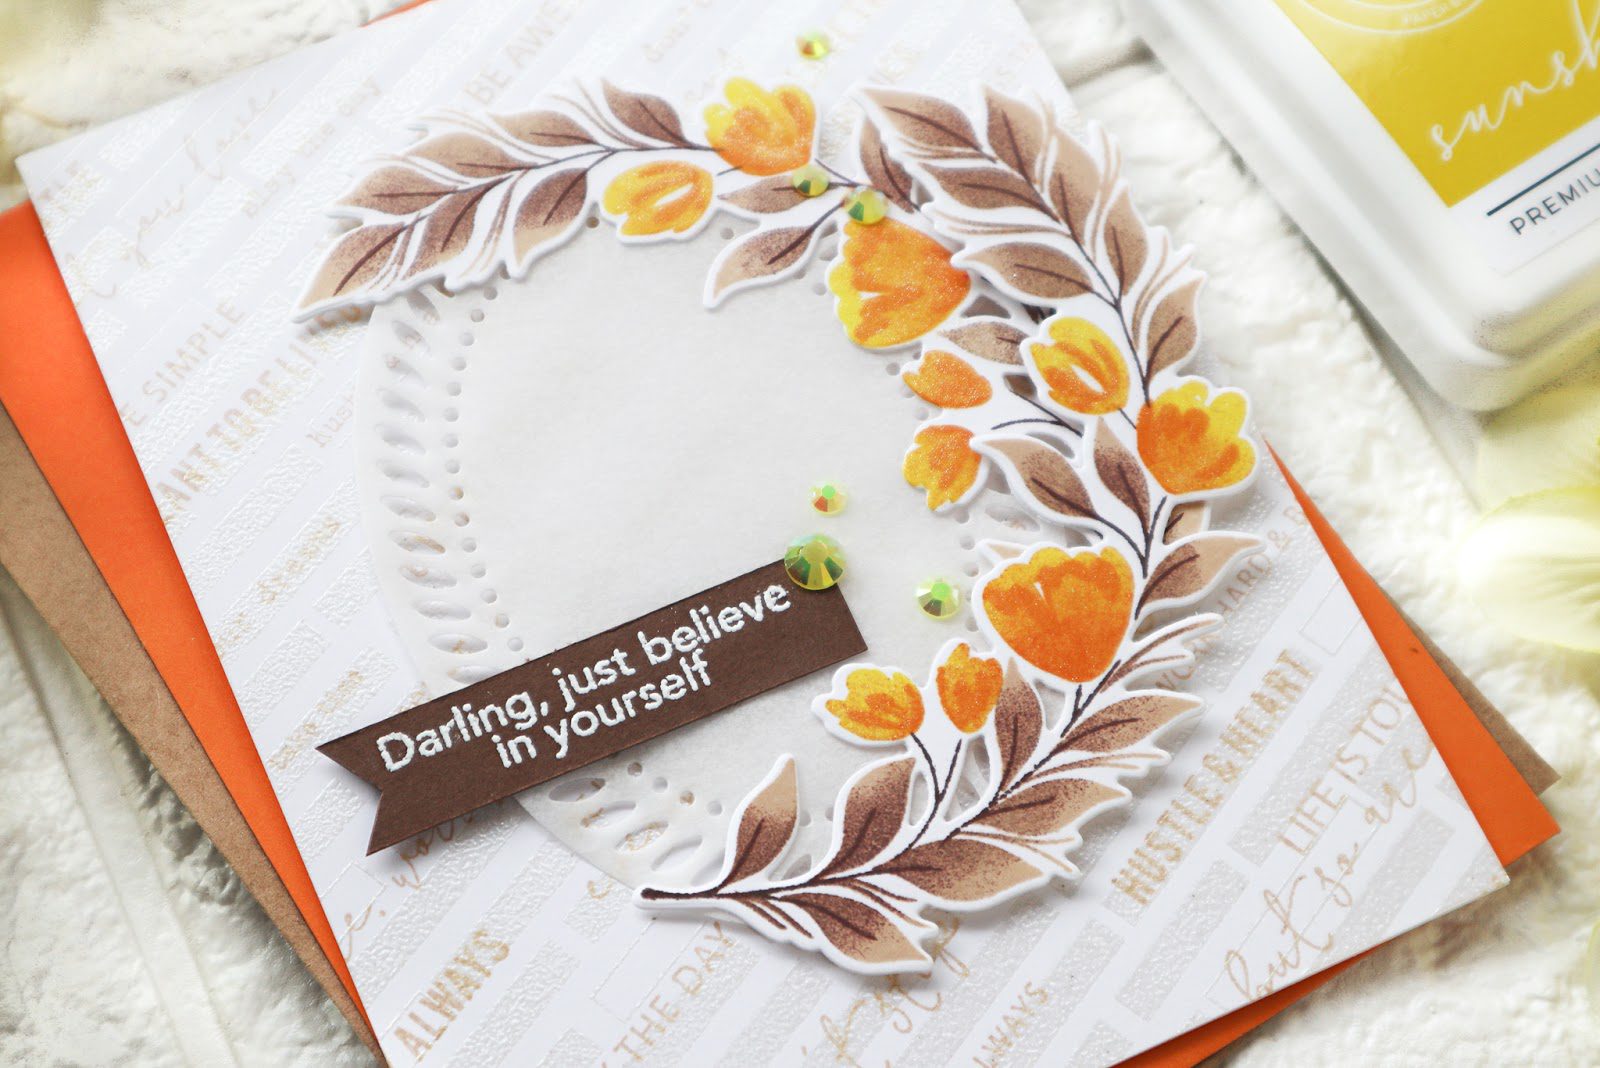
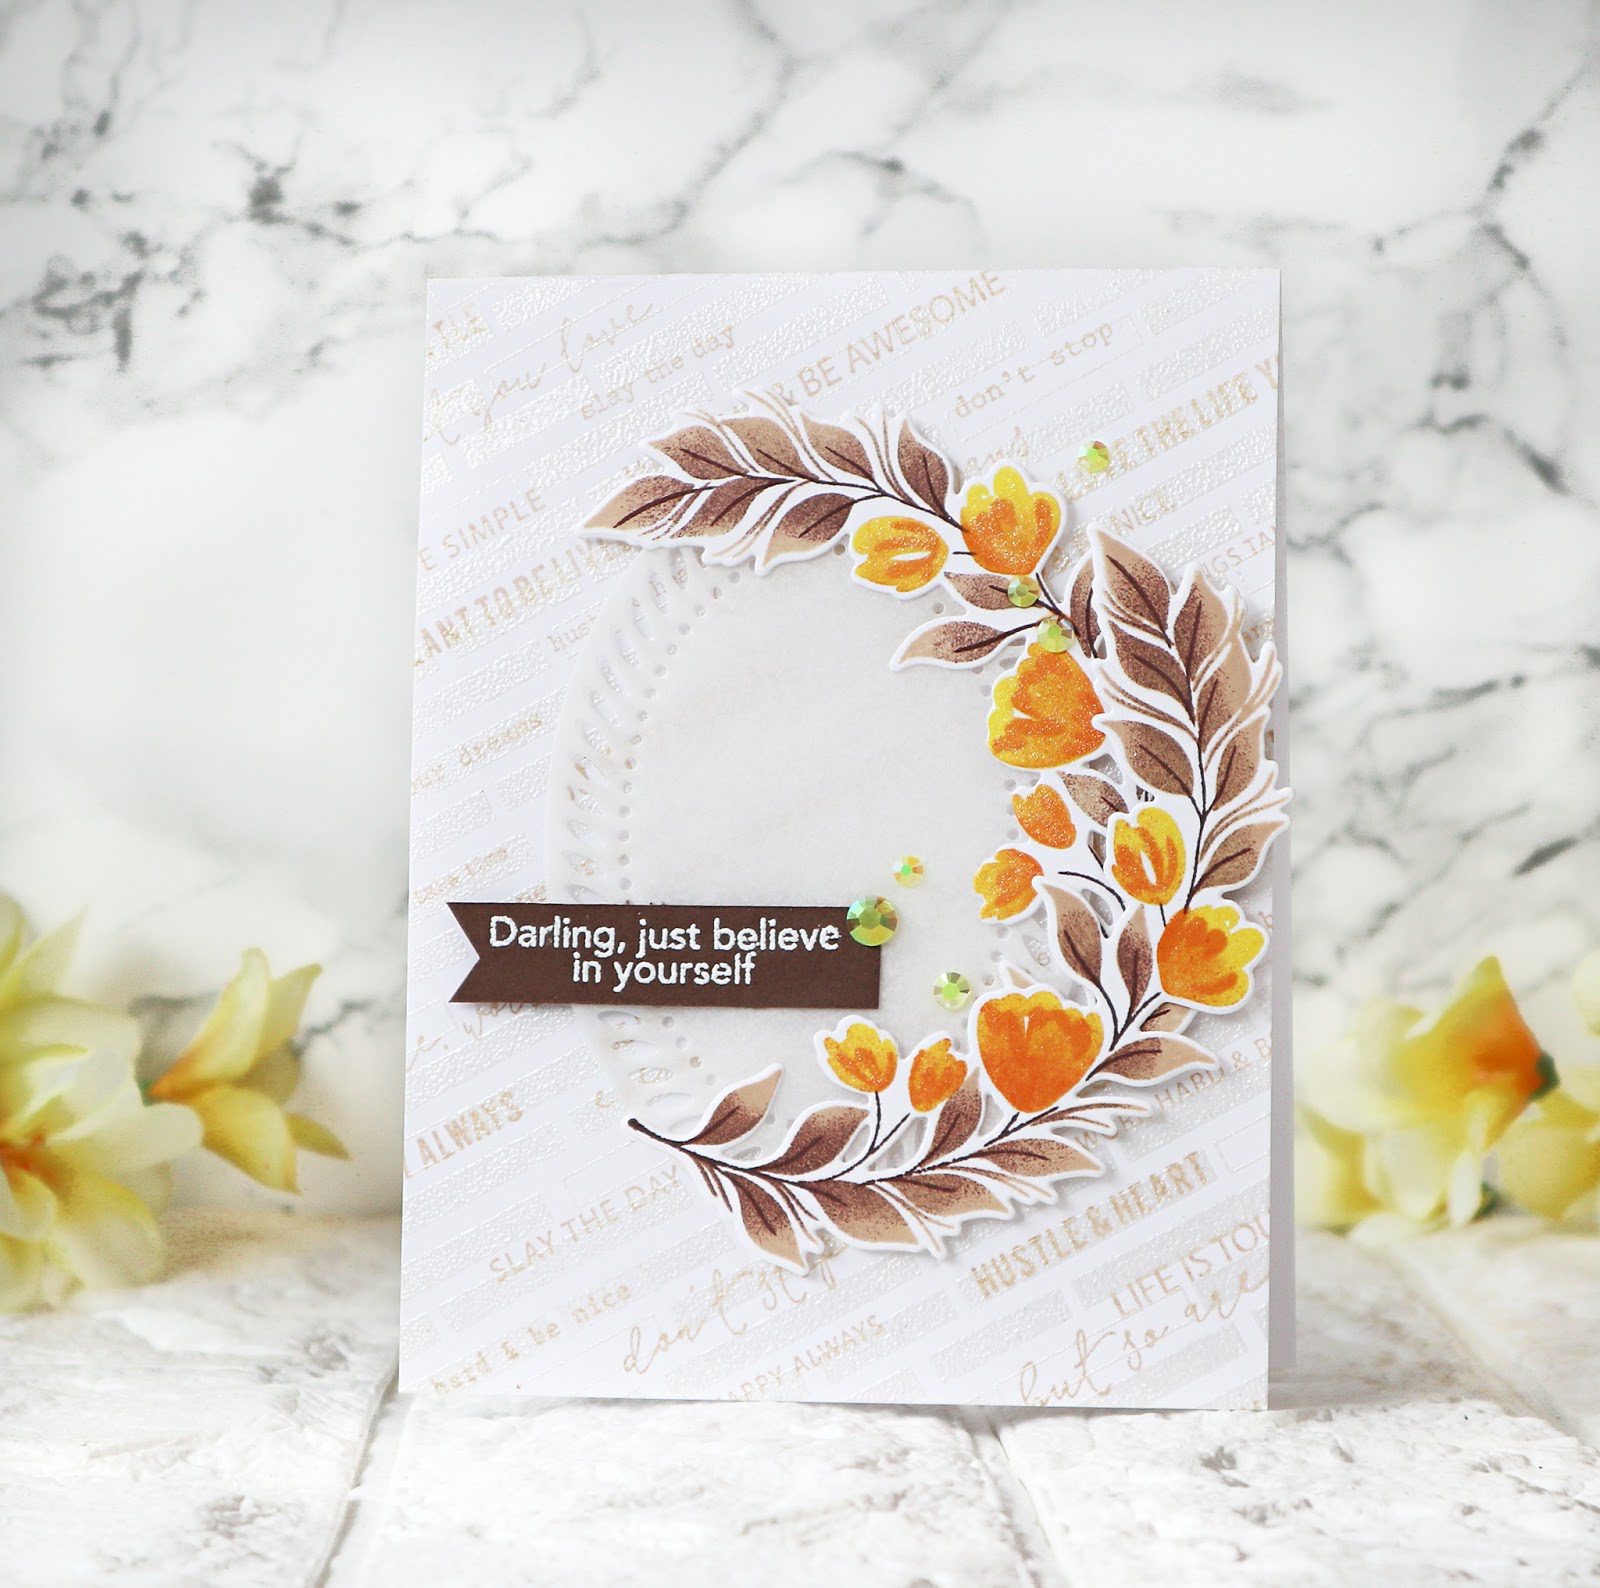
The first one is showing the Diagonal Bars and the Do What You Love background stamps along with the beautiful Curvy Floral Vine form the January Release.
I started off by stamping the layered image of the Curvy Floral Vine in brown and orange using Wild Truffles ink set and Rise and Shine ink colors. I stamped two pieces, cut them using the coordinating die and set them aside.
To create the background I stamped the Do What You Love in Warm Buff on a white cardbase and heat embossed the Diagonal Bars in white pearl EP. The oval panel was cut uinsg the small Braided Oval die from some vellum. The sentiment from the Curvy Floral Vine set was white heat embossed on a strip of dark brown cardstock. I think the sentiment goes so well with the words in the Do What You Love background!!!
I adhered the sentiment strip and the two Curvy Floral Vine image on the vellum panel and added it to the card using some foam tapes. I finished off the card with some yellow Jewels.
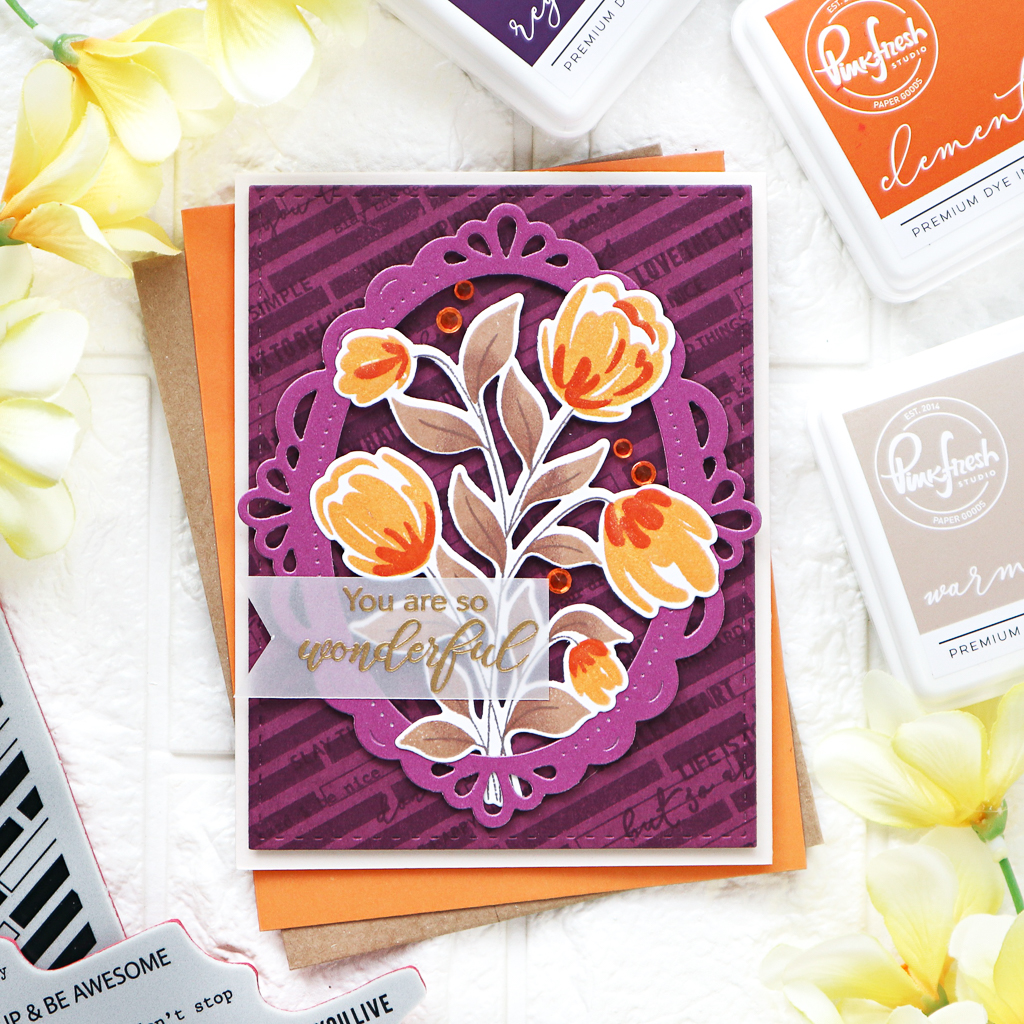
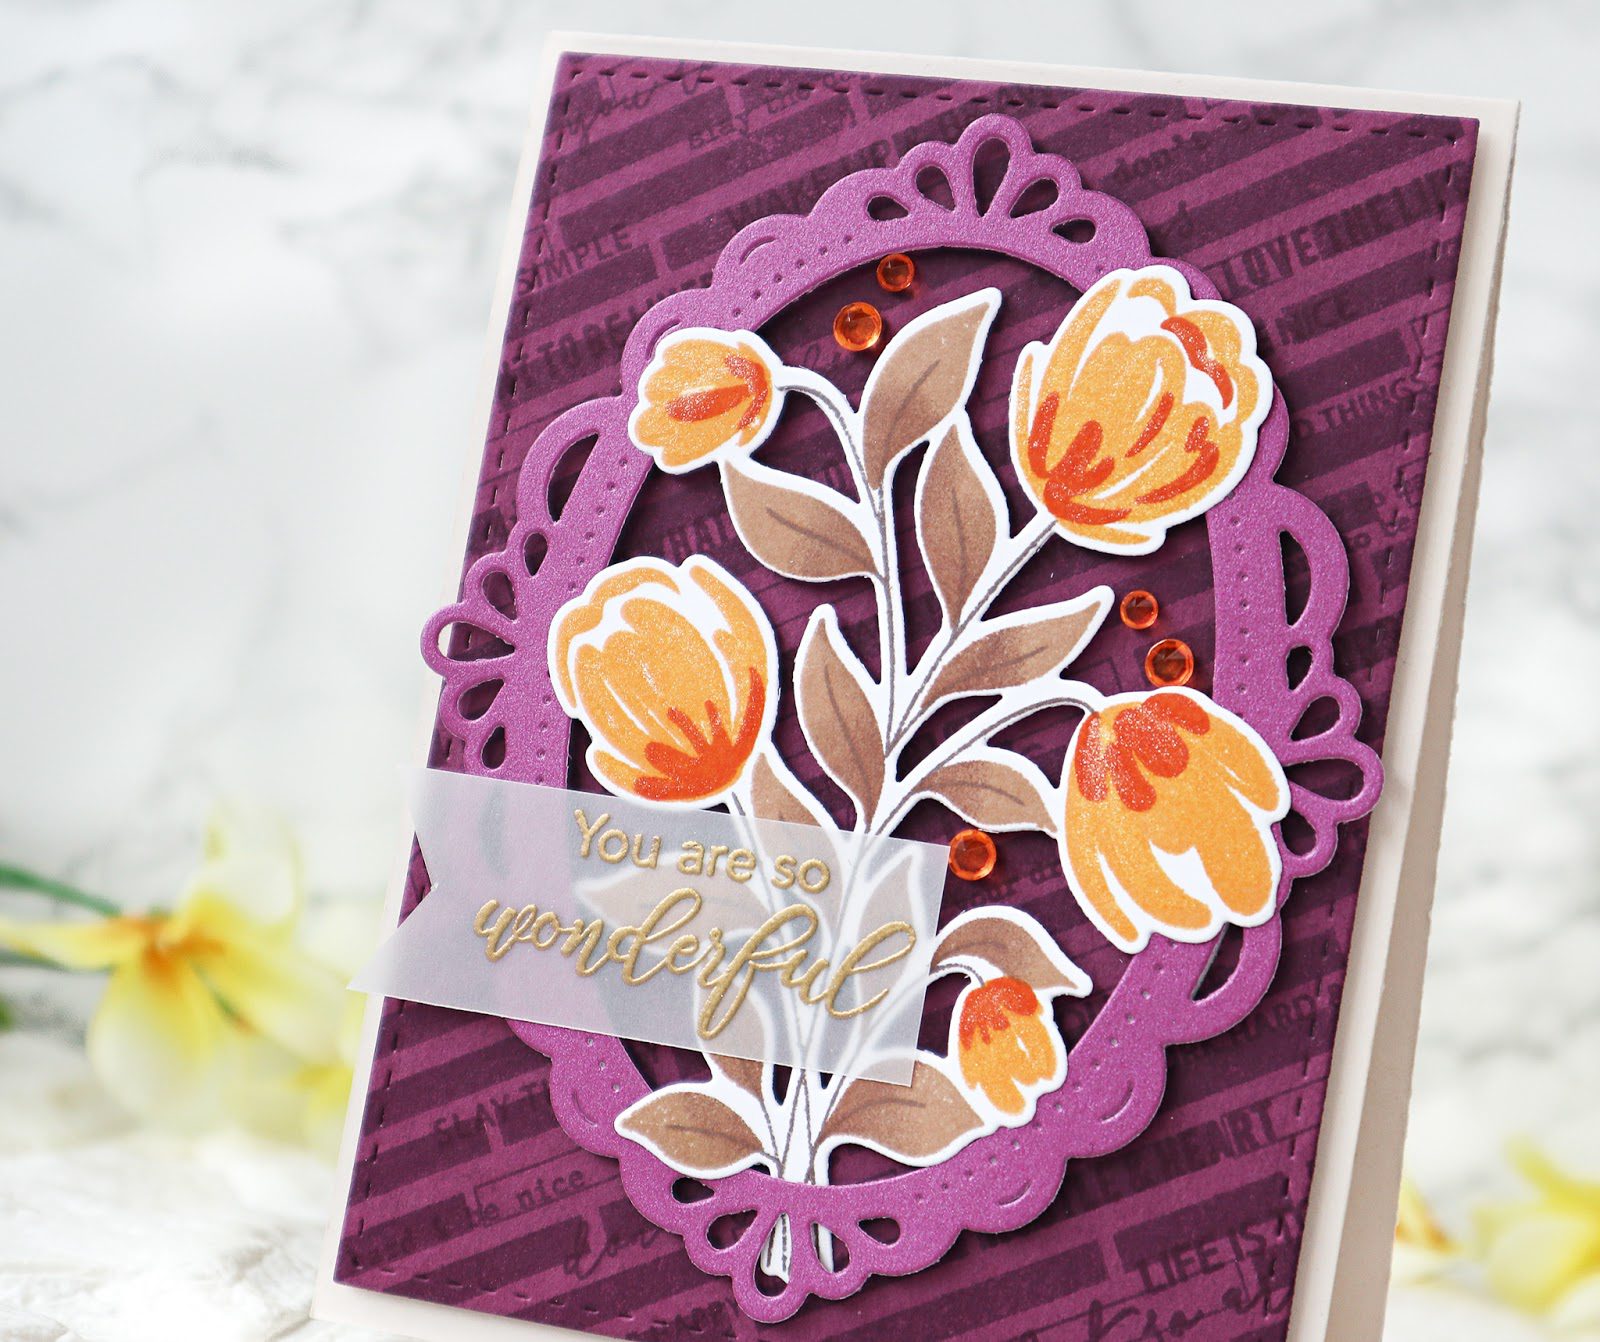
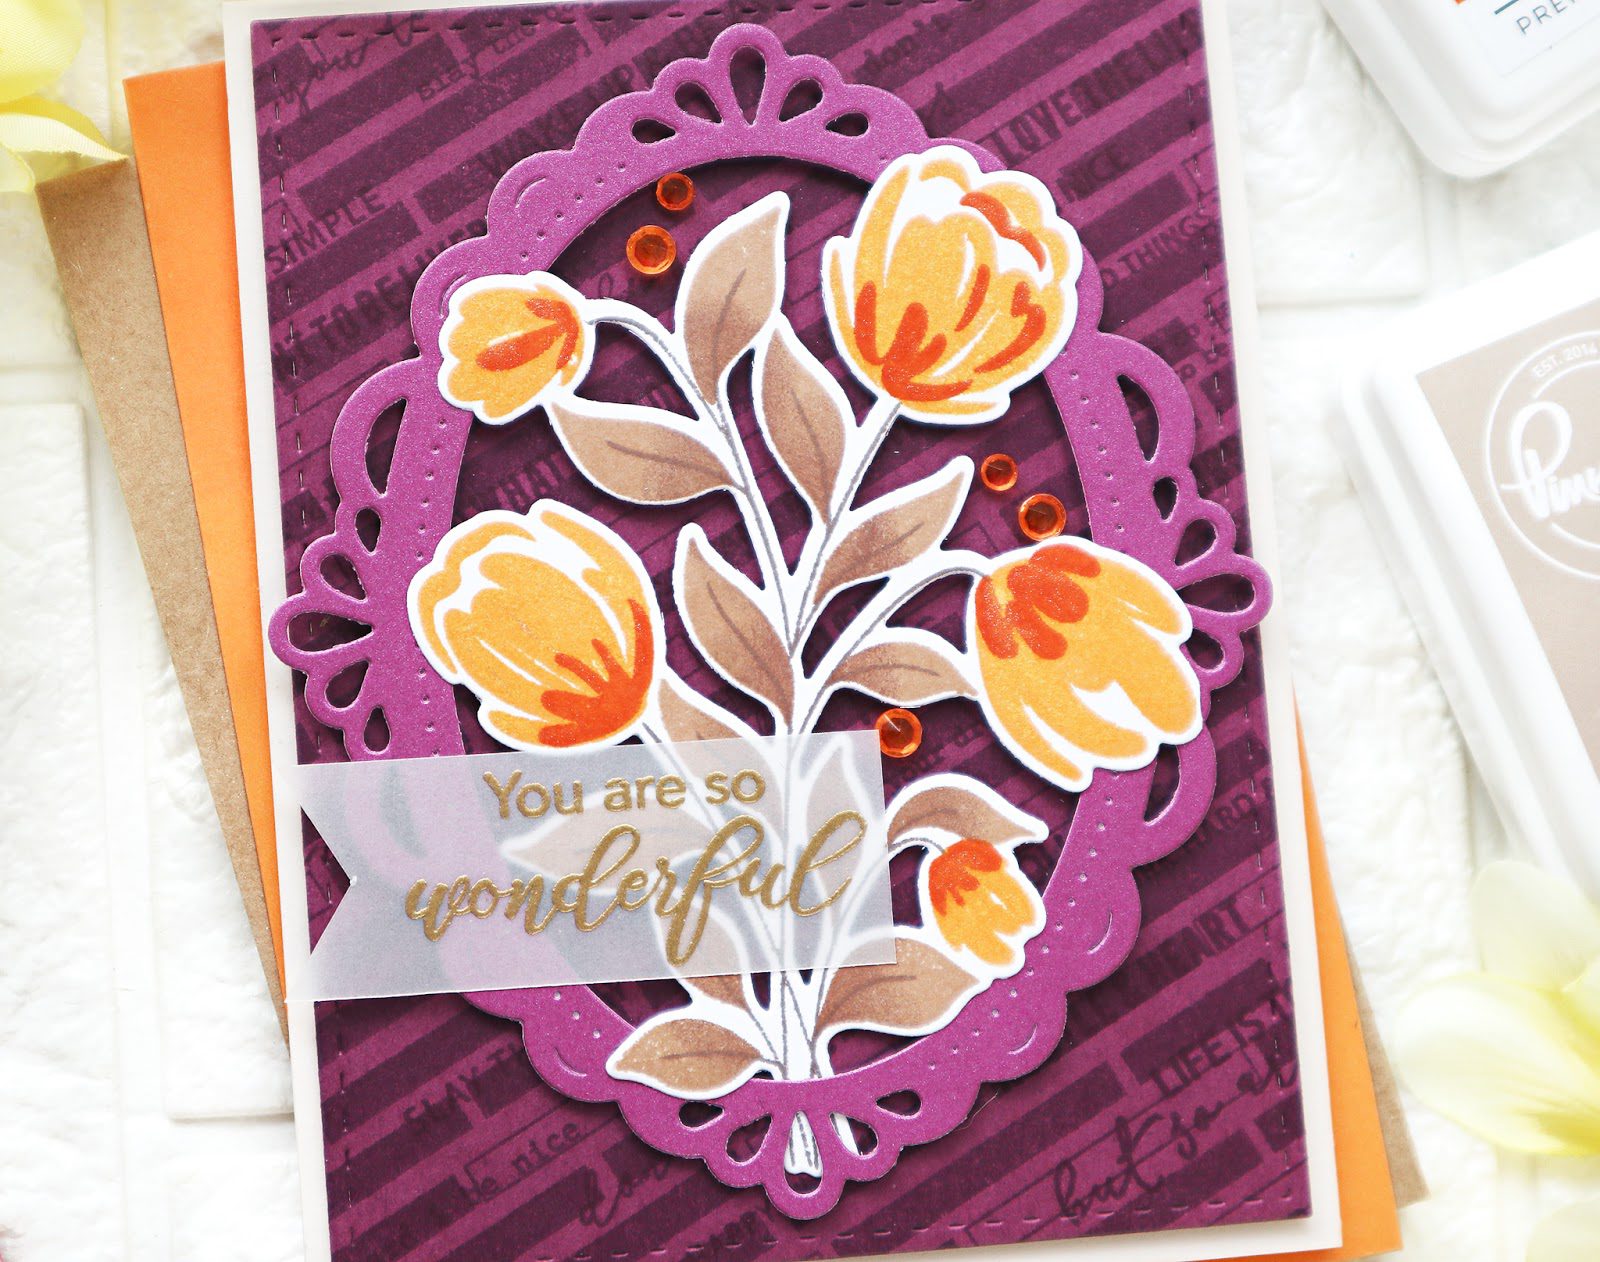
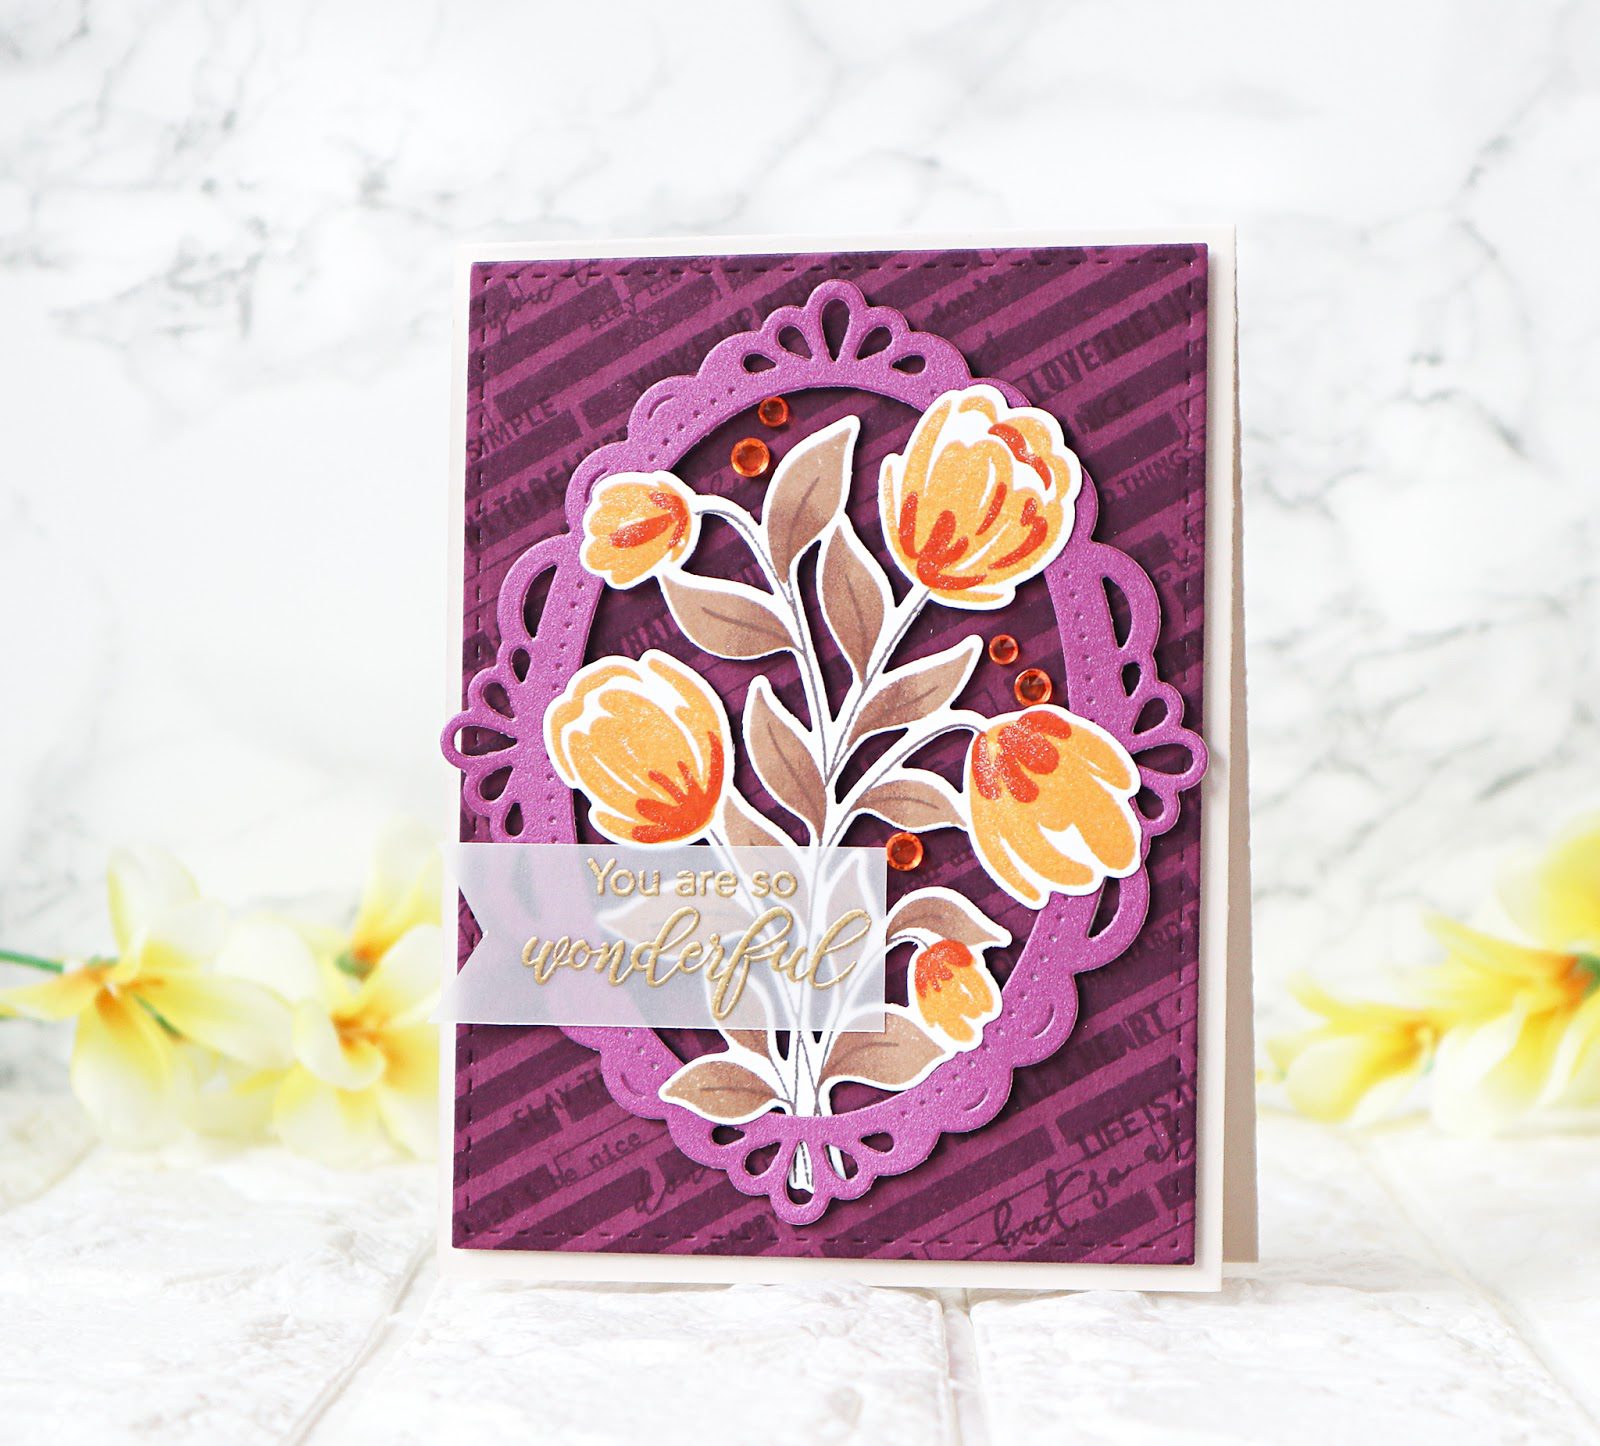
The second card featuring the Diagonal Bars and the Do What You Love stamps was embellished with a floral cluster of the Layered Bouquet set.
To stamp the Layered Bouquet image I used the same color combination like the first card. I cut it using the coordinating die and set it aside. The Diagonal Bars and the Do What You Love stamps were stamped in Regal Kiss on a Mulberry cardstock panel which was cut using the Stitched Rectangle die.
To keep the background tone on tone I cut the Ornate Oval Frame from some shimmer cardstock in mulberry. I foam mounted the background panel on a Walnut Cream cardbase and added the oval frame to it using some tiny foam tapes. I then tucked the Layered Bouquet inside the frame.
The sentiment, also from the Layered Bouquet set, was gold heat embossed on a piece of heavyweight vellum. I finished off the card by scattering some orange Crystals.
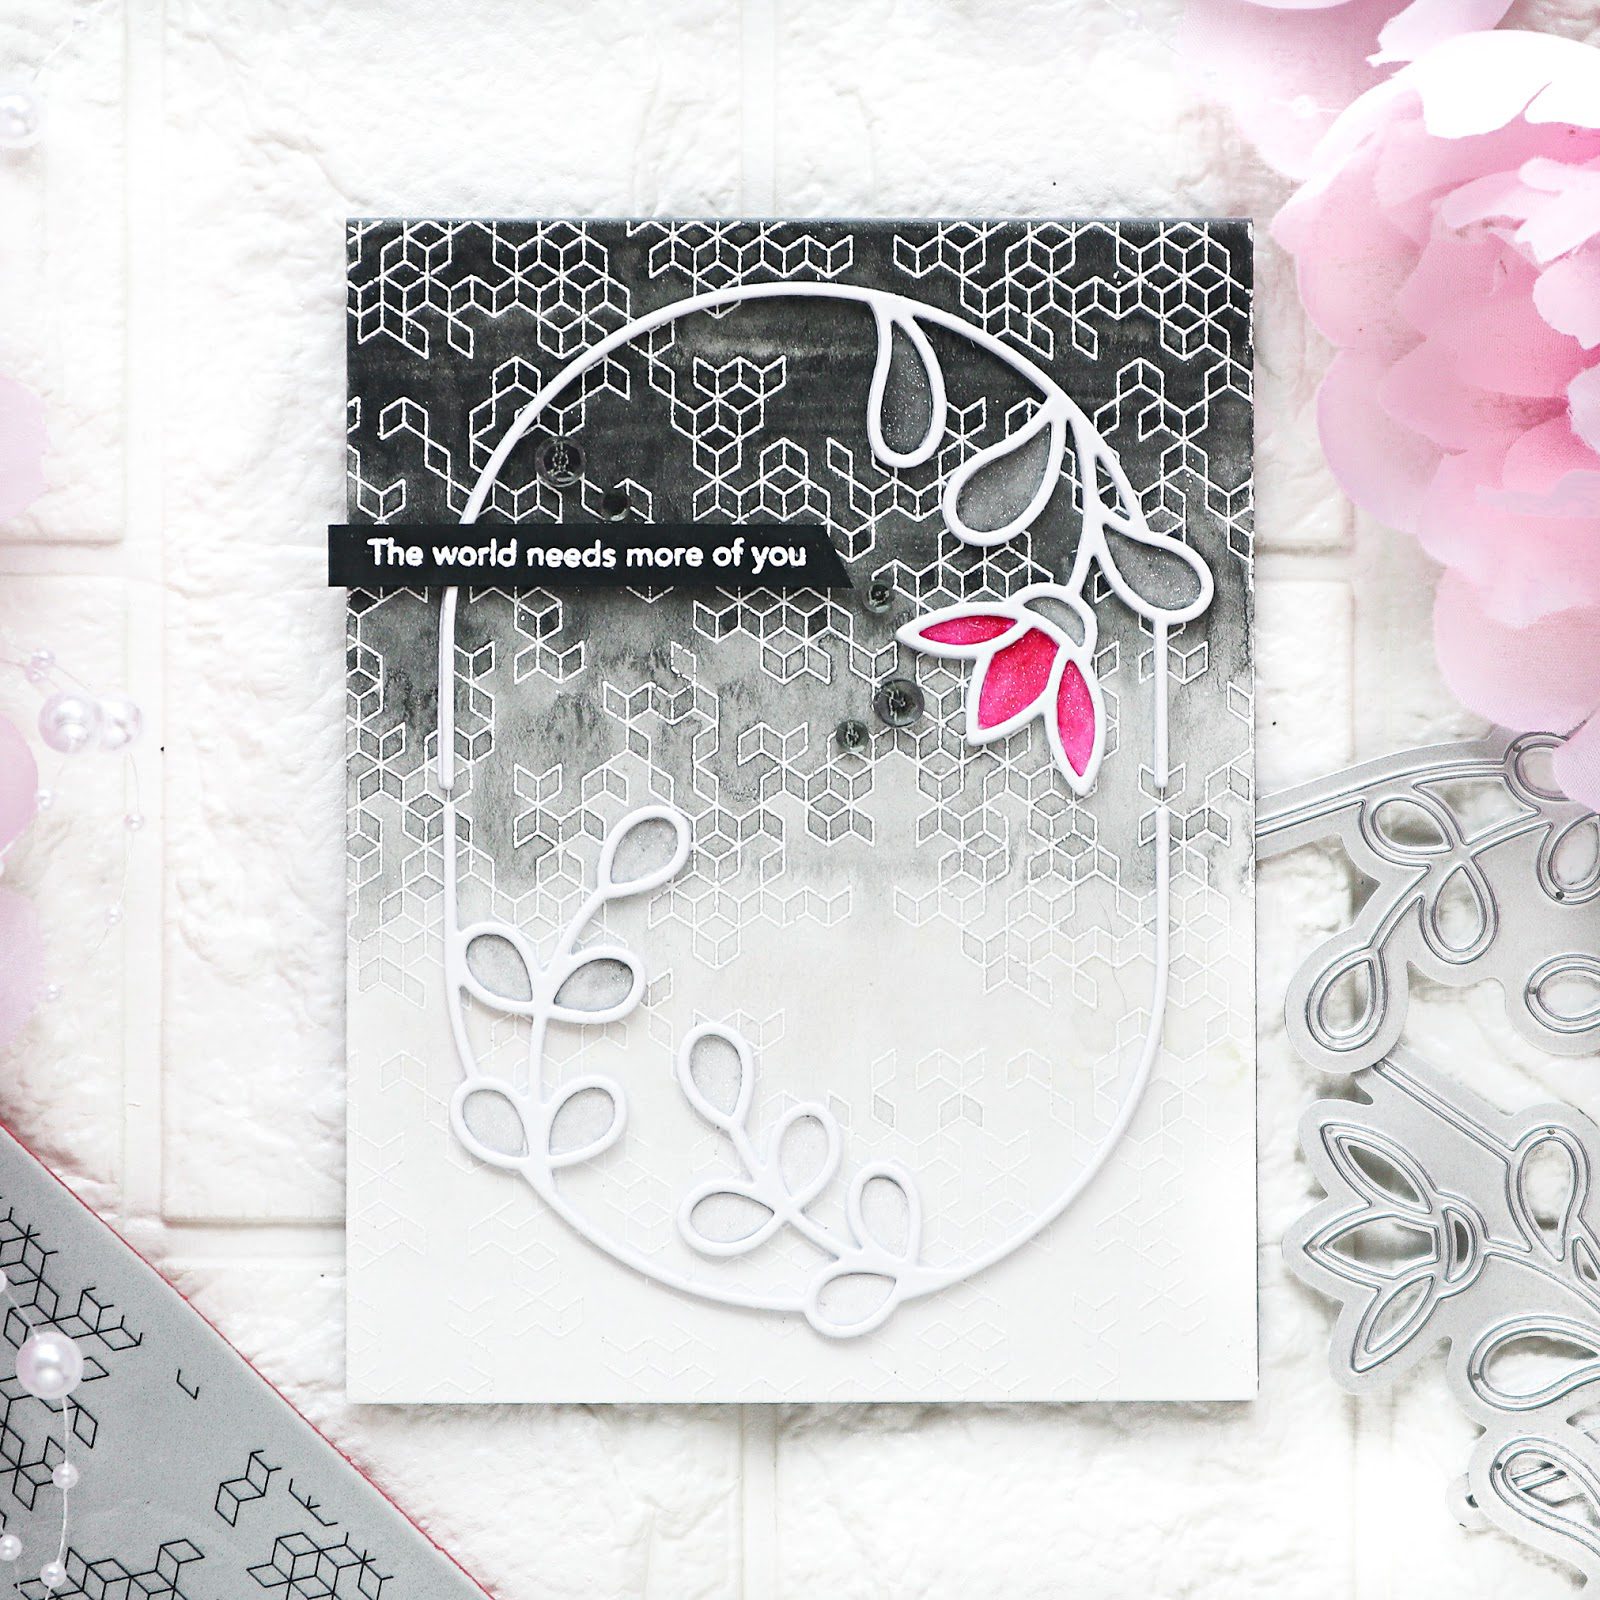
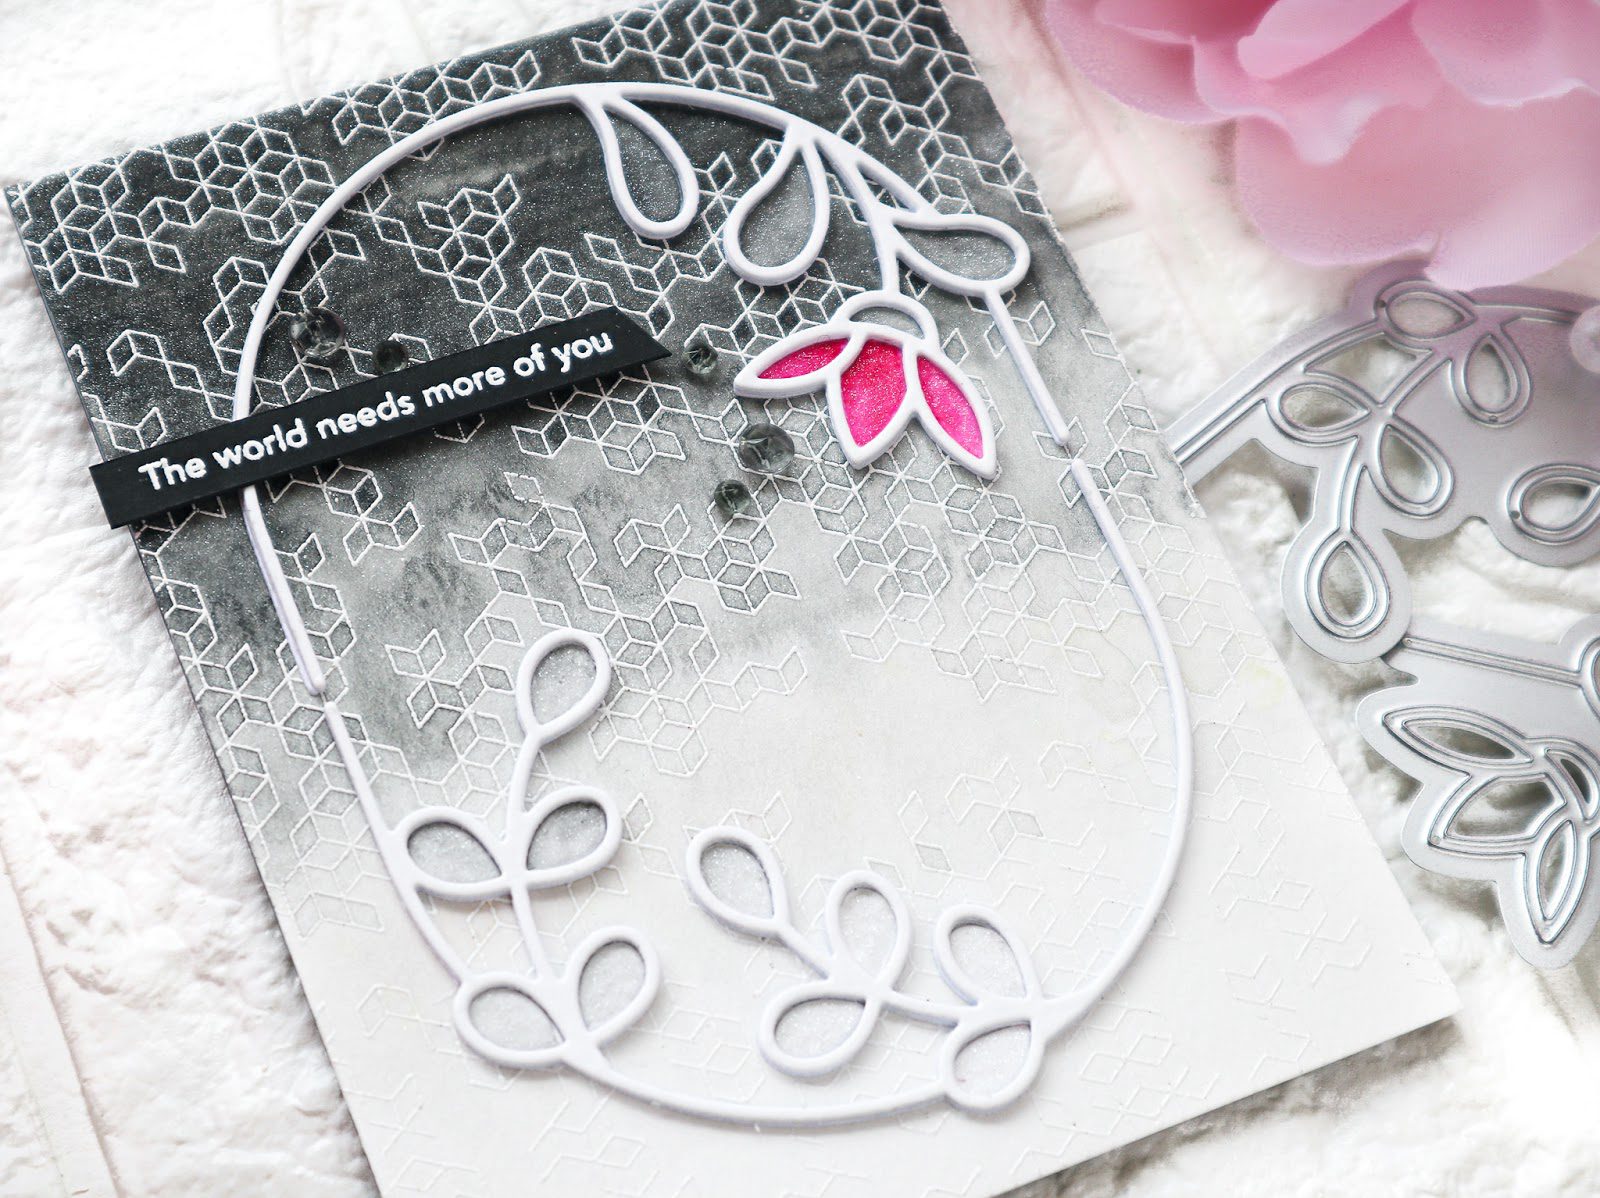
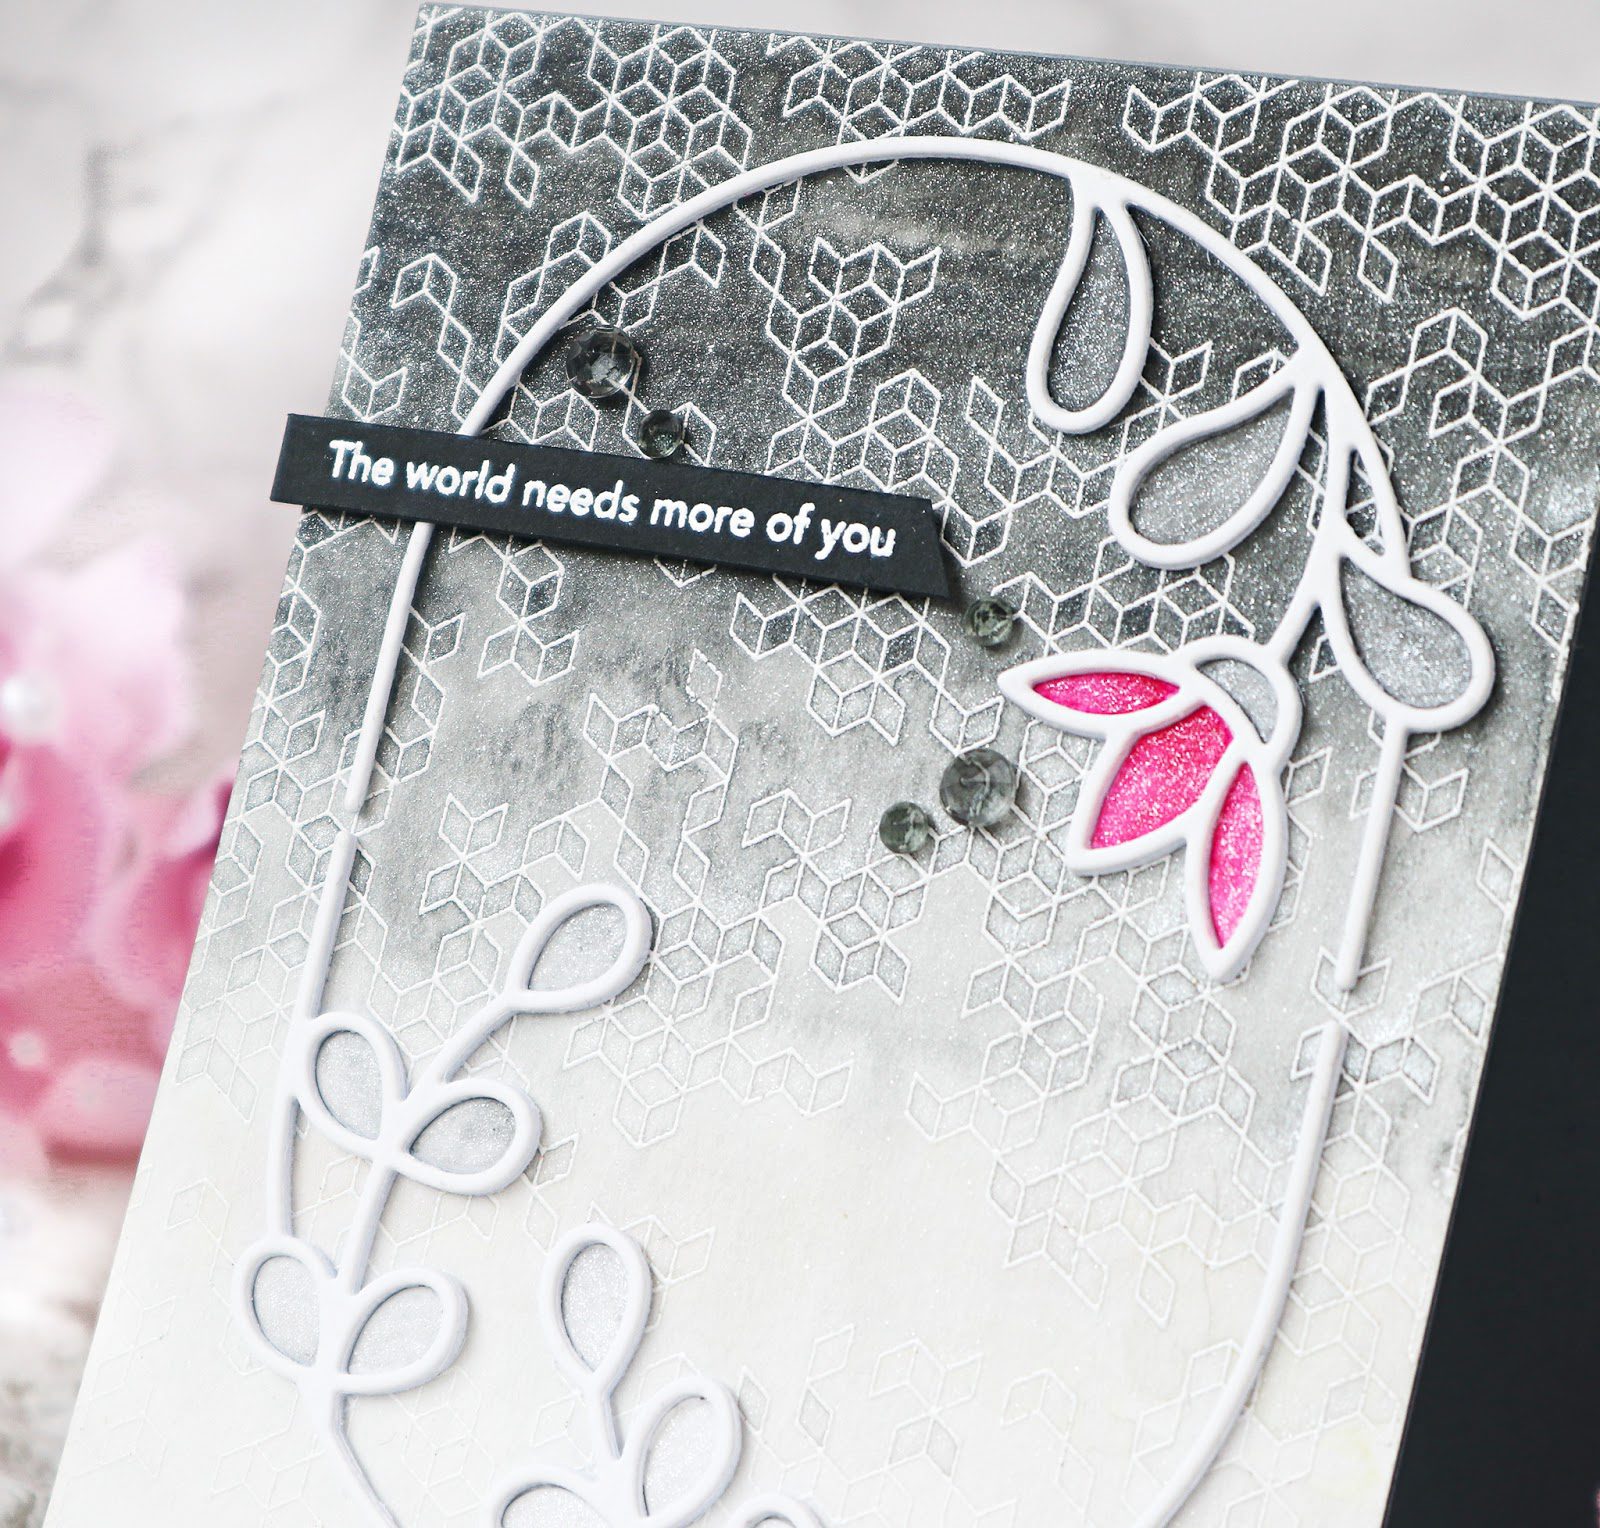
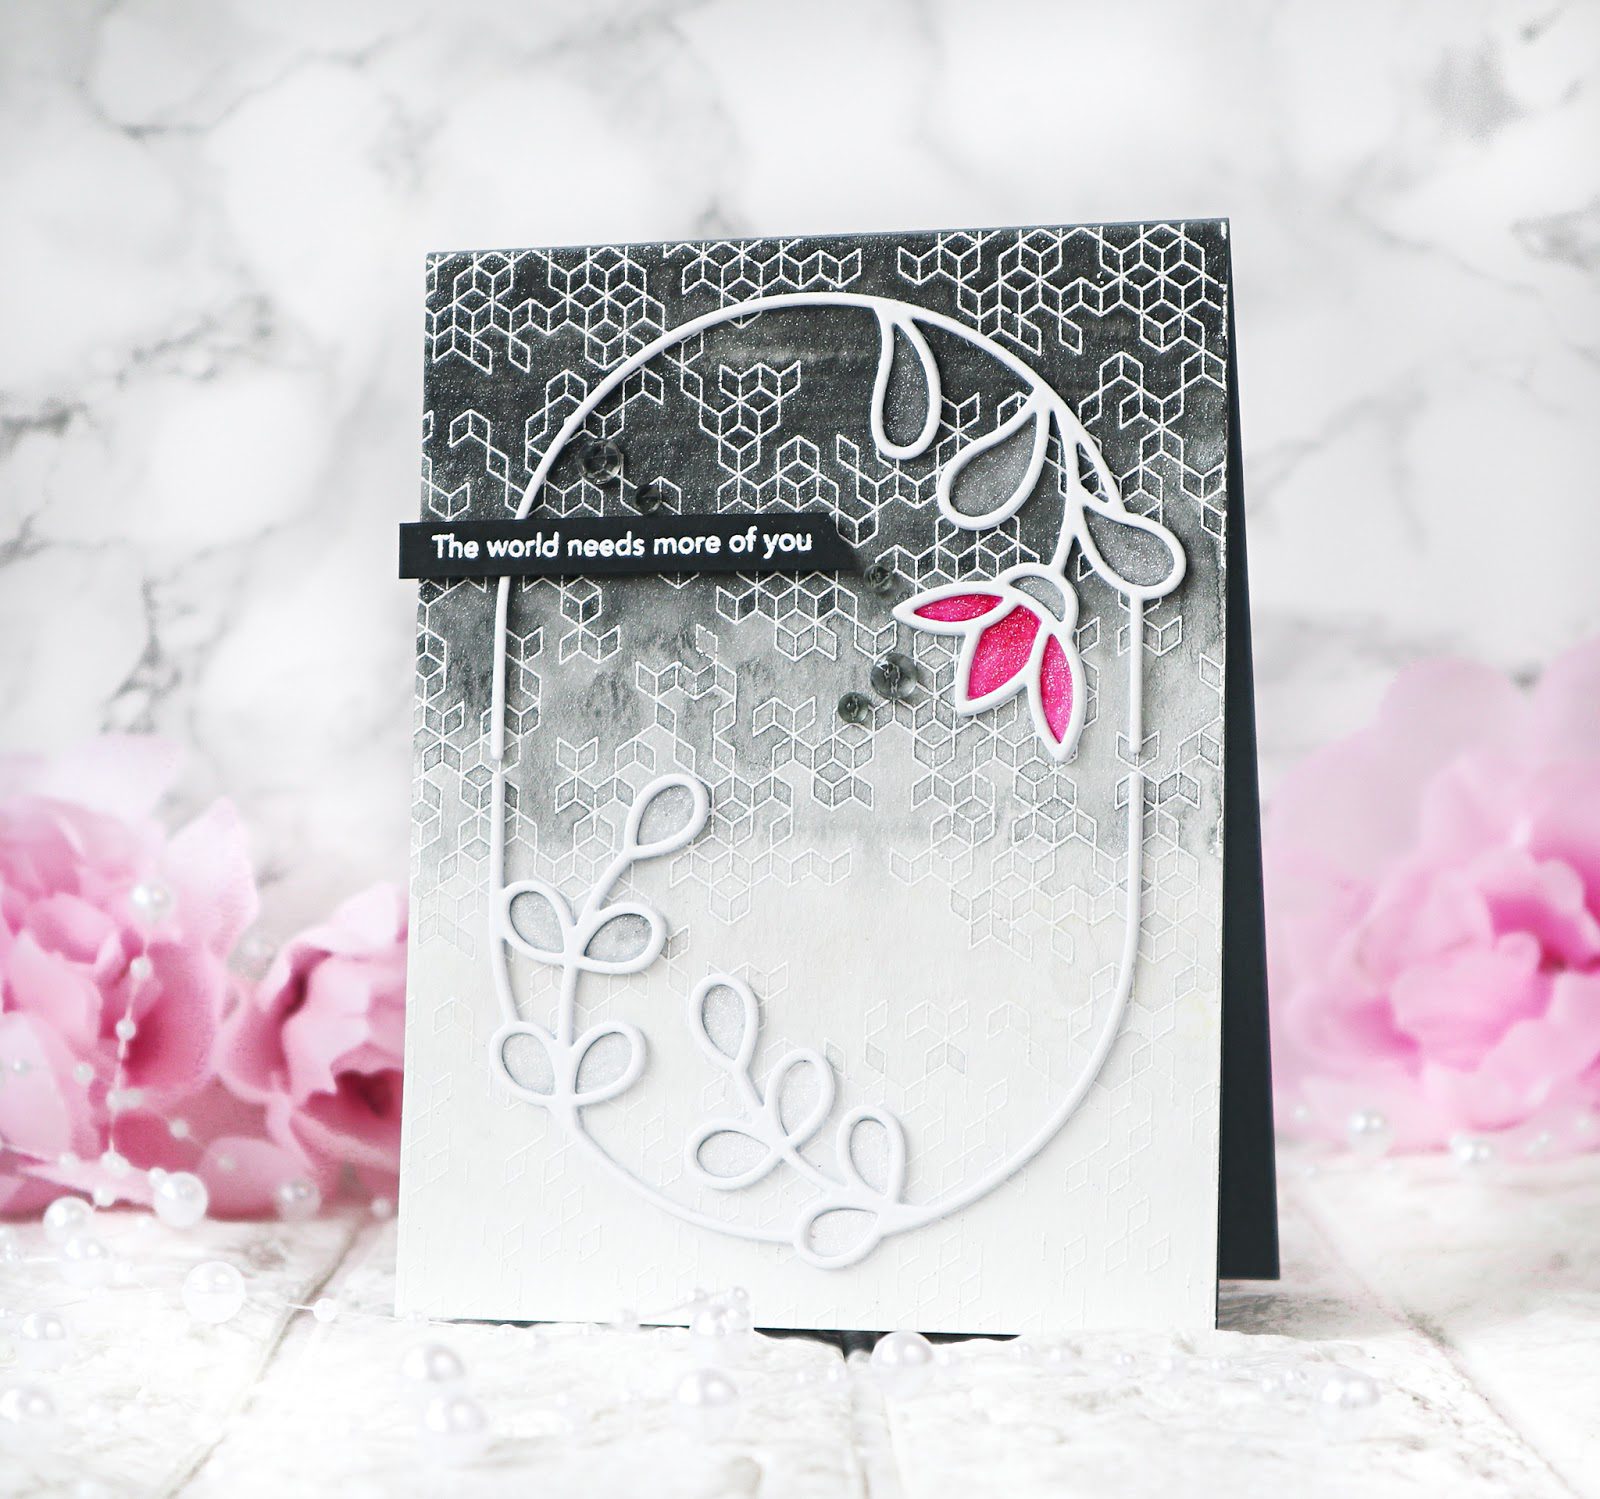
My next card is showing the Abstract Cube background stamp and the Frame Builder: Botanical oval die set from the January Release. Actually I was planning a card in bright colors and flowers but changed my mind after my niece suggested black or gray ombre for this background :).
I white heat embossed the Abstract Cube on a watercolor paper panel and colored it in Licorice Pinkfresh Studio Liquid Watercolor in an ombre fashion. I mixed the Licorice watercolor with a bit of Iridescent Medium to achieve the shimmer effect.
The Frame Builder: Botanical oval was cut three times from some white cardstock and once from a watercolor paper. I stacked them all together for some dimension. I mounted the background panel on a dark gray cardbase and added the Frame Builder: Botanical oval to it as shown in the picture. I colored the inner pieces using Licorice and Bubble Gum watercolor and inlaid them into their places.
To finish off the card I scattered some gray Crystals on the card and covered the inlaid pieces with glitter using a clear glitter pen. You can see the shimmer of the Iridescent Medium and the clear glitter pen in the picture above.
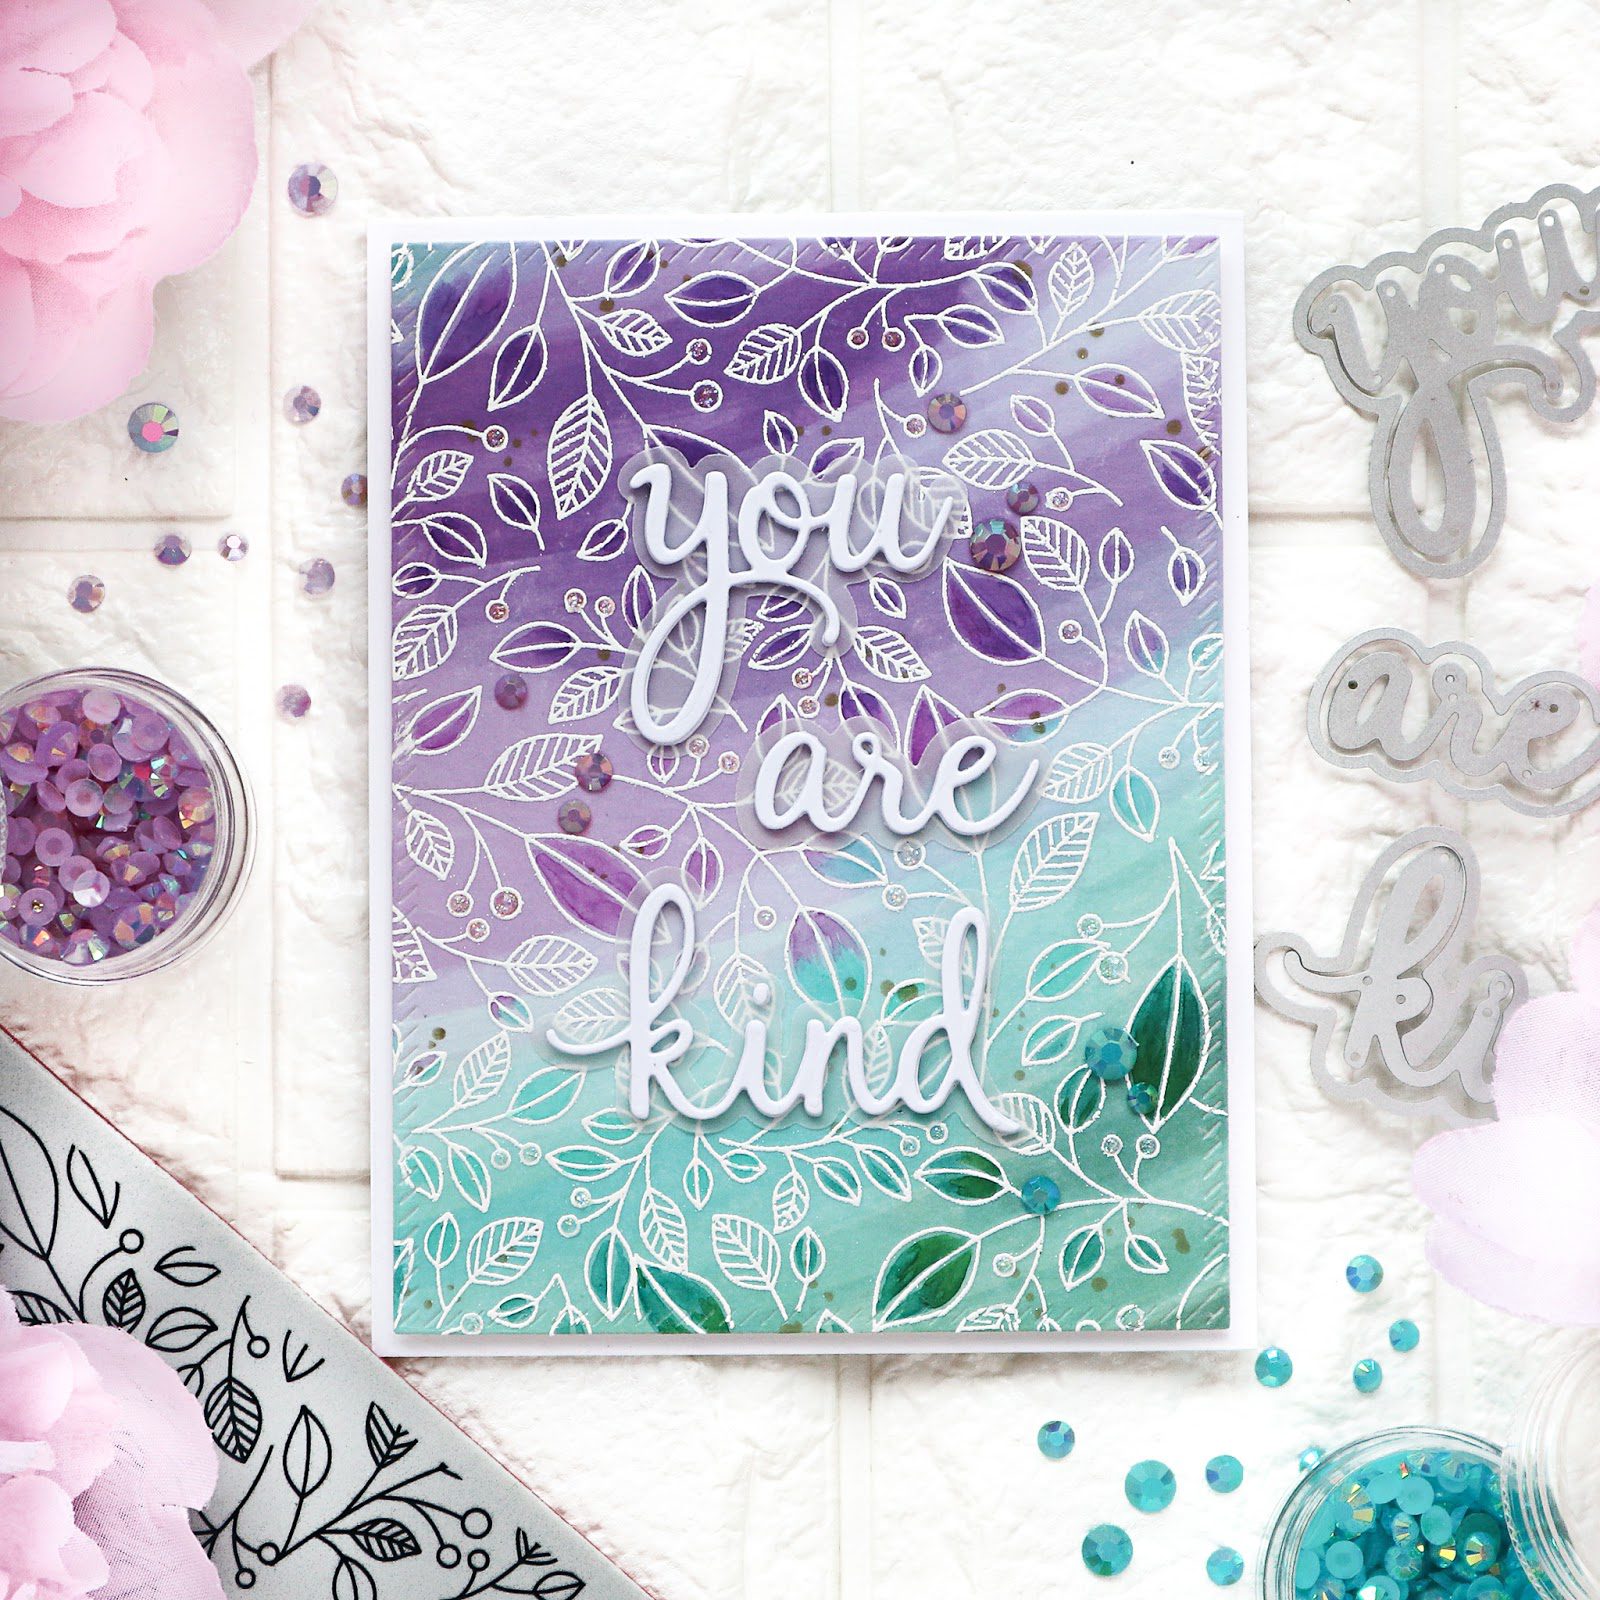
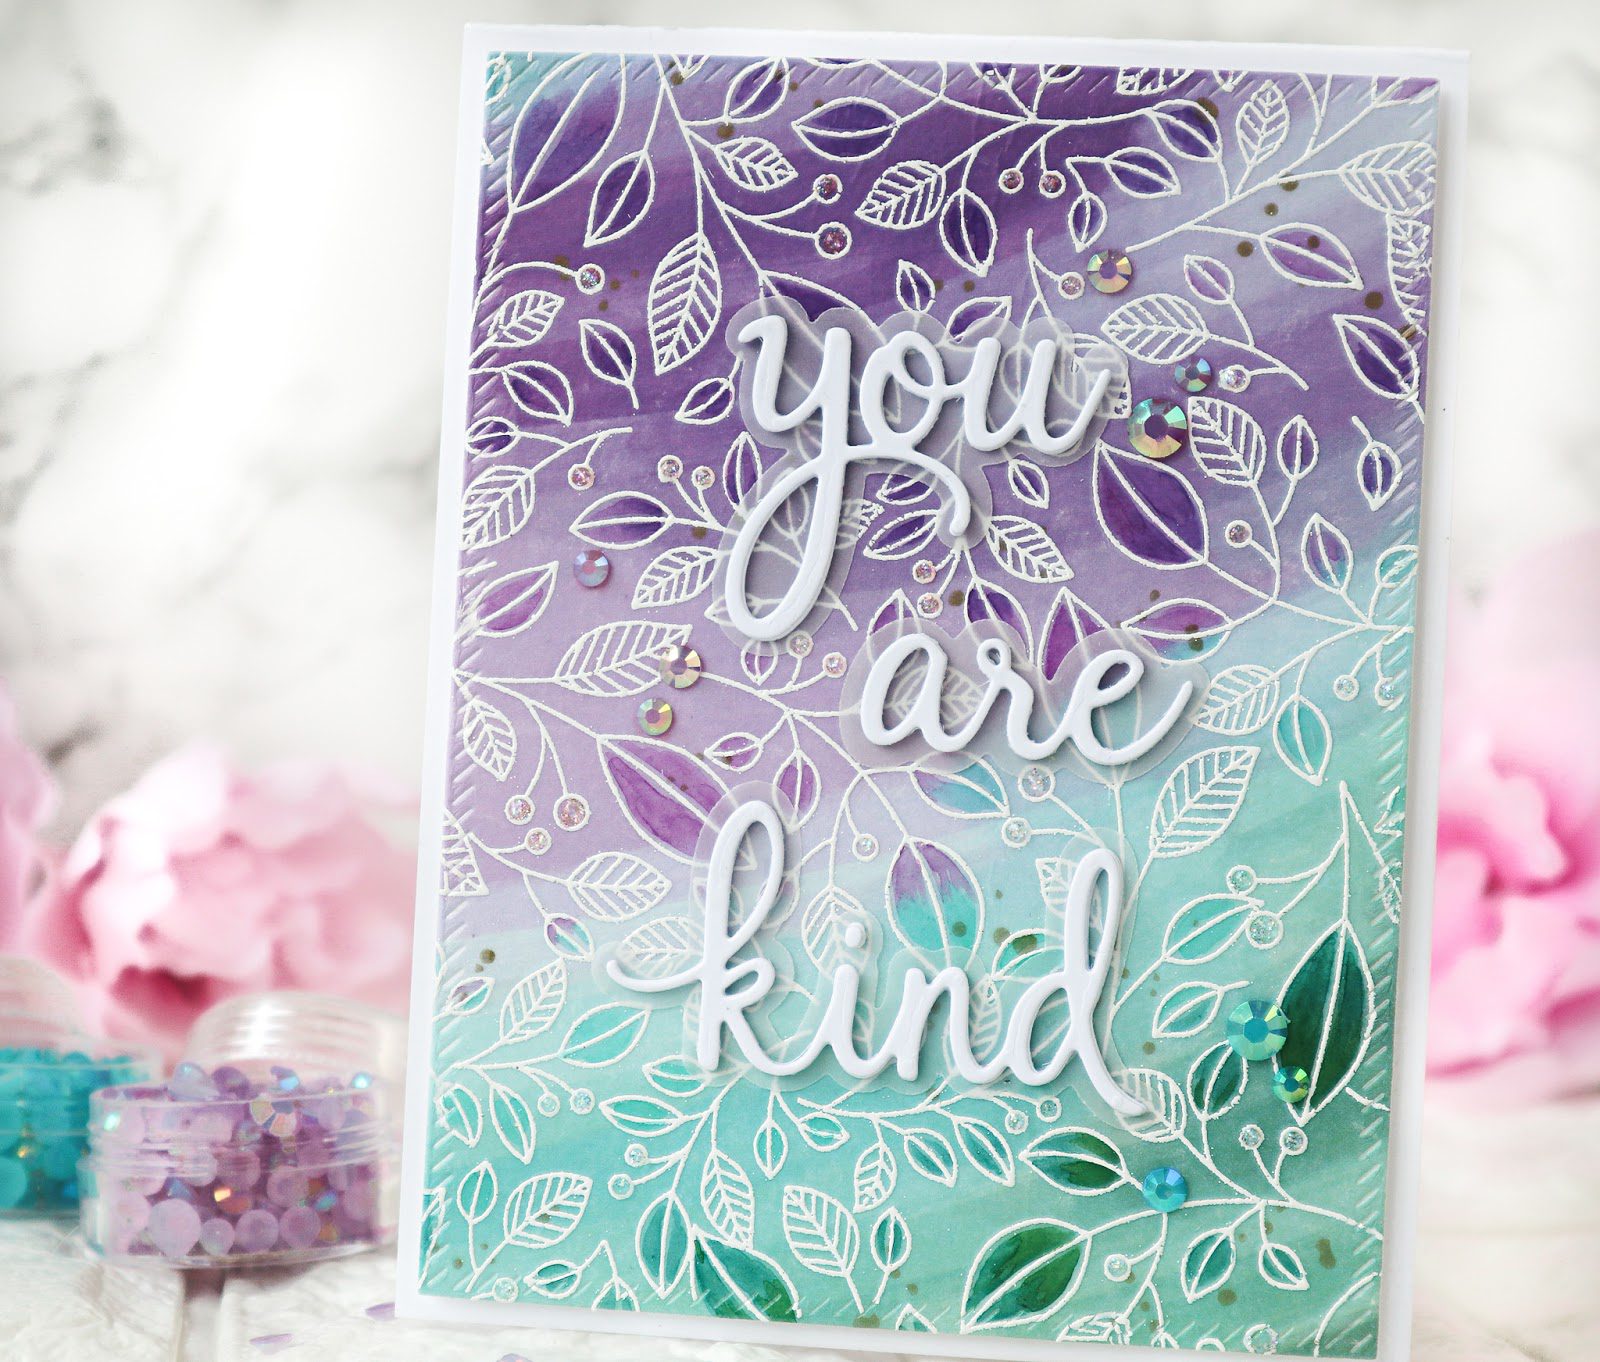
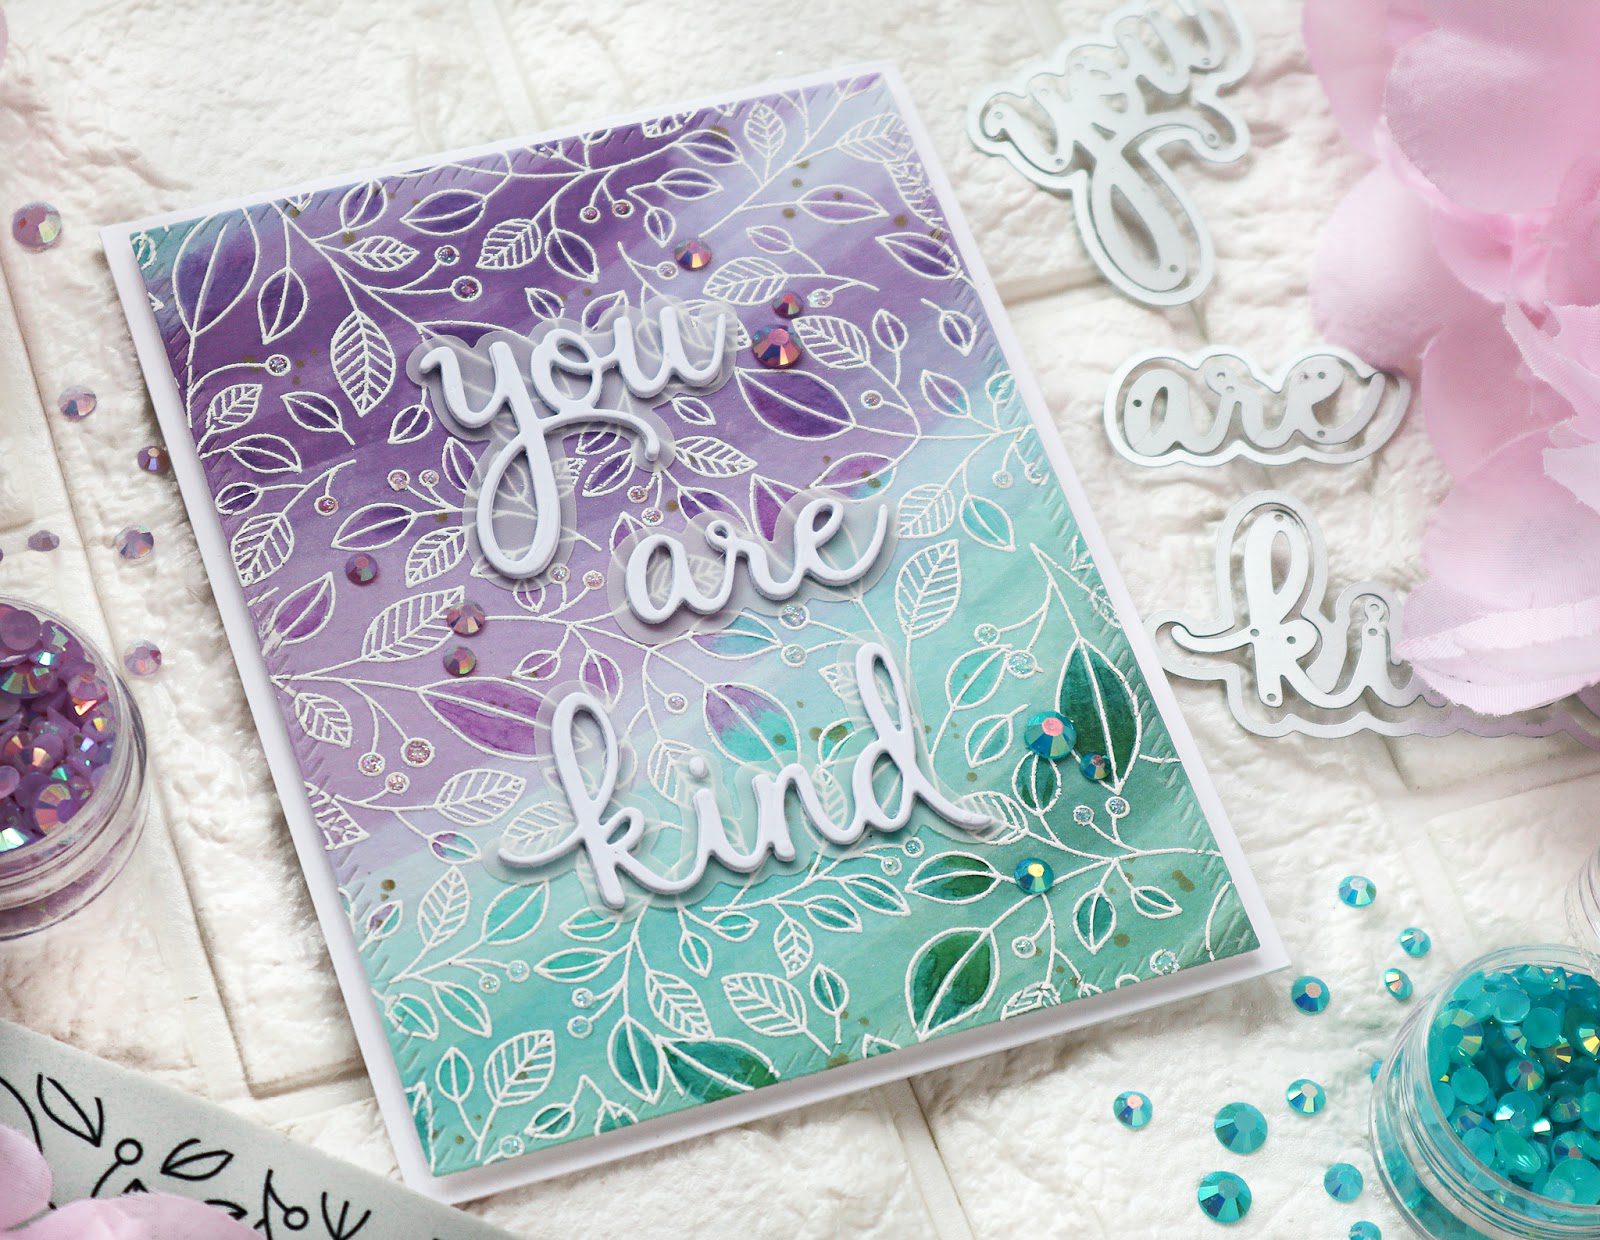
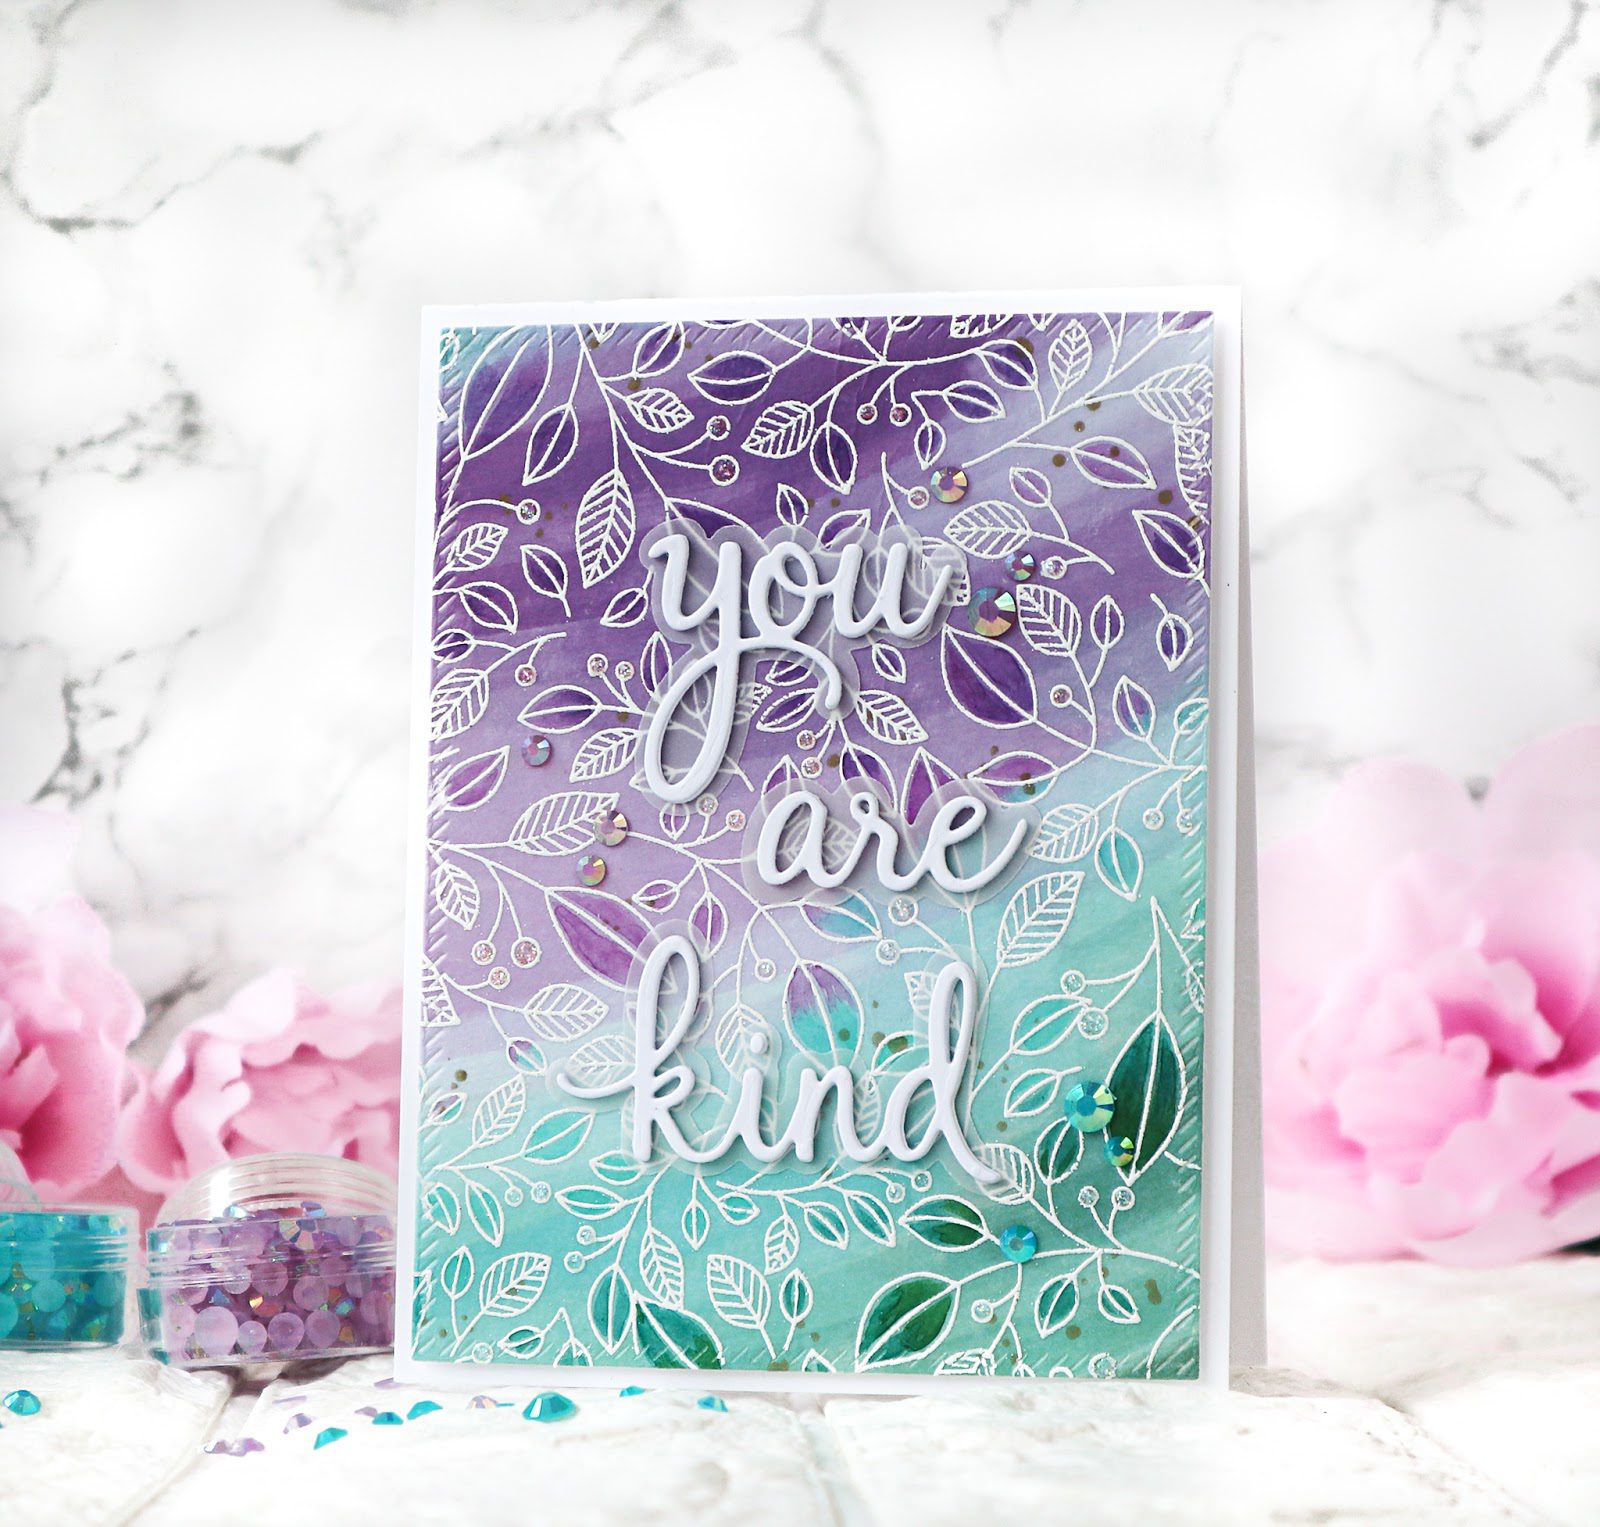
My last card for today is featuring Lush Vines background stamp and the word dies from Phrase Builder: you die set.
For this beautiful background I used the Rainbow with Splatters washi tape. I adhered the purple and teal part of the washi tape on a white cardstock and white heat embossed the Lush Vines on it. I colored the leaves using V15, V17, BG13, BG18 and G28 Copic markers and cut the panel using a Diagonal Stitched Rectangles die.
The words were cut from some white cardstock three times using the Phrase Builder: you die set. I also cut the shadow layers from some vellum. I stacked the die cut words all together.
I foam mounted the background panel on a white cardbase and added the words to it. Glittery Stickles was added to the little berries for some shine. Some Jewels in teal and purple were my finishing touch!
That’s it from me today! I hope I was able to show you the beauty of the new background stamps with my cards!
Pinkfresh Studio will be giving away the full February 2020 Background stamp release on the Pinkfresh blog, and on their IG feed.
Also each of the designers participating in this blog hop will be giving away a $25 gift card to the Pinkfresh Studio store. The winners will be picked from the comments.
*All the winners will be announced on the Pinkfresh Studio Giveaway Page on Monday, Feb. 24th.
*Please check that page and claim your prize within 2 weeks !
SHOPPING PROMO:
Free US shipping or discounted international shipping on all orders $35+ from February 17 -21.
HOP ALONG
Your next stop on the hop is Kelly Griglione’s blog!
Thank you so much for stopping by and hopping along!
Hugs,
TaeEun
I participate in the affiliate program of Pinkfresh Studio. It means I earn a small commission at no additional cost to you each time you click through and purchase the product(s) shared here. Thank you for your support :).

