Hello and welcome to Pinkfresh Studio September Stamp, Die, Stencil, and Hot Foil Release blog hop!!!
If you arrived here from Susi Becerra Jimenez’ blog, you’re right on track. If you are lost on the way or want to start over from the beginning of the hop, please head on over to Pinkfresh Studio blog!
Pinkfresh Studio is celebrating the September 2021 Release with a blog hop today! Four beautiful floral designs are debuting today in stamp, die and layering stencil sets. Along with the florals there is an awesome Inna Alpha set. In the large alphabets pretty floral embellishments are integrated. The outline alphas have a coordinating stencil set with which you can create beautiful floral fonts in your own style! And on top of this amazing new items Pinkfresh Studio is introducing a Solid Hot Foil Plate today! With this ingenious hot foil plate you can use up all the leftover foils! How awesome is that! For the full reveal please check out Pinkfresh Studio Card blog!
I’ve made two cards for today’s hop 🙂 !
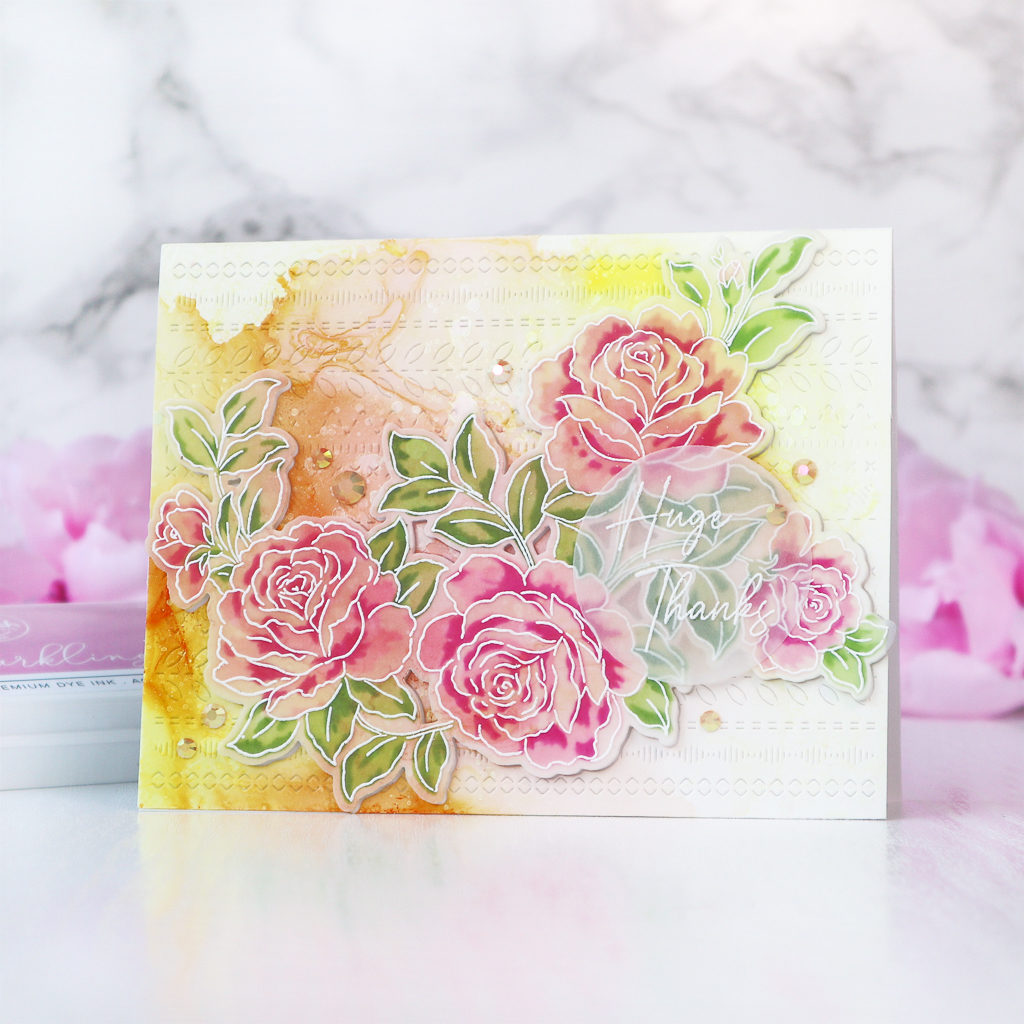
The first card is featuring one of the new floral designs, Garden Roses. It’s my favorite from four new floral designs! I used the Layering Stencil set to add color to this gorgeous roses.
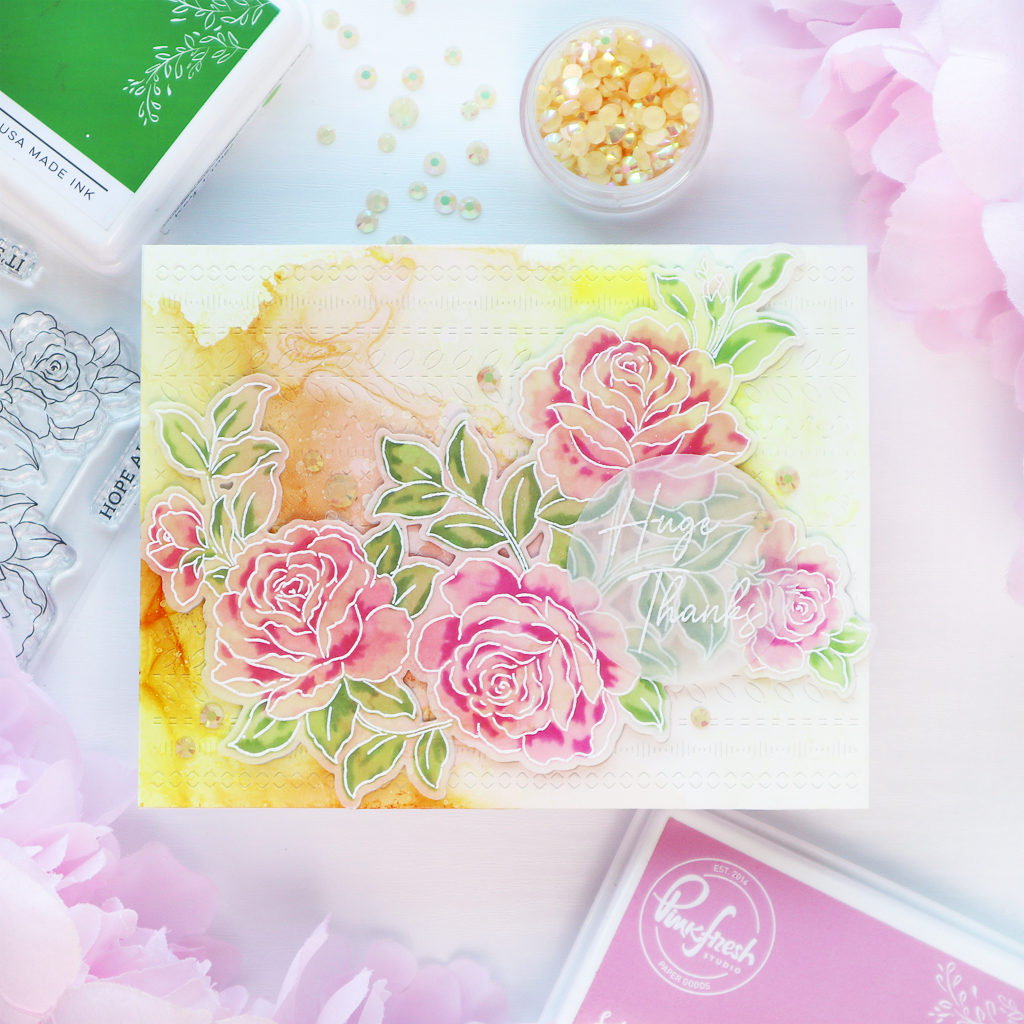
I white heat embossed the Garden Roses on some vellum and colored it on the back of the vellum using the Layering Stencil set. I used the back side of the stencil to add ink to the back of the vellum. For the roses I used Ballet Slipper, Sparkling Rose and Raspberry Bliss and for the leaves Key Lime and Olive. After the stenciling I cut it using the coordinating die.
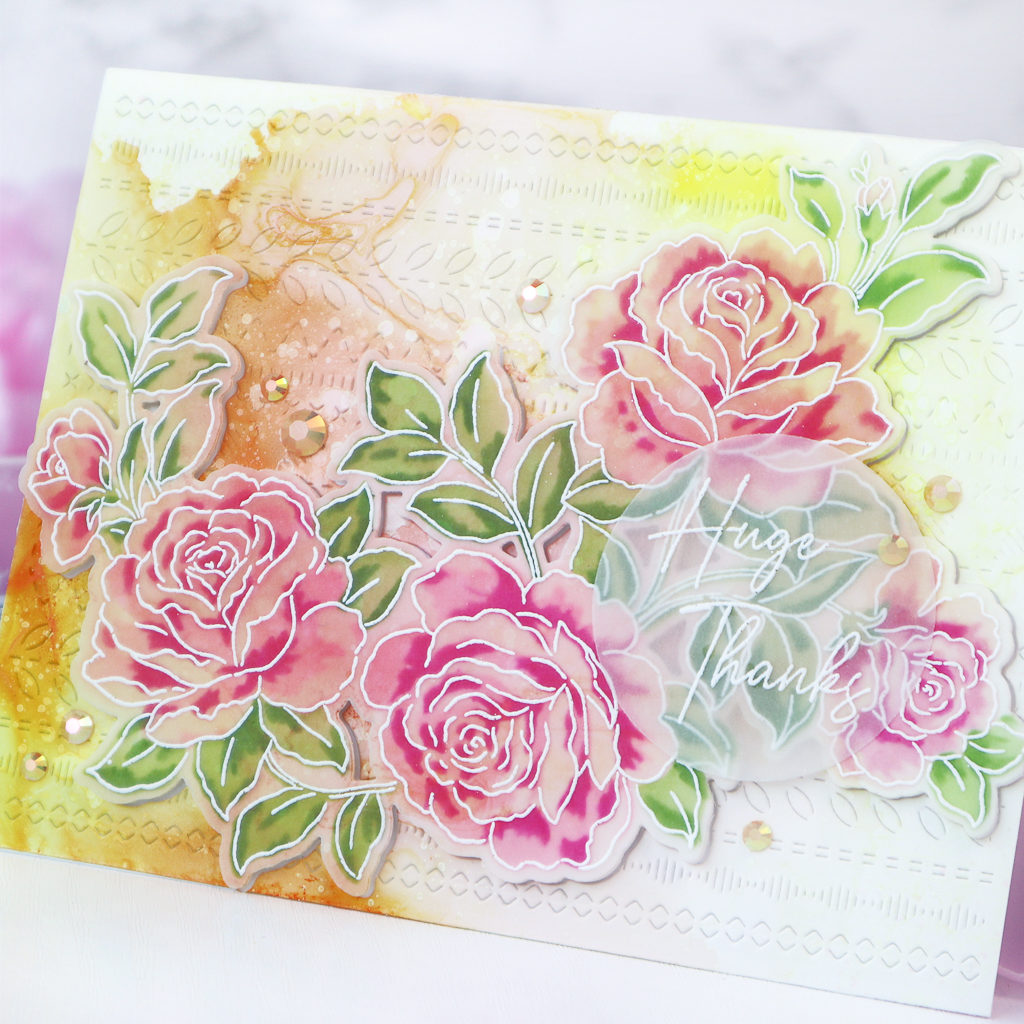
The background panel is an alcohol inked Yupo panel. First I applied lots of rubbing alcohol on the Yupo panel and added alcohol ink drops on it and moved the ink using a blower. I used Shell Pink, Flamingo and Y06 Copic refill to color the panel in yellow and pink. The coral tone is created by mixing the ink colors. After the panel was dry I splattered Snow Cap alcohol ink and set the panel aside to dry.
After the panel was completely dry I cut the shape of the Garden Roses from the panel using the coordinating die and cut the negative piece using the Stitches die.
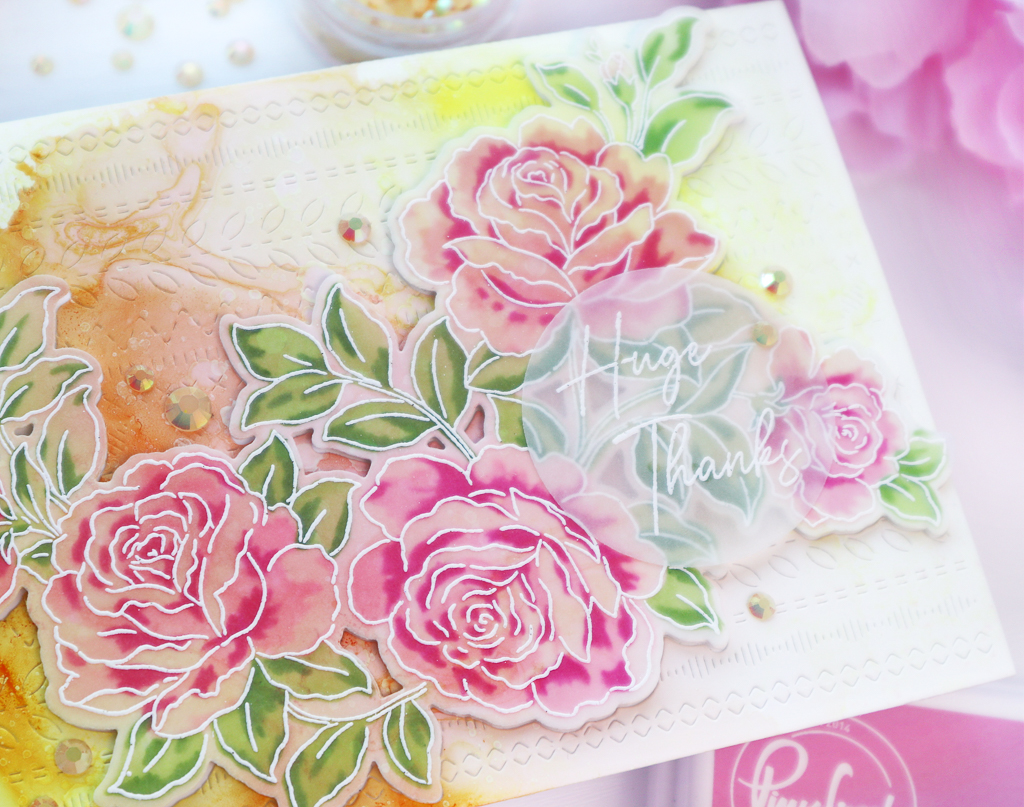
I mounted the negative piece of the background pane flat on a white cardbase. I adhered the Garden Roses on vellum on the die cut piece from the alcohol inked panel and added it to the card using foam adhesives. The vellum roses show the color of the alcohol inked panel so that you can see the yellow hue in the roses.
The sentiment from the Blooming Branch stamp set was white heat embossed on vellum and cut in a circle. I finished off the card with a few Peach Fuzz Jewels.
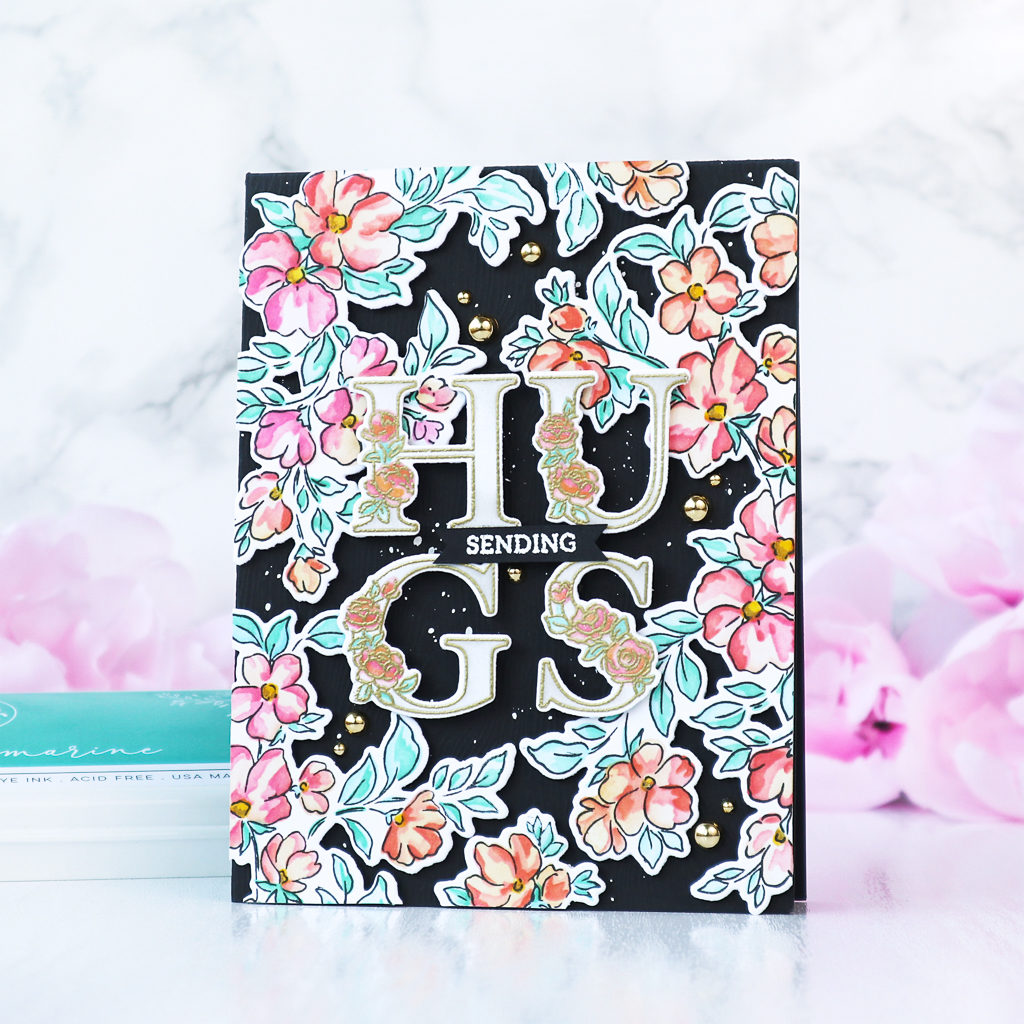
The second card is showcasing the Blooming Branch stamp, die and layering stencil sets and Inna Alpha set!
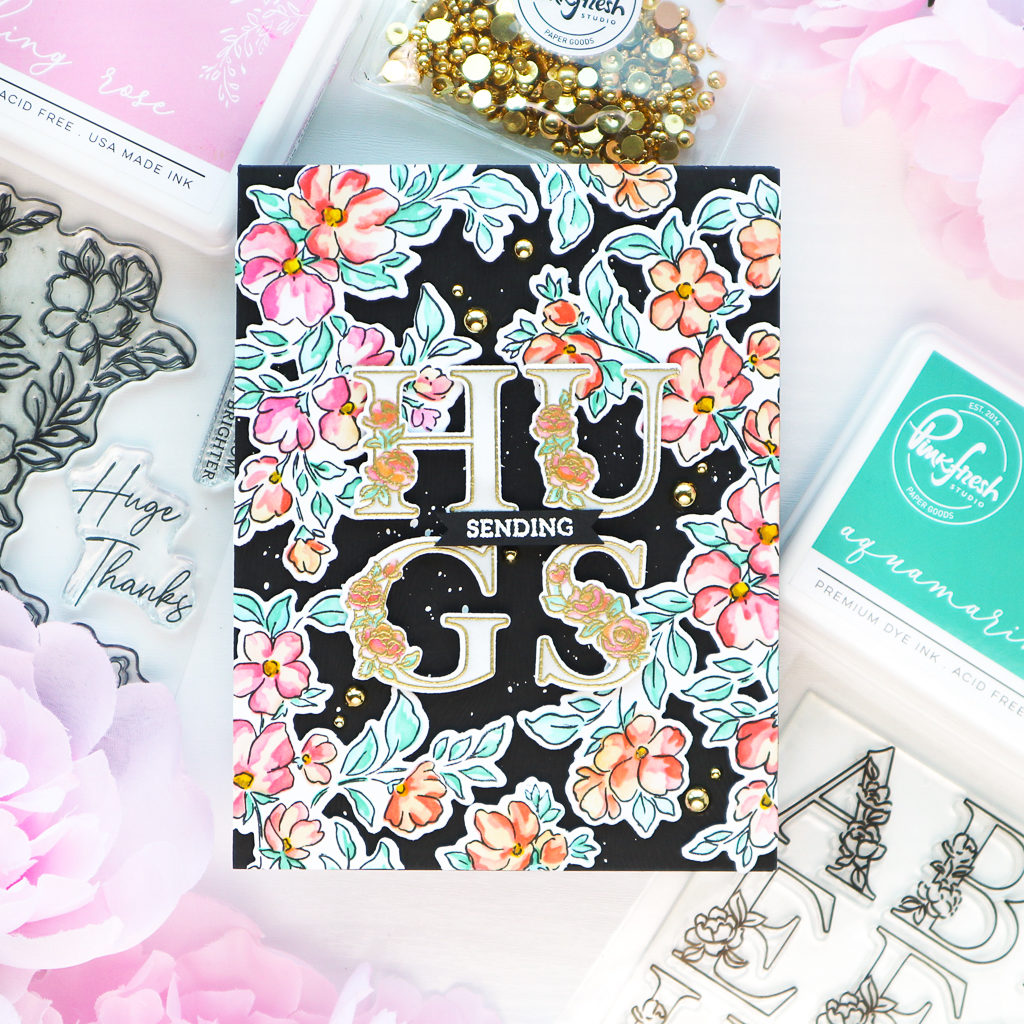
I stamped the Blooming Branch image several times on some white cardstock in Detail Black and stenciled them using the coordinating Layering Stencil set. I stenciled the flowers in pink and coral. The first layer of the flowers was stenciled in Ballet Slipper. and Apricot, the second layer in Coral Reef and Sparkling Rose and the third layer in Passion Fruit and Bubble Gum. The leaves were stenciled in Ocean Breeze and Aquamarine and the flower Center in Marigold.
I cut all the Blooming Branch images using the coordinating die and set them aside.
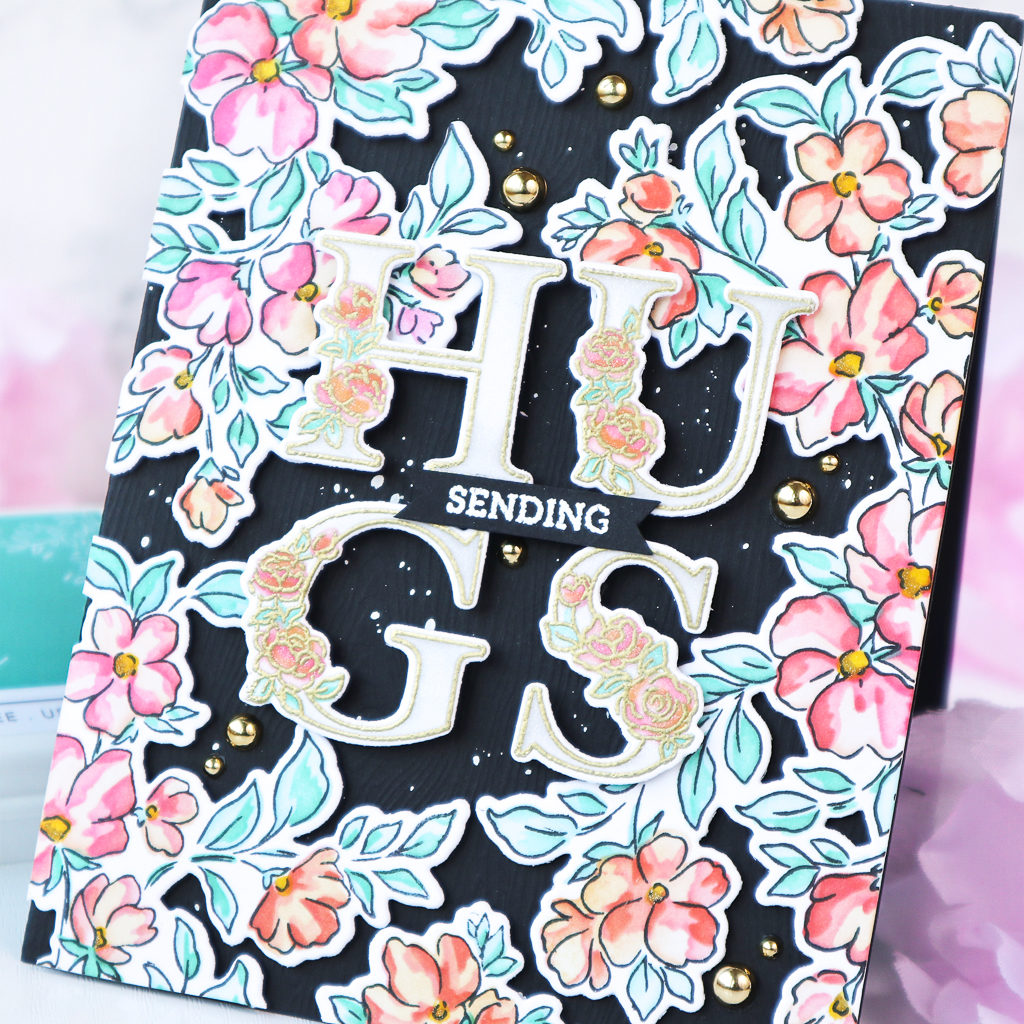
The Inna Alpha was heat embossed in gold and stenciled using the coordinating Layering Stencil set. To match it with the Blooming Branch images I stenciled the flowers in the alphabet in Coral Reef, Apricot and Passion Fruit and leaves in Ocean Breeze and Aquamarine. I colored the alphabets in Misty Coast. I cut the Inna Alpha with the coordinating die and picked HUGS from them for my card.
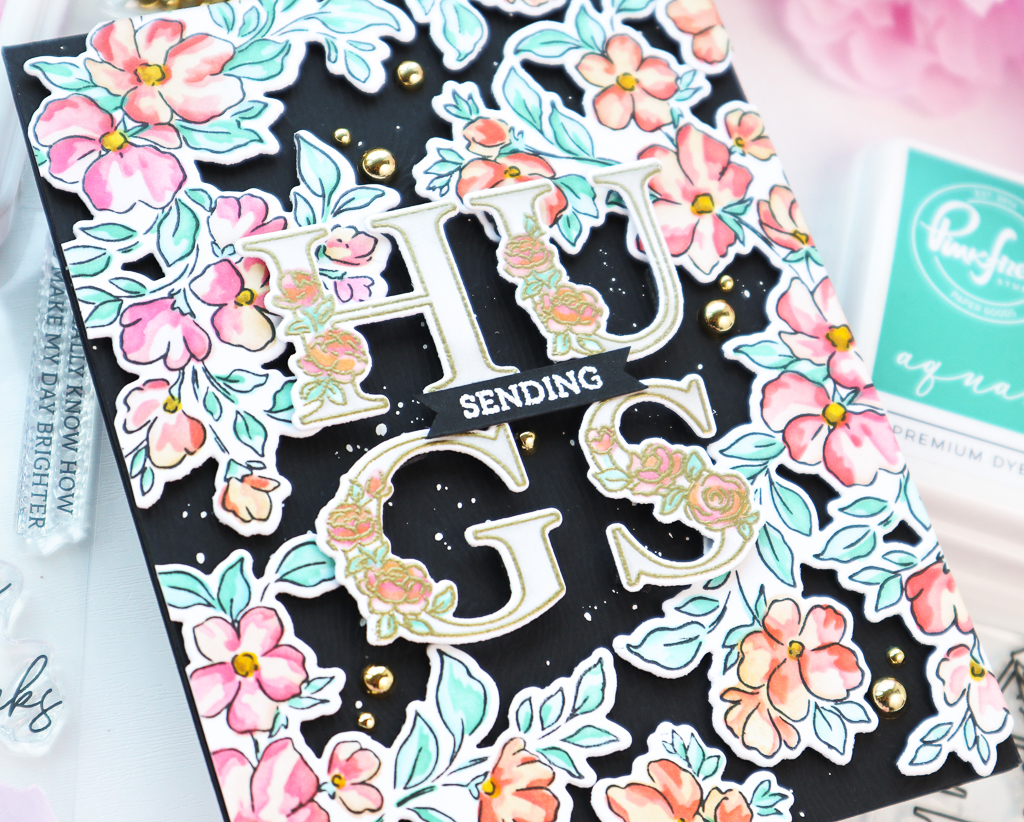
I adhered an A2 sized black woodgrain paper on a black cardbase, splattered white ink on it and arranged the Blooming Branch on the perimeter of the card as shown in the picture. The flowers were foam mounted. I then added the alphas to the card with double layered foam tape. “SENDING” is from Garden Roses stamp set. Some Metallic Gold Pearls were added for more golden shine!
GIVEAWAYS
Pinkfresh Studio will be giving away the full release on the Pinkfresh blog and YouTube channel.
There will be a total of TEN $25 gift cards chosen from all the blogs on the hop list.
The winners will be picked from the comments.
All the winners will be announced on the Pinkfresh Studio Giveaway Page on October 5th , 2021.
*Please check the Giveaway page and claim your prize within 2 weeks !
SHOPPING PROMO
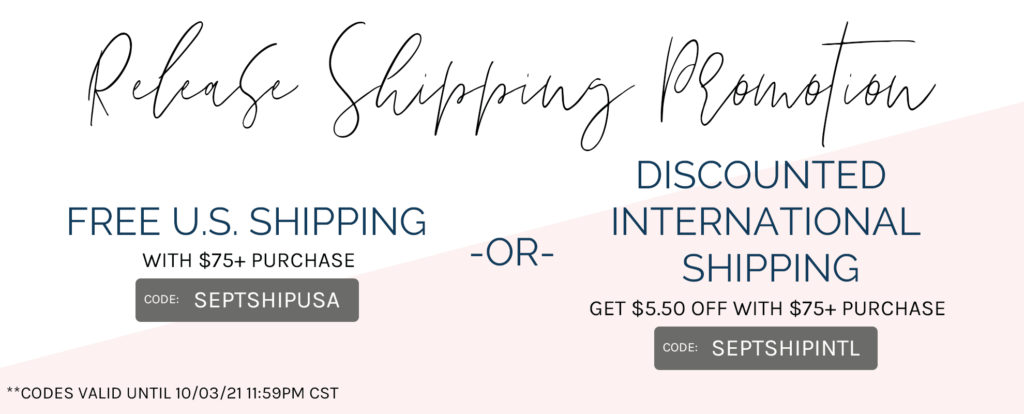
- Free US shipping and $5.50 off international shipping on all orders $75+ from September 27th to October 3rd (code is in the graphic below).
HOP ALONG
Your next stop on the hop is the amazing Yasmin Diaz’ Blog!
Thank you so much for stopping by and hopping along! Hope I was able to inspire you with my cards today !
Tomorrow there will be a huge Instagram Hop ! So please mark your calendars for more inspiration and giveaways!
Happy hopping!
Hugs,
TaeEun
I participate in the affiliate program of Pinkfresh Studio. It means I earn a small commission at no additional cost to you each time you click through and purchase the product(s) shared here. Thank you for your support 🙂 !

Gorgeous cards and gorgeous new release! I love that watercolor look background.
my goodness! I just love that rose card it is lovely!!
That black background!
Lovely cards. Roses are beautiful. Love this release.
Beautiful cards!! Love the black background!
The background of your first card is out of this world stunning! So gorgeous! I want to craft as good as you!!!!!
Georgous cards.
TaeEun you really do know how to make these products shine – I couldn’t choose a favorite today!
=]
I’ve never seen such beautiful work on vellum! Gorgeous! thank you 💯
Striking cards! I love the dark background especially!
Lovely cards.
Both cards are so beautiful!
All this gorgeous inspiration! Makes these hard to wait for!
Those roses are sensational! Love all your examples!!!!
So stunning! You did such and amazing job with the stencil on the first card, the shading is incredible!
Wow! Your first card was so unique! Love it!
I love those white letters on the black cardstock! Thank you for sharing
Love the color combos! First card is my FAV!
Wow! That vellum technique is gorgeous. What a soft and sentimental feel to the card. Thank you for the inspiration. Also loving the stark background of black on second card. Very nice work!
Gorgeous cards. I never thought to use stencils on the back of vellum but will now be giving it a try. Thanks for the inspiration!
Beautiful cards. Thank you for sharing.
Your first card is absolutely dreamy! The second card is so striking with that dark background – and you used my favorite stamp set from this release!!
Your first card was dreamy. Your second card was gorgeous and bold! Loved them both!
Just beautiful. Thank you for sharing.
Beautiful cards!
Love your stenciling on the vellum! So soft and beautiful ❣️
All of my favorite colors! Beautiful samples! I love the watercolor background. 🙂
Both cards are great, but I especially like your first card. The roses are absolutely beautiful! I can’t wait to try your technique on vellum. Thank you for the inspiration.
OMG. I love love LOVE the roses card. Stunning!
Beautiful cards, I just love all the wonderful ideas for this release. Thanks for sharing.
Beautiful cards! The Yupo inked background is gorgeous. Fantastic release.
I love the soft colors and the white embossing! GORGEOUS CARDS!
Very nice, that roses card is so so beautiful.
Hi, TaeEun – These are beautiful cards!! The dark and dramatic background really packs a punch in card #2, along with beautiful letters. Both cards are gorgeous! TFS –
L
Wow! So happy I came on the ‘hop’ and discovered you. Stunning cards!
Girl…….you always rock it! Stunning cards and colors. 💜💜💜
Love your use of vellum, alcohol ink, and black wood grain paper. I’m already one of your followers (fans) & am always inspired by your creations. TFS, Helen E. (My PFS blog hopper name).
What an amazing release. I am so excited for the solid hot foil plate. I now have a way to use all my ‘negative’ pieces Ive been too frugal to toss. Its absolutely brilliant.
I really like that first card, and the watercolour look you were able to achieve. Did you use the stencil or did you colour it free hand? It looks so amazing!
wow – both of your cards are stunning – the coloring on the first one is amazing
Gorgeous as always TaeEun! I really love the vellum on the first card – such a gorgeous technique!
Your Garden Roses card is the most beautiful card I’ve ever seen! It is stunning and I love the color effect you gave the vellum panel. This technique is at the top of my list to try. Thanks! 💖
Love love love how you used alcohol inks to highlight these products
Two gorgeous cards TaeEun and I love the roses done with the layering stencils on to vellum and white embossed to make them stand out so beautifully and then again with the alcohol inks to back the die cut piece, and the dry embossing with stitching effects used as a background. The second is so different with the dark background and lots of inked and die cut leaves over it, and the word ‘hugs’ cut from the floral alphabet which finishes it perfectly. x
Your thank you card is so dreamy. Great work!
Beautiful cards. I really love the first one — the Garden Roses set is one of my favorites from this fantastic release and your coloring is amazing.
Wonderful release and your cards are beautiful.
Both of your cards are stunning! Love all these new products.
Ooooh…Love these cards. The black background is stunning
Stunningly beautiful card inspiration!! Thank you for sharing your creativity!
Really pretty cards
I LOVE the background on the first one. VERY COOL!
Both cards are beautiful. I really like the bold color combo of the second card.
Your watercolor roses are so beautiful 😍
Beautiful cards! The rose card is so elegant…
Thanks for sharing.
Love the flowers on the black
Beautiful cards. thanks for sharing
txmlhl;(at)yahoo(dot)com
I love your cards! The vellum sentiment is really pretty!
WOW your cards are stunning!!! The garden roses are my favorites, too!! Thank you for the inspiration!!
Both of your cards are stunning! The Blooming Branches sure is a lovely set! Thank you for sharing your talent with us!
Your beautiful rose card is amazing, love the use of vellum and your alcohol ink background. The color choices are so pretty,
Love your white heat embossing! Your flowers are stunning! Great cards!
Thanks for sharing these gorgeous cards with them–I love the detail of the roses and the other on the dark background is stunning!
Very Beautiful coloring! Its an Awesome release! Just love all the inspirations!
Gorgeous cards! The roses are a favorite and I love the colors you used!
TaeEun, these are just gorgeous. The Garden Roses is my favorite floral of this release, too. I love how you added stitched embossed textures on an alcohol ink blended background. Lovely!
Absolutely stunning cards! Gorgeous watercoloring and fantastic designs.
These are so pretty!
Stunning cards! I really love the dark background you used!
Love the painted background, very pretty!
Very Pretty cards !! Love them all !!
Love the Hugs card with the dark background. Very eye catching.
wow that alcohol ink background is stunning!!!
Love the way you used the vellum–so beautiful and so creative!