
Hello everyone! I hope your week is off to a great start!
Today I’m on the Pinkfresh Studio blog with a thank-you card featuring the Gentle Escape product suite from the Quiet Moments Release.
This set features a peaceful lakeside picnic scene with a small boat floating on the water. The image is beautiful enough to use as a full landscape panel, but I wanted to give the scene a more unexpected look. Using the Dotted Nested Deckled Rectangles die set, I divided the colored image into several sections and layered them over an uncolored stamped panel.
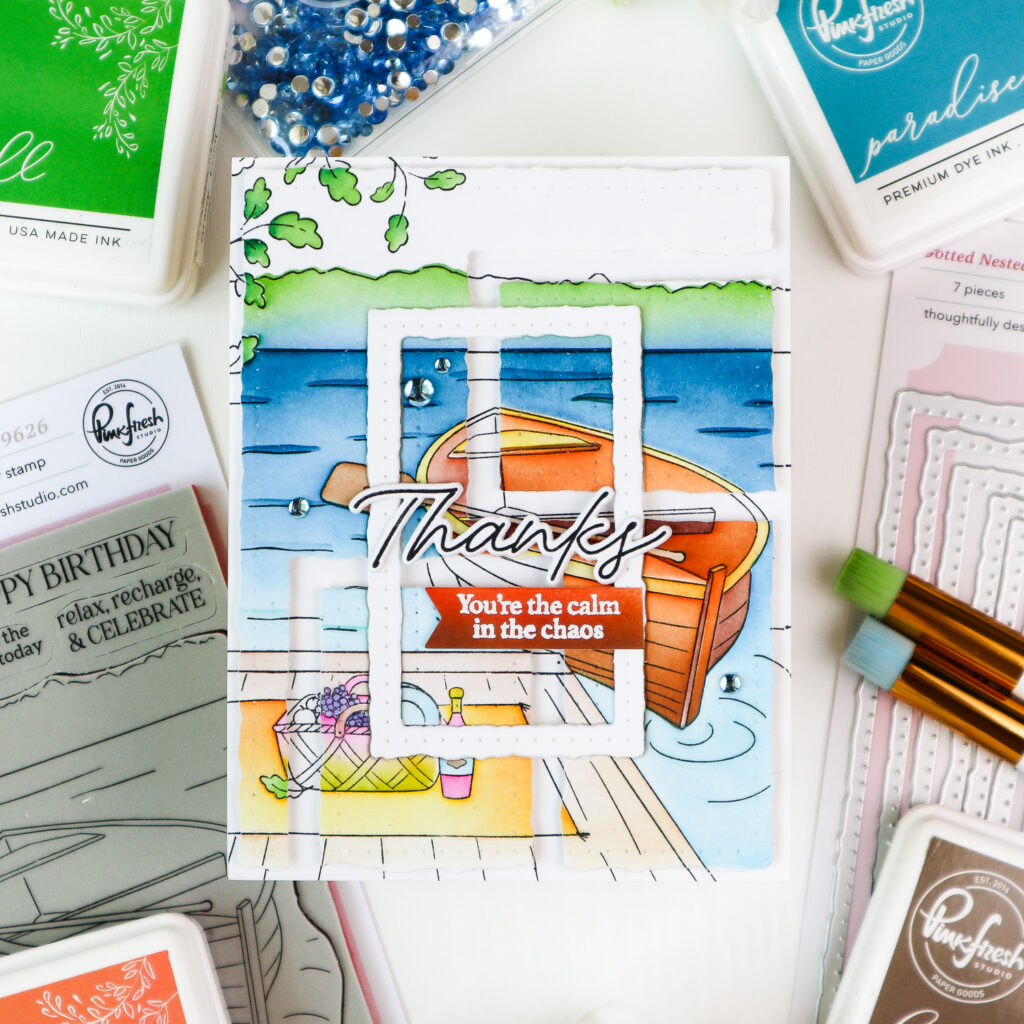
I started by stamping the Gentle Escape image twice on white cardstock in Detail Black. I colored one of the stamped panels with the coordinating stencil set in the following colors:
– Stencil 1: Summer Shower, Paradise, Atlantis (blended from the bottom to the top of the lake)
– Stencil 2: Grassy Knoll and Spruce Tips for the leaves, Hydrangea for the grapes, Doe for the paddle
– Stencil 3: Marigold, Mimosa
– Stencil 4: Doe and Mimosa for the boat, Sparkling Rose and Citron for the basket
– Stencil 5: Gathered Twigs, Warm Buff, Peach Fuzz
– Stencil 6: Sparkling Rose, Mimosa for the boat, Waterfall and Storm for the waves, Grassy Knoll for the mountains
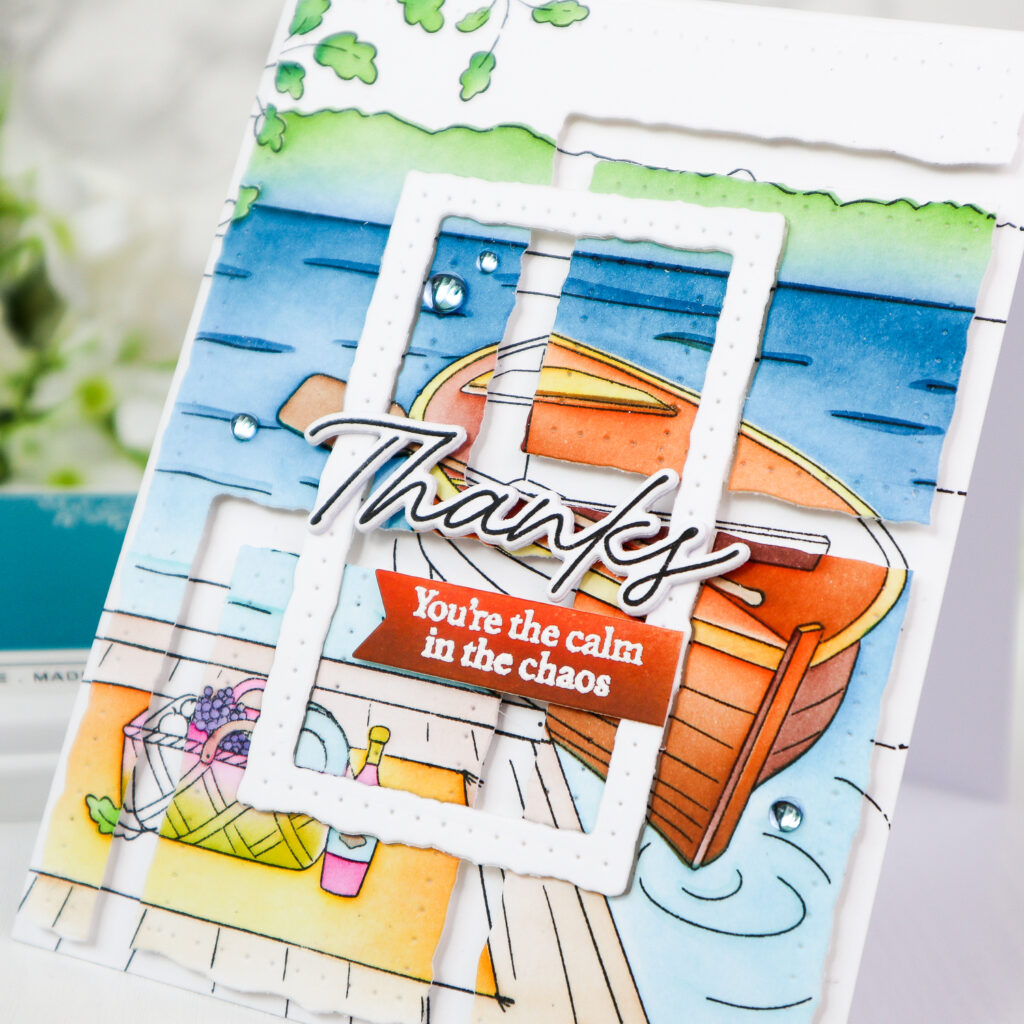
Once the stenciling was complete, I cut the colored panel with the largest die from the Dotted Nested Deckled Rectangles die set. I then used two dies from the same set to cut two rectangular frames from the colored panel: one from the lower portion of the panel and another one from the right side.
To help keep all the pieces aligned, I stamped the Gentle Escape image again on printer paper and temporarily placed the colored die cut sections on top with repositionable adhesive. I then cut one more rectangular frame from the center of the panel.
Next, I adhered the second, uncolored stamped panel flat onto a white card base. I then foam mounted the sections of the colored panel over the matching areas of the uncolored image, carefully aligning the scene so the black and white portions connected naturally with the raised colored pieces.
I die cut a frame again from white cardstock and added it to the opening in the center using foam tape.
* I initially planned to inlay the white frame into the opening, but decided to raise it a bit 🙂
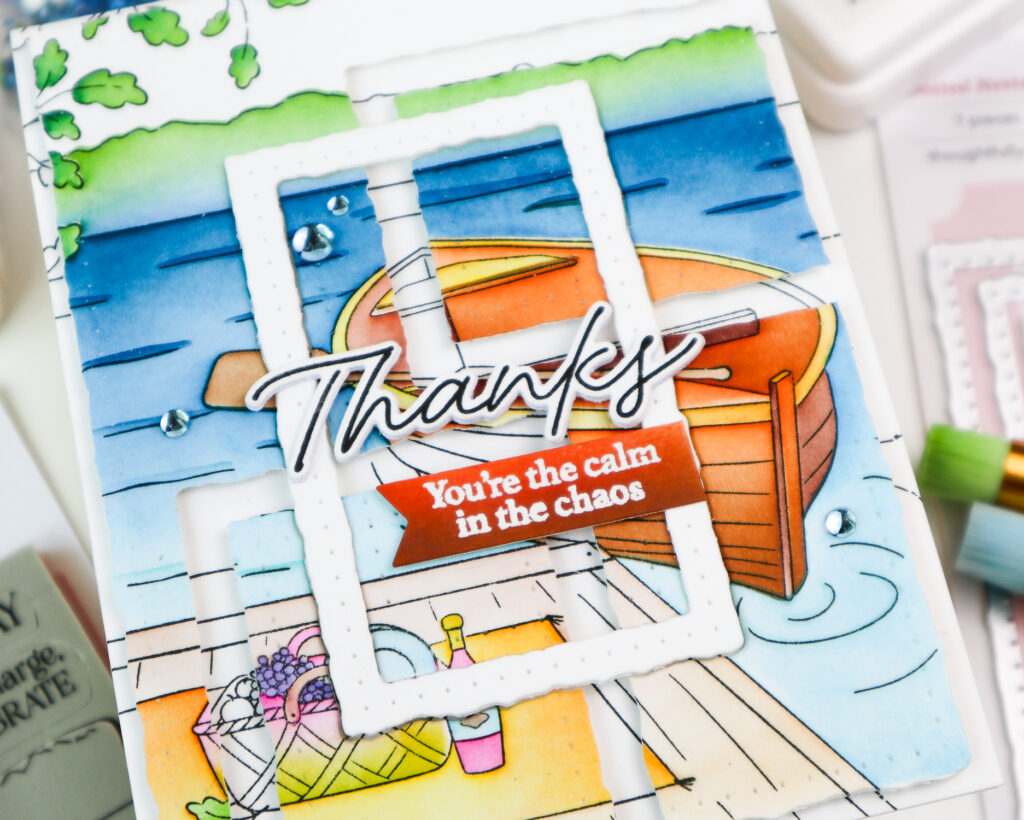
For the sentiment, I stamped “Thanks” from the Woodland Trails stamp set in Detail Black, die cut it, and stacked it with two additional die cut layers for dimension. I added it to the center of the white frame.
I then ink blended a strip of white cardstock with Mimosa and Doe to coordinate with the boat. I white heat embossed the smaller sentiment from the Retro Camp Days stamp set onto the strip, cut it with the Basic Banners die, trimmed one end, and tucked it underneath the large sentiment.
To finish the card, I added four Sky Blue Clear Drops around the water for a subtle touch of shine.
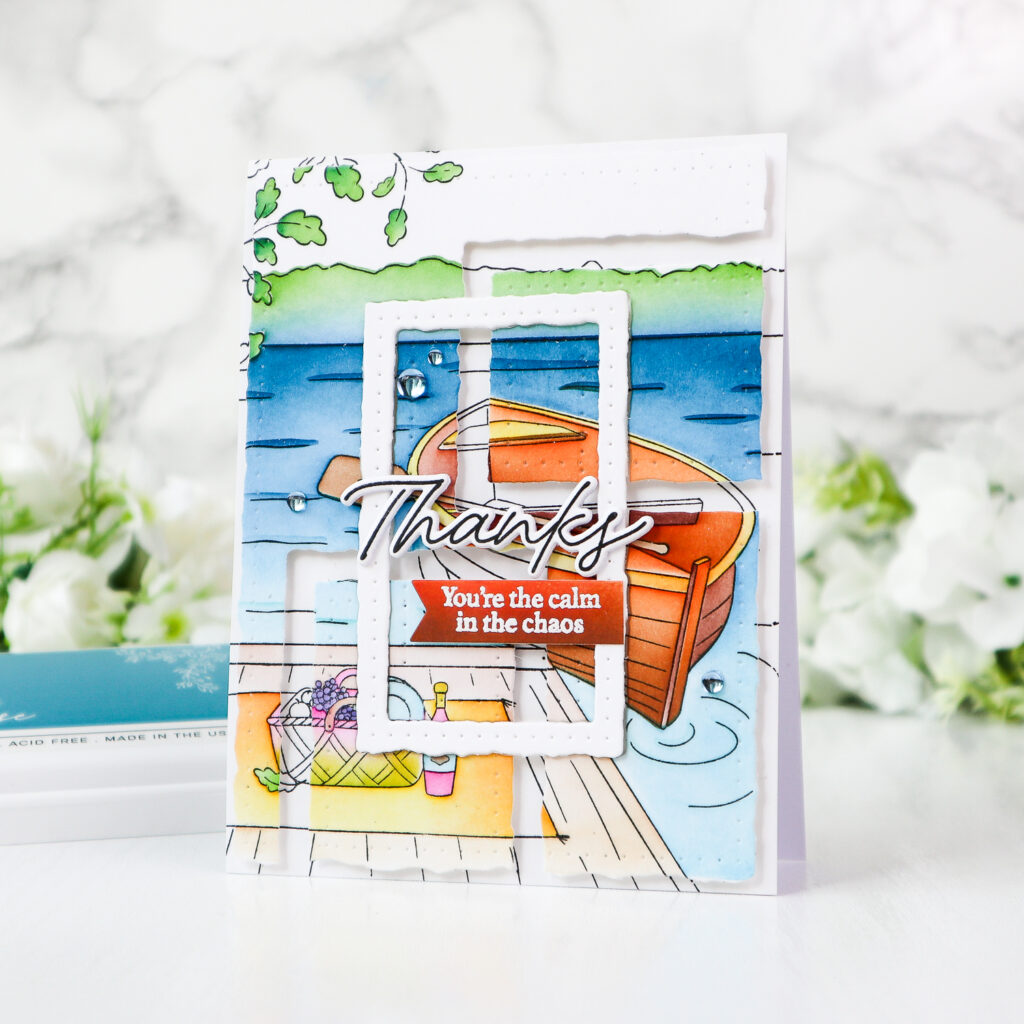
A detailed landscape image can look beautiful on its own, but cutting it into sections and layering those pieces over an uncolored stamped background can completely change the look of the scene. The black and white areas act as quiet negative space, helping the colored sections stand out while keeping the layered scene visually connected.
Thank you so much for stopping by today! Hope you enjoyed my card!
Have a crafty week!
TaeEun
I participate in the affiliate program of Pinkfresh Studio. It means I earn a small commission at no additional cost to you each time you click through and purchase the product(s) shared here. Thank you for your support 🙂 !

The rectangle dimensions make this card so interesting. I would like to apply this technique to my own cards! Thanks for the inspiration!
A very cleverly designed card TaeEun and I love the way you have cut the panels from the coloured panel and placed the black on white panel beneath so that sections of it show through the gaps, and finished with a lovely stamped and die cut sentiment. x