Hello everyone! Hope you’re having a great week so far!
Today, I’m on the Pinkfresh Studio Card Blog sharing four cards that feature Four Seasons product suite and the Embroidery Hoops die from the new release. The Four Seasons stencil set includes four circular images, each representing a season. This means you can create four different cards with the set, or you can choose one part of the stencil to create a single card. I used all the images to create four cards!
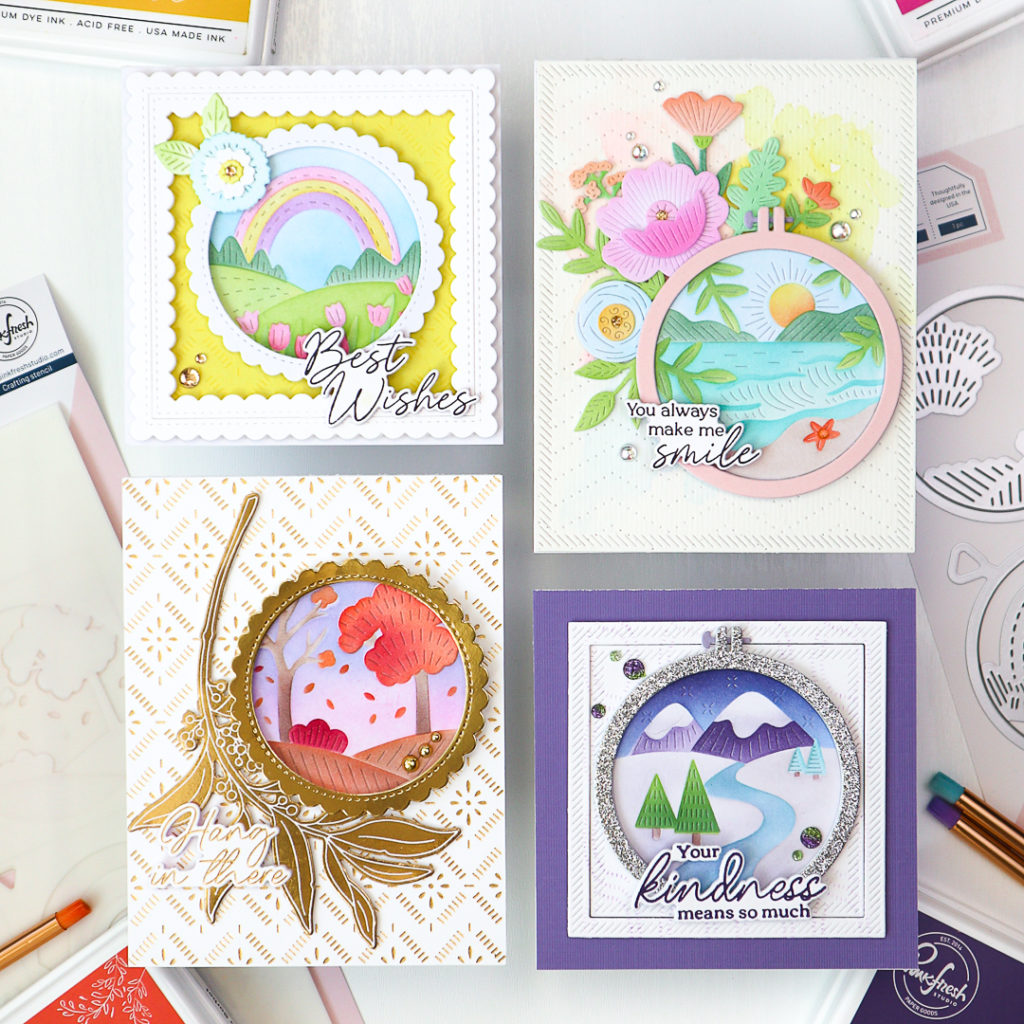
To start, I stenciled the four scenes from the Four Seasons set onto a white panel. The ink colors I used are listed below in the order of winter, fall, summer, and spring.
- Stencil 1 : Opulence, Sapphire/ Bubble Gum, Lavender/ Summer Shower, Sky Blue, Warm Buff/ Summer Shower, Sky Blue
- Stencil 2 : Wisteria/ Mango Sorbet, Mulberry Blush, Warm Buff/ Ocean Breeze, Turquoise / Grassy Knoll, Lavender
- Stencil 3 : Waterfall, Opulence/ Warm Buff, Mimosa/ Ocean Breeze, Turquoise, Sweet Mustard, Mimosa/ Sunshine, Ocean Breeze (mixed for the grass)
- Stencil 4 : Opulence, Doe/ Doe, Gathered Twig/ Mango Sorbet, Eucalyptus/ Grassy Knoll, Eucalyptus
- Stencil 5 : Grassy Knoll/ Mulberry Blush/ Grassy Knoll, Eucalyptus/ Sparkling Rose
I die cut the Four Seasons images using the coordinating one piece die and set them aside.
🔷 Here’s how you can craft the Four Seasons cards
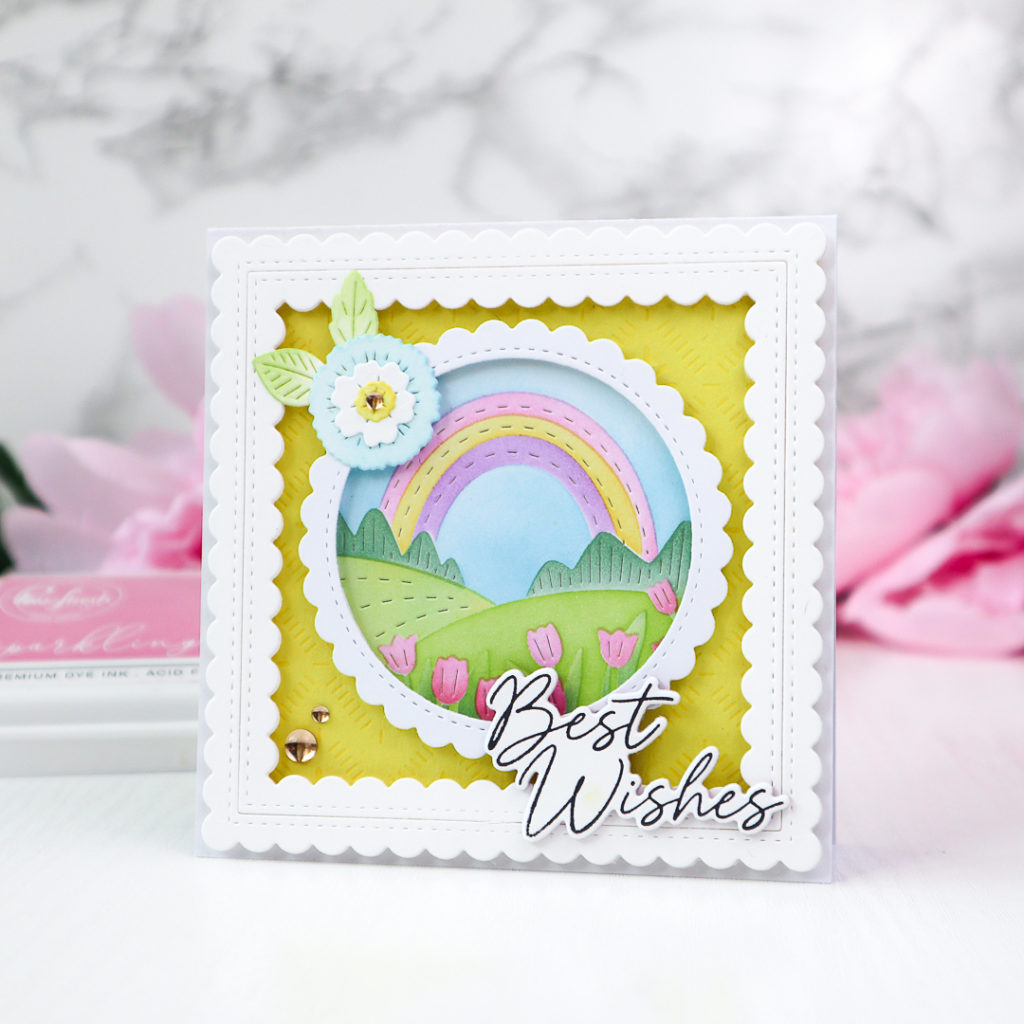
Spring Card
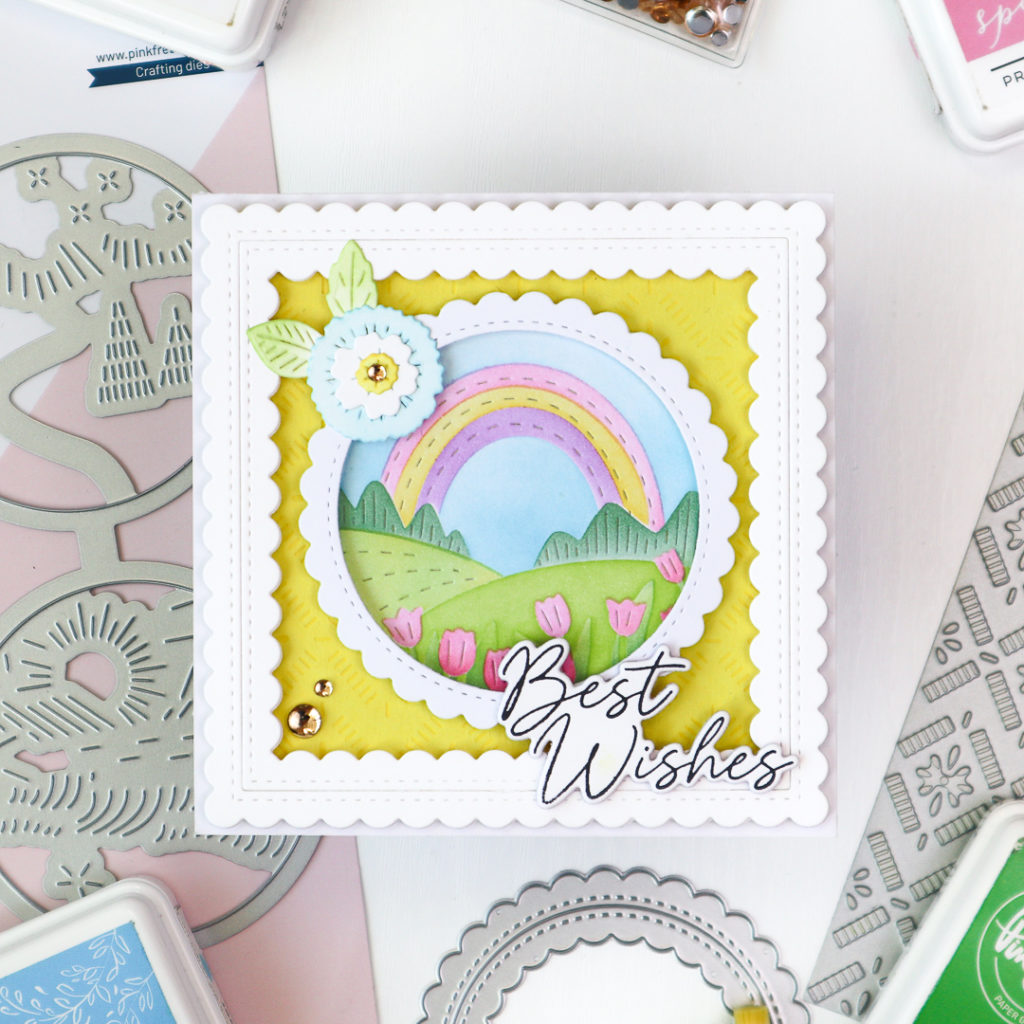
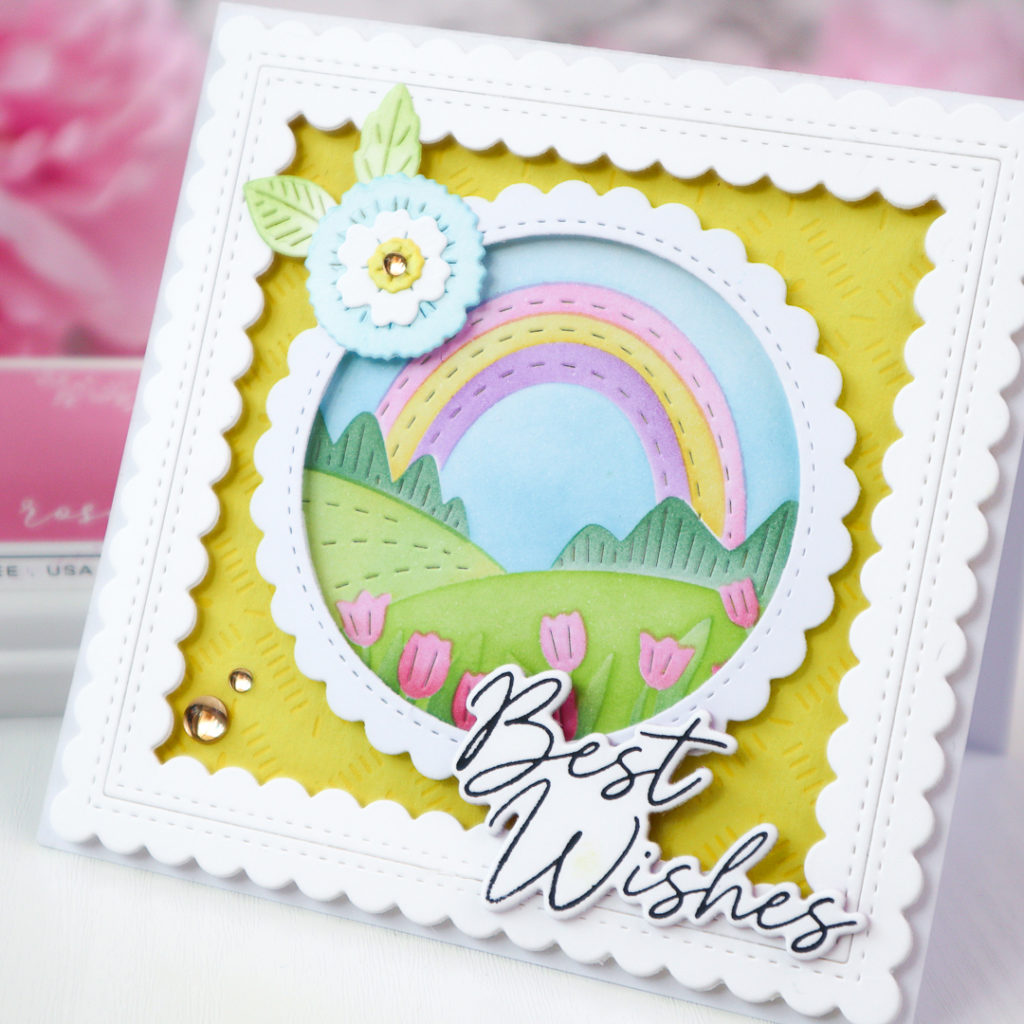
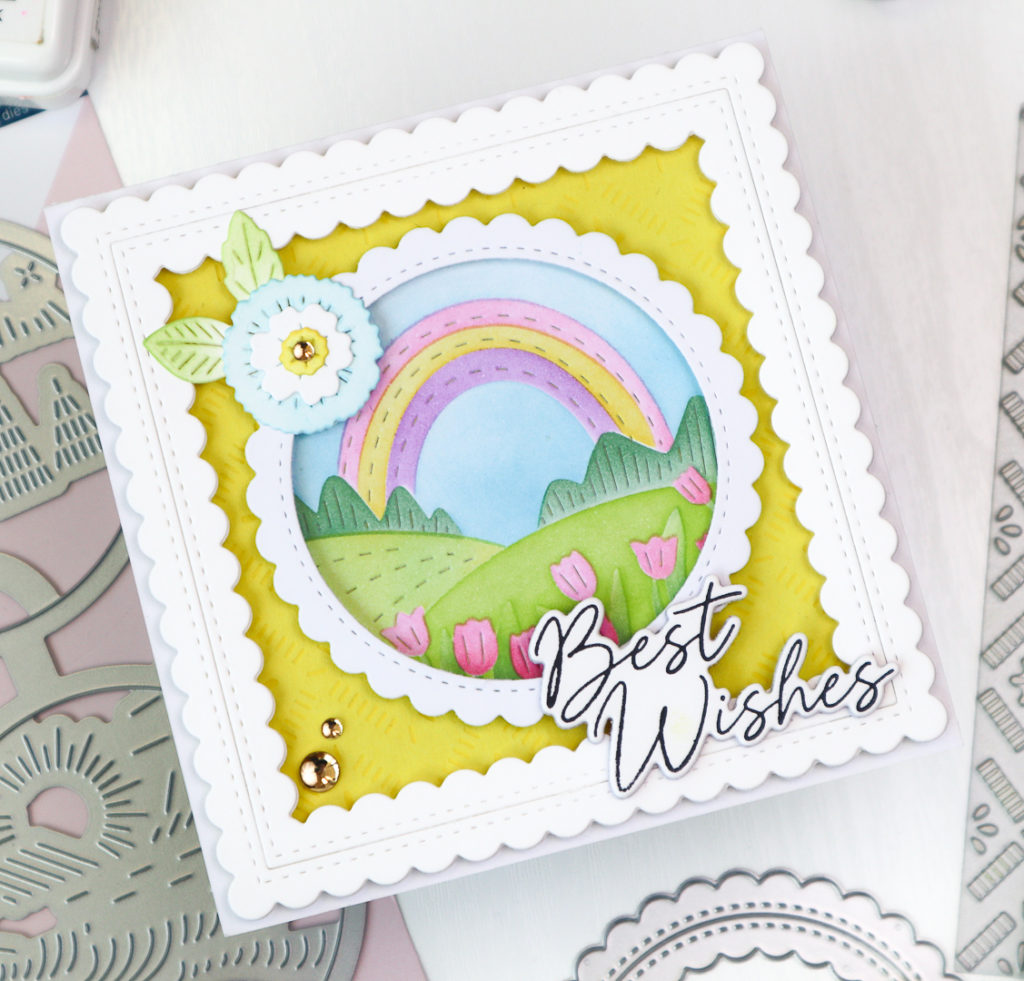
Begin by pressing the Dashing Daisies design onto yellow cardstock using Sweet Mustard ink. Trim this piece into a 4” x 4” square and center it on a 4.25” x 4.25” white cardbase for a clean foundation.
Place the Spring Scene in the center of the card. Add charm by die-cutting Stitched Scallop Circle and Stitched Scallop Square frames from white cardstock. Use foam tape to mount the circular frame around the Spring Scene and position the square frame as a border for added depth.
To embellish the circular frame, stencil floral images using the Garden Party Suite in shades of Sky Blue, Sunshine, and Grassy Knoll. Die cut the stenciled flower and adhere it to the frame.
Finish with a crisp sentiment from the Playful Petals Press Plate, pressed in Detail Black ink, die cut, and affixed to the card. Add three Champagne Clear Drops for a sparkling final touch.
Summer Card
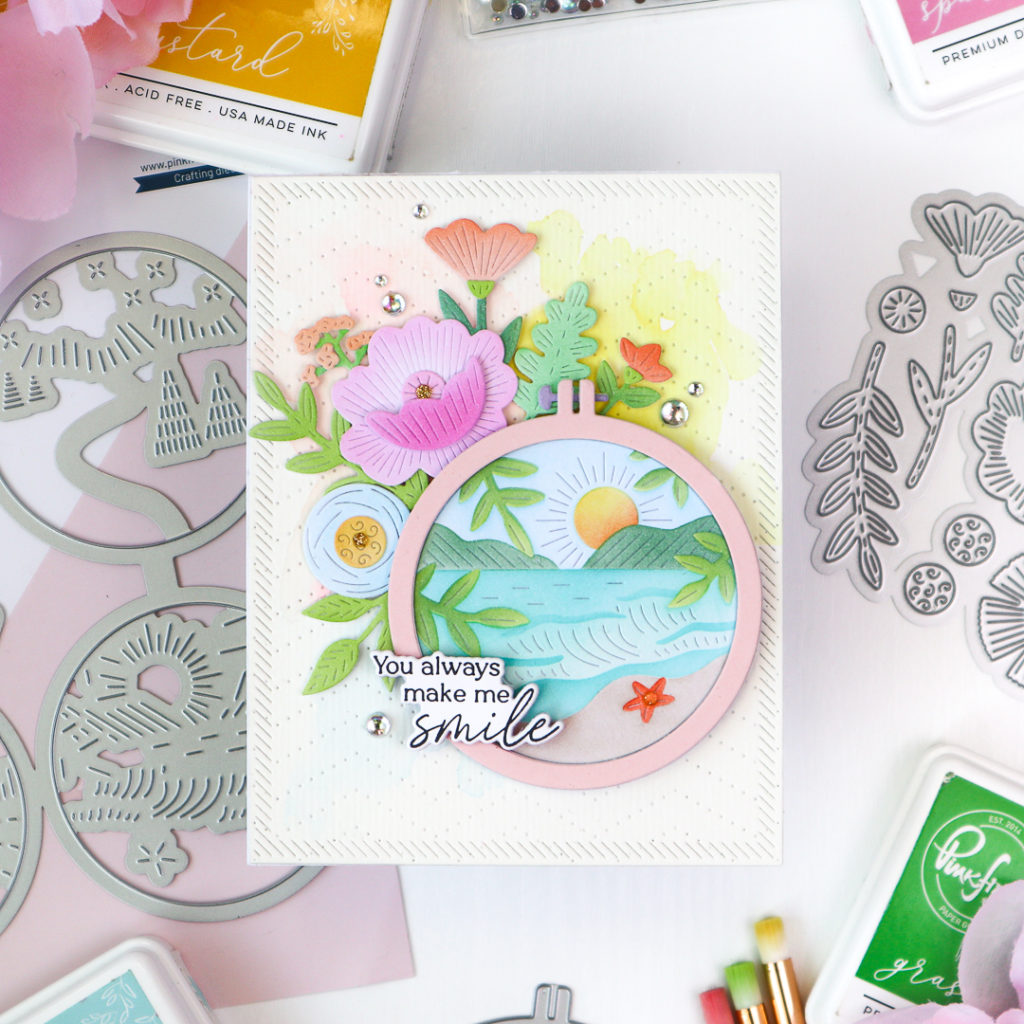
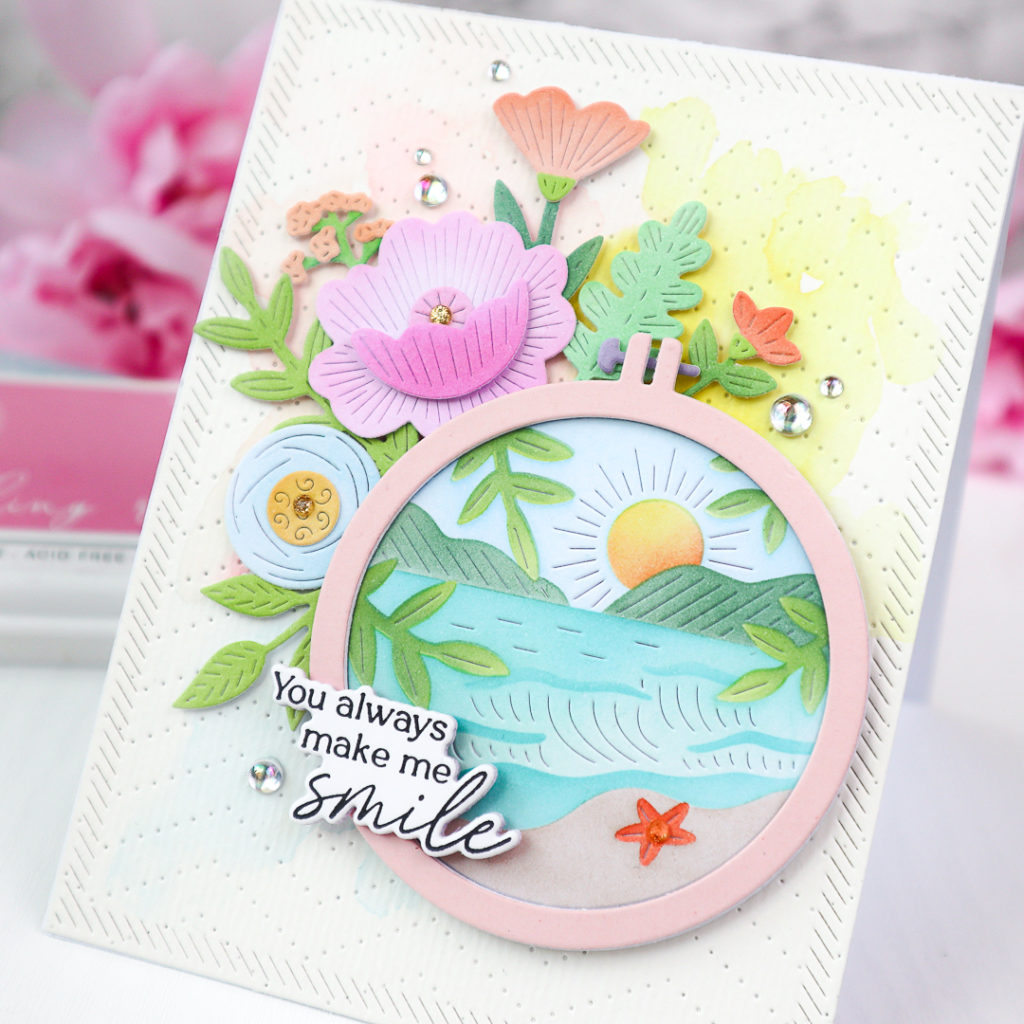
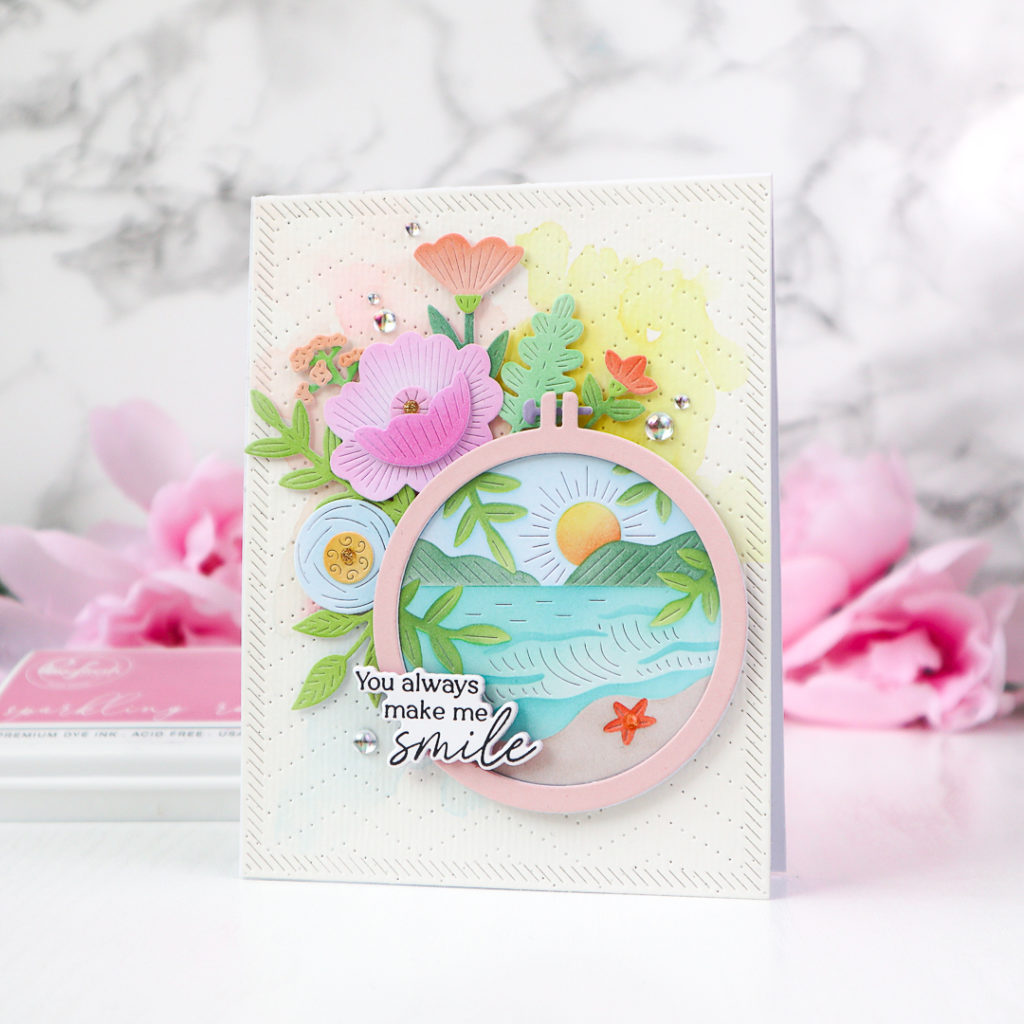
Start by stenciling the Embroidered Blooms in three layers:
- Stencil 1: Grassy Knoll, Meadow, and Eucalyptus
- Stencil 2: Sparkling Rose, Bubble Gum, Apricot, Mimosa, and Summer Shower
- Stencil 3: Sweet Mustard and Apricot.
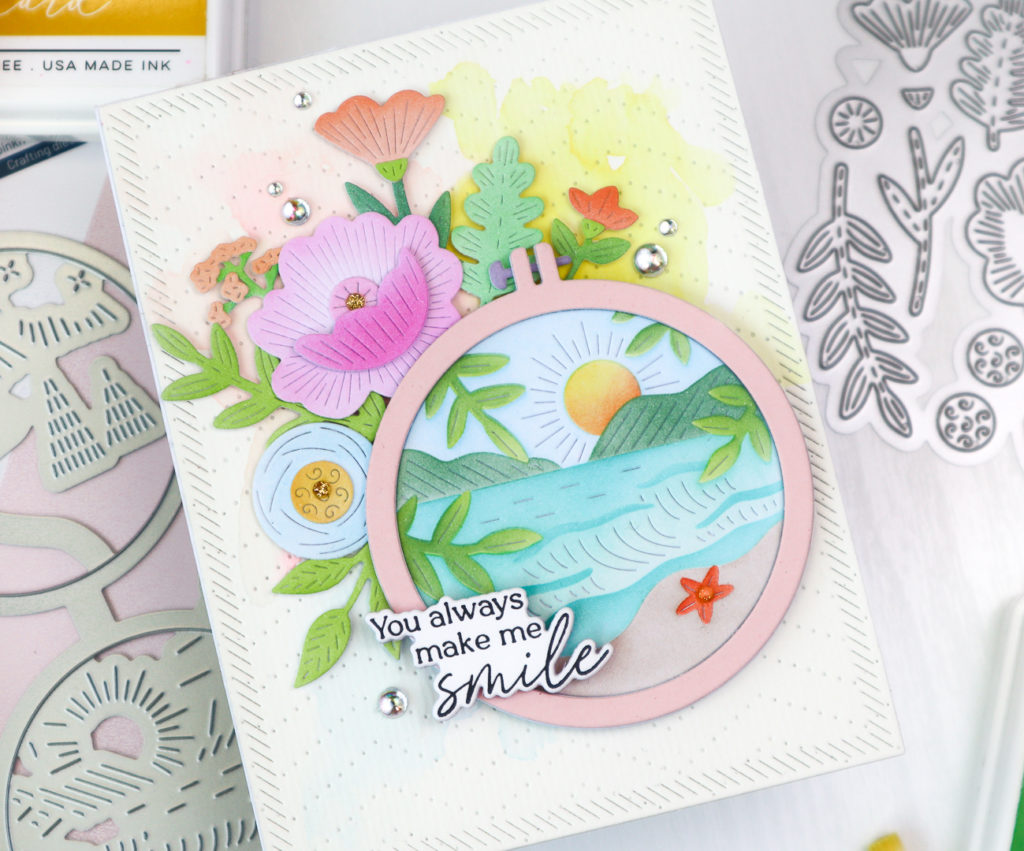
Die cut the completed blooms with the coordinating die and set them aside. For the background, create a watercolored panel by blending Sky Blue, Lemon Whip, Ballet Slipper, and Bubble Gum watercolors. Once dry, die cut the panel with the Dotted Chevron and Nested Rectangles: Diagonal Stitch dies.
Arrange the Embroidered Blooms in the upper left corner and place the Summer Scene at the heart of the design. Layer the die-cut Embroidery Hoop from light pink cardstock atop a white version for added dimension.
Complete the card with a sentiment from the Always Smiling Press Plate, stamped in Detail Black and die cut. Adorn the design with a scattering of Iridescent Clear Drops for a luminous finish.
Fall Card
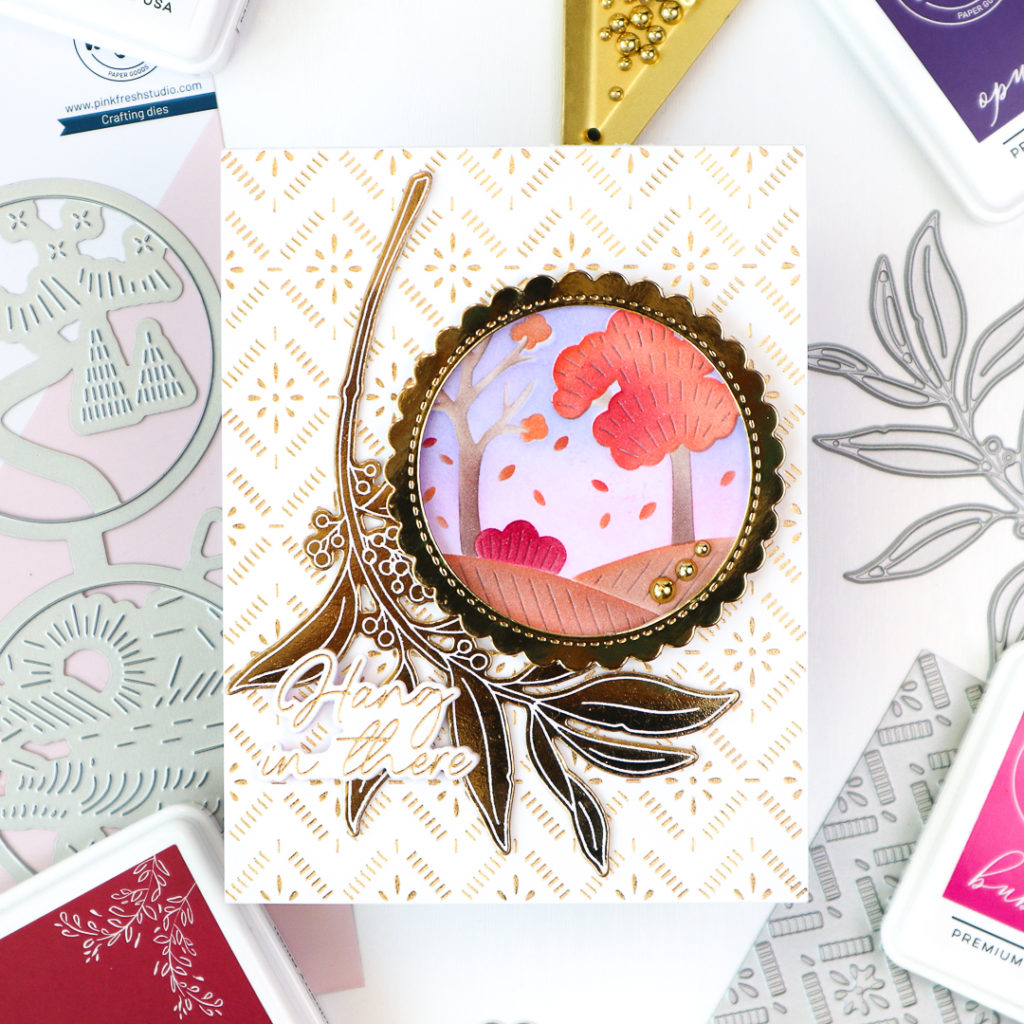
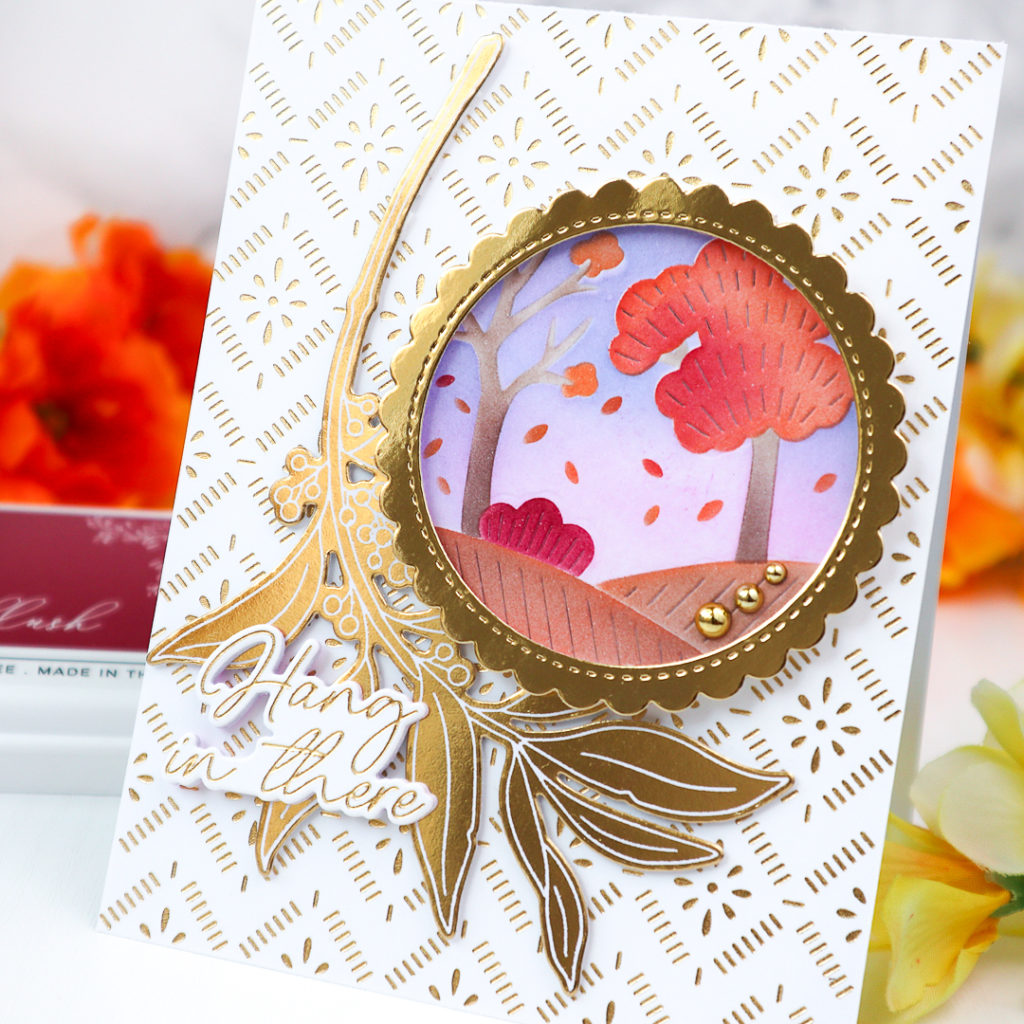
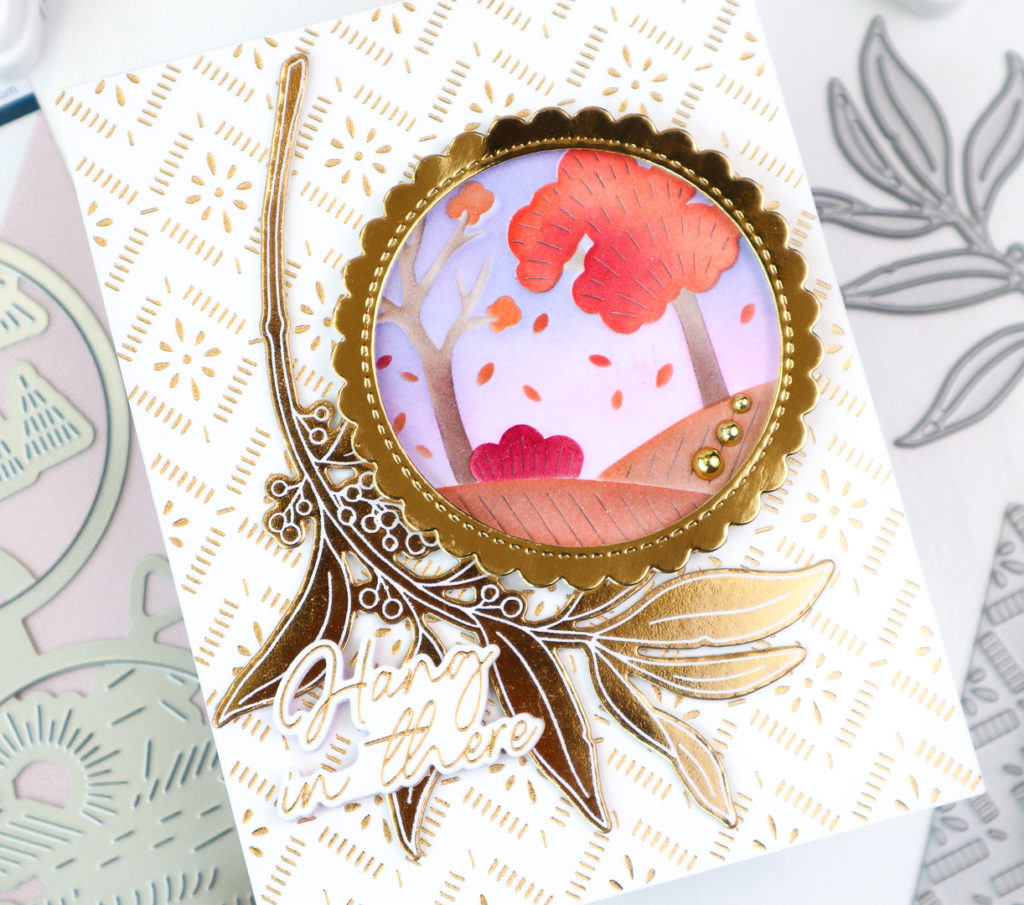
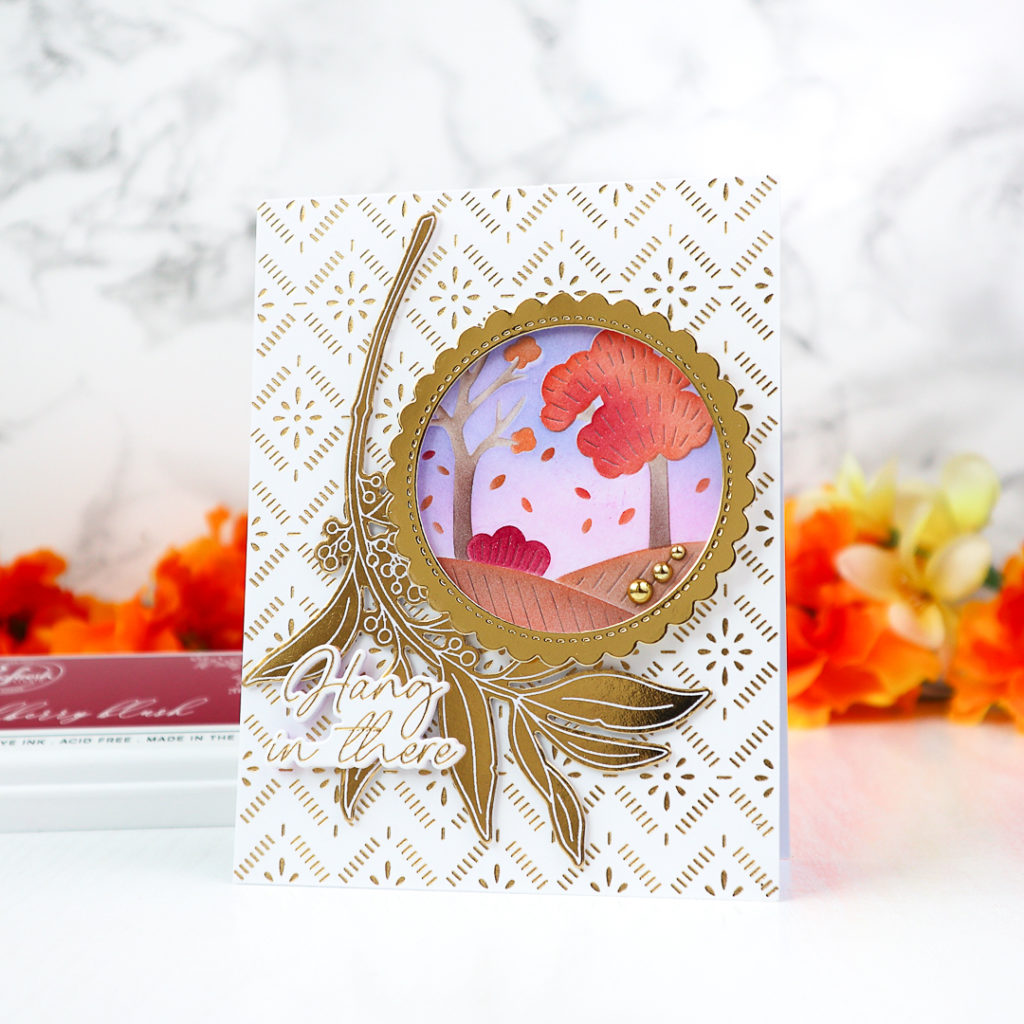
Begin by hot foiling a white A2 panel with the Dashing Daisies Press Plate in shimmering gold.
Next, use the negative foil from the Grateful Greenery design. Transfer it onto a white panel using the Solid Hot Foil Plate, then die cut the design and adhere it with foam tape for dimension.
Frame the Fall Scene with a Stitched Scallop Circle cut from gold mirror cardstock, adding elegance with foam tape. Add the gold hot foiled sentiment from the Grateful Greenery Suite.
Finish the card with three Gold Metallic Pearls to enhance the autumnal theme.
Winter Card
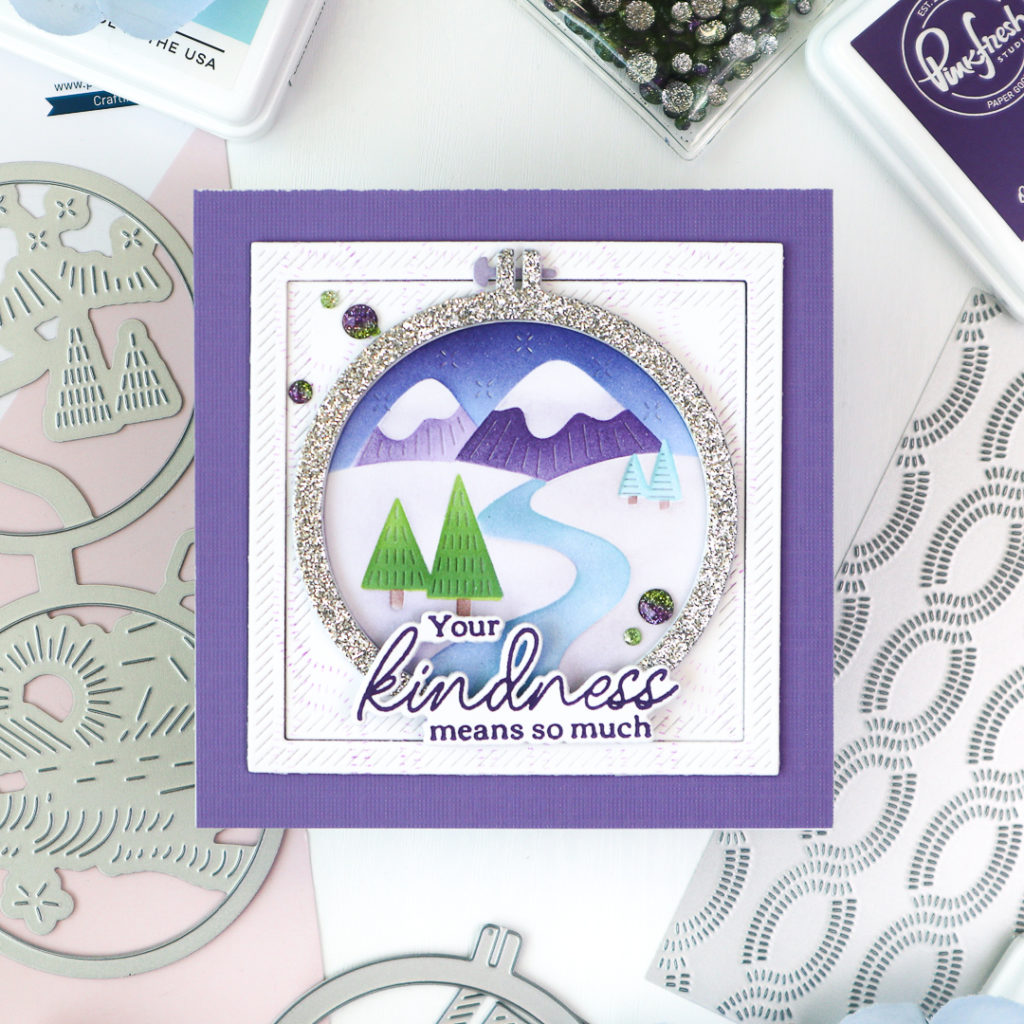
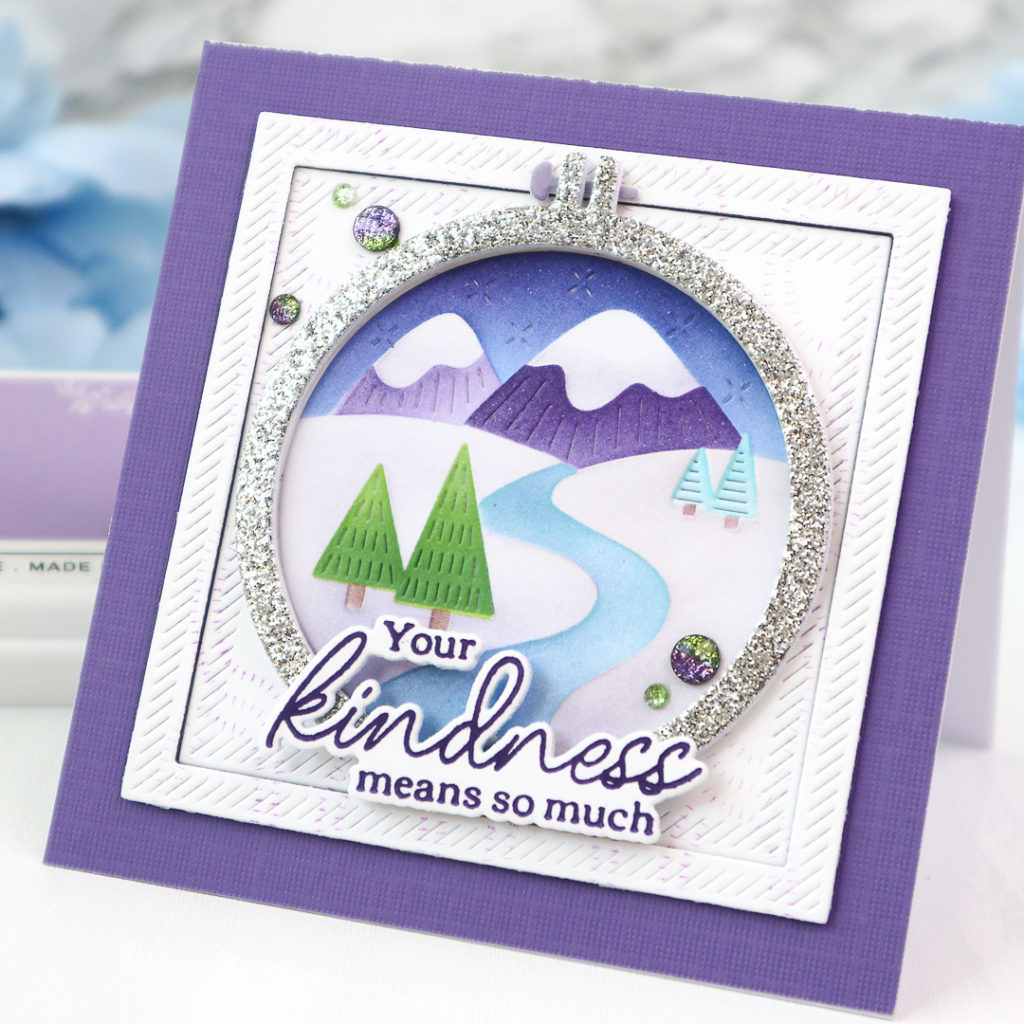
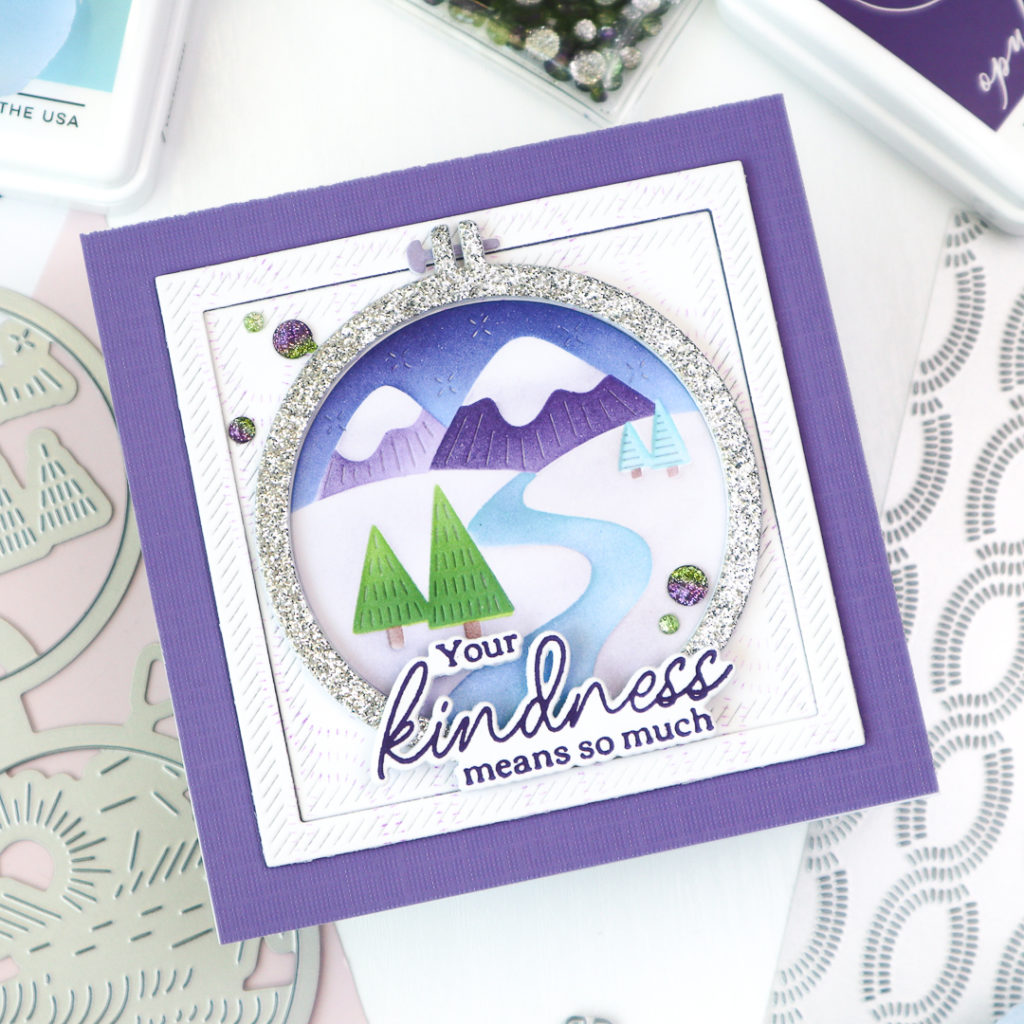
Start by layering a 4.25” x 4.25” piece of violet cardstock onto a white cardbase. Use the Stitched Chain coverplate die to press a textured pattern into white cardstock with Lavender ink for a soft effect.
Cut the textured panel into a frame using two Nested Squares: Diagonal Stitch dies. Secure the inner square flat onto the card and elevate the outer frame with foam tape.
Nestle the Winter Scene into the center of the card. Add a touch of sparkle with an Embroidery Hoop die cut from silver glitter cardstock, adhered with foam tape for dimension.
Finish with a sentiment from the Favorite Things Sentiments Press Plate, pressed in Opulence ink and die cut. Embellish the card with a few Magic Potion Ombré Glitter Drops for a magical winter sparkle.
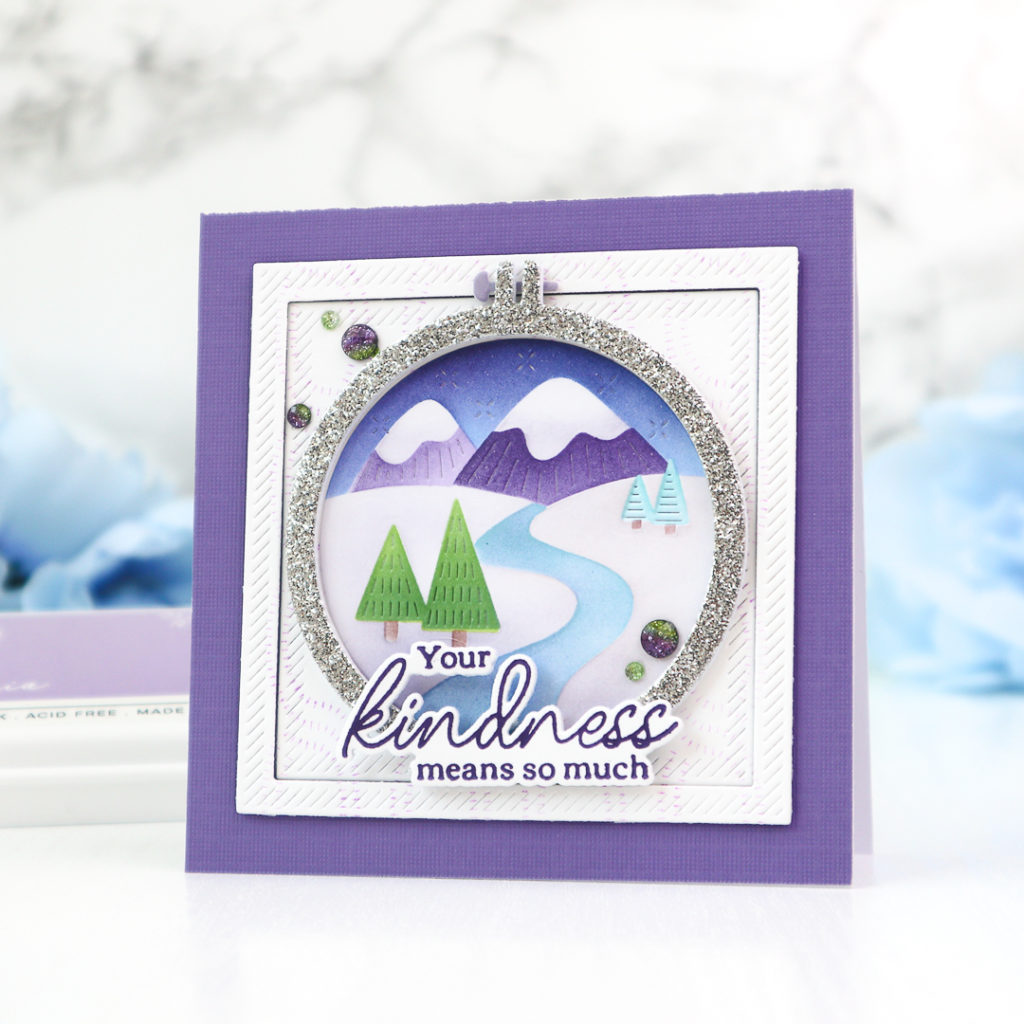
These cards beautifully capture the spirit of each season, making them perfect for any occasion :)!
That’s it! I tried to keep everything as simple as possible while showcasing the versatility of the Four Seasons suite. I hope you enjoyed following along with my process and feel inspired to try your own projects! Don’t be afraid to experiment with different color palettes and add your personal touch to make these designs truly yours.
Happy crafting !
TaeEun
I participate in the affiliate program of Pinkfresh Studio. It means I earn a small commission at no additional cost to you each time you click through and purchase the product(s) shared here. Thank you for your support 🙂 .

Such pretty cards! I really love your scenes!
What brilliantly created scenes for each of the four seasons TaeEun, and with different die cut frames to show them off, and with different interesting looks to each of the backgrounds they look fabulous. x