
Hello everyone!!! Happy Sunday!
Today I have a vase shaped floral card to share with you! It is my reminder DT card for the latest Flower Challenge #19, the theme of which is SHAPED CARDS!

This time I have CASEd my own card. I’ve made this card in Summer 2015 even before I started blogging. It was for a dear friend who was expecting a baby. I fortunately took a picture before I sent it to her !

At that time I bought my Cricut and had lots of fun playing with it. The vase was cut with a svg-cutting file I made using a pattern from Birdscards.com.
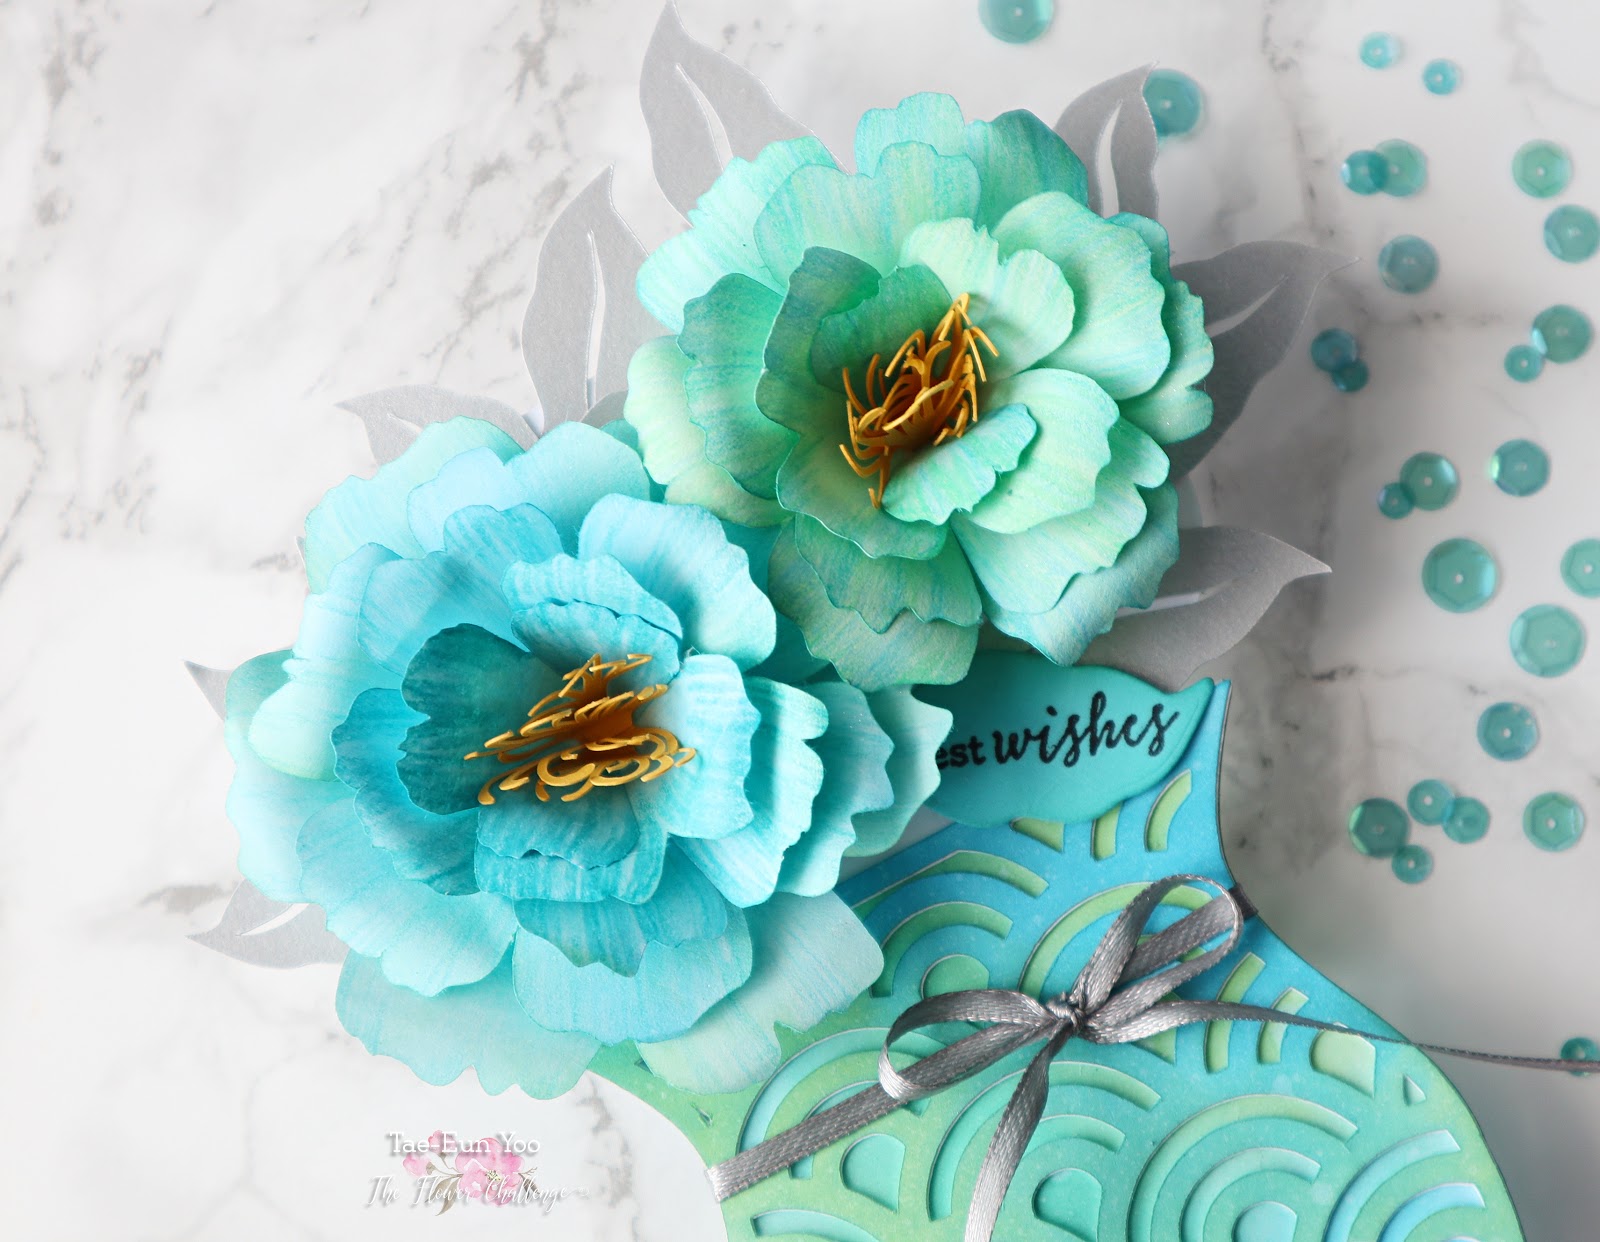
I used the same vase template this time but instead of roll up roses I made two big peonies using Pop Up Peony by The Ton. (I used the cutting file for the Pop Up Peony die.)
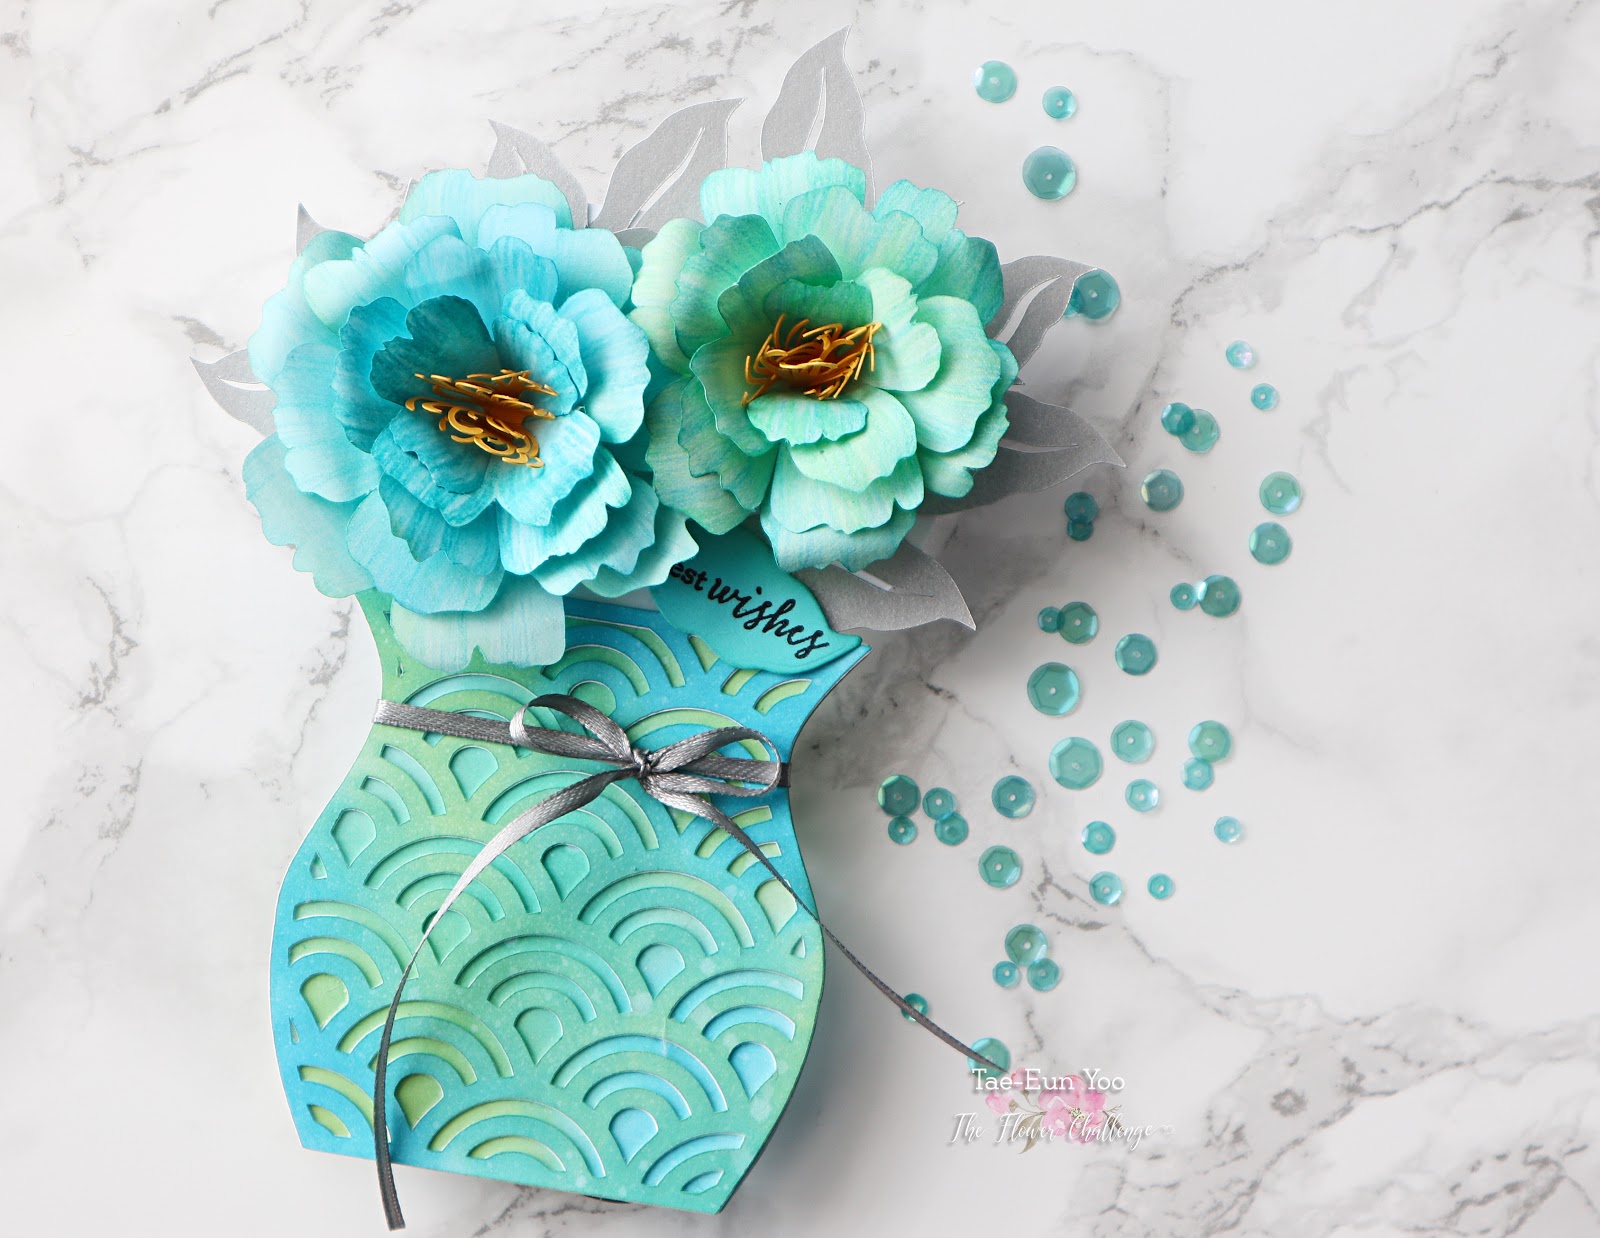
I started by cutting the vase and the pattern with my Cricut. The vase is connected on its bottom line which is scored. Before I folded it I blended Broken China, Salty Ocean, Twisted Citron and Peacock Feather DOX on it. I cut the pattern part 4 times. I blended on two pieces of them the same colors of DOX. For the vase front I stacked the blended pattern on two cut patterns to give it some dimension. On the back of the vase I glued a blended pattern cut flat. I sprayed pearlized water on the vase for some shine and texture.
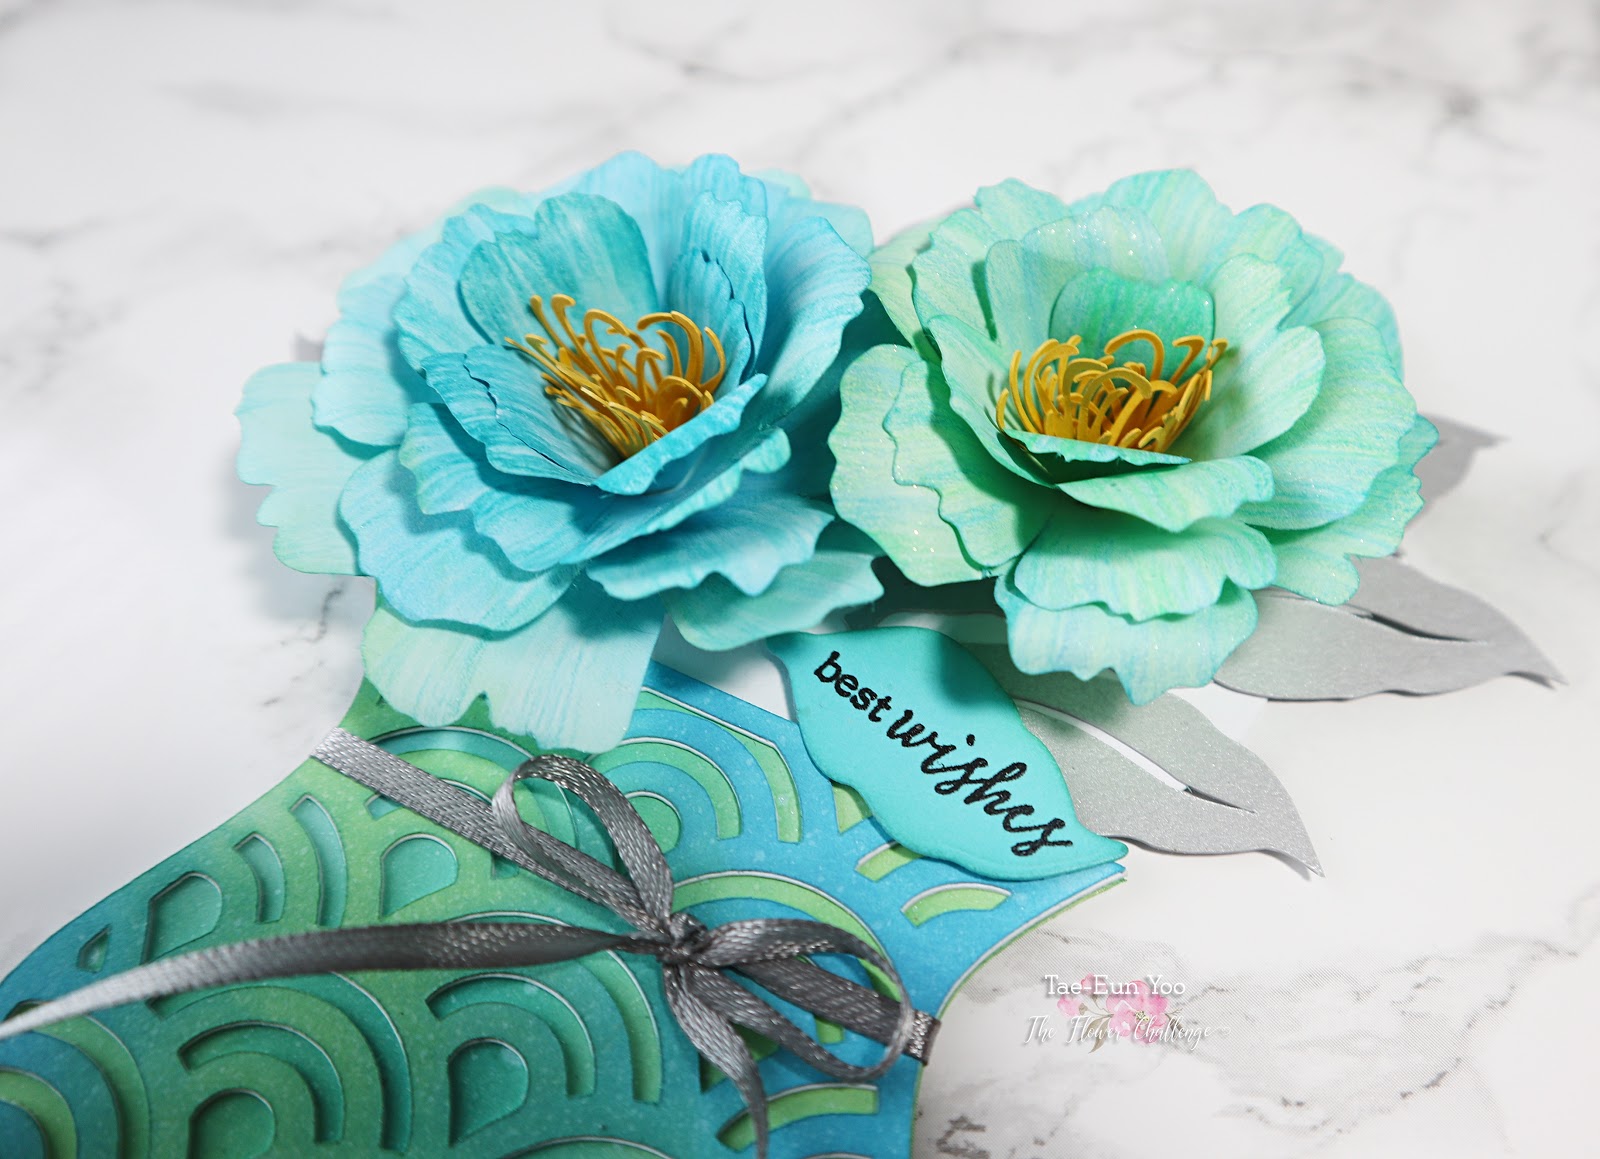
I blended the same DOX I used for the vase on the petals and added pencil strokes using Prismacolor pencils. I then sprayed Sparkle Shimmer spritz on them and let them dry.
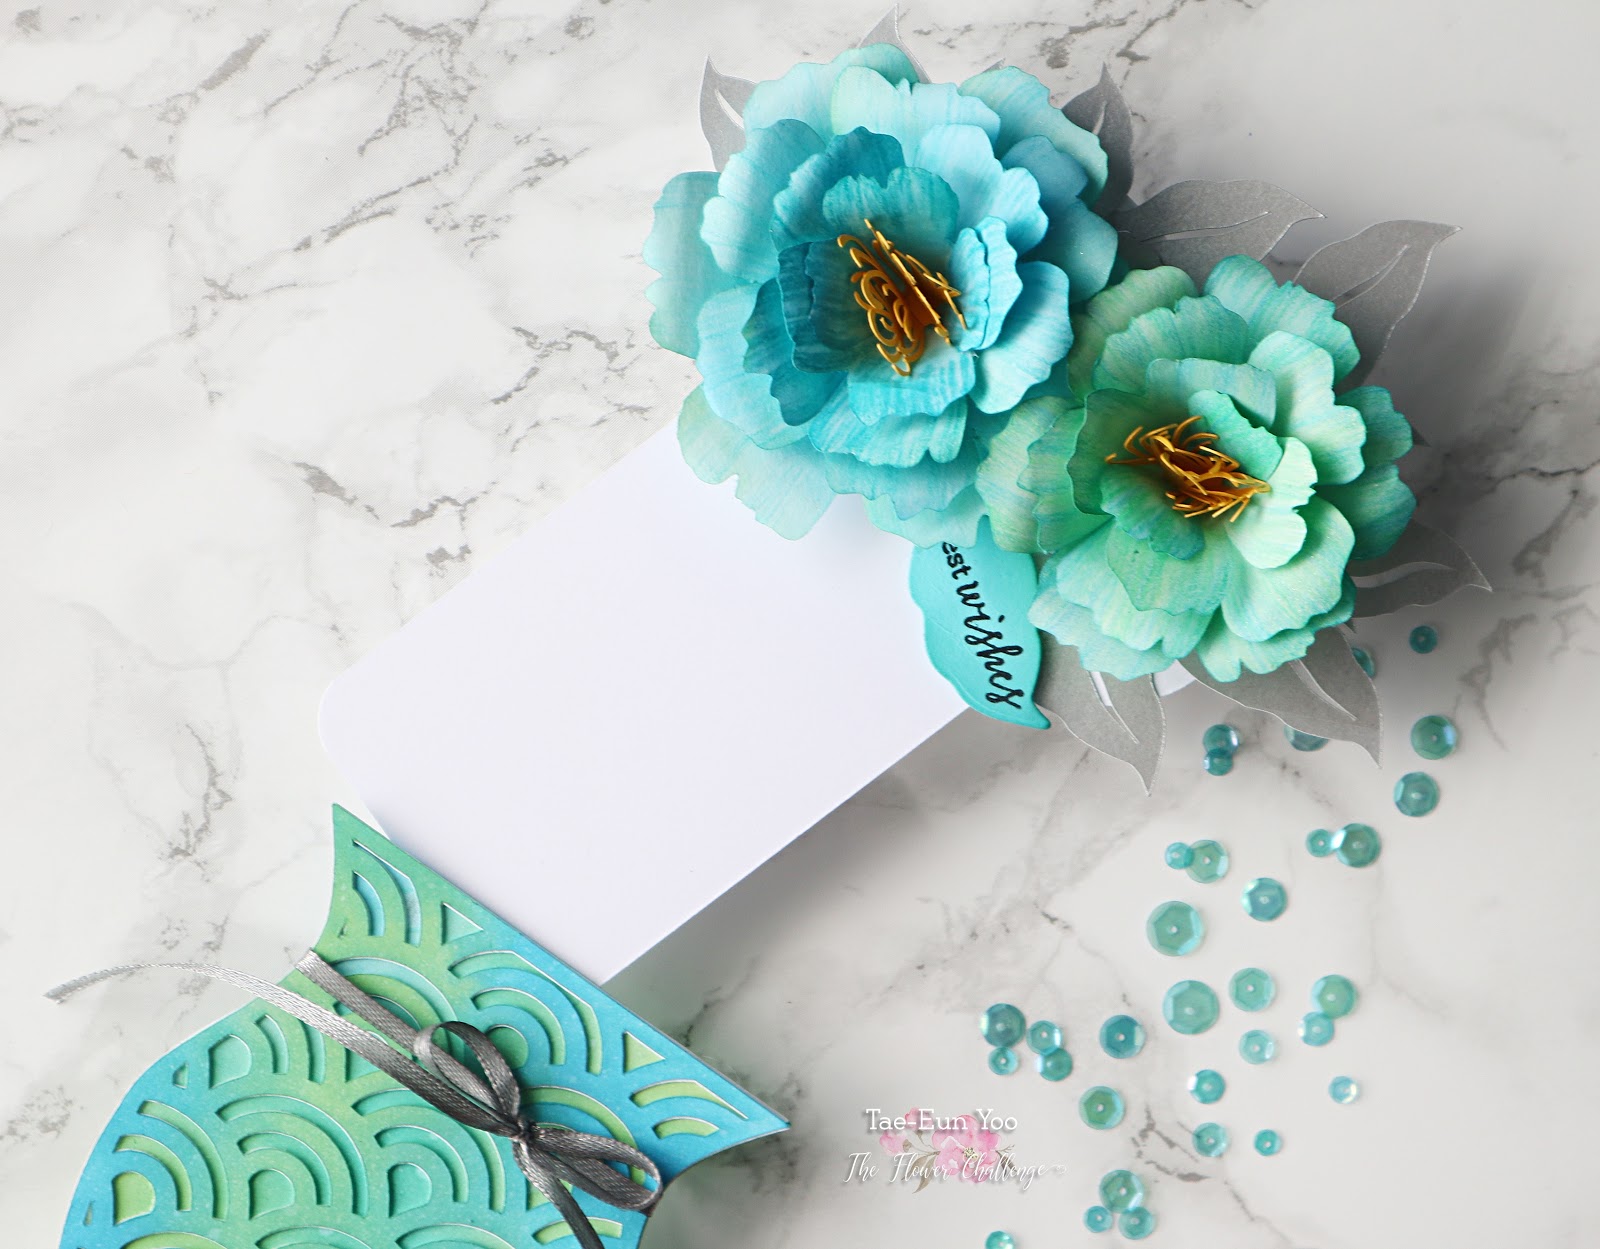
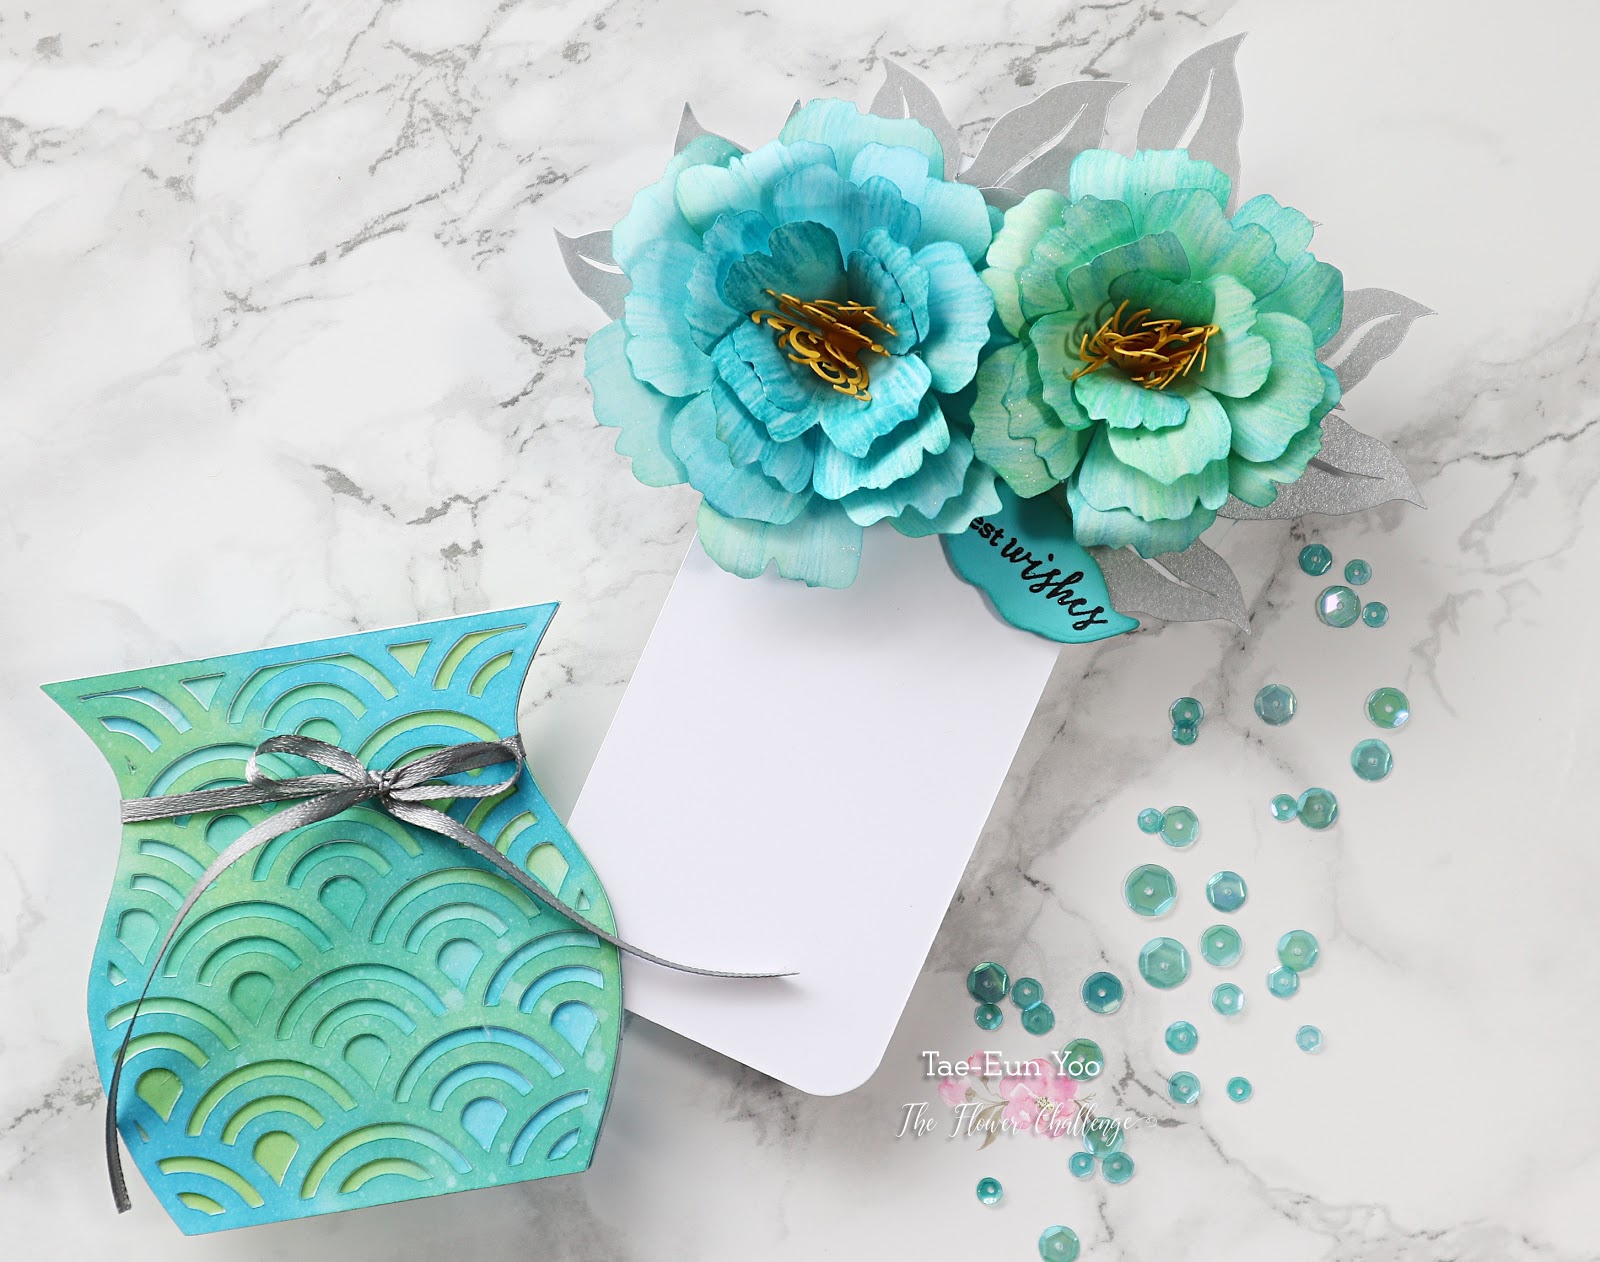
I cut a panel which fit into the vase with my Cricut from a heavyweight white cardstock. It has a circle part on top for the flowers and a rectangular part on which you can write the message. I glued the leaves on the circular part of the panel and assembled the peonies on it. I skipped the base layer of the green peony to make it smaller.
The sentiment is from Message Me set by Clearly Besotted. I stamped it in black pigment ink on a die cut leaf I cut from a light blue cardstock using a leaf die from Large Peony4 set by The Ton. I clear heat embossed the sentiment, blended a little bit of blue and green DOX on the edge of the leaf and foam mounted it next to the peony.
I put the finished inside panel into the vase and tied a silver ribbon to close the vase. You could open the ribbon to read the inside message or simply pull the panel out.

Thank you for reading my long and photo heavy post :)! Hope I could inspire you with my card!
Don’t forget to stop by The Flower Challenge blog! My team mates created some gorgeous shaped cards!!!
Thank you for visiting my blog today!
Have a crafty day!
TaeEun