
Hello folks!!! Happy New Year!!!
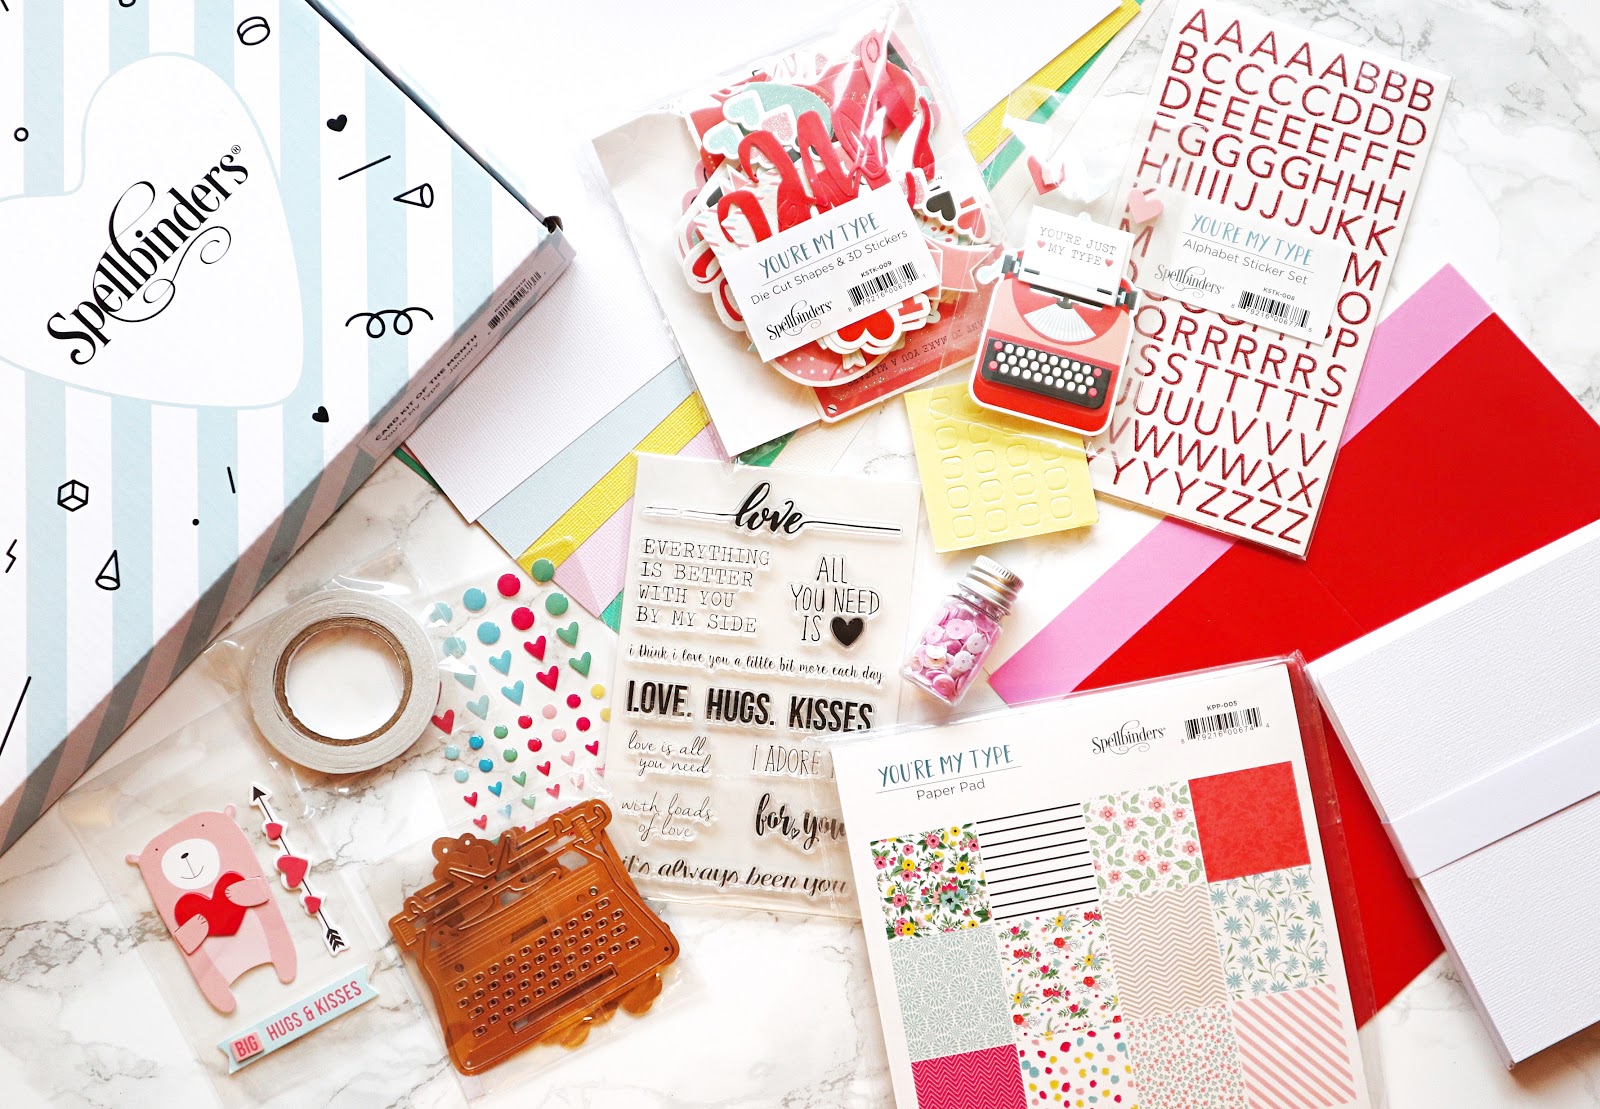
Hope your 2019 is off to a great start! Today I have a special post to show you the new Monthly Card Kit by Spellbinders. The January Card Kit is here!
This month’s You’re My Type Card Kit includes a 6×6 paper pad, clear stamps, an adorable die set, tons of embellishments, and more!
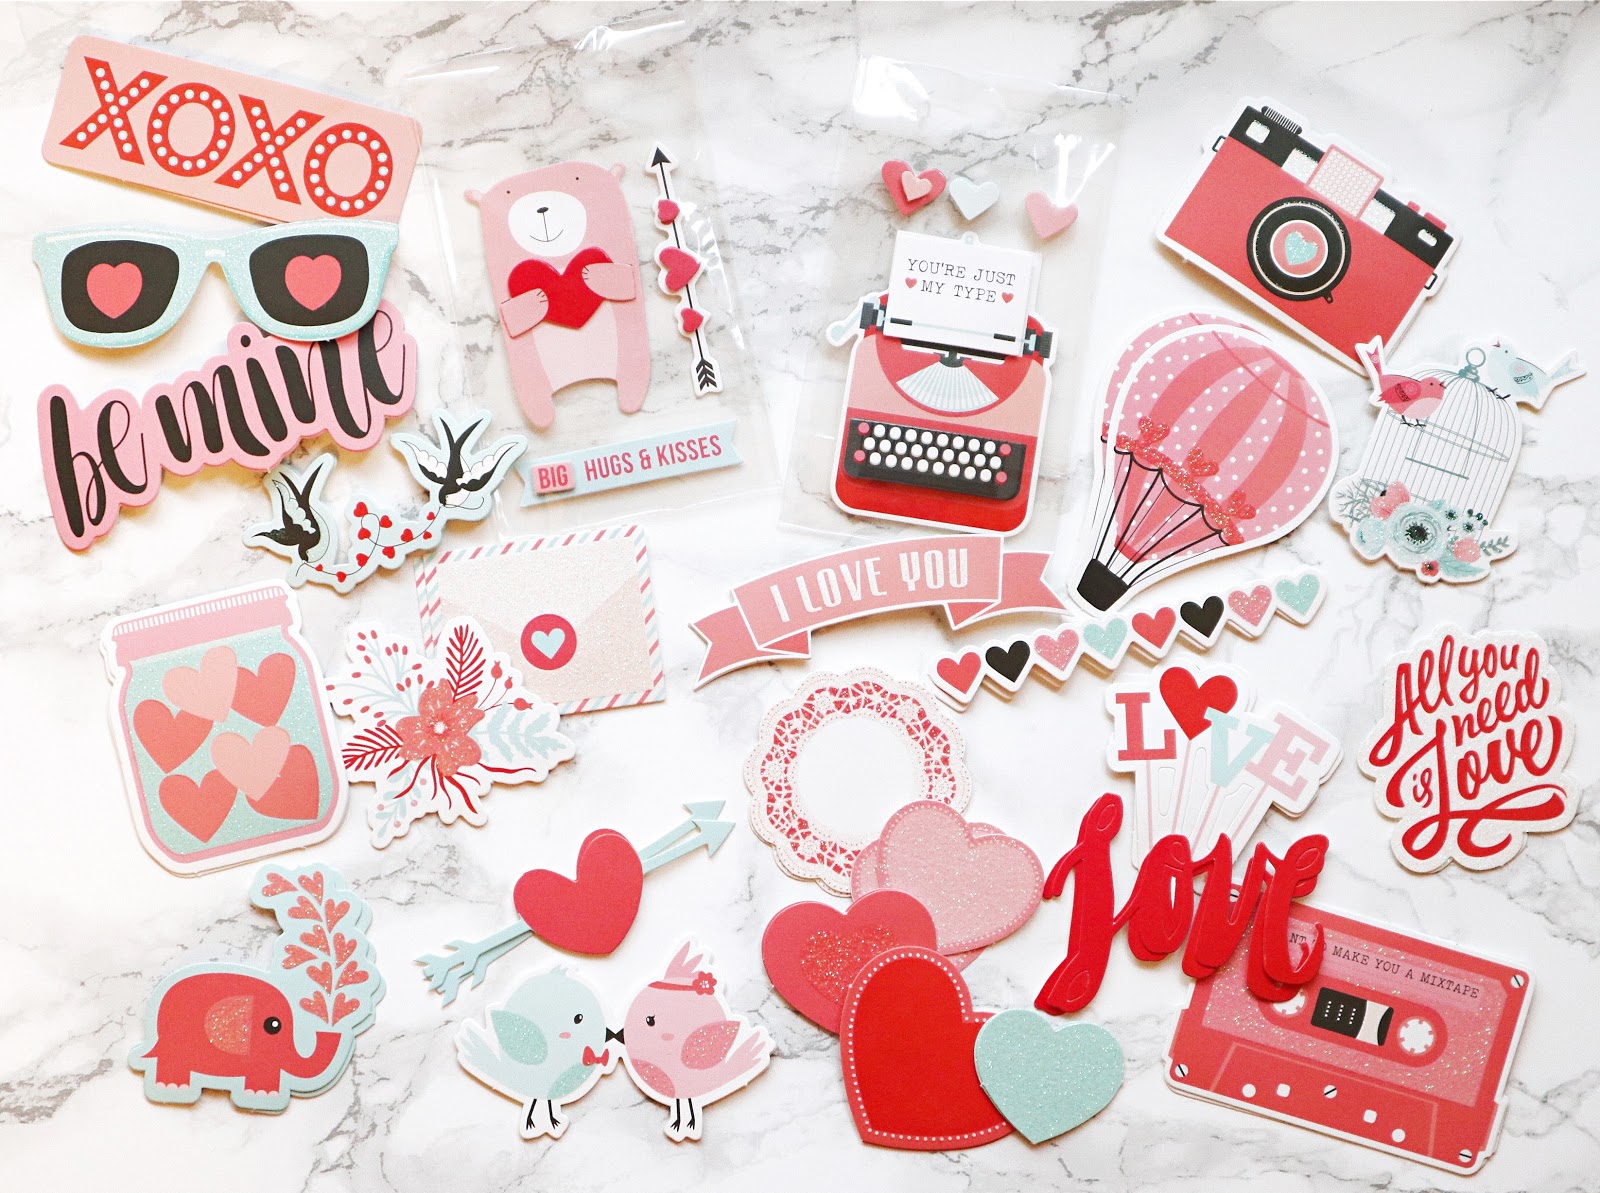
I have the pleasure to play with the kit! And I can say, it is perfect to send some love to your family and friends! There are even 3D foam tapes and a double sided tape so you can start making cards right away!
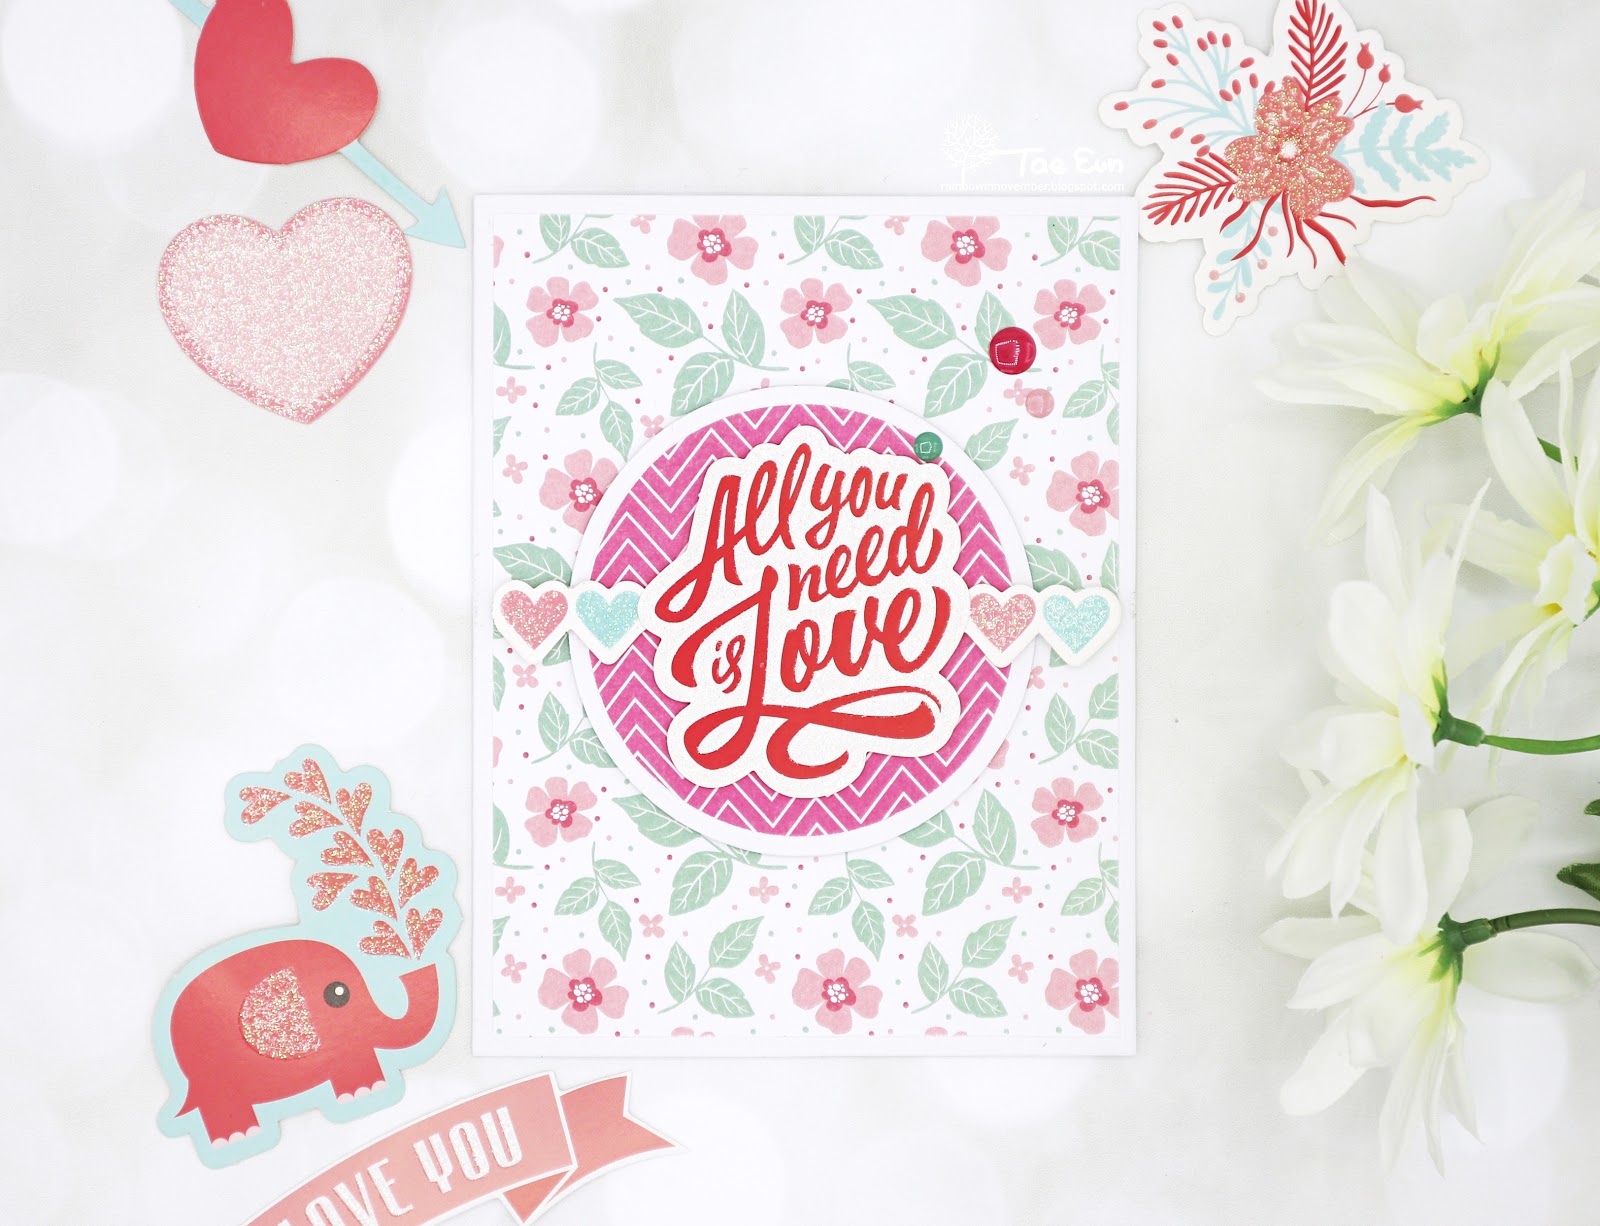
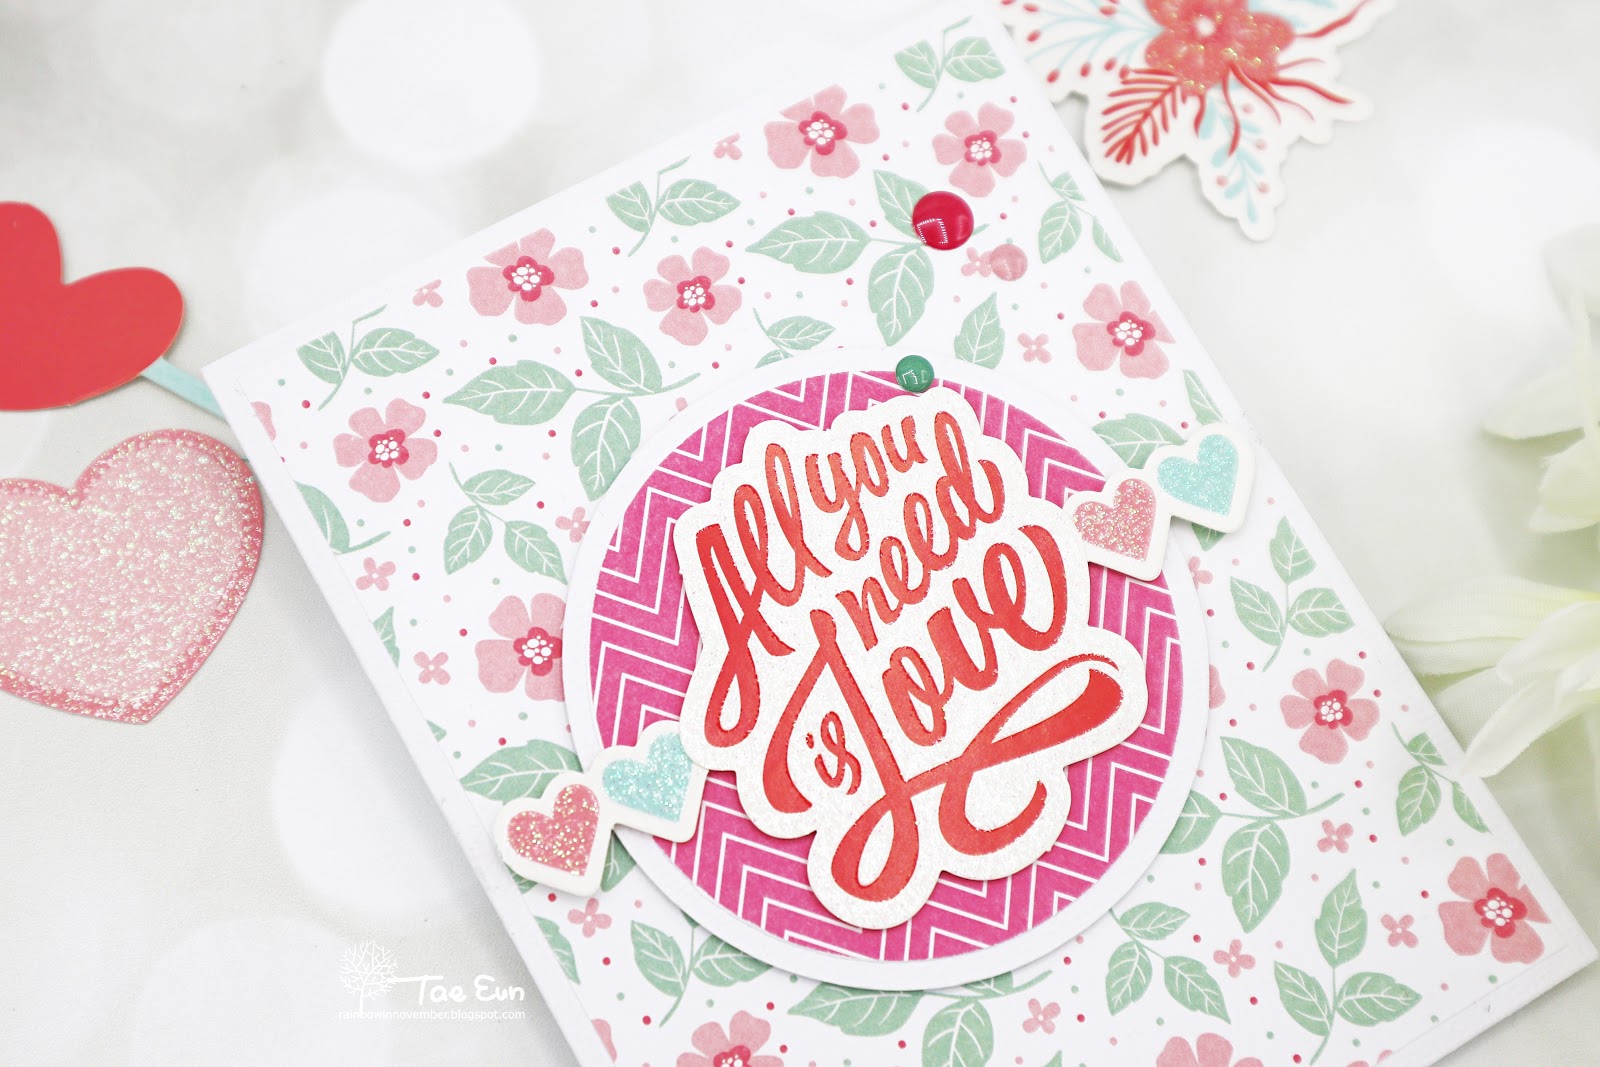
I cut the floral patterned paper slightly smaller than A2 size and adhered it flat on the cardbase.
The pink chevron paper was cut in a circle, matted with a larger white circle and foam mounted on the card. The sentiment die cut was then foam mounted on the circle with the little glittery heart!
To finish off I added three enamel dots, also included in the kit!
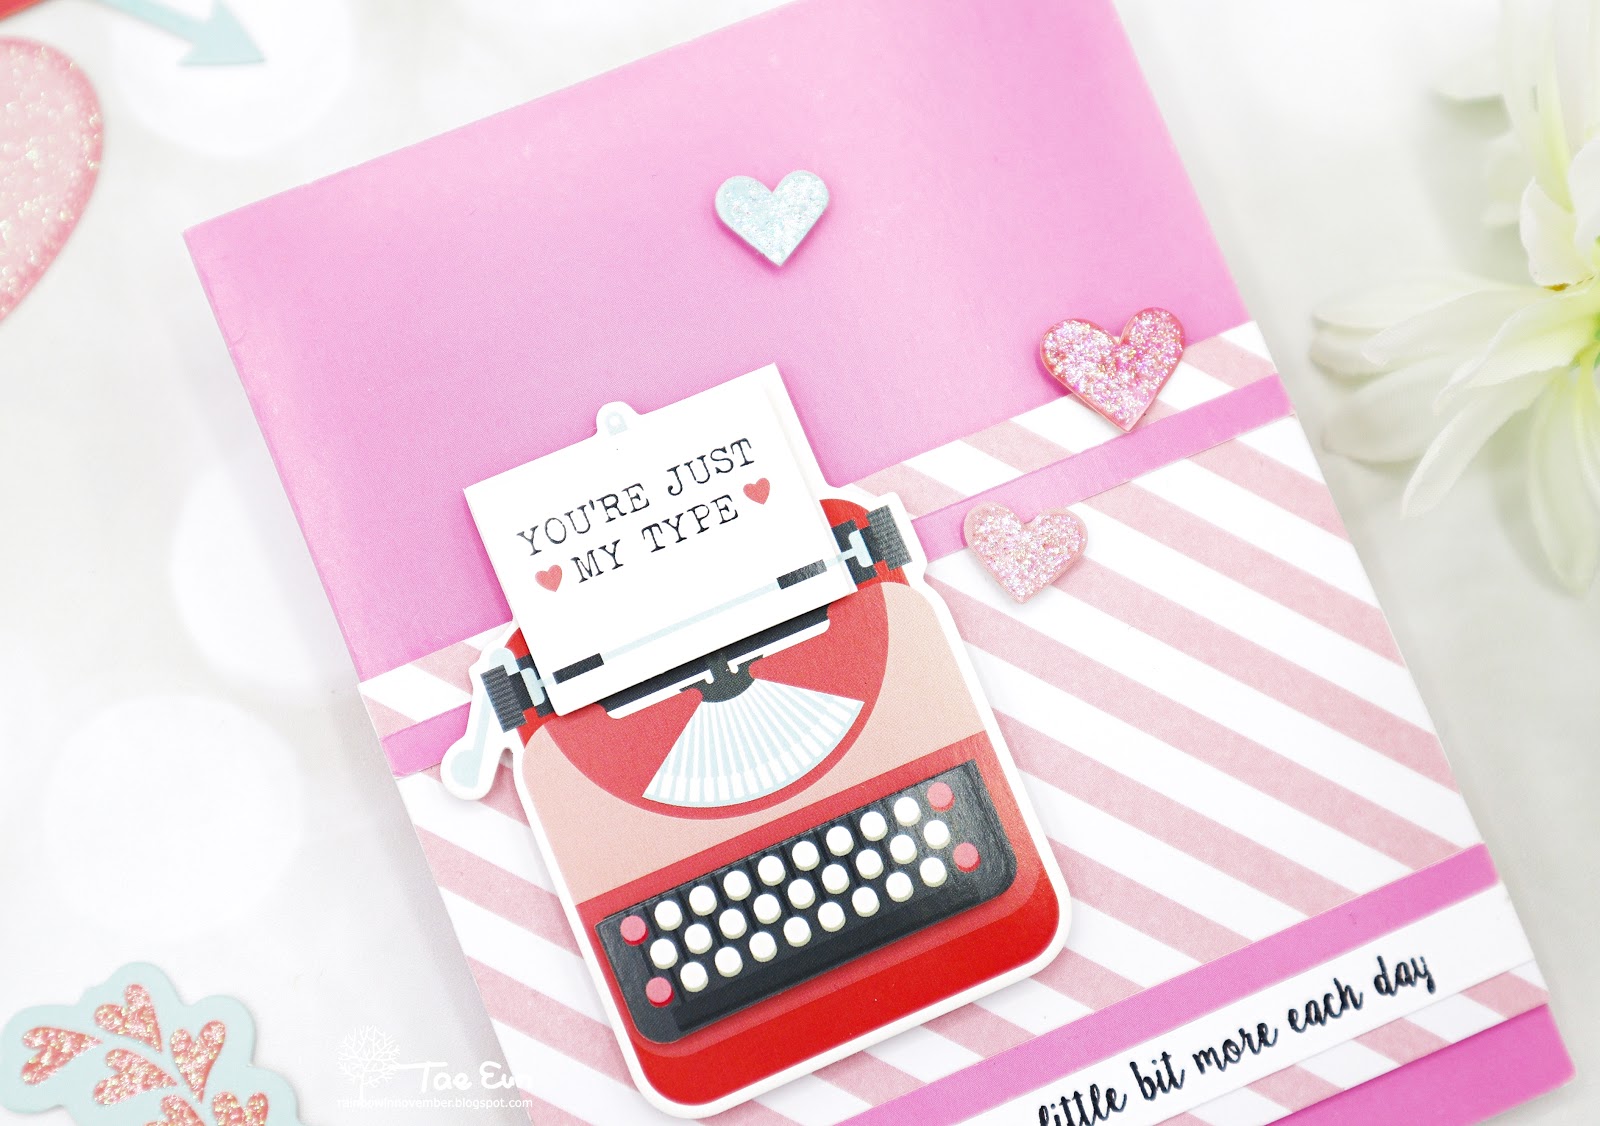
For the second card I used the 3-D stickers along with the pink diagonal striped patterned paper.

It was a super quick and easy card again. I cut the striped patterned paper, backed it with some white cardstock and foam mounted it on the pink cardbase from the kit. I added two strips of pink cardstock along with the sentiment strip. The sentiment is from You’re My Type clear stamp set of the kit. I stamped it in a black pigment ink and clear heat embossed it. I then foam mounted the typewriter and three 3D hearts. For more shine I covered the hearts with glittery Stickles.
Next card is showcasing the cute die set of the Kit. In the die set are included a typewriter, small flowers, branches, hearts and adorable sentiments.
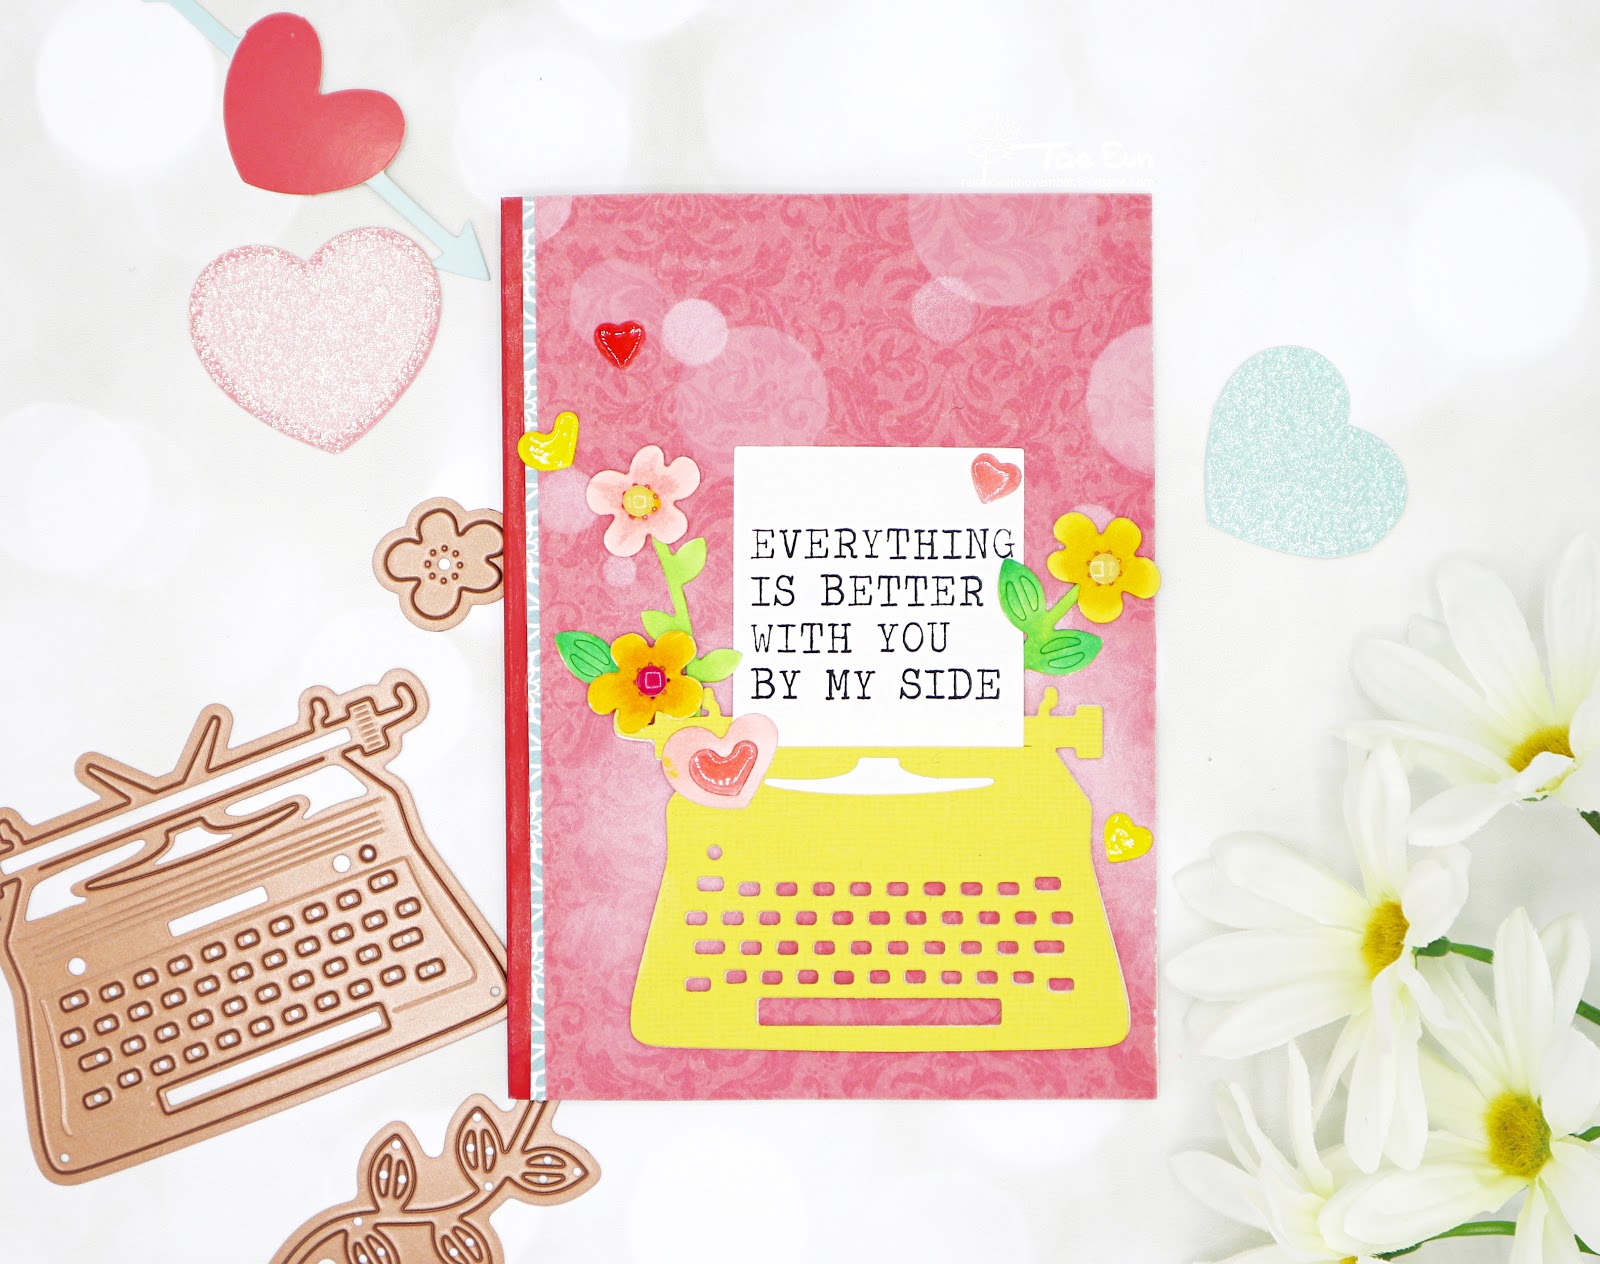
For the background I chose a overall printed dark pink paper. I adhered it on the red cardbase from the kit along with a thin strip of blue-gray patterned paper. To add more interest and movement I’ve created a bokeh background using a white pigment ink and diy-circle stencil.
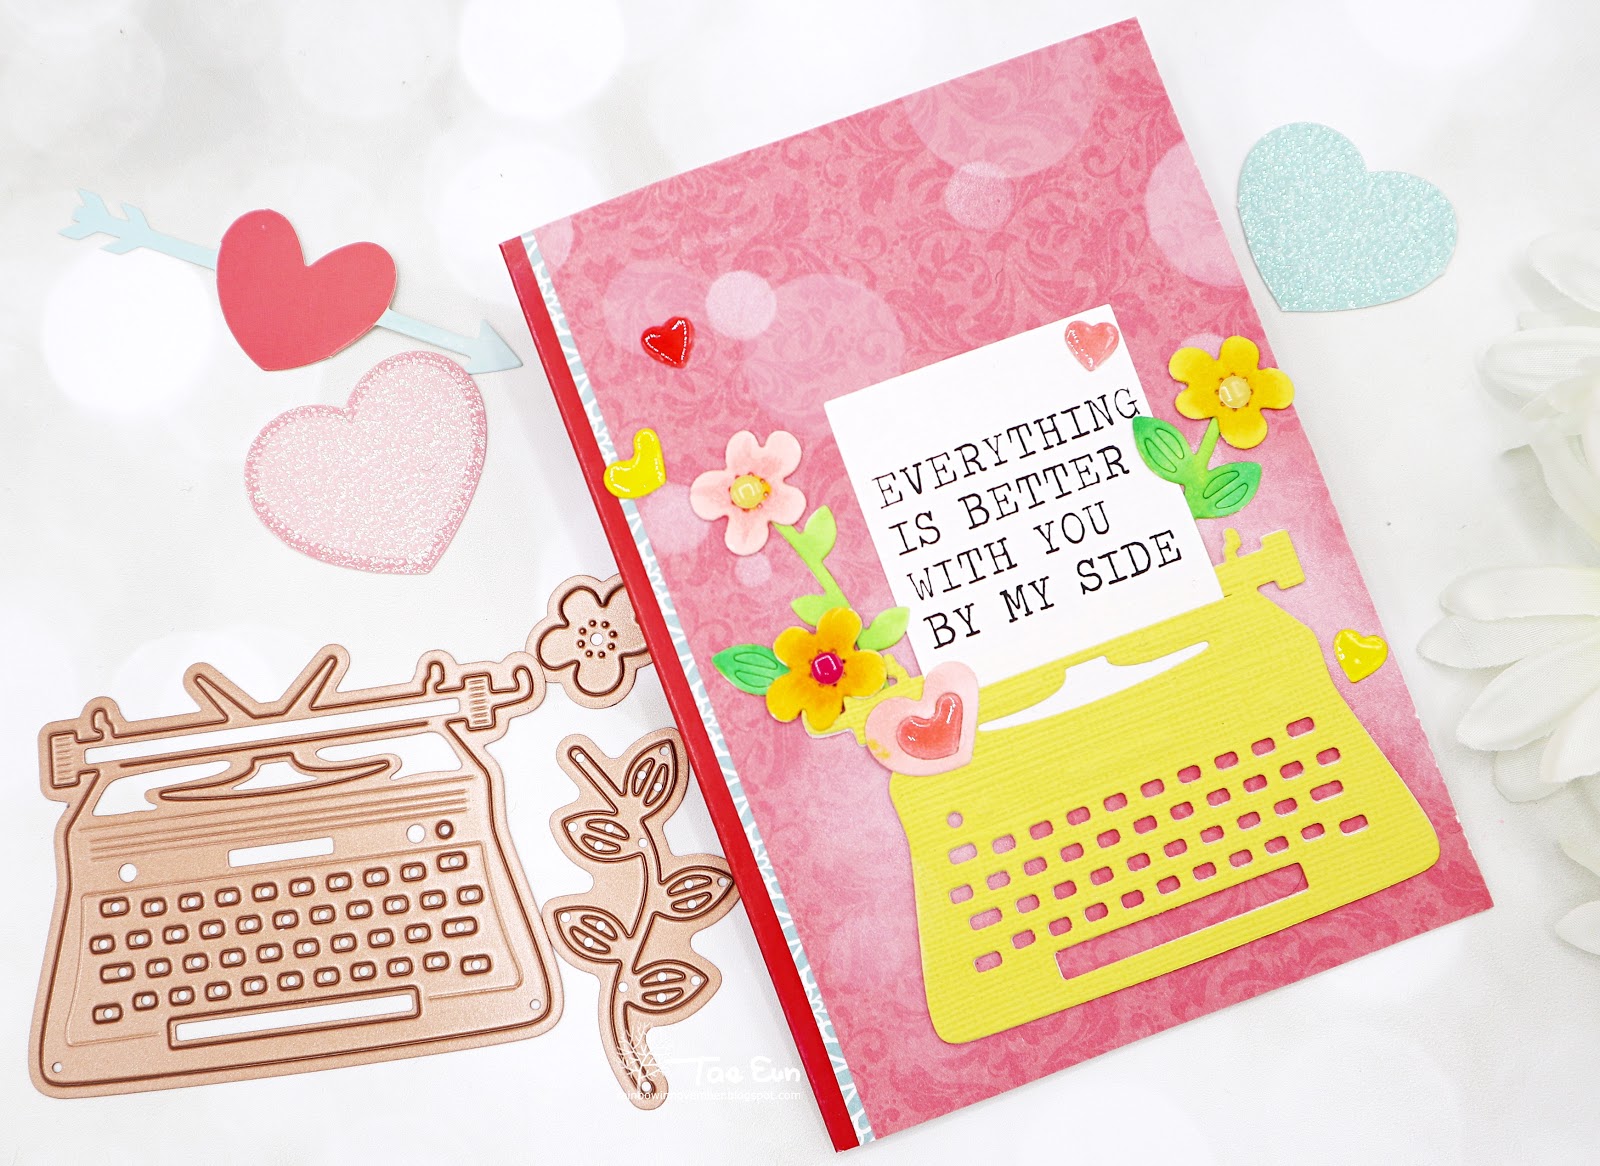
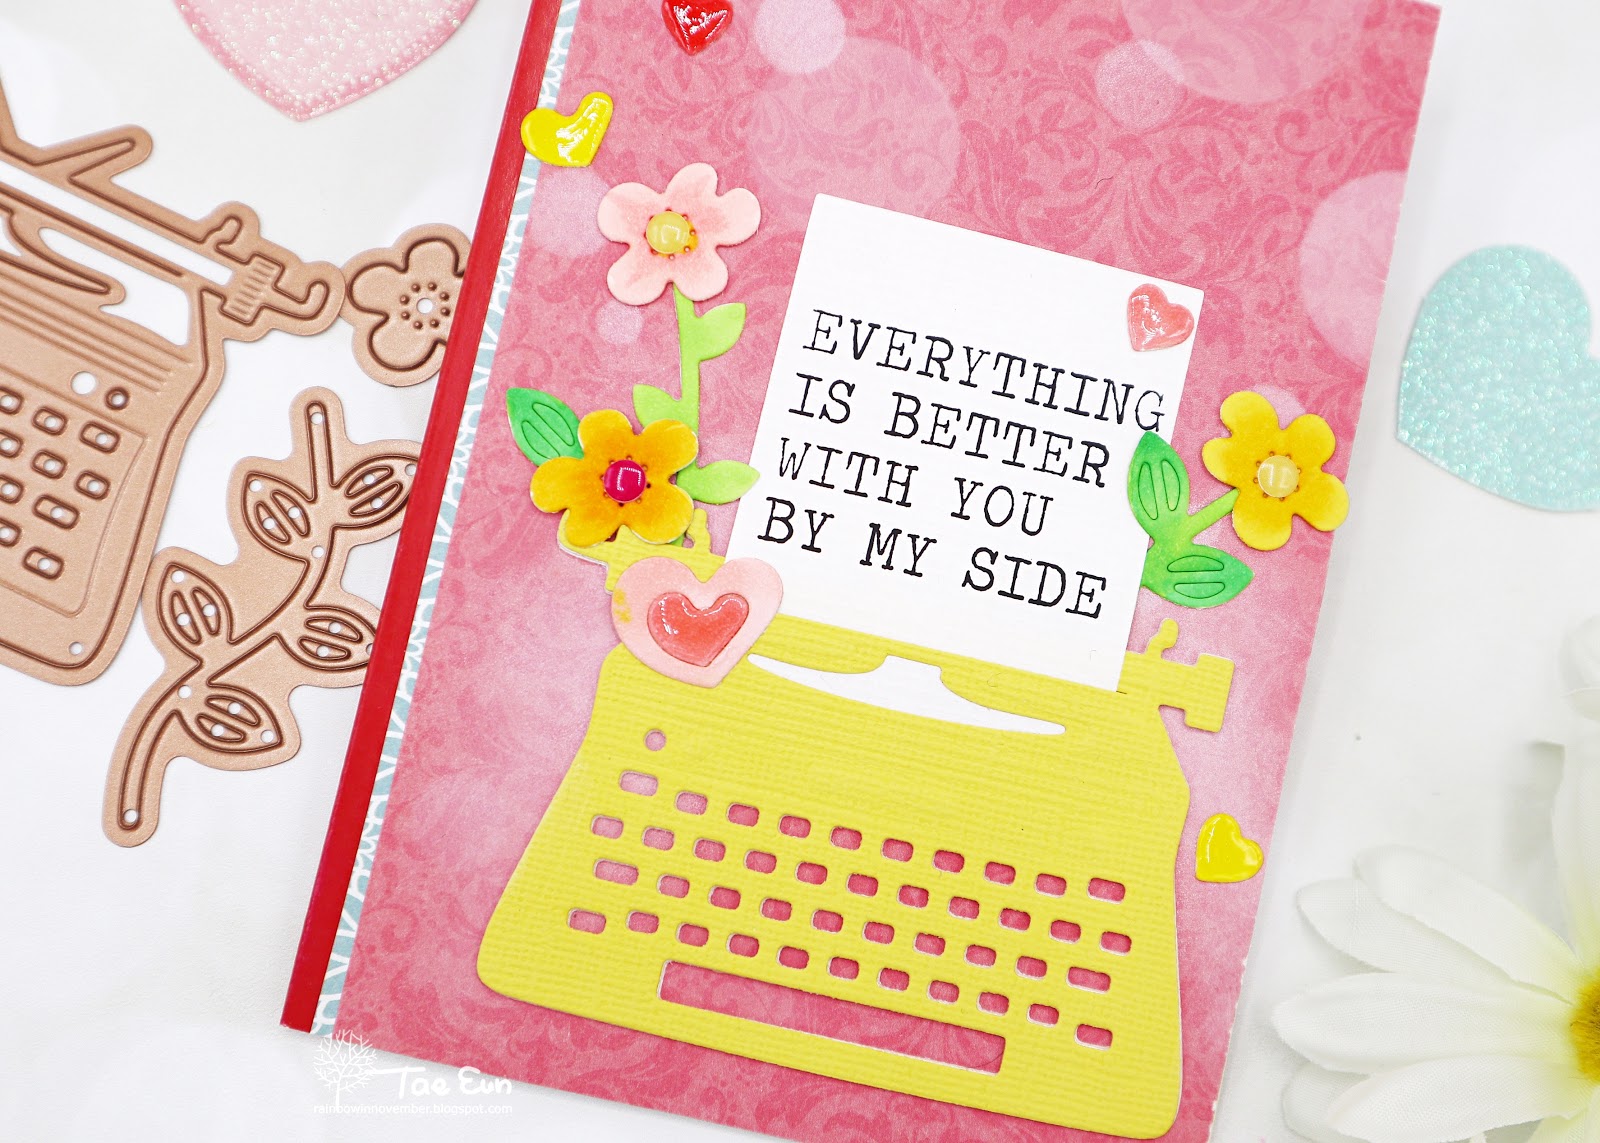
The typewriter was cut from a yellow cardstock also from the kit, stacked on two more die cuts and adhered on the card. the sentiment is from You’re My Type clear stamp set of the kit. I stamped it in black ink on a printer paper and cut it using a rectangle die from the kit which perfectly fit in the slit of the typewriter.
The small flowers, branches and hearts were cut from some white cardstock and colored using Copic markers. To finish off the card I covered the hearts with Glossy Accents and added some enamel dots from the kit on the center of the flowers.
My last card is my favorite from today’s cards.
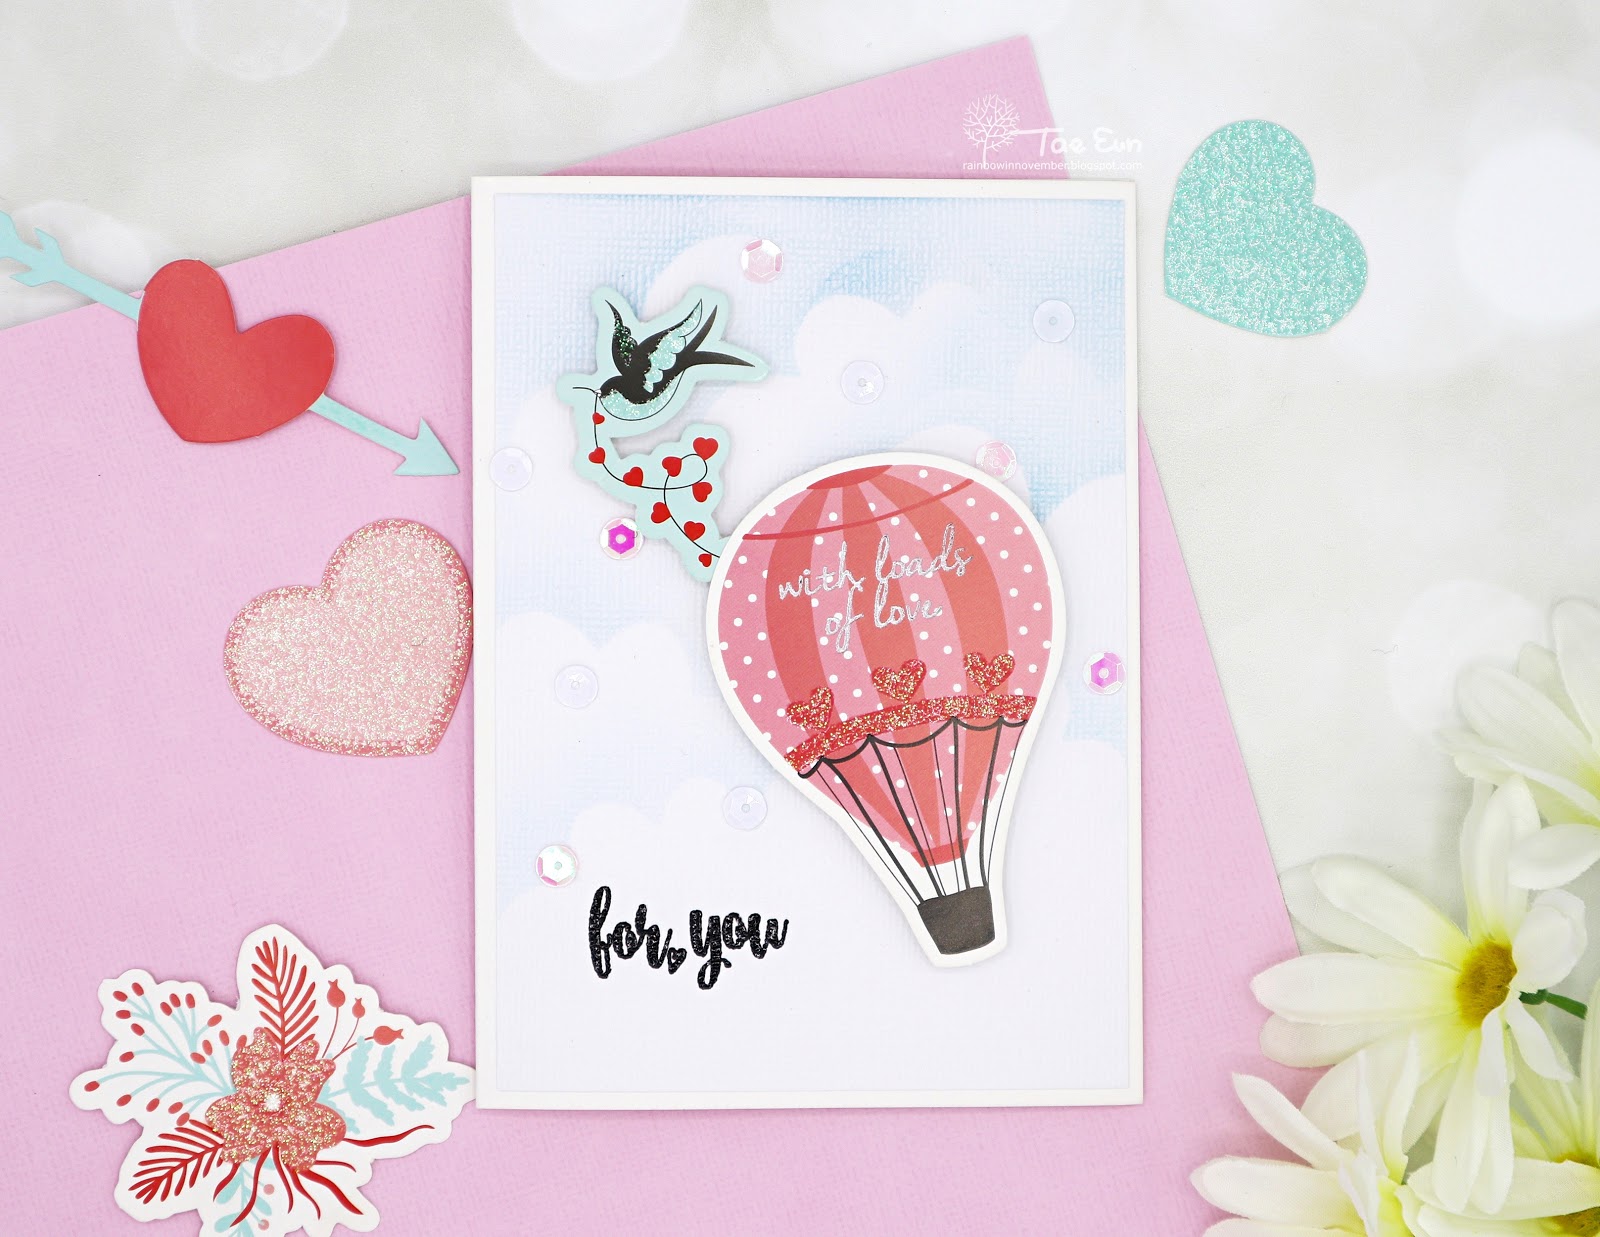
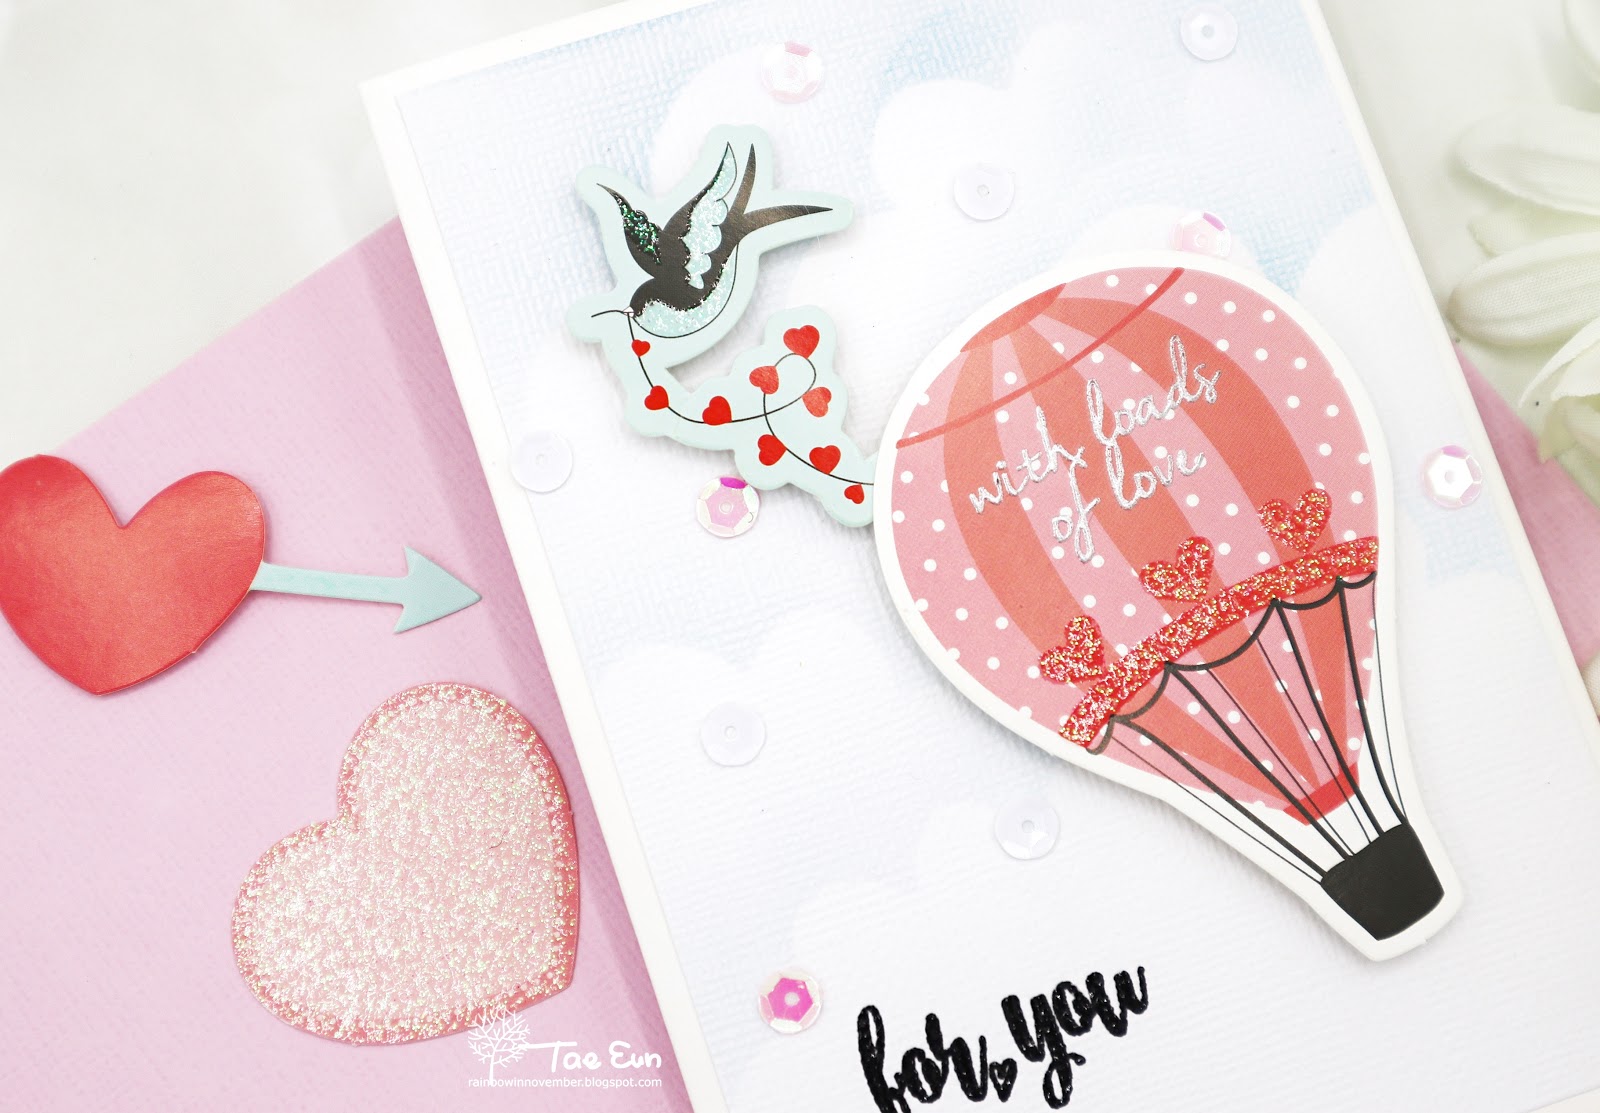
To make this card I used mainly the die cut shapes. First I made the sky background by blending Tumbled Glass DI on the white cardstock from the kit. I cut the clouds from some printer paper to make cloudy sky. I then stamped the sentiment from You’re My Type clear stamp in black pigment ink on the background panel and clear heat embossed it. I added a silver heat embossed sentiment saying”with loads of love” on the hot air balloon as well. I adhered the heart string underneath the hot air balloon after cutting out a bird holding the end of the string and foam mounted it on the background.
To finish off the card I scattered some of the sequins from the kit.
That’s it from me today :)! Hope you enjoyed looking my cards :)!
I had a blast to play with the Monthly Card Kit by Spellbinders!!! It was so easy to make cards as there are so many options in the kit! Hope I was able to inspire you with my cards!
Thank you so much for stopping by!
Wishing you all a wonderful year filled with health, joy and happiness!
Hugs,
TaeEun
I participate in the affiliate program of Spellbinders. It means I earn a small commission at no additional cost to you each time you click through and purchase the product(s) shared here. Thank you for your support :).