

Hello and welcome to Altenew March 2019 Stamp/Die/Stencil Release Blog Hop!
If you arrived here from Kymona Tracey‘s blog, you’re right on track. You can hop over to the Altenew Card blog to start from the beginning of the hop.
As always it’s a huge pleasure and honor to be part of Altenew’s Release blog hop along with amazing crafters! Altenew did it again!!! The new designs are so unique and beautiful! I had a blast playing with the new items and have made five cards to share with you all!
Let’s get started!
My first card is showcasing Book Club stamp set.
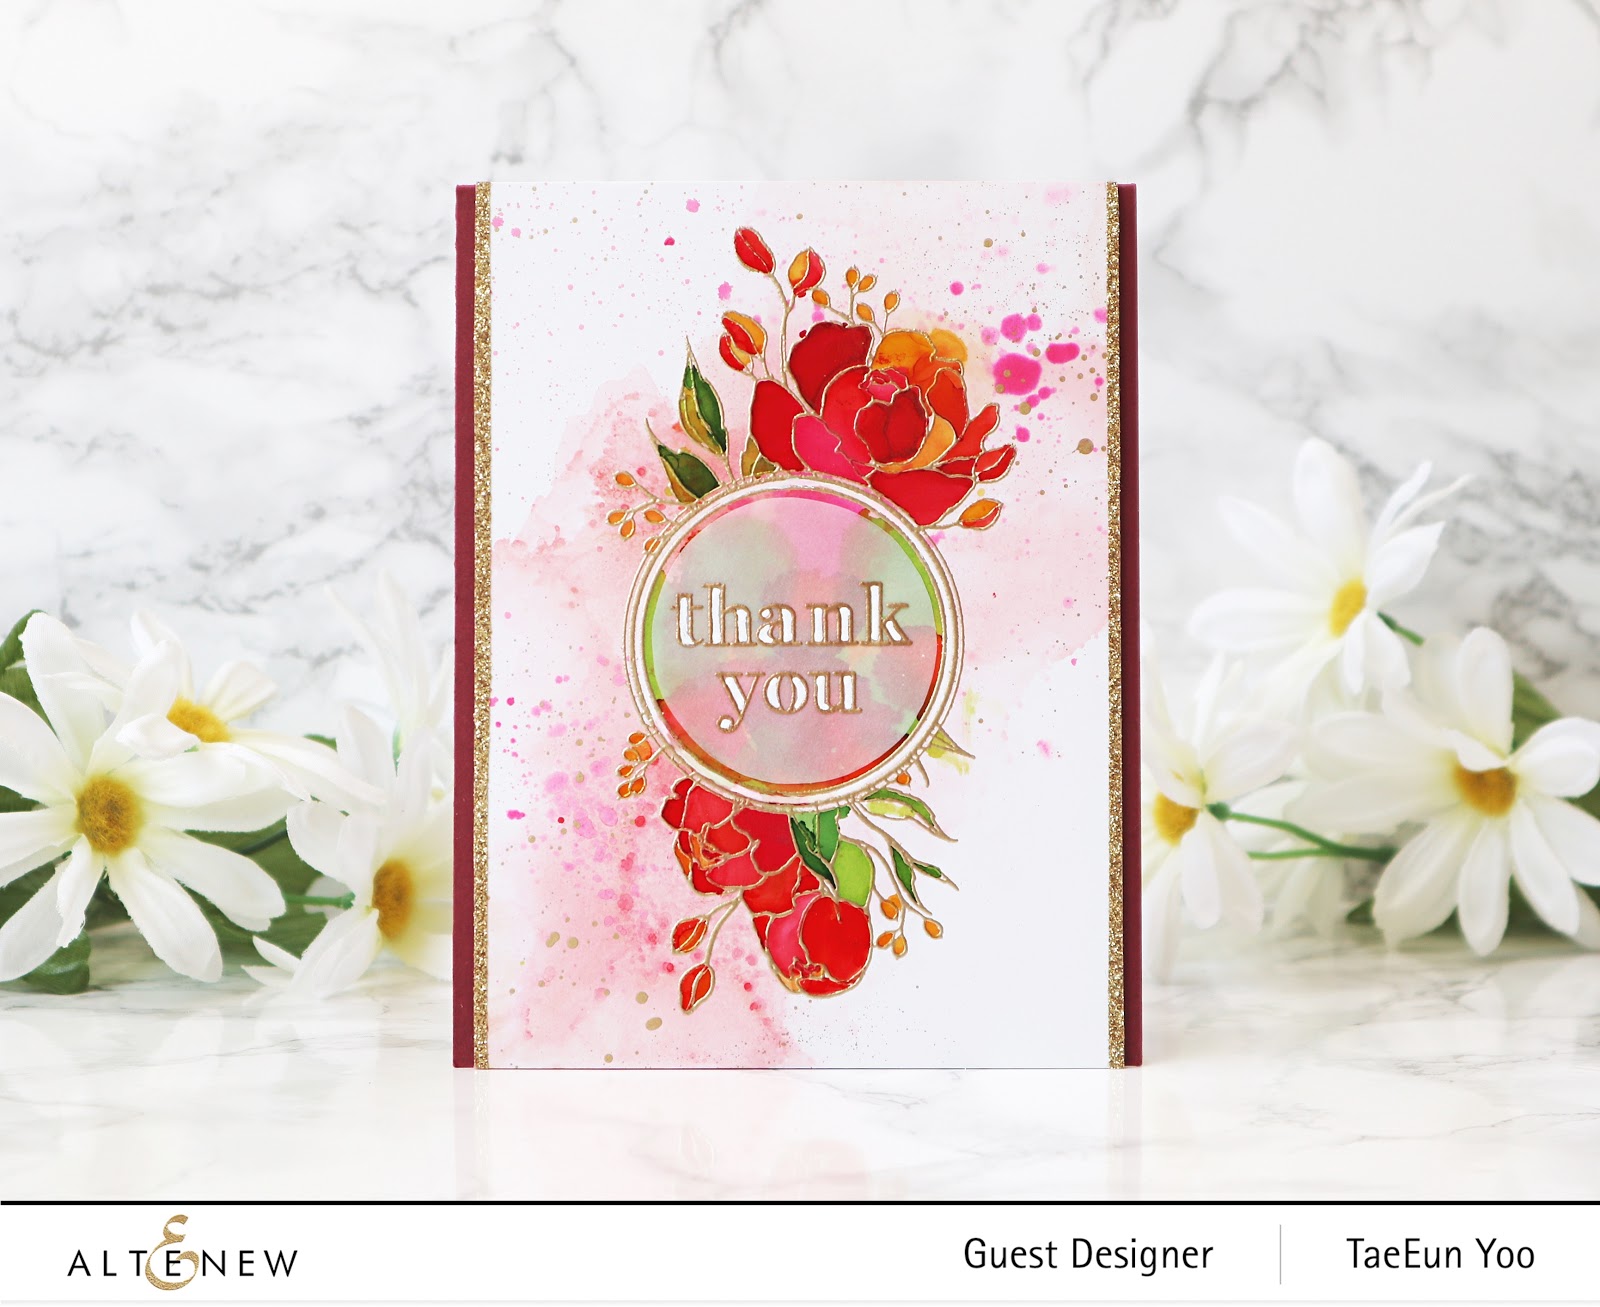
This set is designed to be used to create a label for your planner, journal or books. But I’ve made a thank you card using it. As I first saw this stamp design, the idea to color the main image with alcohol inks popped in my mind. To make it more dramatic I decided to color the background too.

I started by creating the background “wash” on a glossy cardstock in Shell Pink and Flamingo alcohol ink. I applied the blending solution first and dropped the Alcohol ink on it. I then blew the colors to blend them. I also splattered the colors on it. After the panel was dry I gold heat embossed the image on it and colored it using Poppyfield, Valencia, Flamingo, Sunshine Yellow and Limeaid. I used micro applicator to apply the ink on the small area.
I colored the inside of the circle in the center by dripping the inks.

I added thin strip of gold glitter tape from New Day Card kit on both sides of the colored panel and foam mounted it on a dark red cardbase. The sentiment from Thank You Builder set ,also from this release, was gold heat embossed on a vellum circle piece and added onto the circle. I colored the letters using a white gel pen and the card was done.

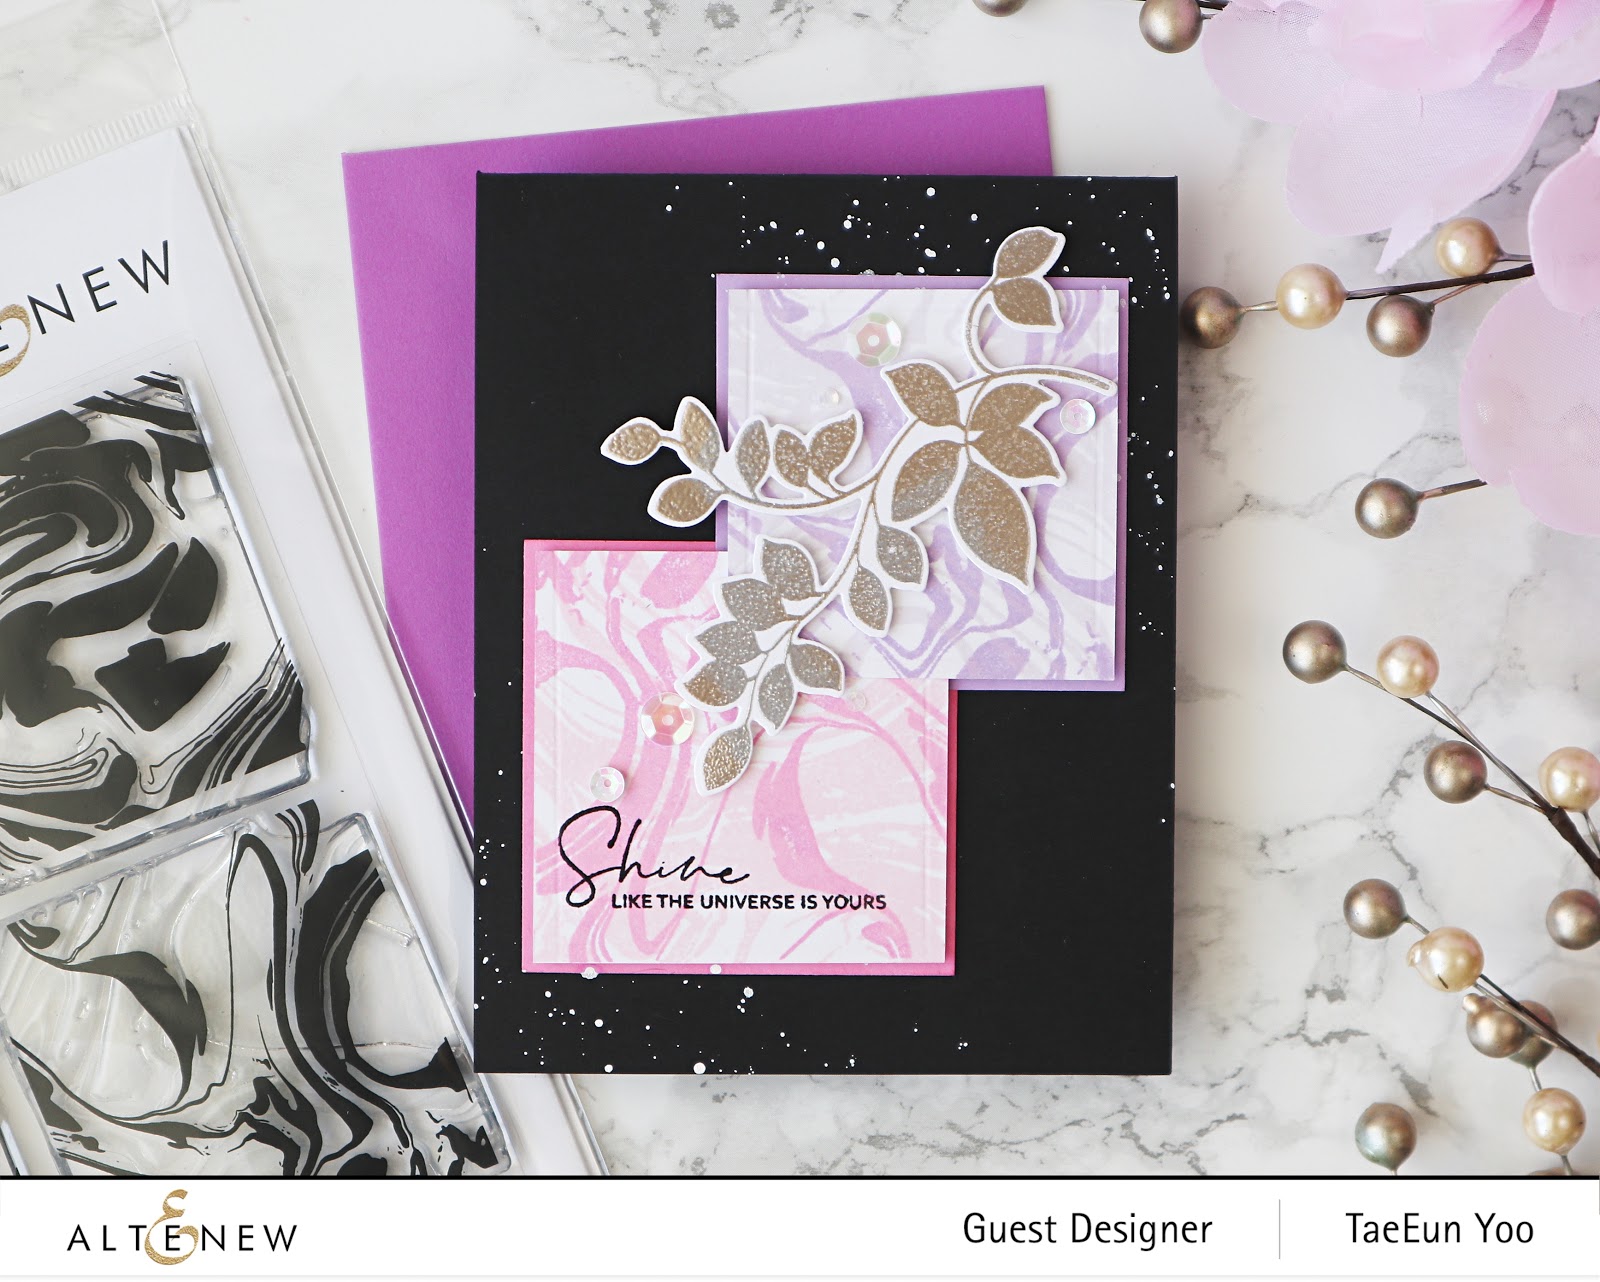
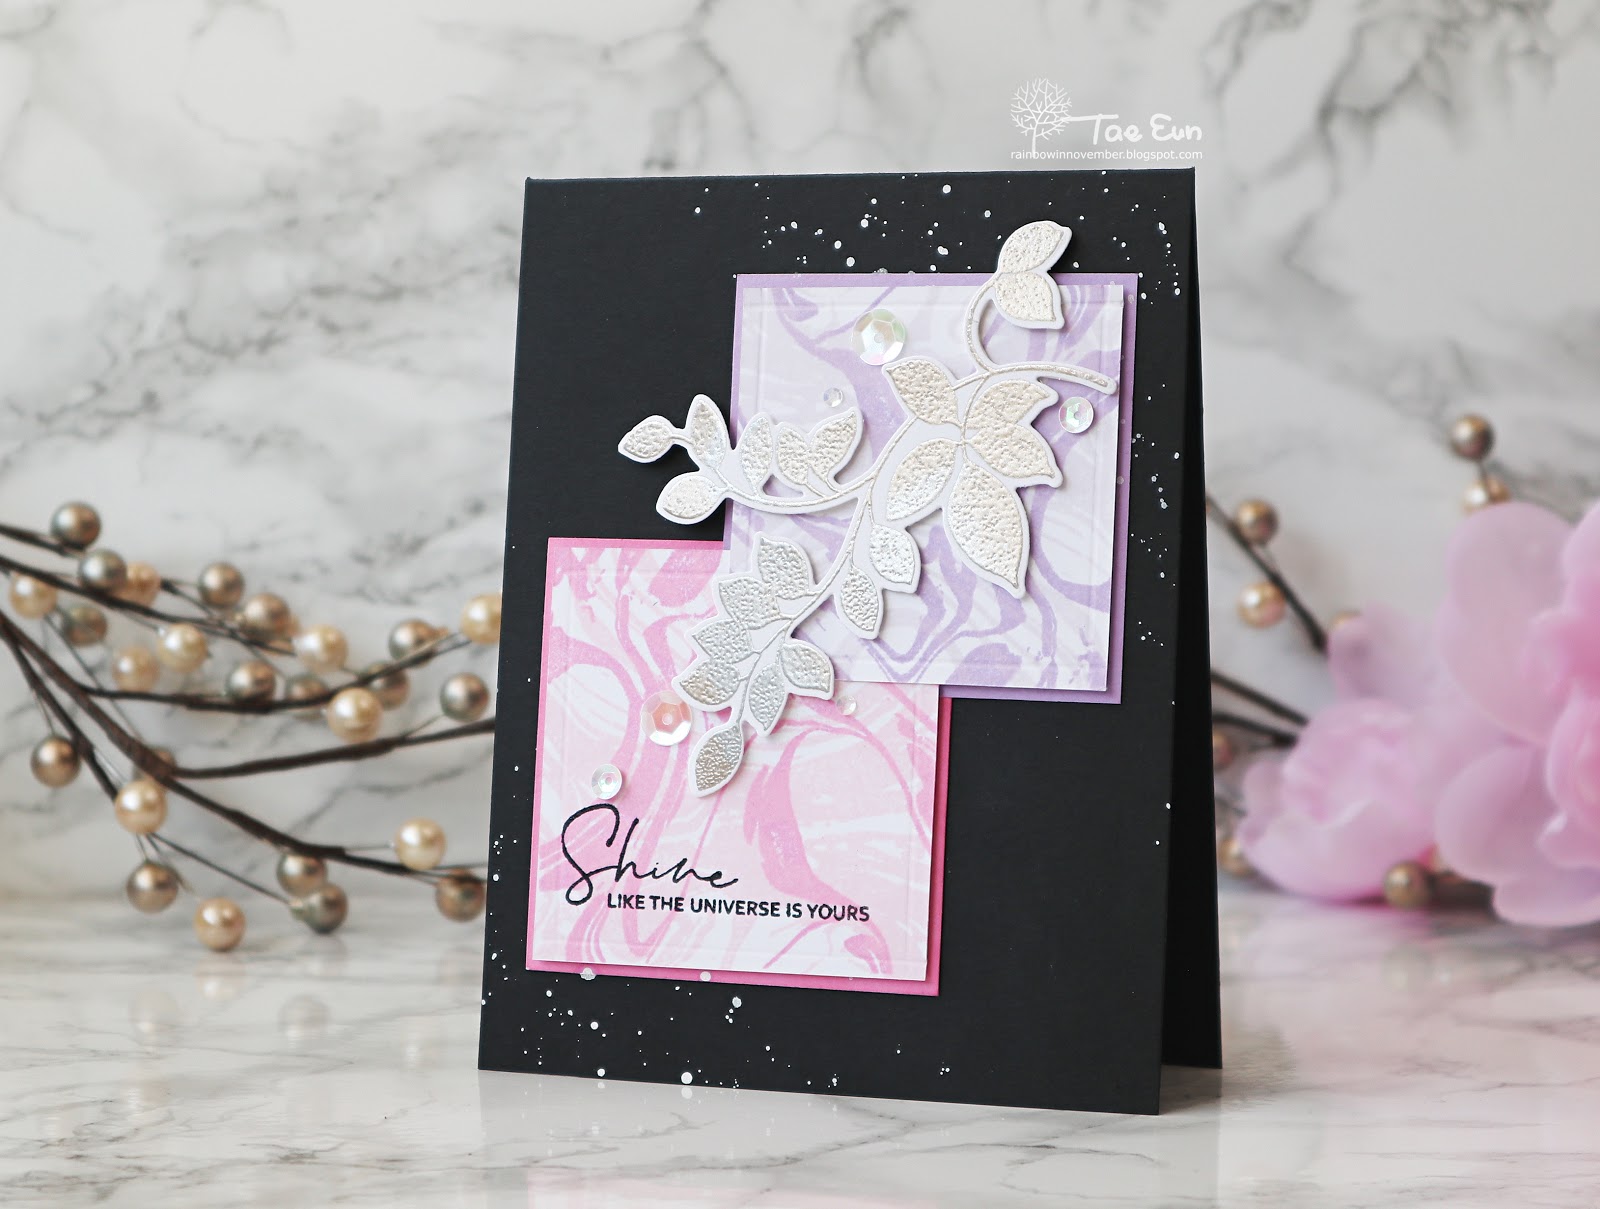
I started by stamping the marble patterns. I chose two patterns with bigger area and stamped them in Rose Quartz and Soft Lilac respectively. I then use another pattern with more lines than area and stamped it in Puffy Heart and Lavender Fields on the top of the previously stamped pattern. I cut them in squares and scored border lines to add more interest. I applied the darker ink colors also on a white cardstock which I cut in squares slightly larger than the marble squares.
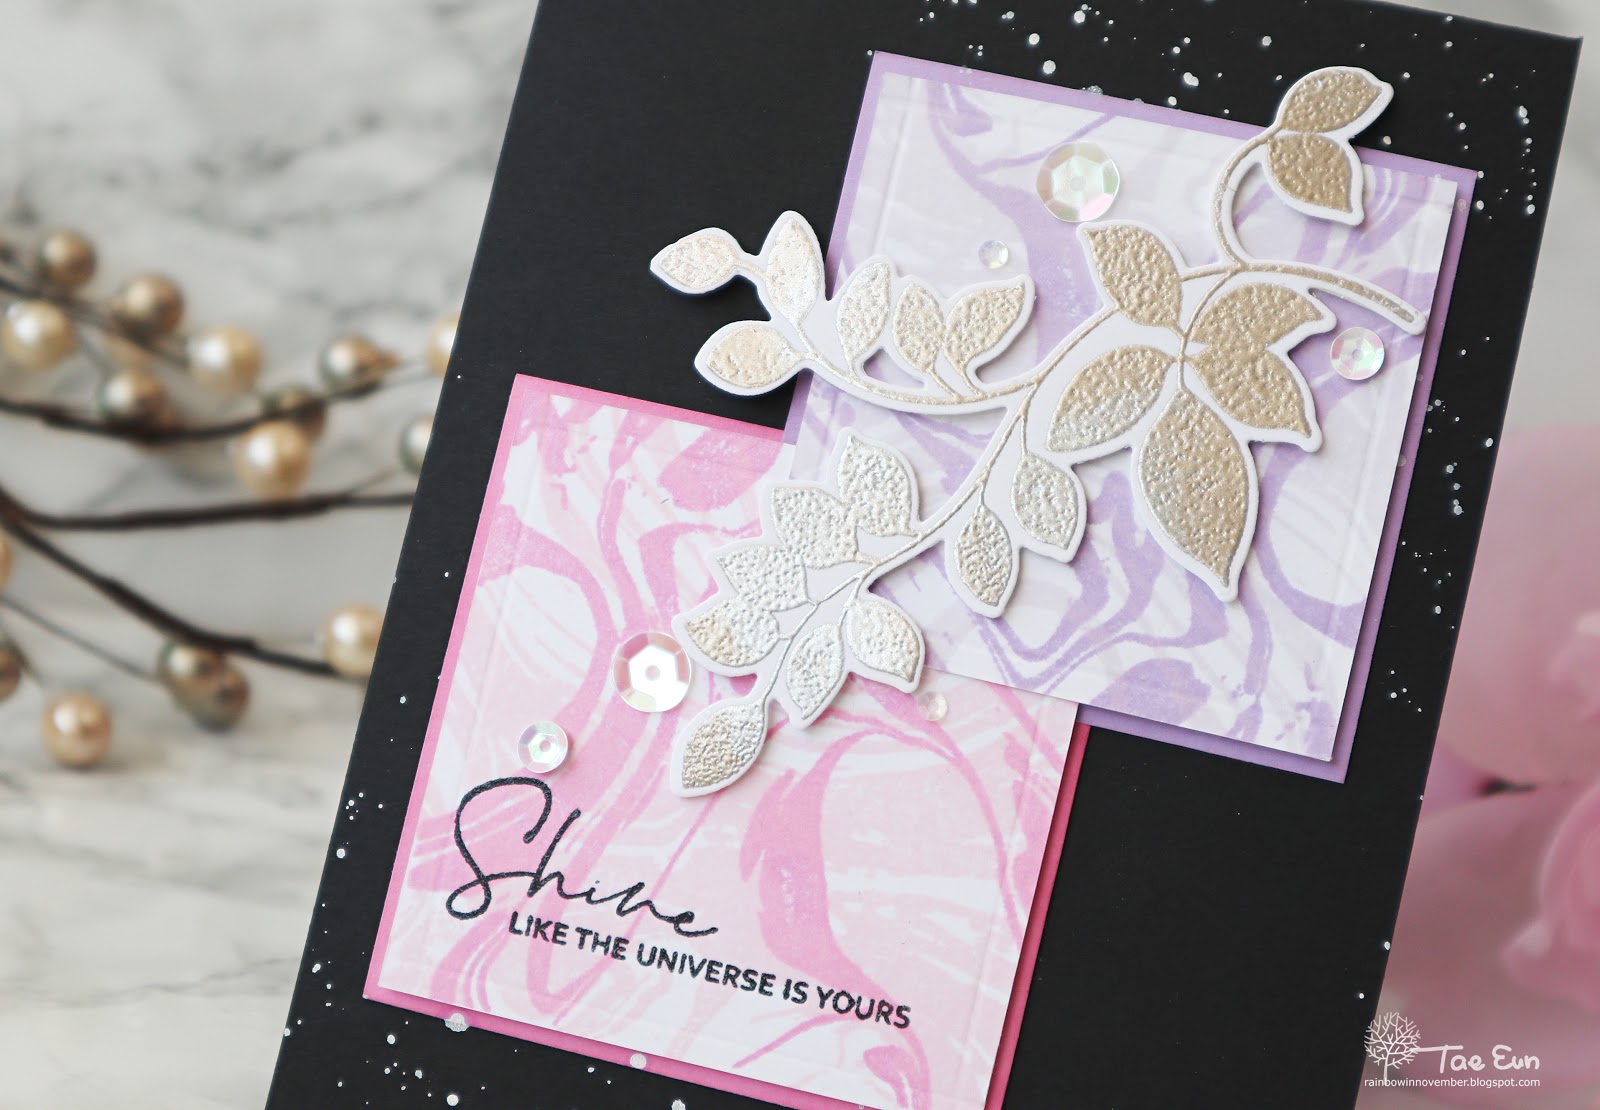
I adhered the bigger squares on a black cardbase and foam mounted the marble squares on top of them. I splattered white opaque ink on diagonal corners while covering the marble squres. The sentiment from One Day at a Time was stamped in a black pigment ink and clear heat embossed on the pink marble piece.
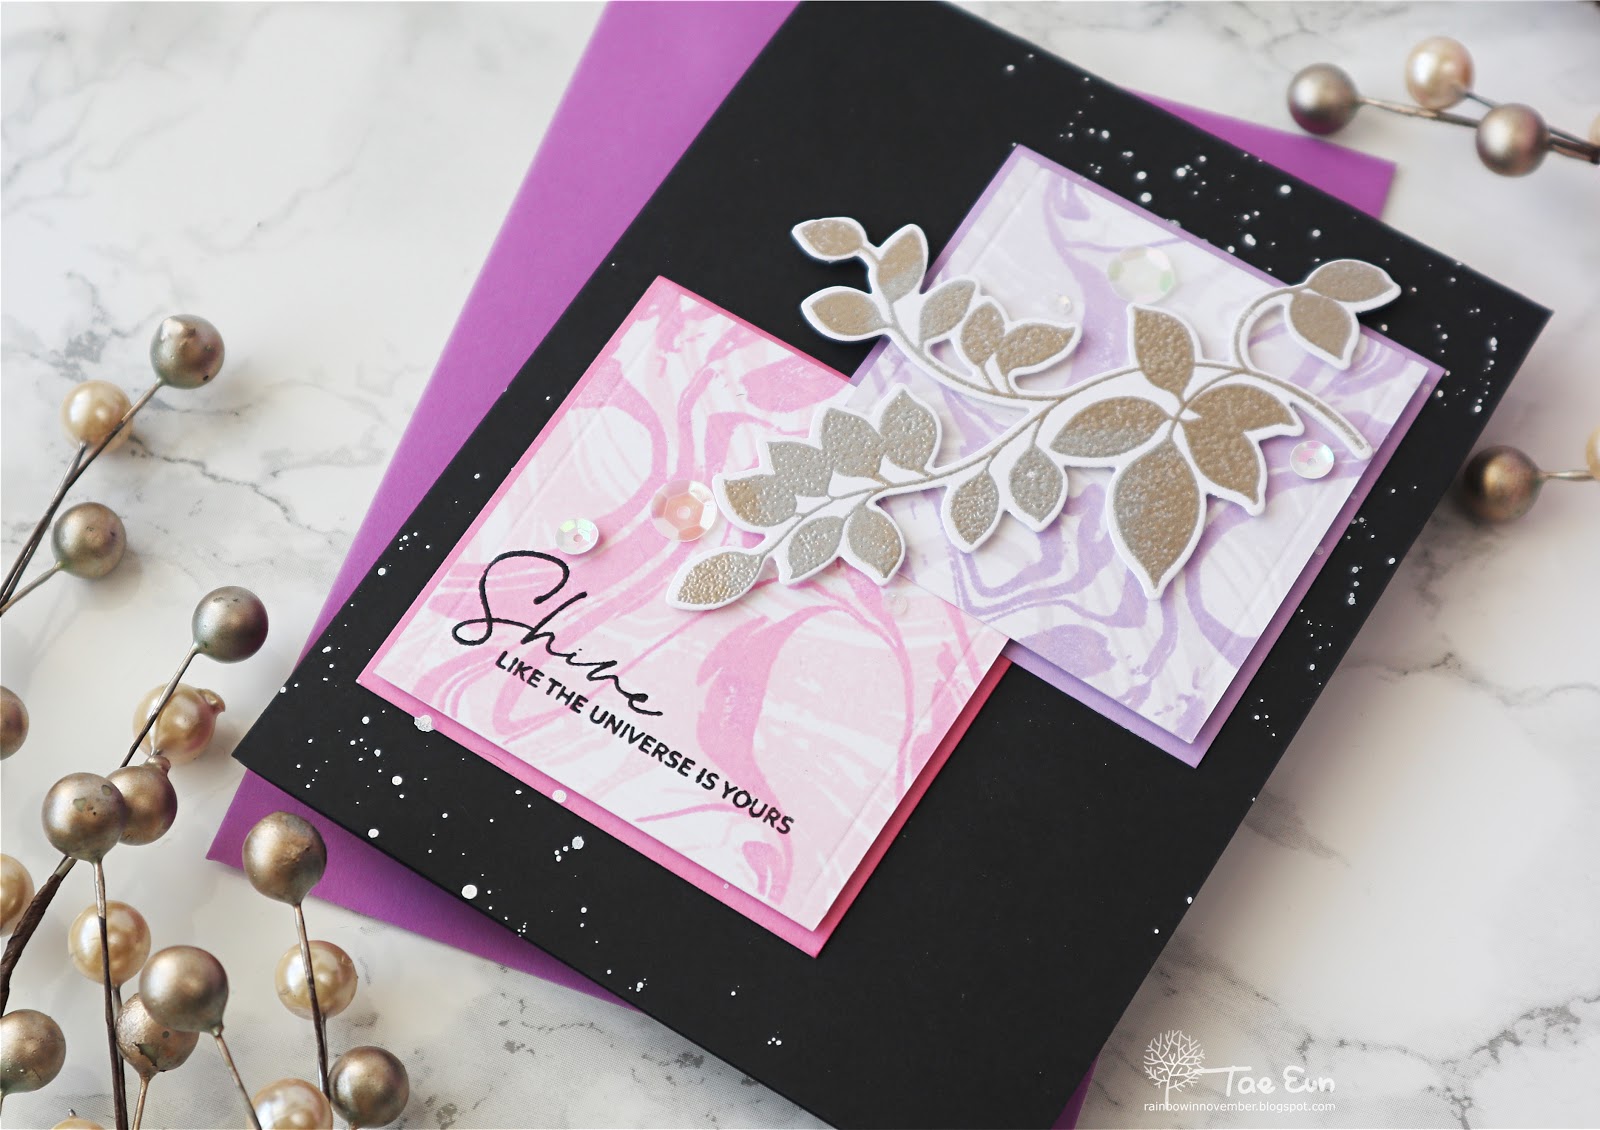
The branch is from another set of this release, Wallpaper Art. I heat embossed it partly in silver and partly in Liquid Platinum and cut it using the coordinating die. I added the branch onto the card using some foam adhesives. I finished off the card with some iridescent sequins.
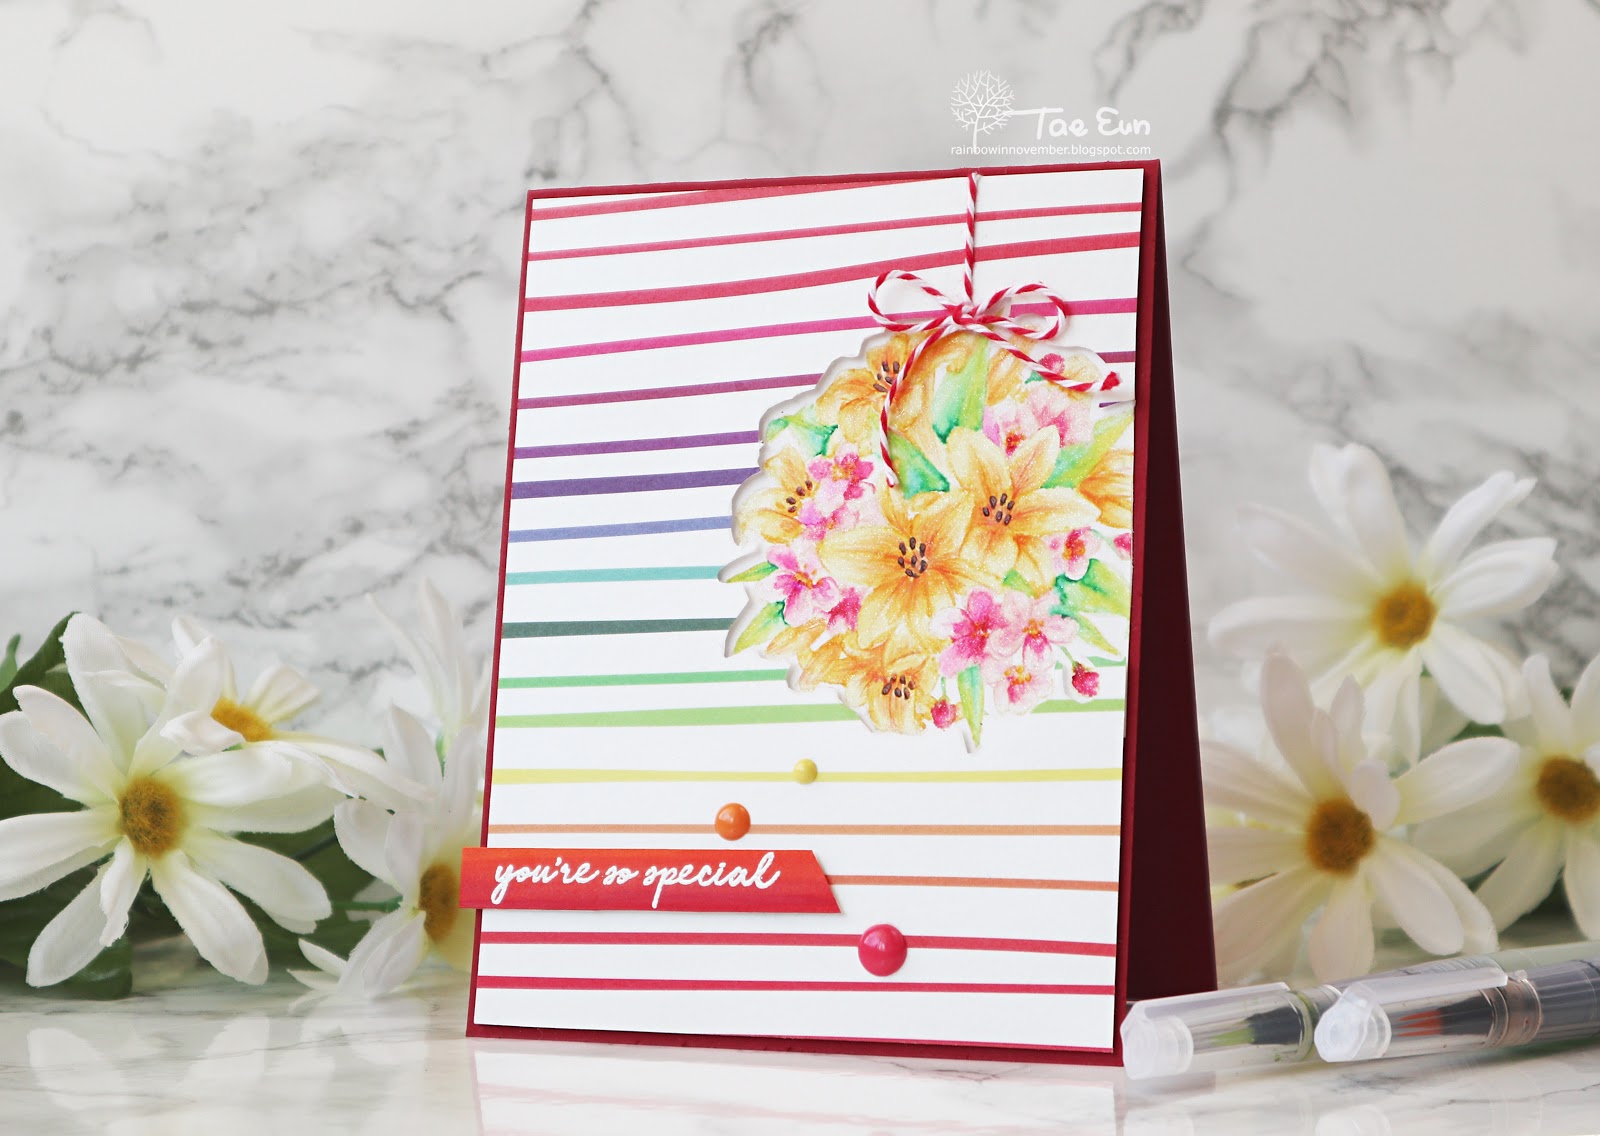
The next card is showing Prettiest Pomander set. It is a layering stamp but I used the outline image to do no line coloring.
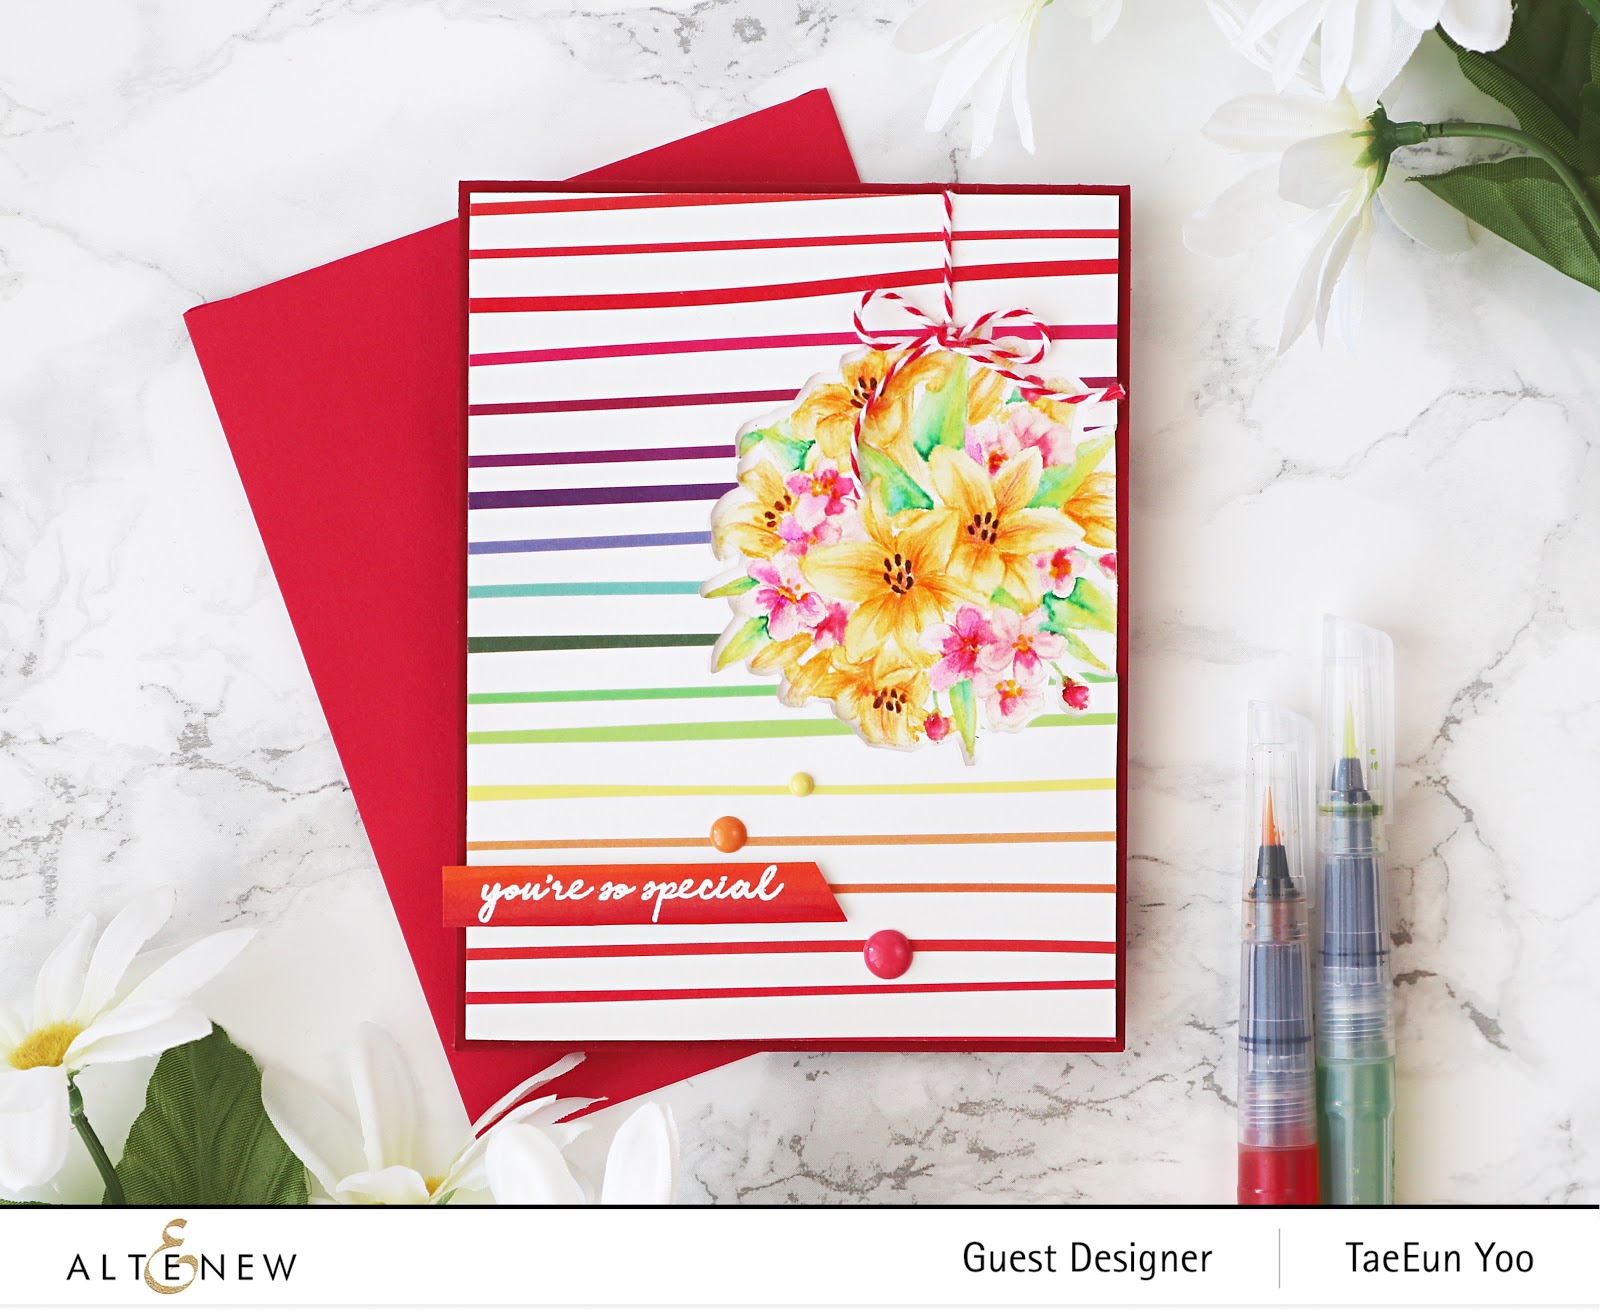
I stamped the pomander slightly offset on the right side of an A2 Bristol smooth paper panel in a light color and colored it using Altenew Watercolor Brush Markers Spring Garden set.
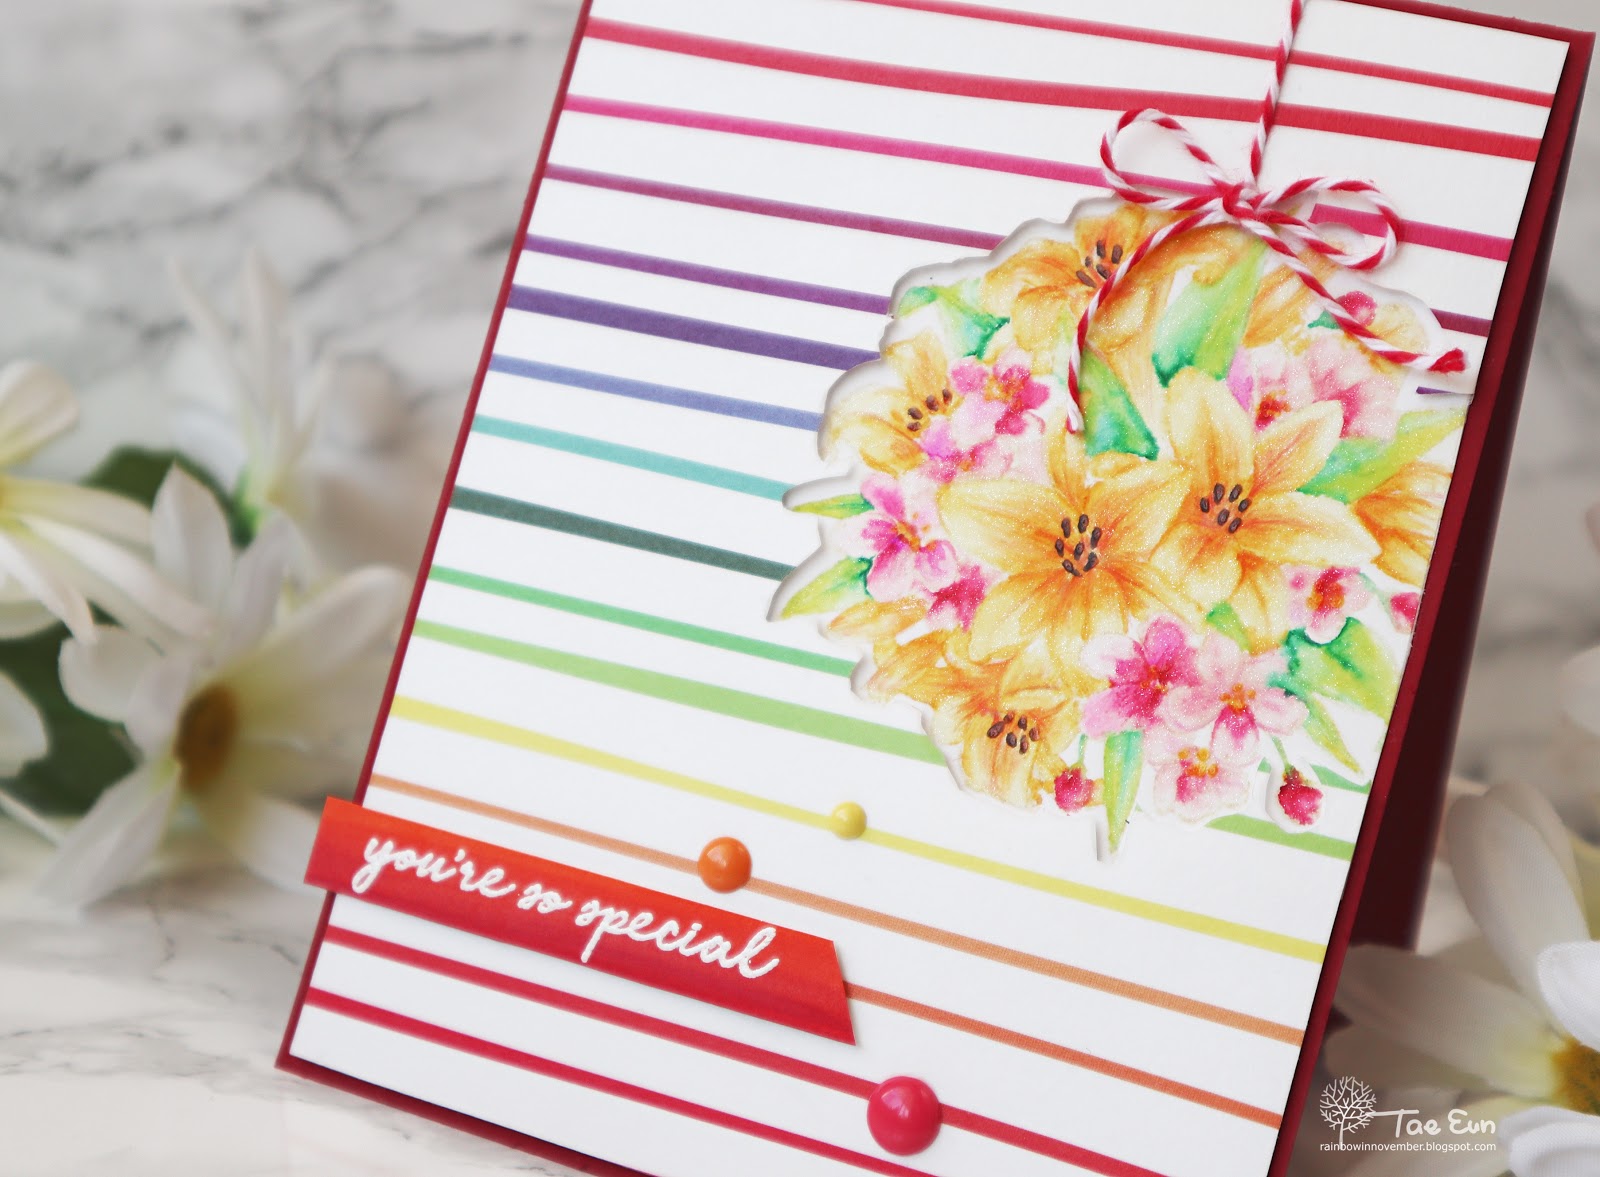
To create the front panel I adhered Rainbow Stripes washi tape on a white panel and cut the pomander out. I mounted the base panel with the colored pomander on a red cardbase and foam mounted the front panel with the stripes.

The sentiment is from Versatile Vases stamp set. I’ve made a red ombre stripe using Copic markers and white heat embossed the sentiment on it and added it on the card. I finished off the card by adding some enamel dots from New Day Card kit and a red-white bakers twine to the pomander.
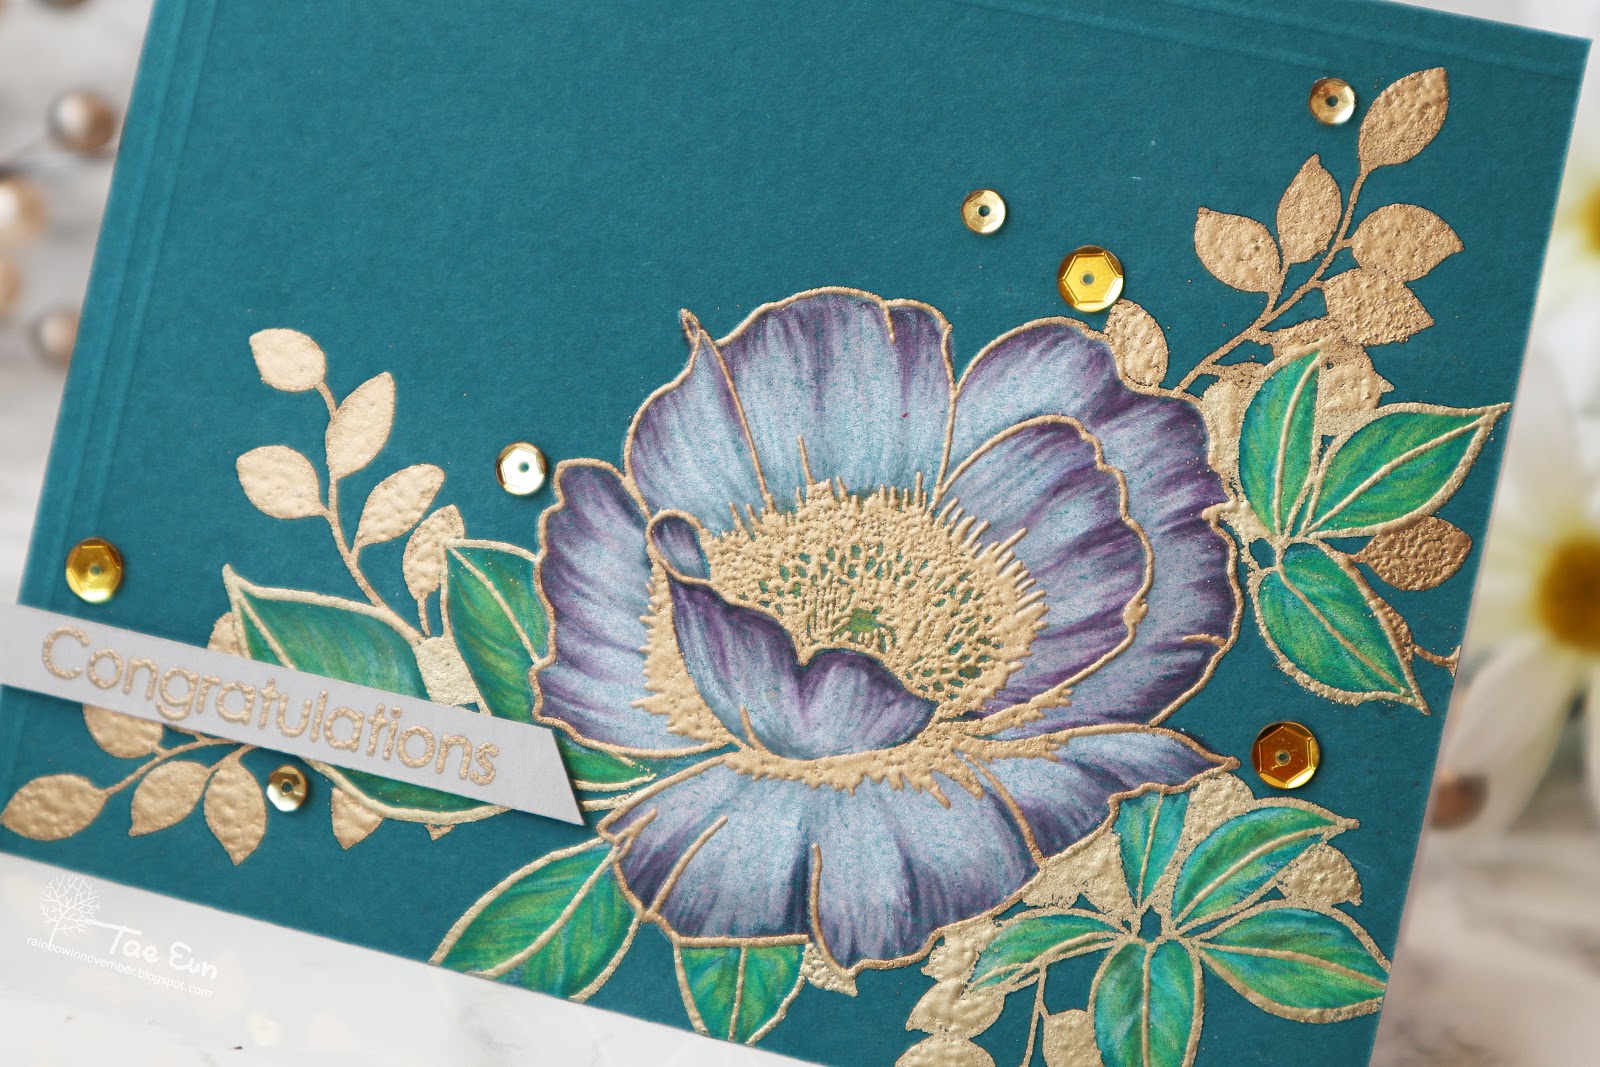
Next two cards are featuring Wallpaper Art stamp set, my absolute favorite from March release!
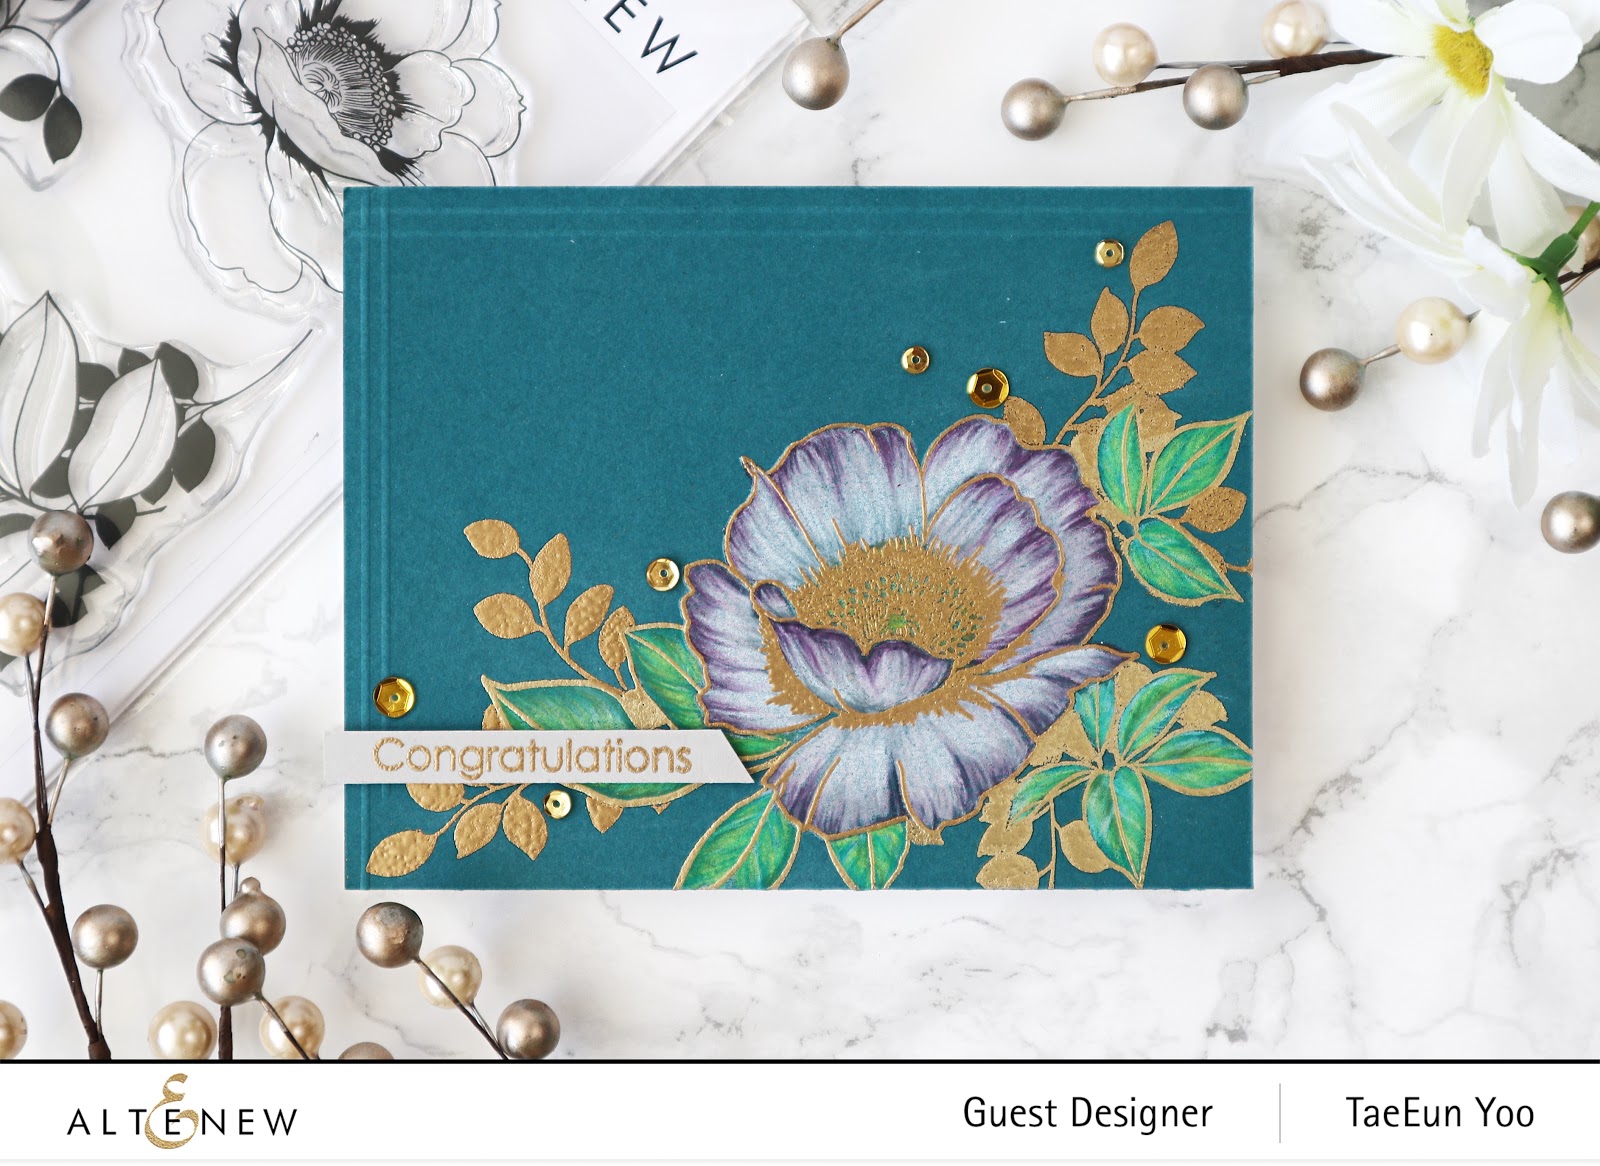
I stamped the flower first in white pigment ink on a dark teal panel and colored it using Prismacolor colored pencils. I used a dark teal cardstock from New Day Card kit. After the coloring I gold heat embossed the outline image. It was possible as I left the stamp in the MISTI. I then masked the flower and went with the branch images in the same way.
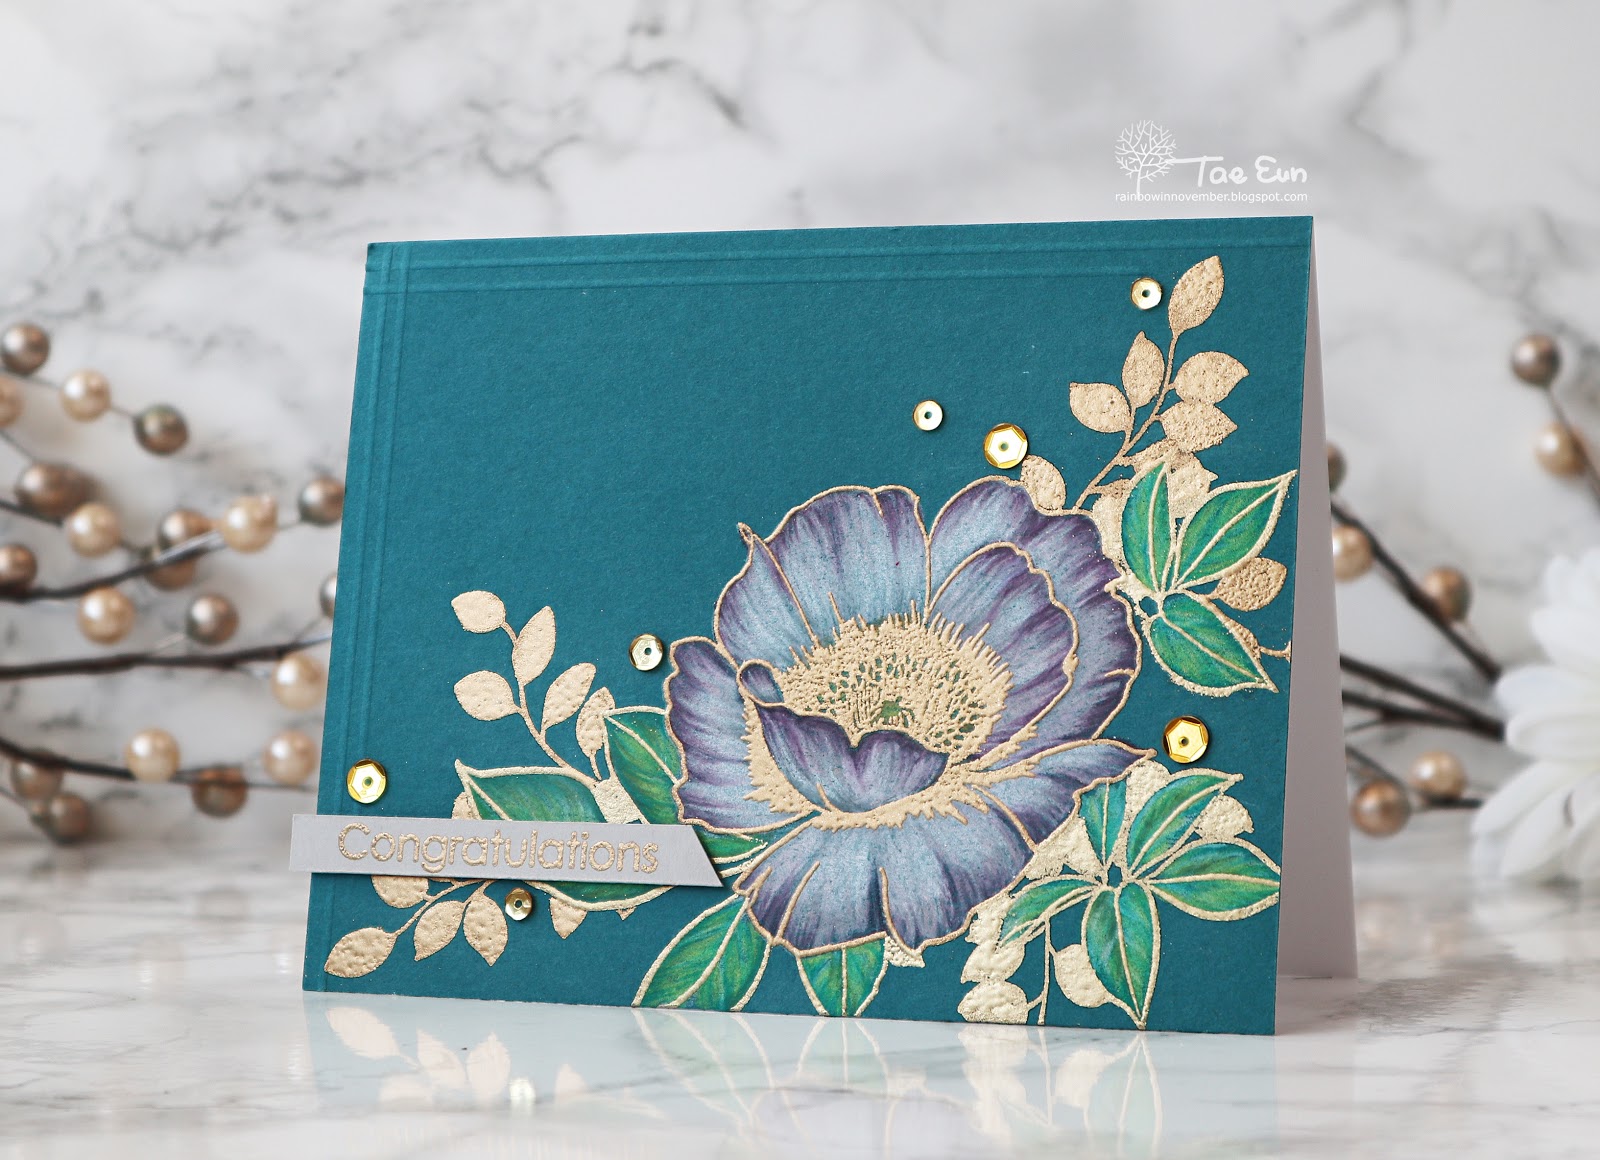
After the stamping, coloring heat embossing were all done, I scored lines on the top and left border of the panel and adhered the panel on a white cardbase.
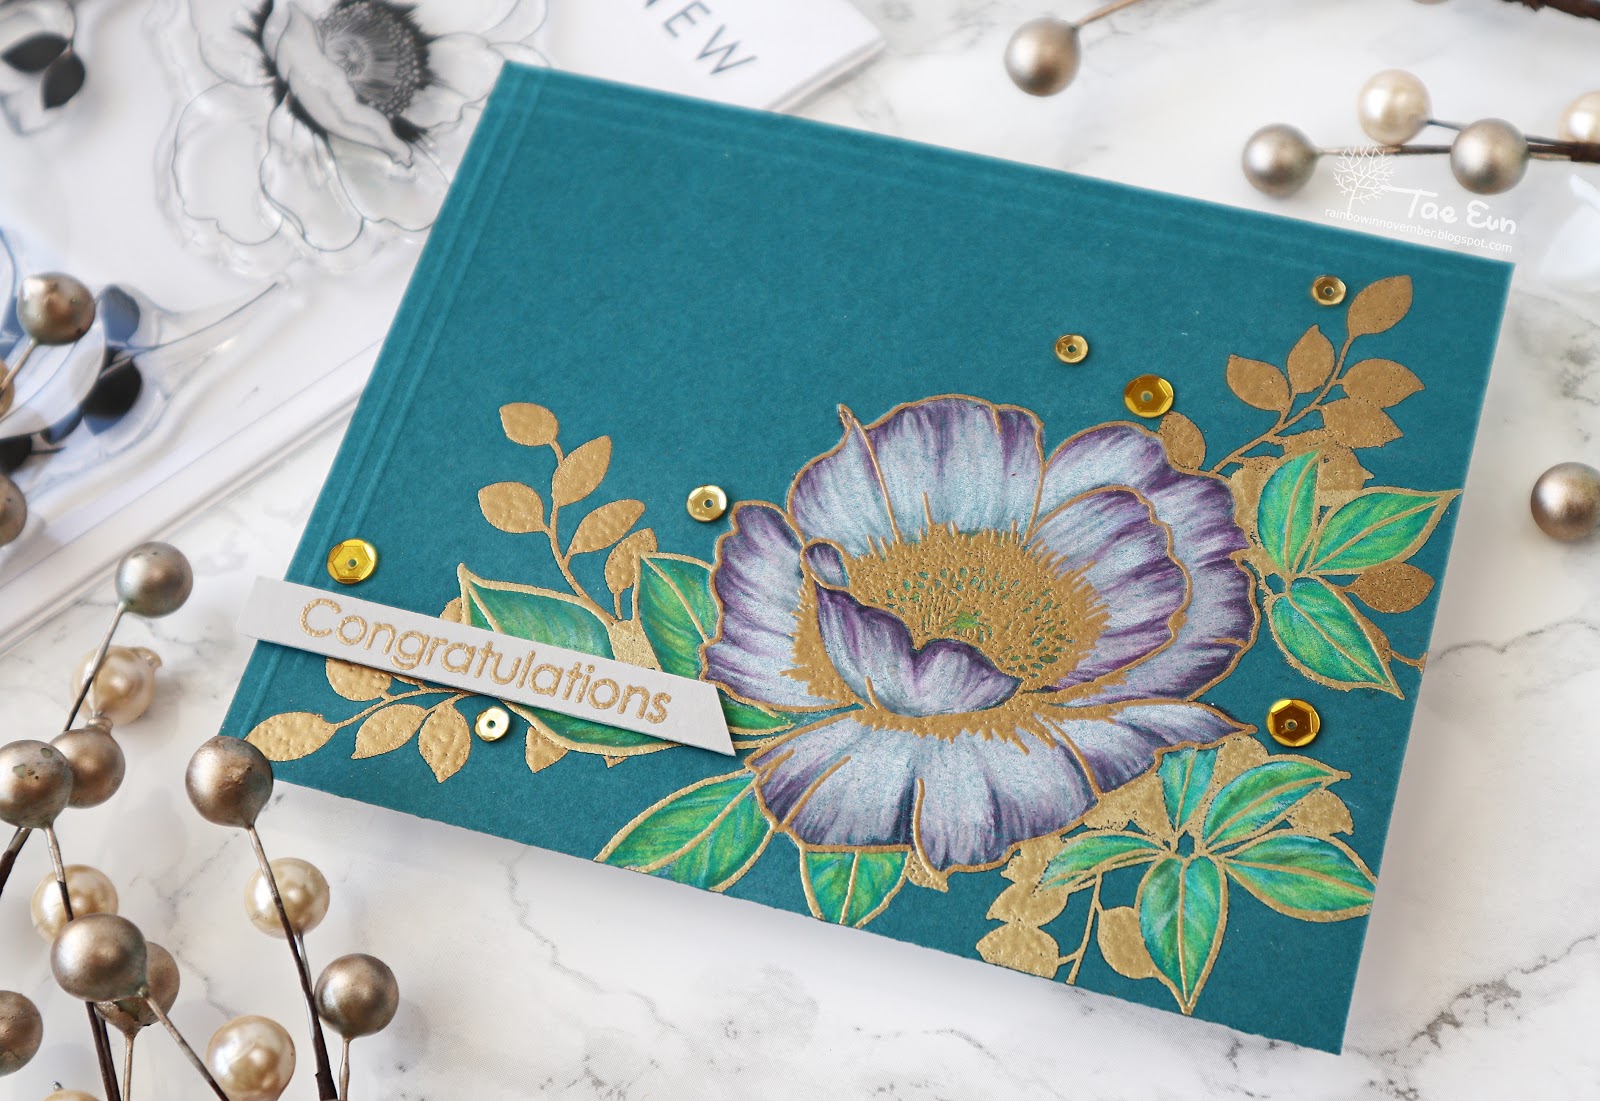
The sentiment is also from Wallpaper Art stamp set. I gold heat embossed it on a strip of gray cardstock and foam mounted it onto the card. I finished off the card by scattering some golden sequins.
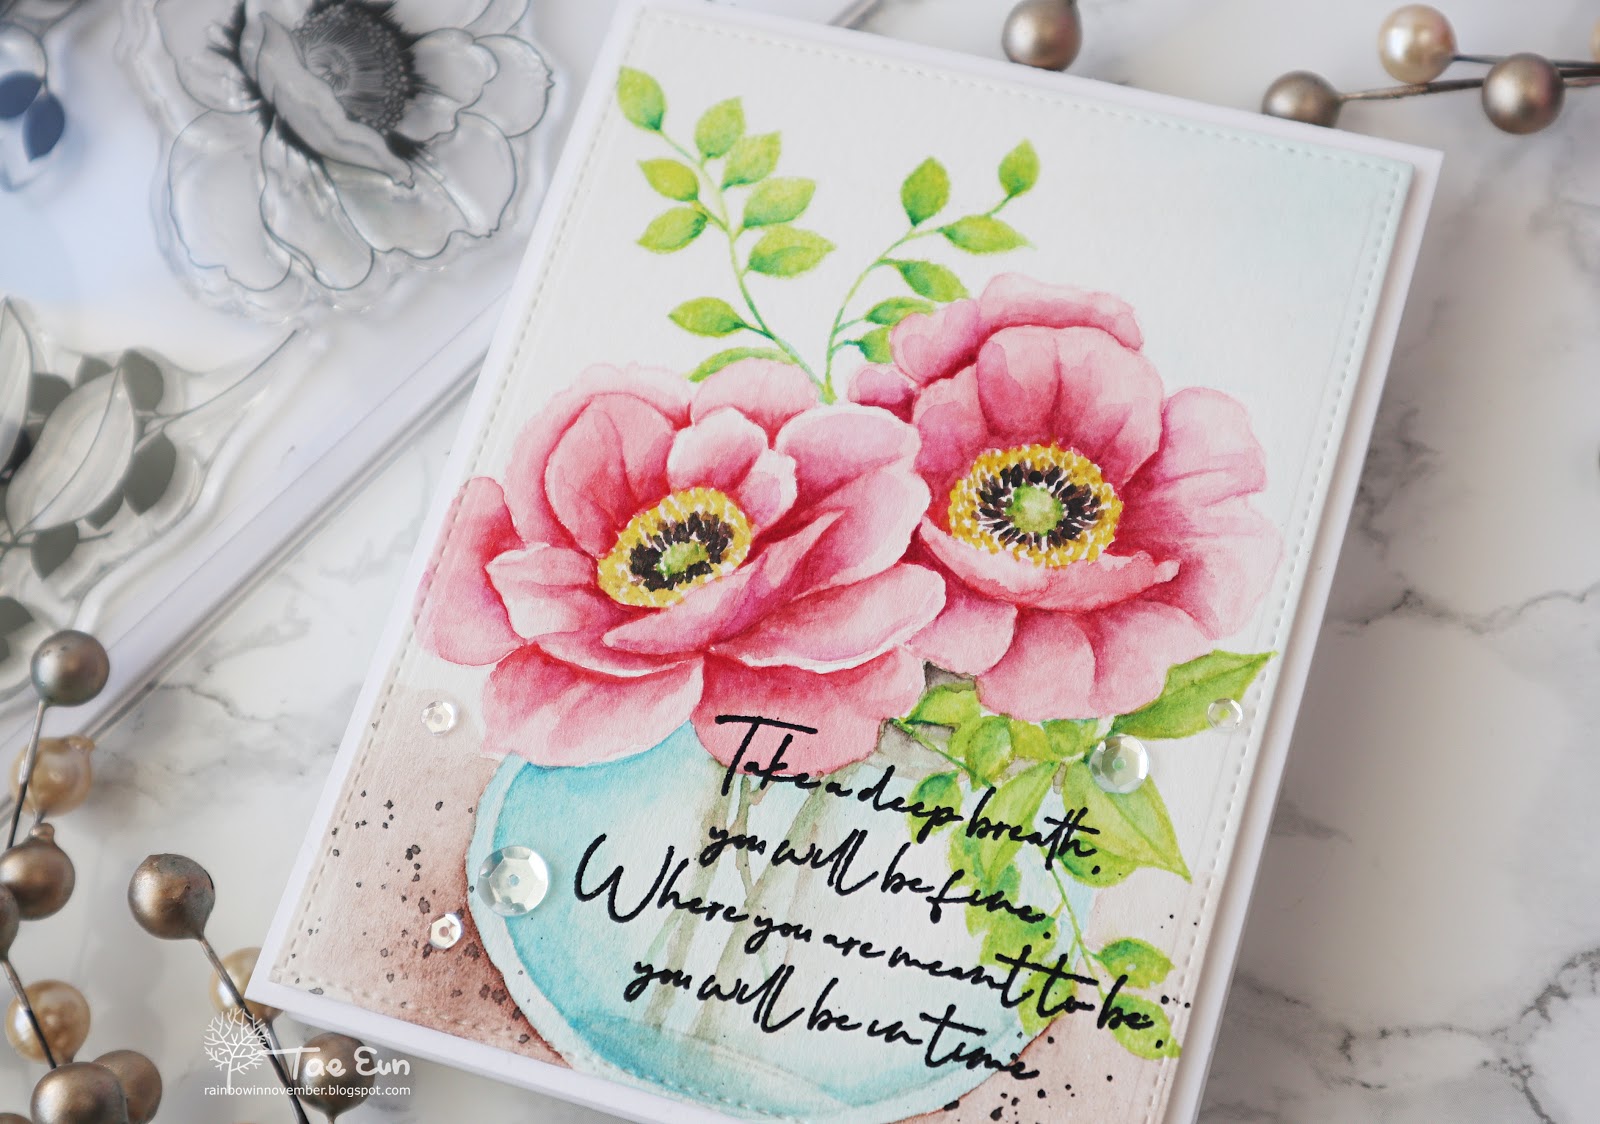
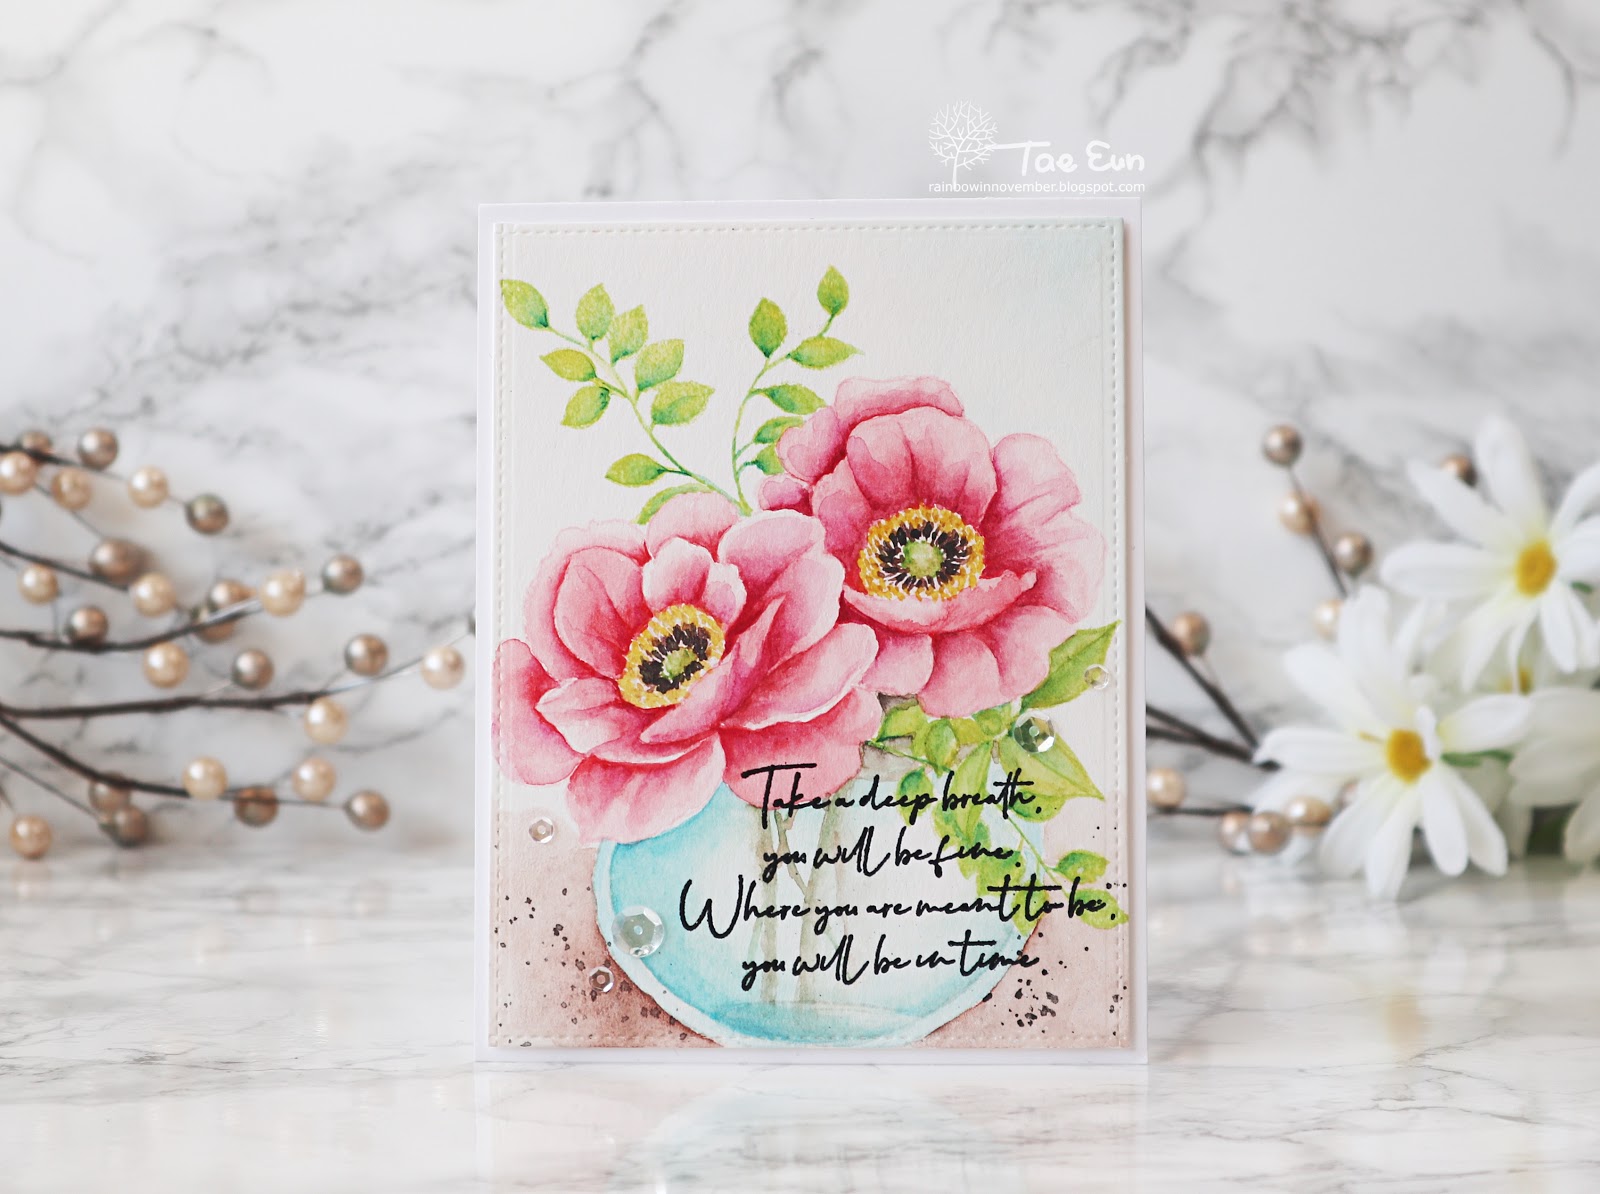
On my last card I combined Wallpaper Art stamp set and Versatile Vases stamp set.
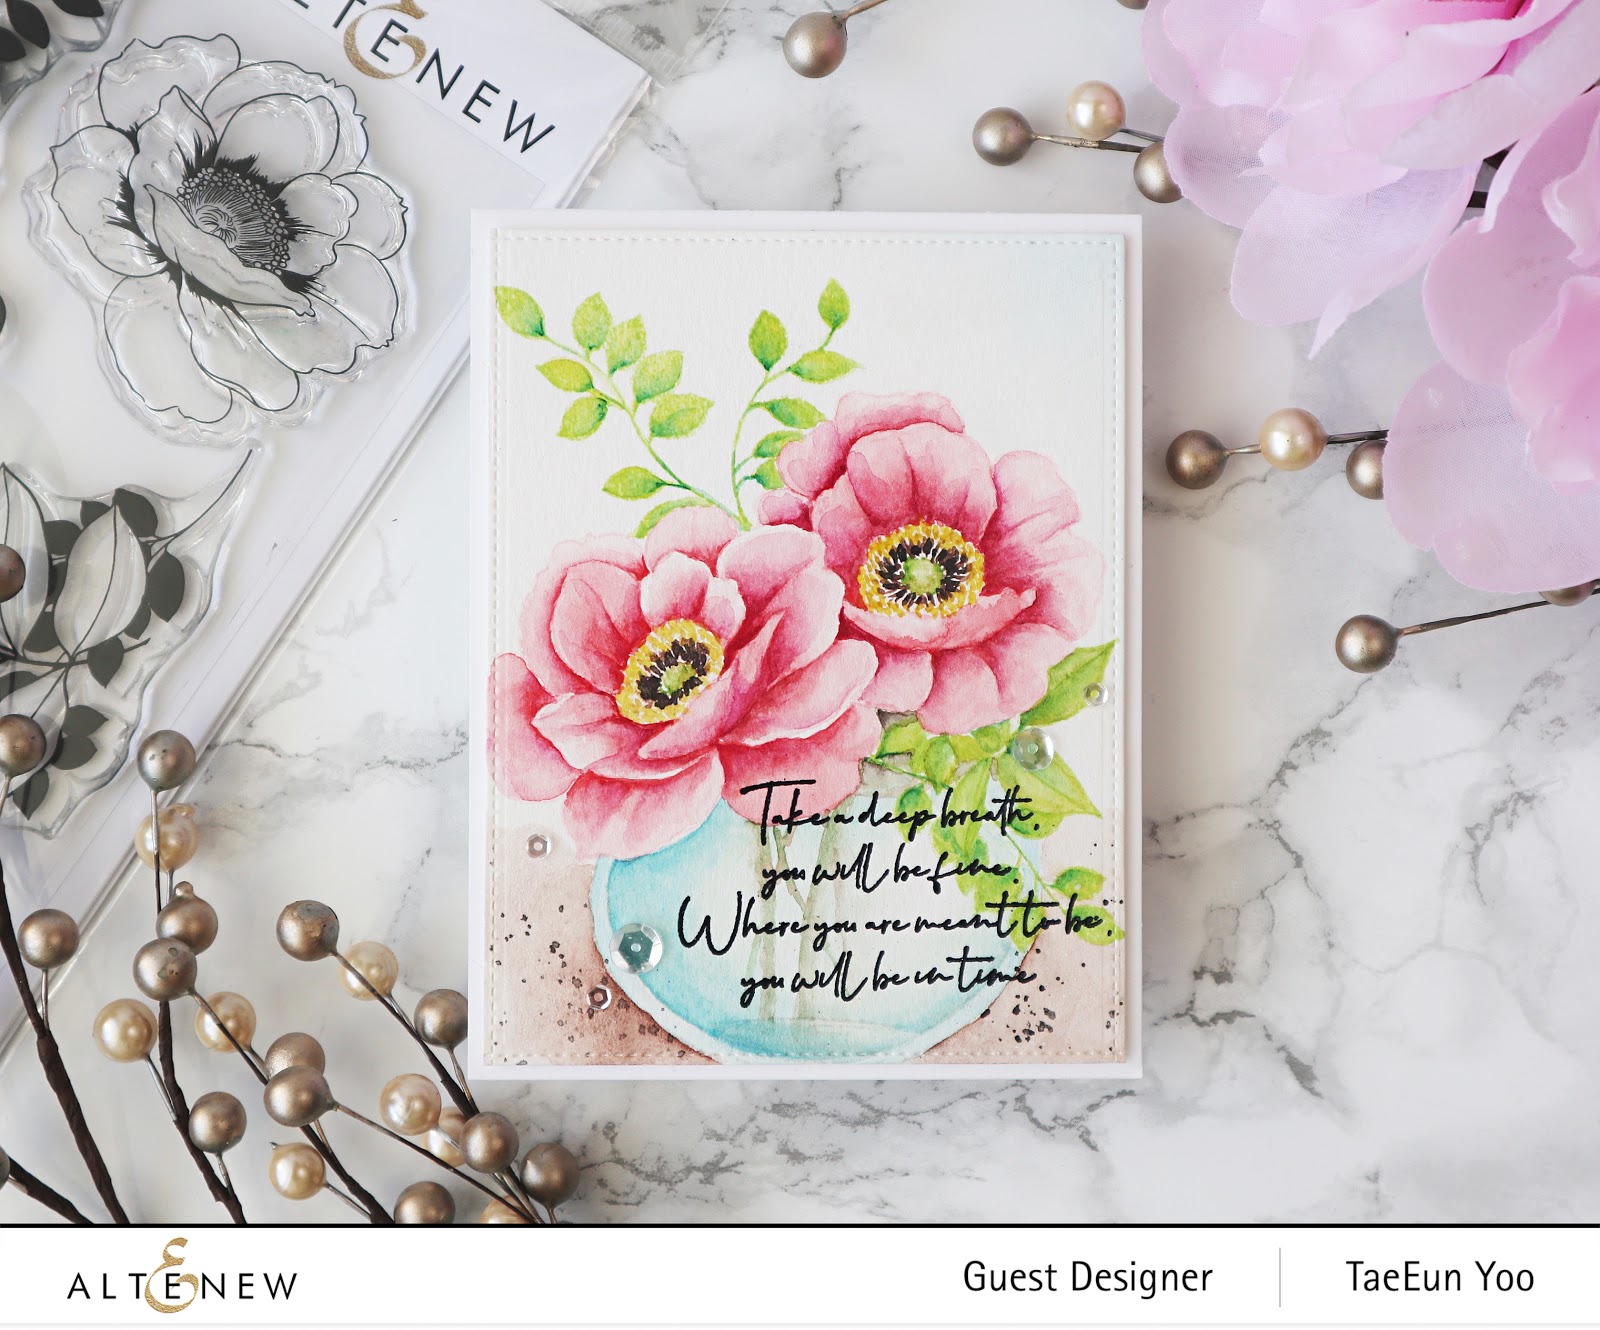
I stamped the flower bouquet in a vase in a light color on Canson watercolor paper and watercolored the image using Altenew Watercolor 36 pan set. I used mainly Crimson mit Rubellite and Grape Vine to color the flowers.
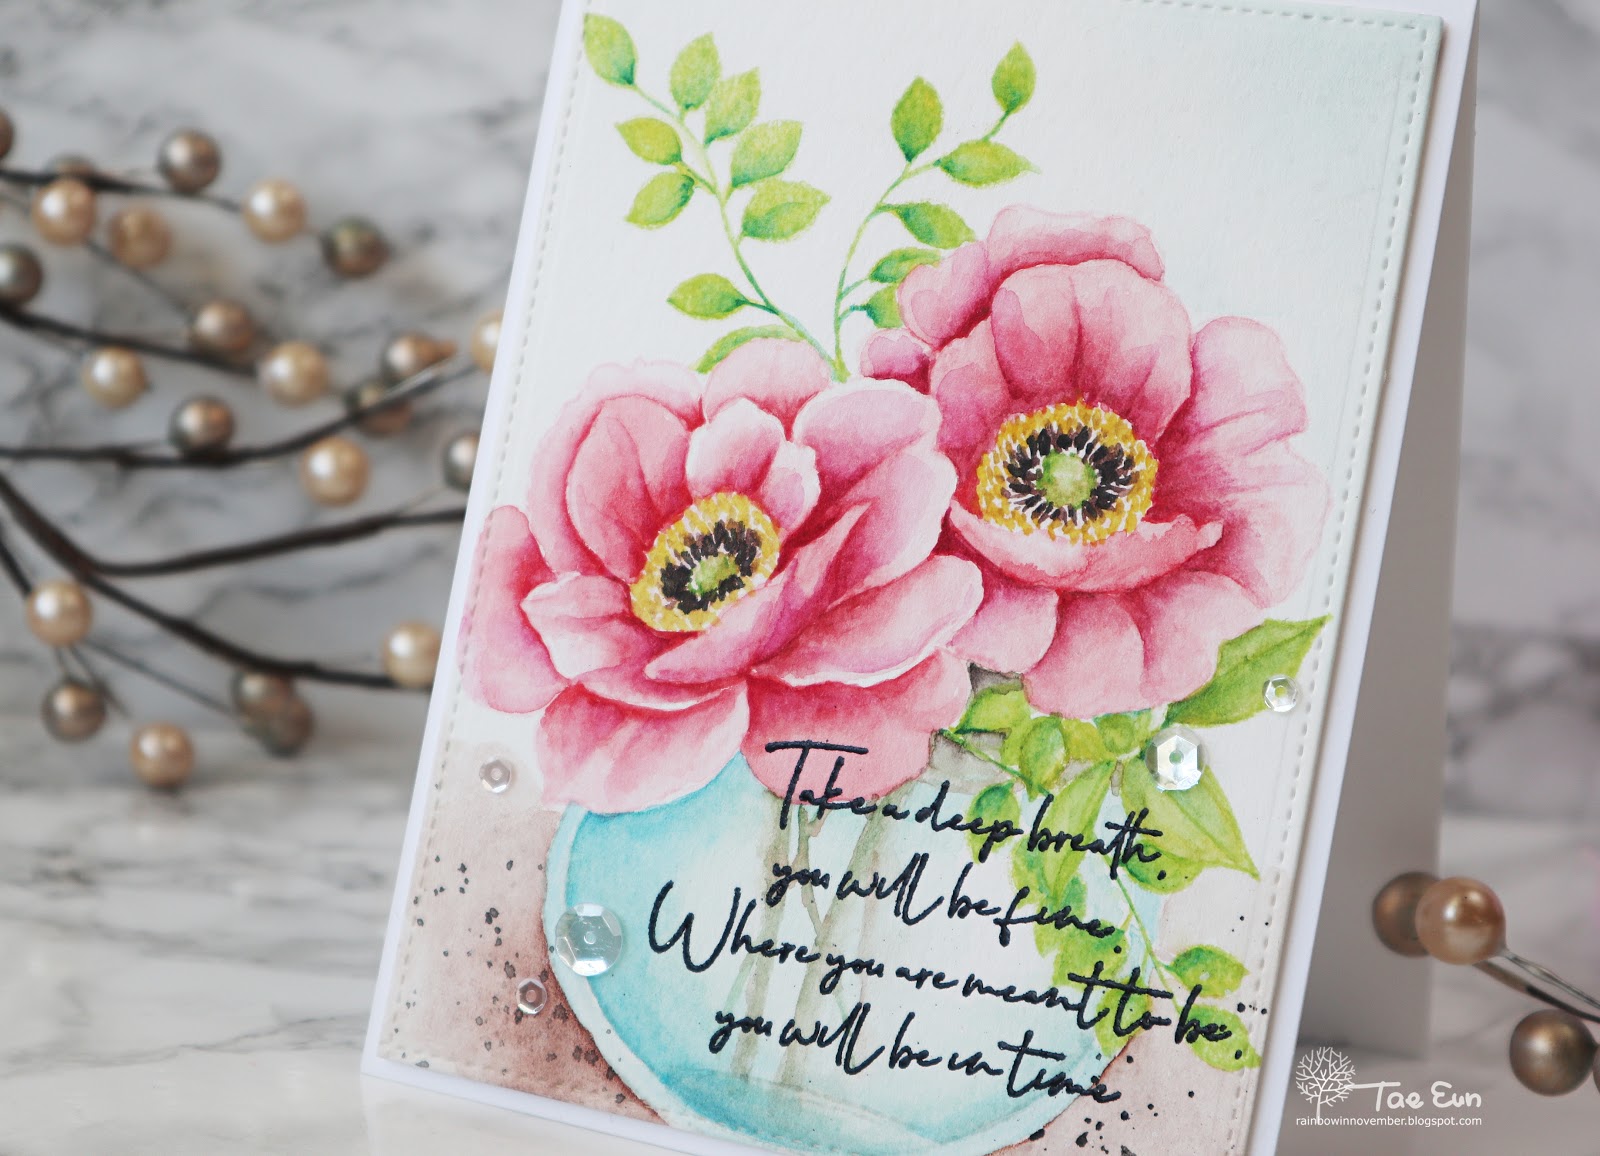
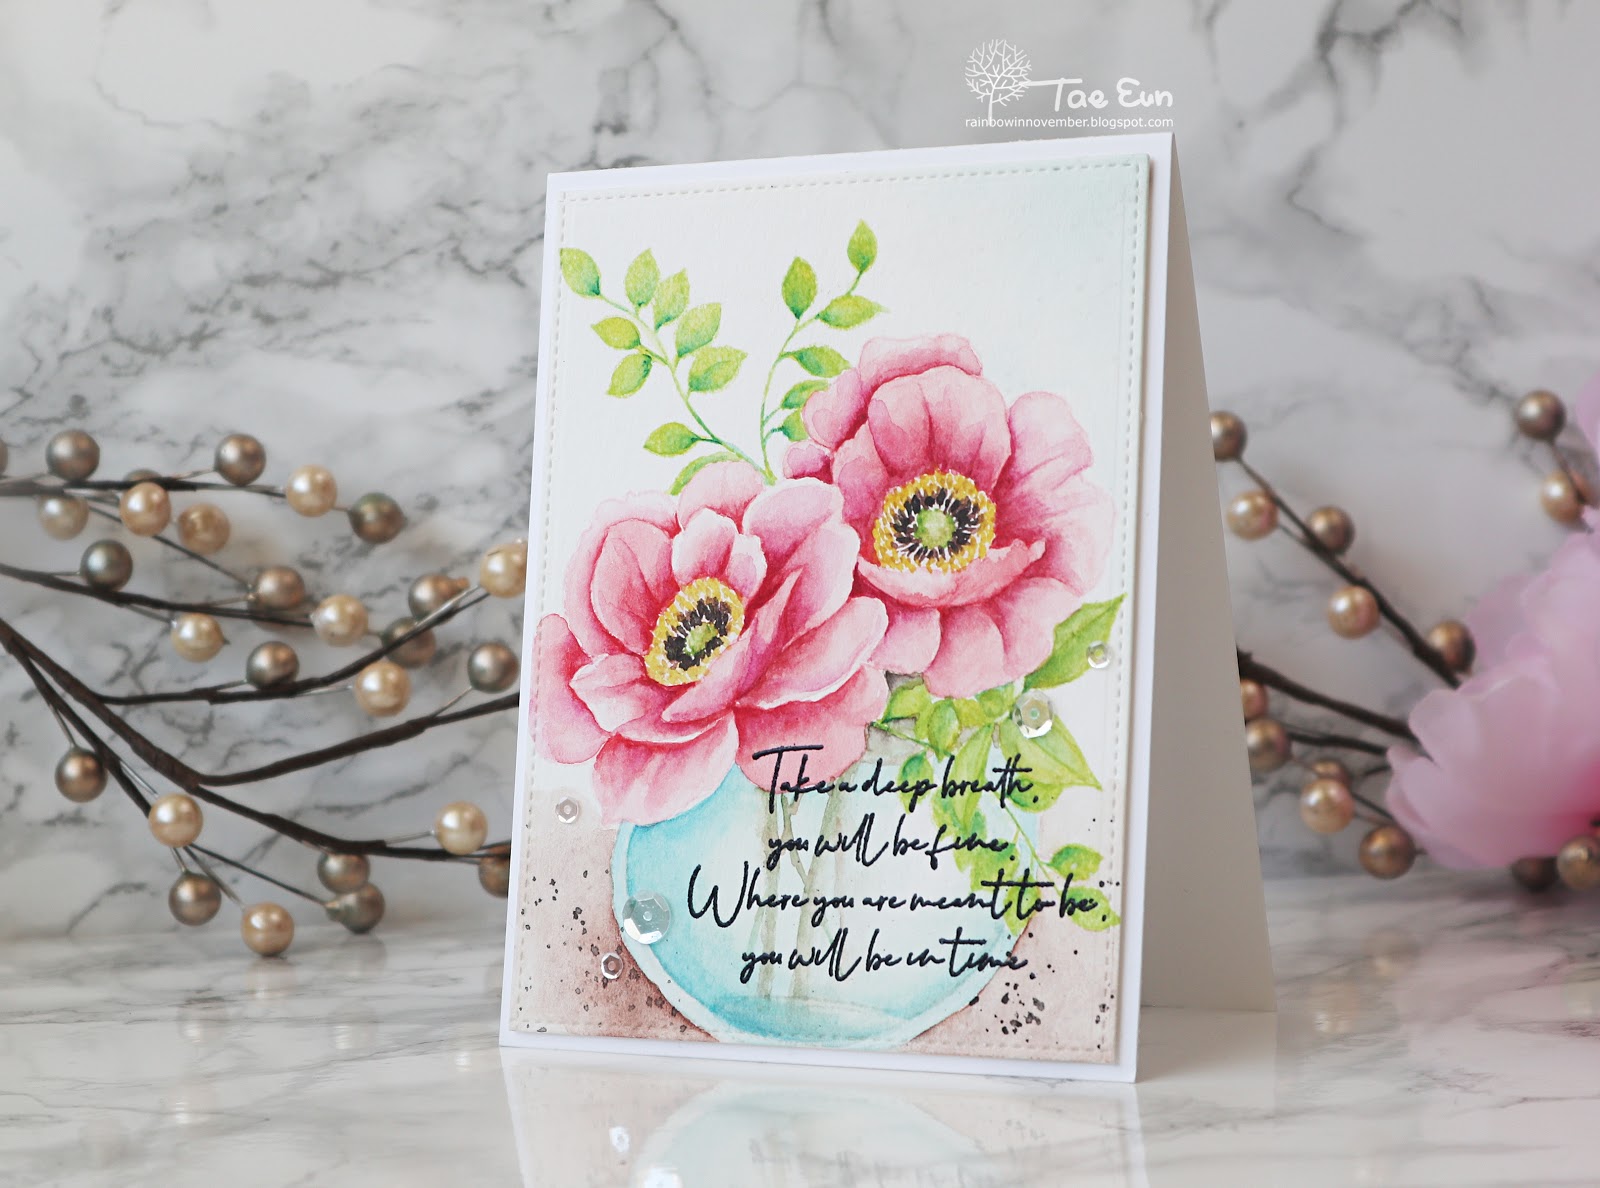
I cut the panel slightly smaller than A2 and foam mounted it on a white cardbase. I finished off this card with some clear sequins.
That’s it from my side. I hope I could show you how beautiful and unique the new release items are!!!
PRIZES
To celebrate this release, Altenew is giving away a $50 gift certificate to 6 lucky winners! Please leave a comment on the Altenew Card Blog and/or Altenew Scrapbook Blog by 3/19/2019 for a chance to win.
Altenew will also draw a winner to receive a $20 gift certificate from the comments left on each designer’s blog on the blog hop list below. All winners will be announced on the Altenew blogs on 3/23/2019.
HOP ALONG
Your next stop is Therese Calvird‘s blog ! Oh, I love her card making style! Below is the complete blog hop list.
TaeEun Yoo –> You are here 🙂 !
Have a happy hopping!
TaeEun
I participate in the affiliate program of Altenew. It means I earn a small commission at no additional cost to you each time you click through and purchase the product(s) shared here. Thank you for your support :).