

Hello and welcome to Pinkfresh Studio Essentials 3 Release Blog Hop!
You’ve arrived here from Wanda Guess’ blog, if you’re following the blog hop order. In case you’re lost on the way or want to start over, please hop over to Pinkfresh Studio blog!
Pinkfresh Studio is introducing ten unique and fun die designs today! They are essential in your craft room as the name of the release says :)!
I’ve made three cards to show you some of the new goodies. While hopping along, you’ll see how versatile the dies are!
Let’s take a look at my cards!

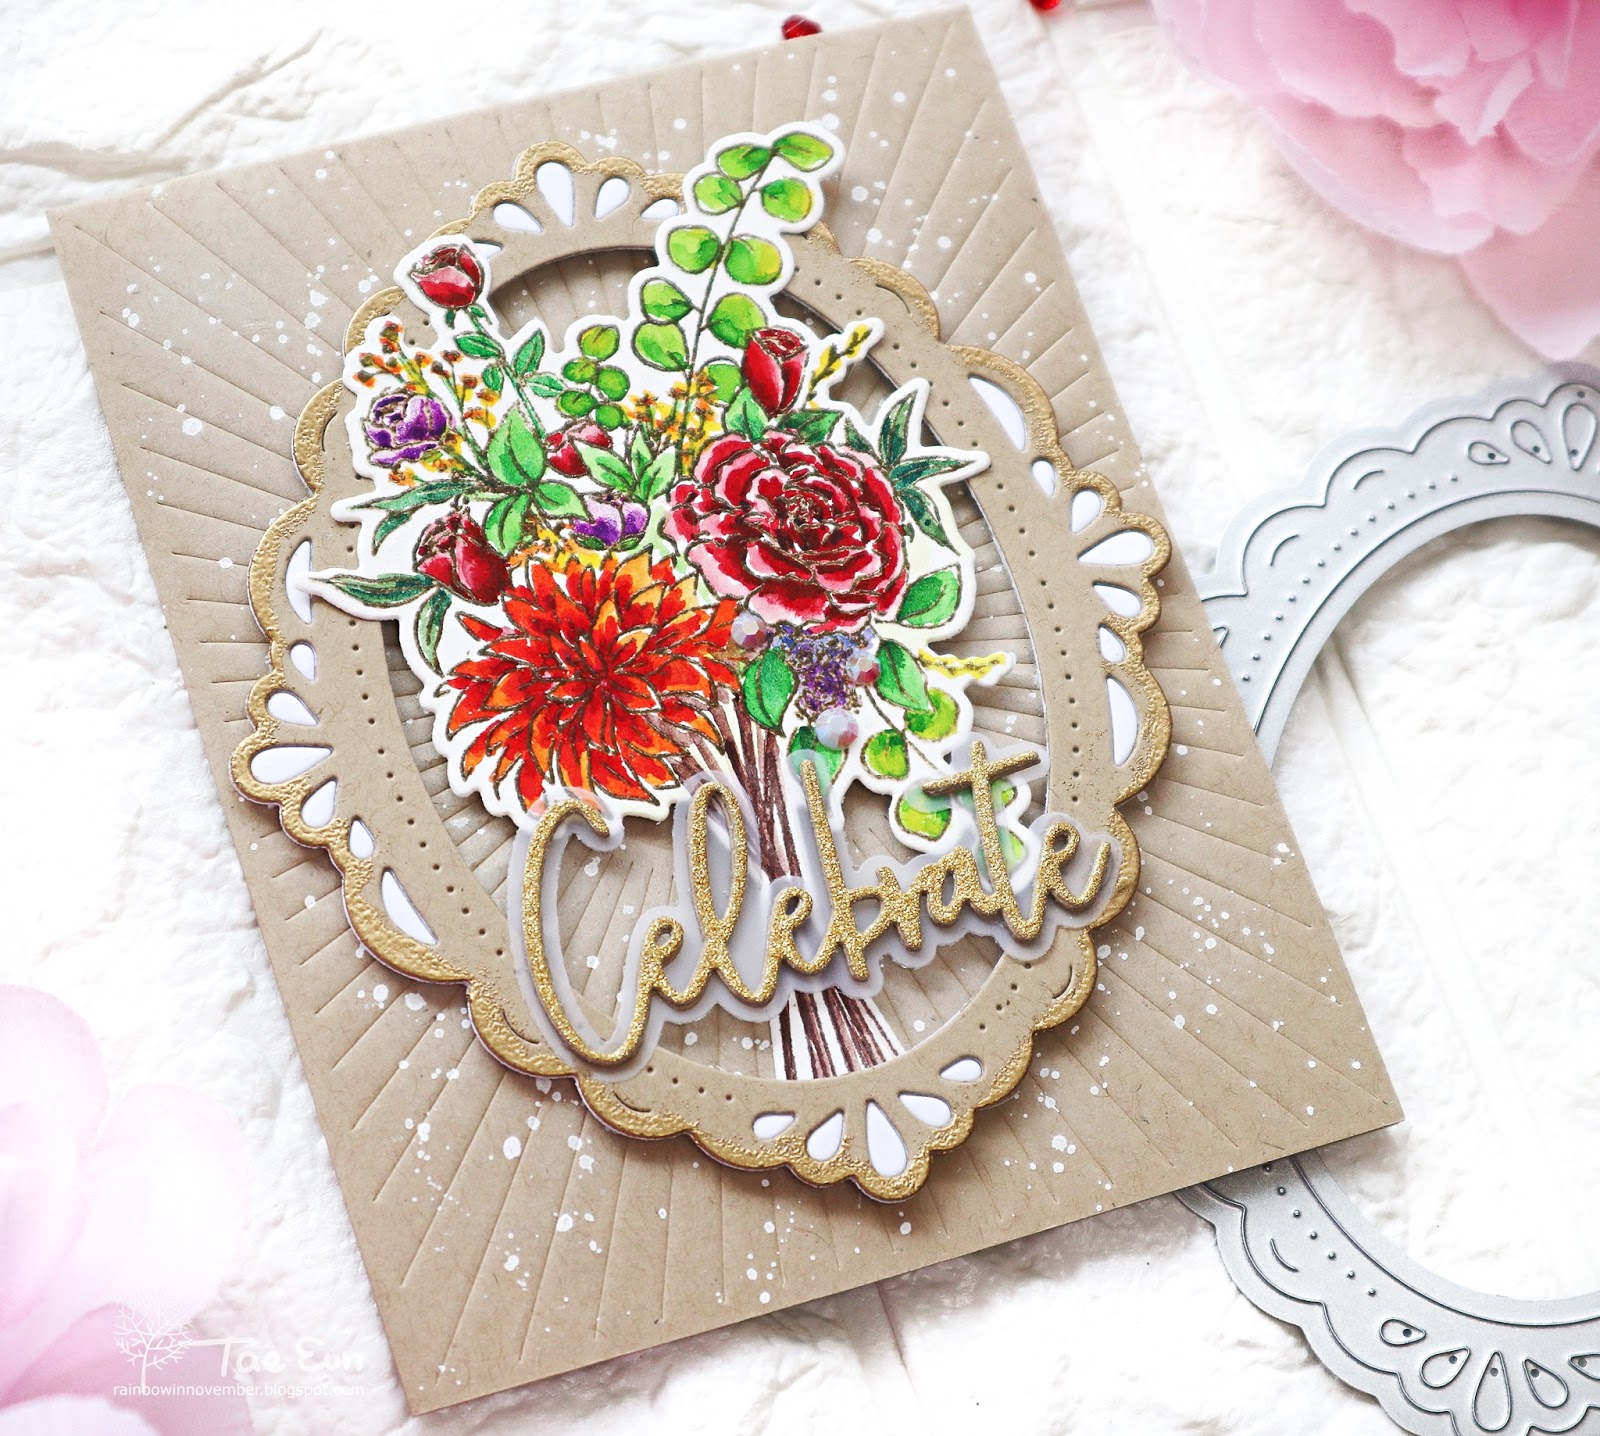
My first card is showcasing Ornate Oval die and Radiating Background 1 die. I used the beautiful Ornate Oval frame for my bouquet from Floral Vase set.

To start off I stamped the floral bouquet from Floral Vase set in Espresso premium dye ink on some watercolor paper. I clear heat embossed the image and colored it using Pinkfresh Studio Liquid watercolor. I stamped the stems aligning it to fit in the coordinating die which cuts the floral cluster and the stem as one image. After done with the coloring I cut the bouquet using the coordinating die and set it aside.
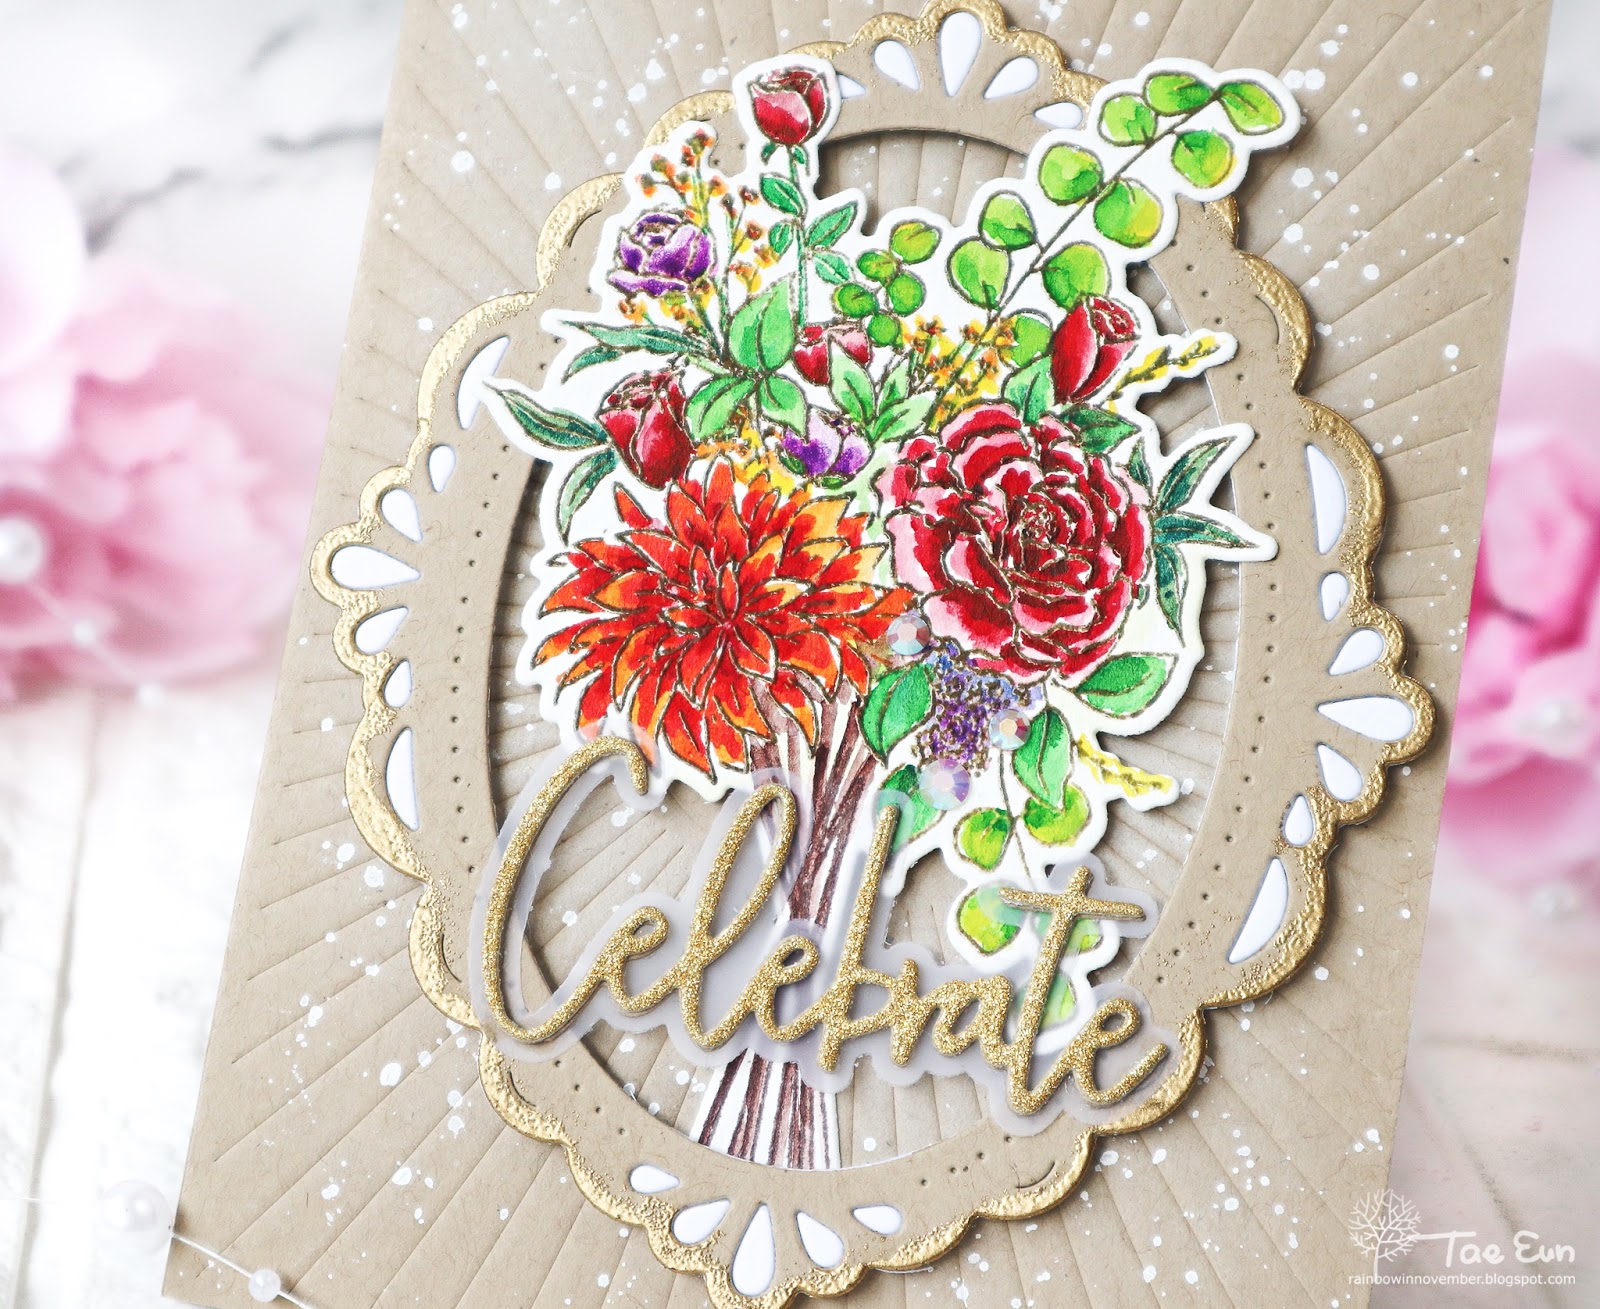
Ornate Oval frame was cut from a kraft cardstock and from a heavyweight white cardstock. I gold heat embossed the outer edge of the kraft cardstock frame and adhered it on the white one. I left the small parts of the white die cut so that they show through the holes of the kraft cardstock frame.


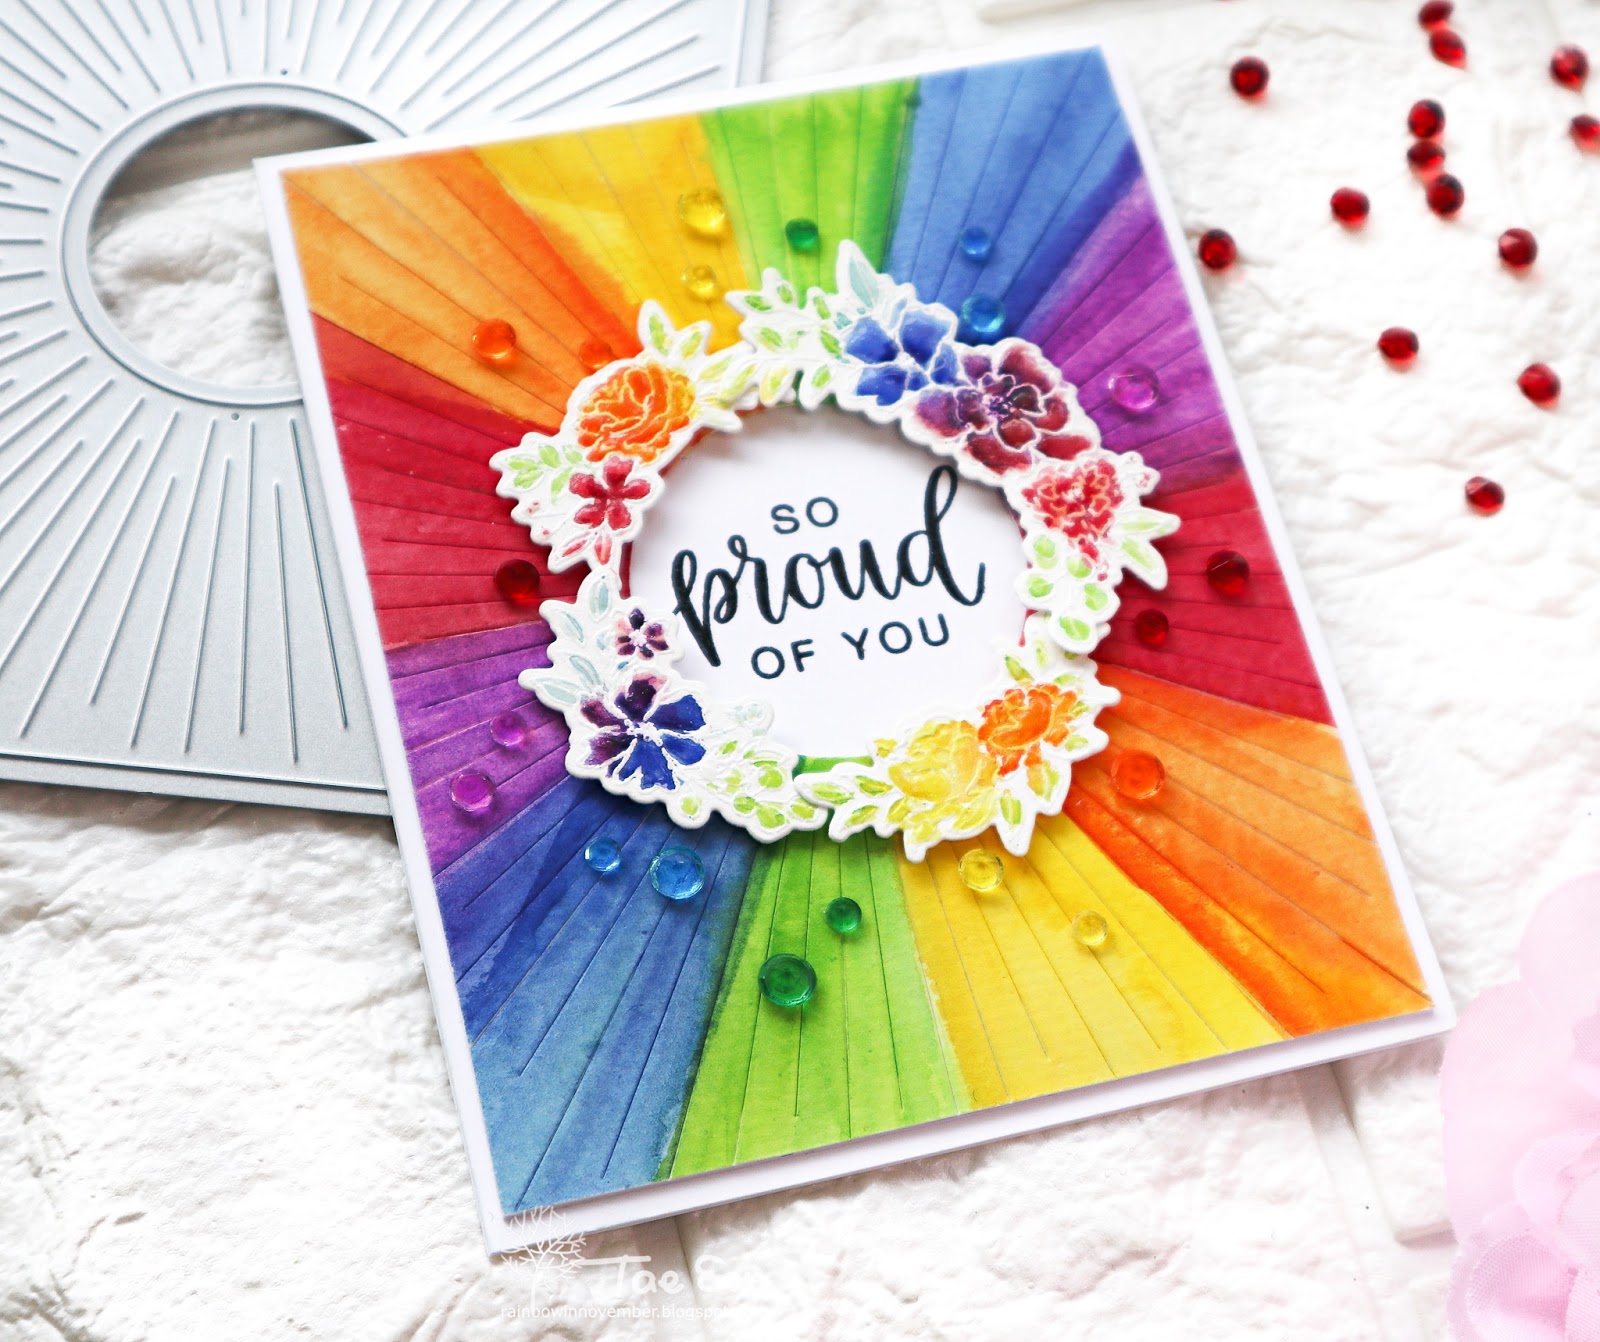
The second card is showing the Radiating Background 2 die. I added a small floral wreath made with Floral Elements stamp set to the circle window.

First I made the radiating rainbow panel using Pinkfresh Studio Liquid watercolor on a watercolor paper. After the panel was dry I cut it using Radiating Background 2 die and set it aside.

I chose four floral clusters from Floral Elements stamp set to make the wreath and white heat embossed them on some watercolor paper. I colored them with Pinkfresh Studio Liquid watercolor and cut them using the coordinating dies.

I adhered a heavyweight white cardstock panel behind the rainbow panel to make it sturdy and trimmed the panel to make it slightly smaller than A2 size. The sentiment is fromYou make a Difference set. I stamped it in a black pigment ink on a white cardbase where the circle window of the rainbow panel would be placed. I clear heat embossed the sentiment and foam mounted the rainbow panel on the cardbase.
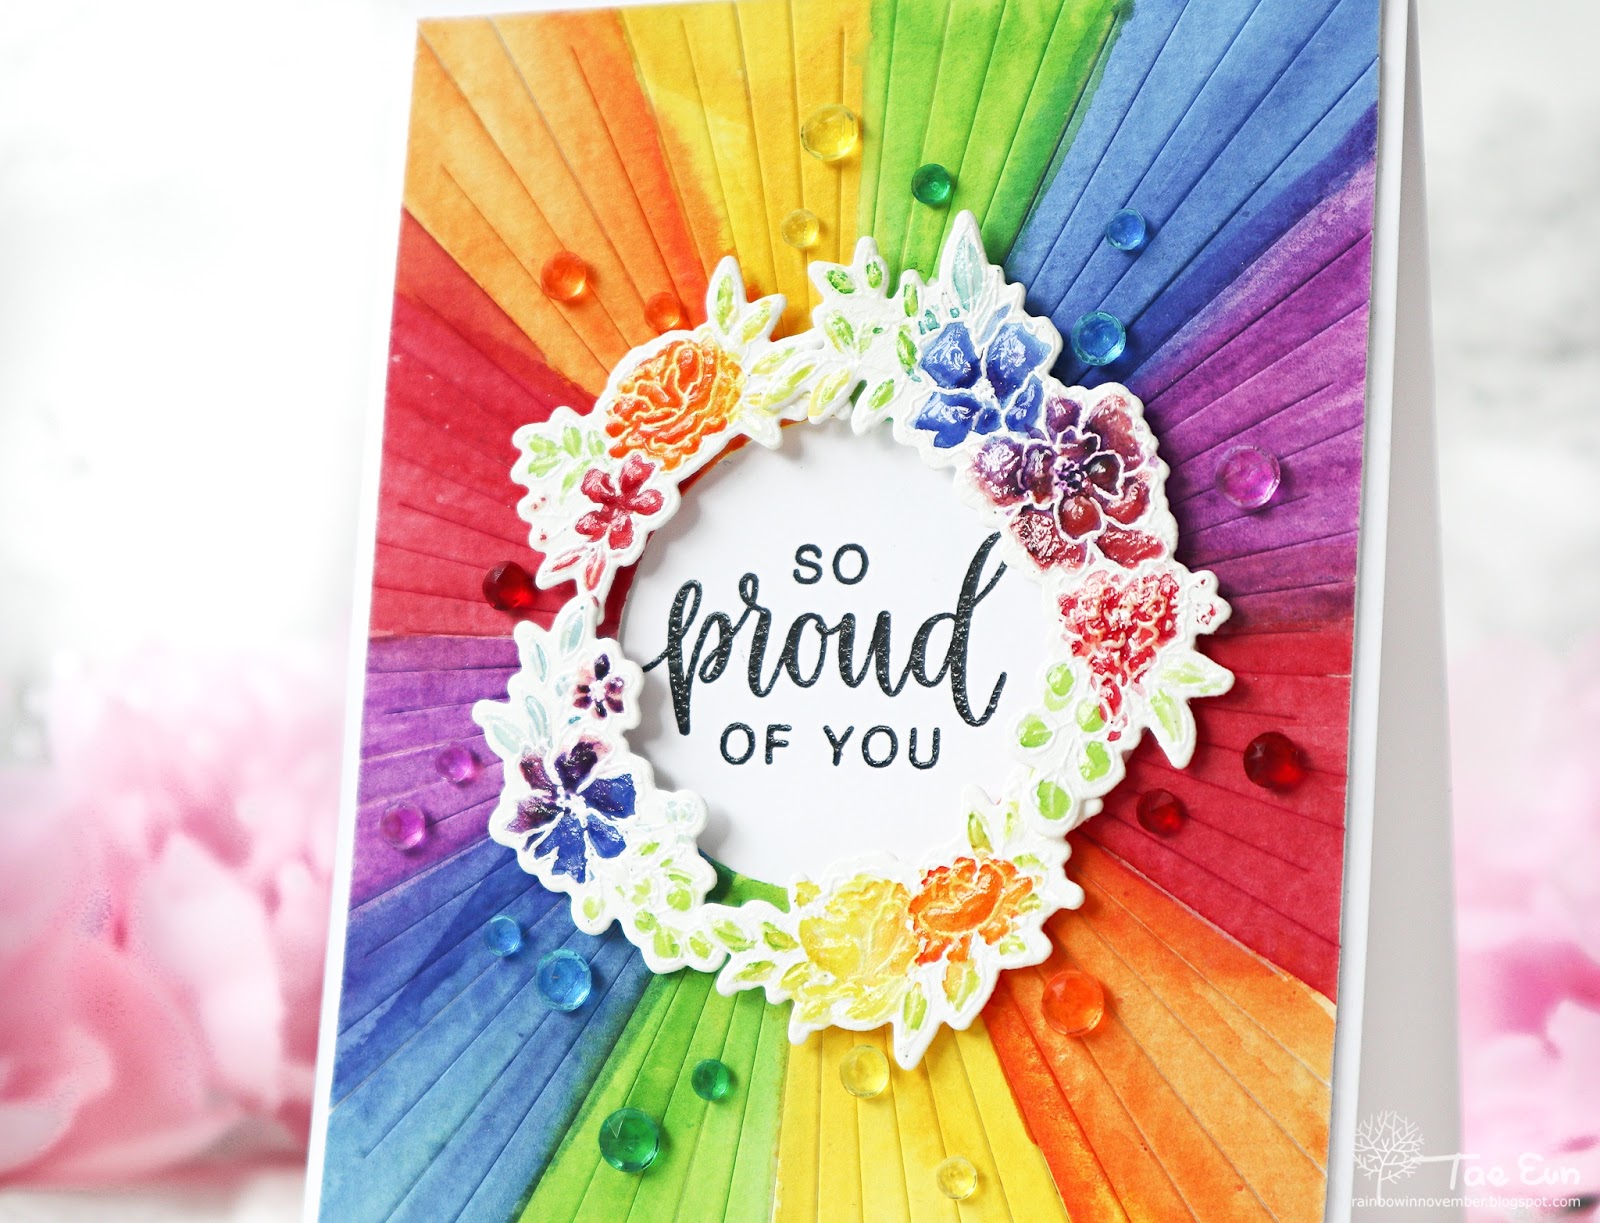
I then arranged the floral elements into a wreath around the circle window. To finish off I added rainbow crystals to the front panel and covered the florals with Shimmer Pico embellisher to give them a shiny look.
To create my next card I did spotlight coloring on the Flower Garden image using Stitched Squares die set.
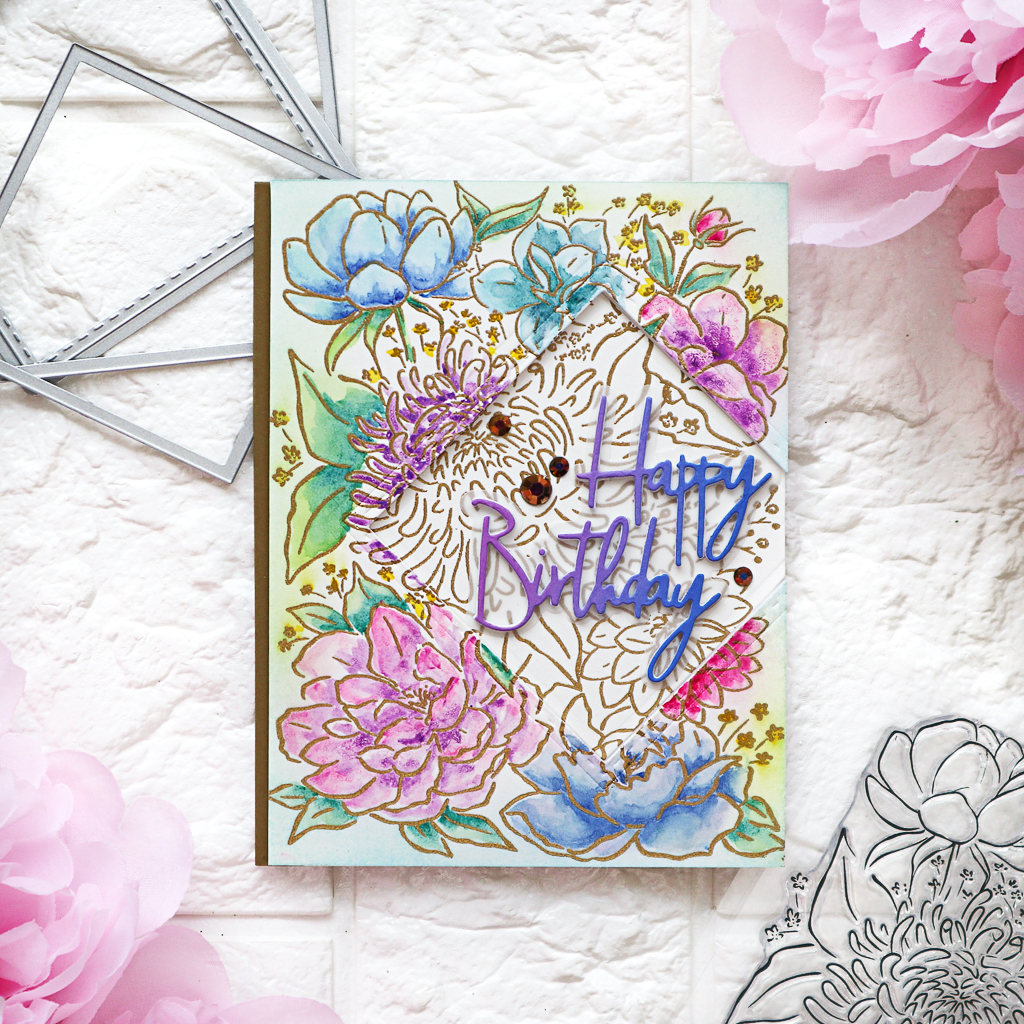
To start off I gold heat embossed the floral image of Flower Garden stamp set on a watercolor paper. I cut the panel using one of the dies from Stitched Squares die set. I used a die without faux stitch pattern. I colored the negative panel with Pinkfresh Studio Liquid watercolor and left the square part uncolored.

After the colored panel was dry, I dry embossed it using a die with a faux stitch from Stitched Squares die. I adhered the square part of the front panel flat on a white cardbase and added Matte Gold washi tape to the left side of the cardbase. The negative panel was then foam mounted on the card.
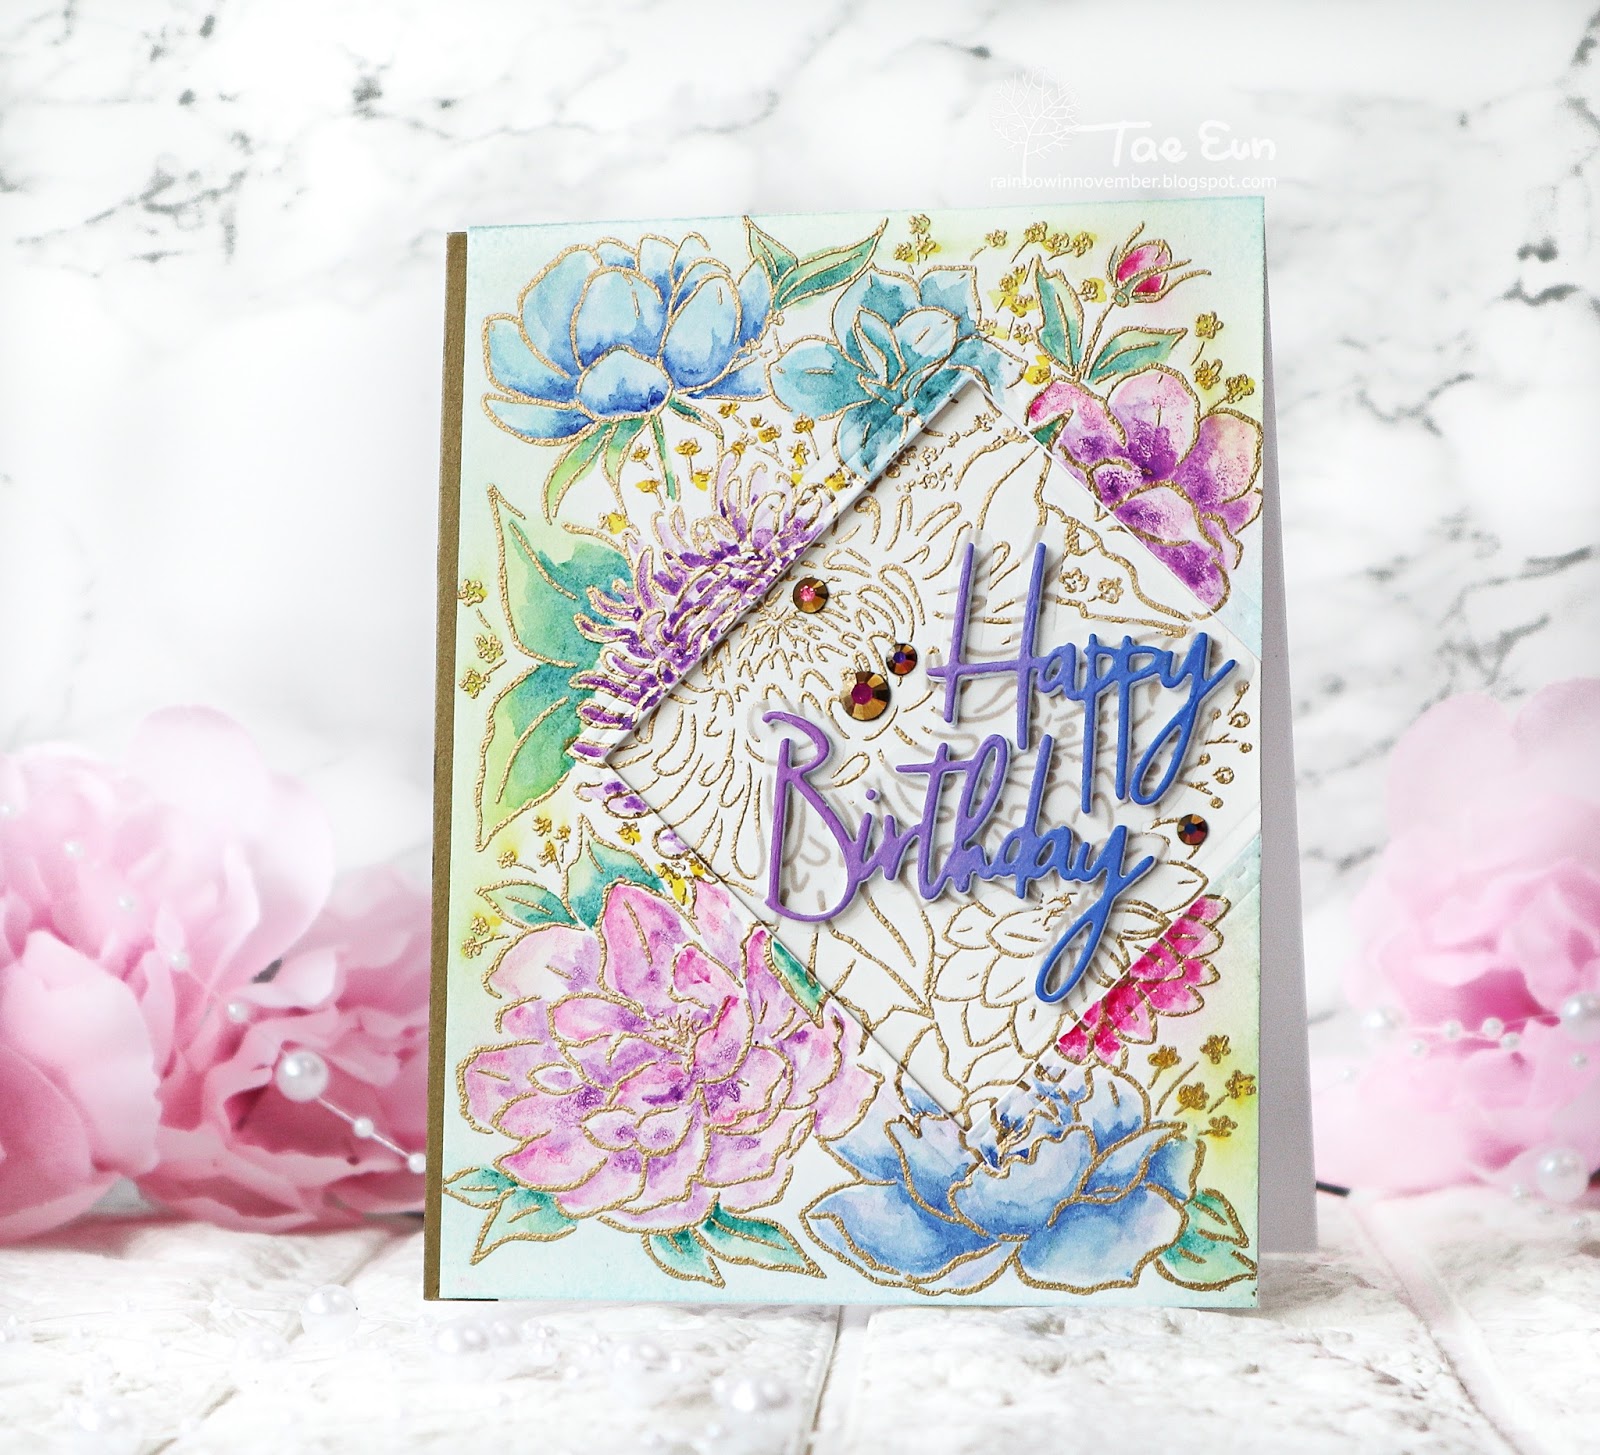
To match with the colors of the flowers I chose Sapphire, Blue Jay and Lavender for my sentiment. I ink blended a piece of white card stock in those colors in an ombre look and cut the words from it using Classic Words die . I also cut the sentiment three more times from white cardstock and stacked them all together.

I added the sentiment and a few gold jewels to finish off the card.

That’s it from my side for today! Hop along to see all the awesomenesses from the Essentials 3 Release and to be inspired !!!
GIVEAWAYS:
Pinkfresh Studio will be giving away the full Essentials 3 release on the Pinkfresh blog, and on their IG feed.
Also each of the designers participating in this blog hop will be giving away a $25 gift card to the Pinkfresh Studio store. The winners will be picked from the comments.

*All the winners will be announced on the Pinkfresh Studio Giveaway Page on Monday, Dec. 16th.
*Please check that page and claim your prize within 2 weeks !
SHOPPING PROMO:
Free US shipping for all orders $100+ : No code necessary.
The shipping will be discounted automatically. Please select the correct shipping method upon checkout !
HOP ALONG:
Your next stop on the hop is my amazing team mate Heather Hoffman’s blog!
Thank you so much for stopping by today!
Wishing you all a happy hopping!
TaeEun
TaeEun
I participate in the affiliate program of Pinkfresh Studio. It means I earn a small commission at no additional cost to you each time you click through and purchase the product(s) shared here. Thank you for your support :).